lathe cutter height gage - rick.sparber.org
TRANSCRIPT

R. G. Sparber March 22, 2012 Page 1 of 12
Lathe Cutter Height Gage, version 1
By R. G. Sparber Copyleft protects this document.
1
One common procedure on a lathe is setting the cutter at the same height as the
center of rotation. There are many ways to do this that work just fine. Well, here is
another one.
This height gage has two subtle features. First, it beeps when the cutter contacts the
underside of the puck. That is certainly nothing all that new.
1 You are free to copy and distribute this document but not change it.

R. G. Sparber March 22, 2012 Page 2 of 12
The other feature is that the underside of
the puck is not flat. It has a taper. This
taper lets me quickly detect if the cutter
has been set right. What you see here is an
exaggerated taper. The real one rises only
a few thou from center to perimeter.
To use the height gage, I
first move the tip of the
cutter about half way
between the post and the
perimeter of the puck.
Then I raise or lower the
cutter until the beeping
just starts to cut out. I then
slide the gage away from
the cutter. Since this
underside is tapered, the
distance from cutter tip to
the tapered surface
increases. If the tool has
been set correctly, a small
movement of the gage
stops the beeping. If it was set too high, the beeping will not stop until the cutter
clears the puck.
This is a prototype so I made the puck out of aluminum. A better choice for a final
design would be to use at least mild steel. Ideally, the puck would be hardened so
the cutter would not dig into it.
R. G. Sparber March 22, 2012 Page 3 of 12
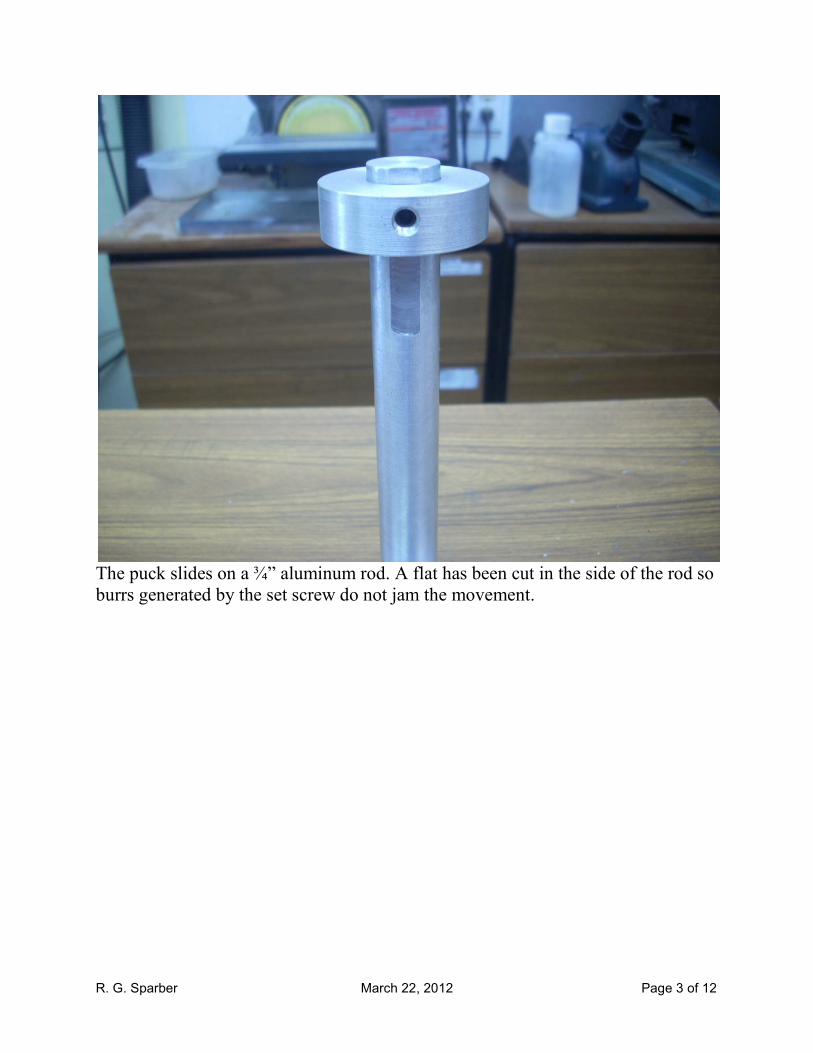
The puck slides on a ¾” aluminum rod. A flat has been cut in the side of the rod so
burrs generated by the set screw do not jam the movement.

R. G. Sparber March 22, 2012 Page 4 of 12
The beeper is contained in an old Altoids® box.

R. G. Sparber March 22, 2012 Page 5 of 12
Inside the box is a 9 volt battery and a piezoelectric beeper from Radio Shack®.

R. G. Sparber March 22, 2012 Page 6 of 12
The black wire from the beeper connects to the metal of the base. The red wire
goes to the positive terminal of the battery. The negative terminal of the battery
connects to the insulated bolt that anchors the post.
Note the insulating washer under the ¼-20 bolt.
There is no need for a power switch. The
beeper only sounds when a circuit is
completed between the puck and the
cutter by way of the tool post, lathe
apron, and lathe ways.

R. G. Sparber March 22, 2012 Page 7 of 12
Here you see the other insulating washers. They isolate the puck and post from the
base.

R. G. Sparber March 22, 2012 Page 8 of 12
Shop Drawings

R. G. Sparber March 22, 2012 Page 9 of 12

R. G. Sparber March 22, 2012 Page 10 of 12

R. G. Sparber March 22, 2012 Page 11 of 12

R. G. Sparber March 22, 2012 Page 12 of 12
You will also need one ¼-20 set screw, a ¼-20 x 1” bolt, and a 6-32 x ¼” screw.
I welcome your comments and questions.
Rick Sparber
Rick.Sparber.org