kevin daniels eclipse. overview integrated development environment (ide) usually used to develop...
TRANSCRIPT

K E V I N DA N I E L S
ECLIPSE
OVERVIEW
• Integrated Development Environment (IDE)• Usually used to develop applications in various
programming languages (C, C++. Java, JavaScript, Perl, Python, etc.)• Also used for Android Development and PHP
Development
USES FOR KERNEL DEVELOPMENT
• Using Eclipse CDT (C/C++ Development Tooling)• Code editor with syntax highlighting• Visual debugging tools• Details about errors/warnings• Standard make build• Setting/changing build commands/directories• Disable automatic building (every time you change
something it doesn’t require you to rebuild the whole kernel)
• And more!

SETTING UP ECLIPSE
• Download Eclipse CDT from www.eclipse.org/cdt• Eclipse requires Java (install Java)• Extract and then ‘cd’ to containing directory and
type: ./eclipse• Create new C Project, uncheck the “Use default
work space” and select it to the location of your kernel’s directory• Go to Window -> Preferences -> General ->
Workspace -> and disable option “Build automatically”
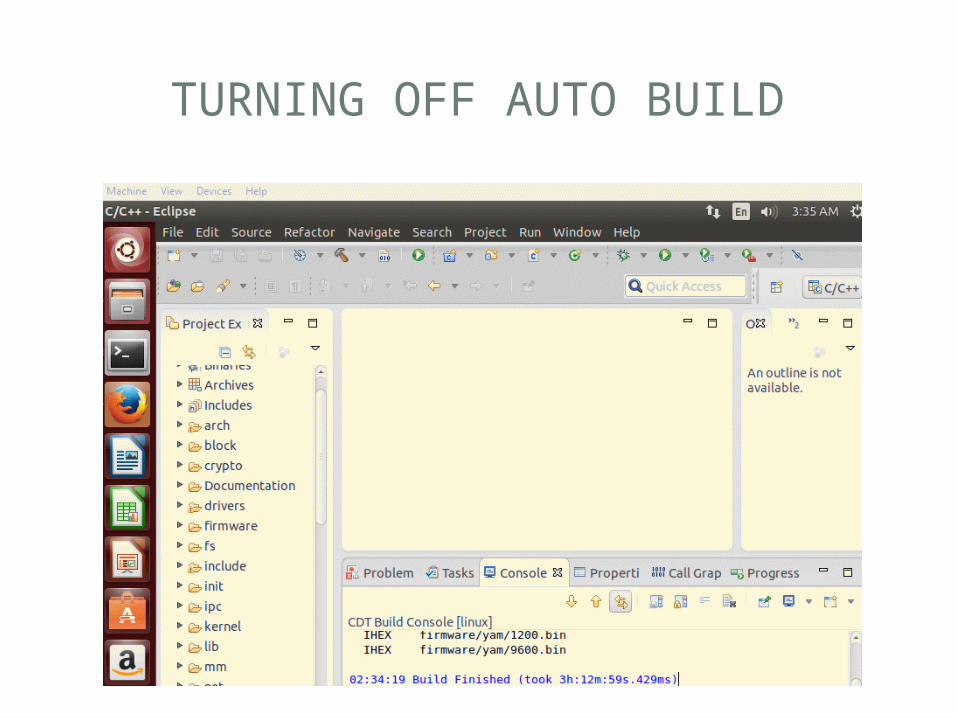
TURNING OFF AUTO BUILD
INDEXING IN ECLIPSE
• Indexing makes navigating through your code much more efficient and helps you and Eclipse interpret code correctly.• Cons:• Usually does not work out of the box for large projects
like Linux kernels.• It can be very tedious to configure all the correct paths
for Eclipse to look through for header files and other includes.
• Once set up it can still take some time for Eclipse to locate everything and be in sync.
• Changing certain headers can not only lead to lengthy rebuilds of the project, but indexing as well.
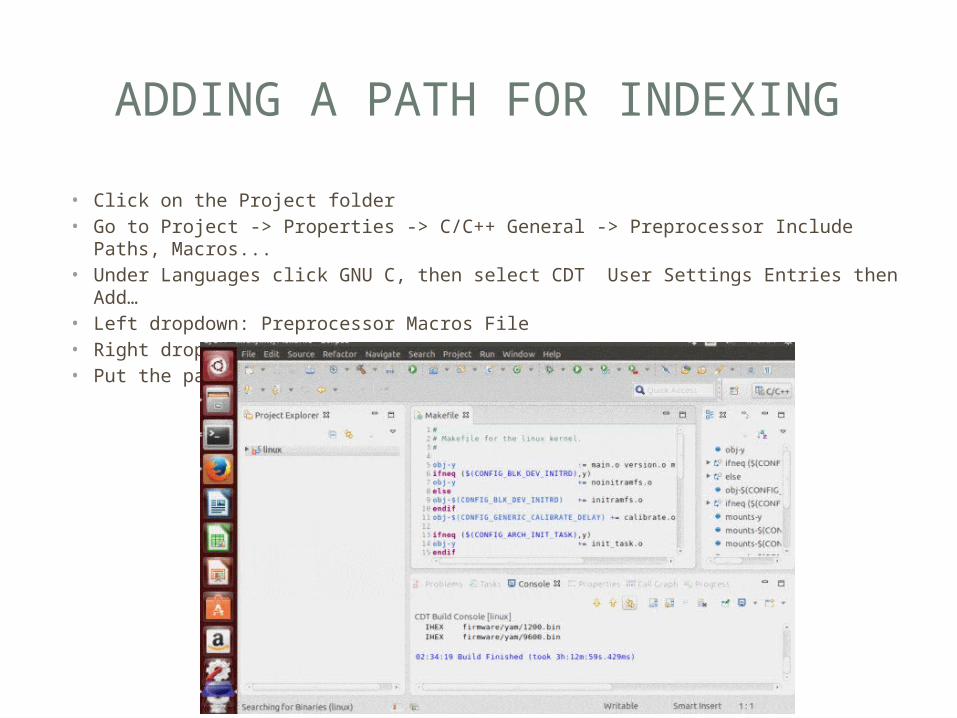
ADDING A PATH FOR INDEXING
• Click on the Project folder• Go to Project -> Properties -> C/C++ General -> Preprocessor Include Paths,
Macros...• Under Languages click GNU C, then select CDT User Settings Entries then Add…• Left dropdown: Preprocessor Macros File• Right dropdown: Project Path• Put the path in the File text field
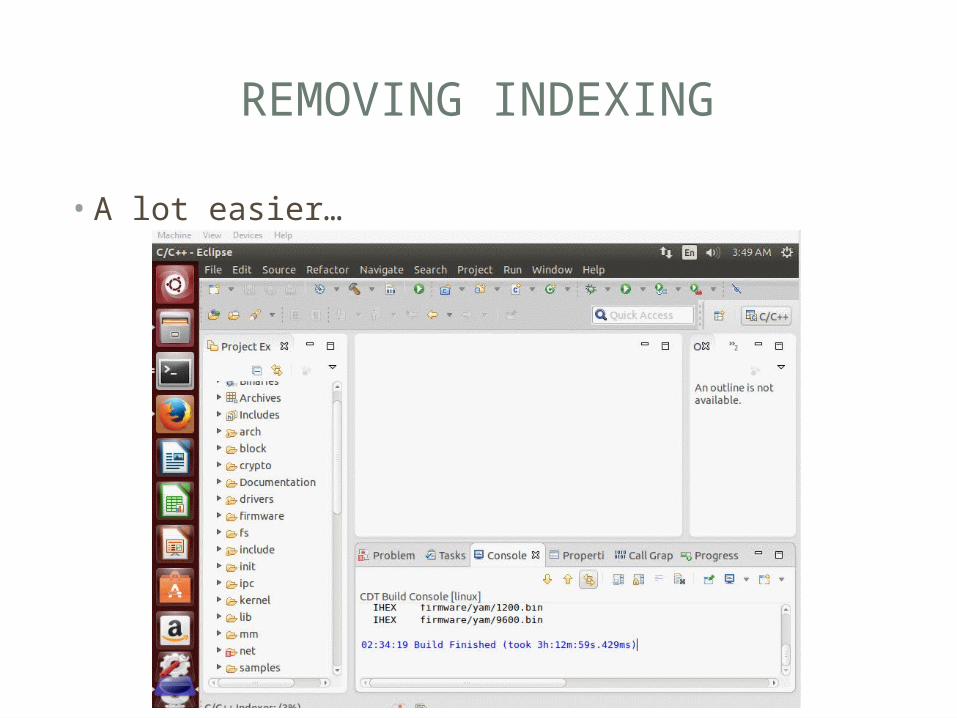
REMOVING INDEXING
• A lot easier…

SETTING UP THE KERNEL FOR ECLIPSE

BASIC USAGE
• Project Explorer: Helps you navigate the kernel/project and select files
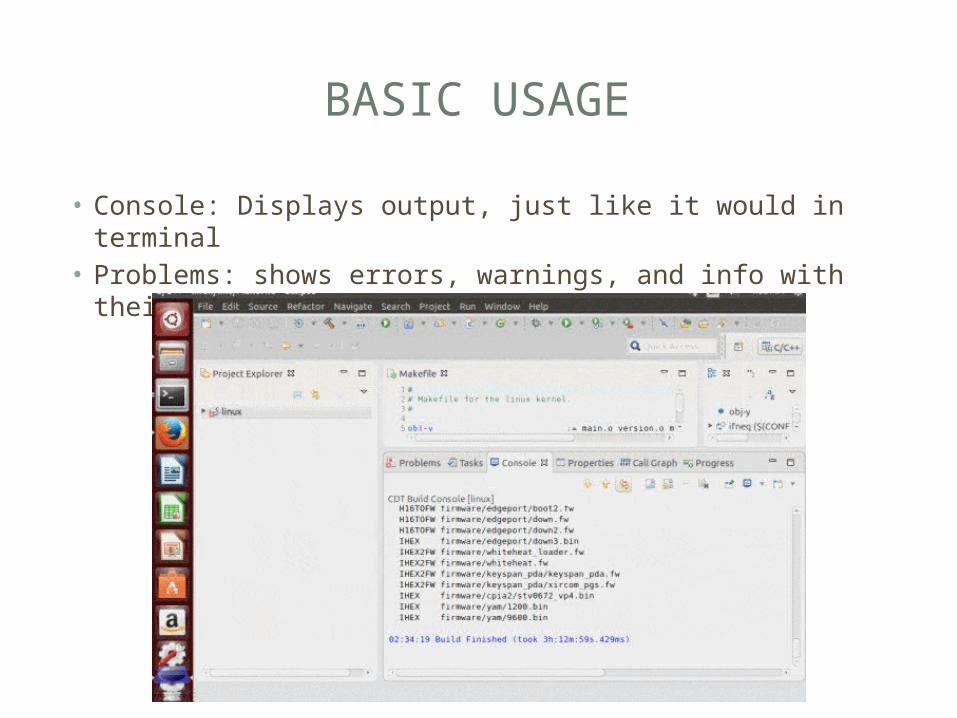
BASIC USAGE
• Console: Displays output, just like it would in terminal• Problems: shows errors, warnings, and info with their
location and allows for sorting

BASIC USAGE
• How to build your kernel: Right click project folder, select Build
DEMO – DEBUGGING A KERNEL
• Build kernel in Eclipse• Use emulator to run kernel (QEMU – open source
emulator that can book Linux kernel directly)• Set up debug configurations (see next slide)• Launch kernel with QEMU: qemu-system-x86_64 -
no-kvm -s -S -kernel /home/kevin/downloads/linux-3.14.5/arch/x86/boot/bzImage • -S stops the kernel at startup• -s is shorthand for -gdb tcp::1234 (see next slide)

DEBUG CONFIGURATIONS

DEBUG CONFIGURATIONS (TYPED)
• Right click the Project folder, select Debug As… then Debug Configurations• Double Click on “C/C++ Attach to Application”• Browse to the vmlinux in the Application field• Click on Debugger tab, select gdbserver on the
top dropdown• Click the Connections tab, select TCP for Type

DEBUGGING
• Click the button and select your configuration• After the debugger loads, press F6 to step
through the kernel or F8 to run it without breaks

RESOURCES
• http://www.eclipse.org/cdt/• http://eclipsebook.in/c-cpp-development/tweaking
-cdt/c-cpp-indexing/• http://www.sw-at.com/blog/2011/02/11/linux-kern
el-development-and-debugging-using-eclipse-cdt/• http://
wiki.eclipse.org/HowTo_use_the_CDT_to_navigate_Linux_kernel_source• http://www.opensourceforu.com/2011/02/kernel-
development-debugging-using-eclipse/