junit test cases
TRANSCRIPT


Introduction to JUnit
JUnit built into the Workbench. Eclipse allows you to quickly create test case classes and test suite classes to write your test code in. With Eclipse, Test Driven Development (TDD), becomes very easy to organize and implement.

Using JUnit
Unit in version 4.x is a test framework which uses annotations to identify methods that specify a test. Typically these test methods are contained in a class which is only used for testing. It is typically called a Test class.

Create a JUnit test suite:
If you have several test classes, you can combine them into a test suite. Running a test suite will execute all test classes in that suite in the specified order.
When you to try to open the eclipse it will directly show the project explorer as shown in the next slide.

Eclipse IDE
5
PackageExplorer
Scrip View
console
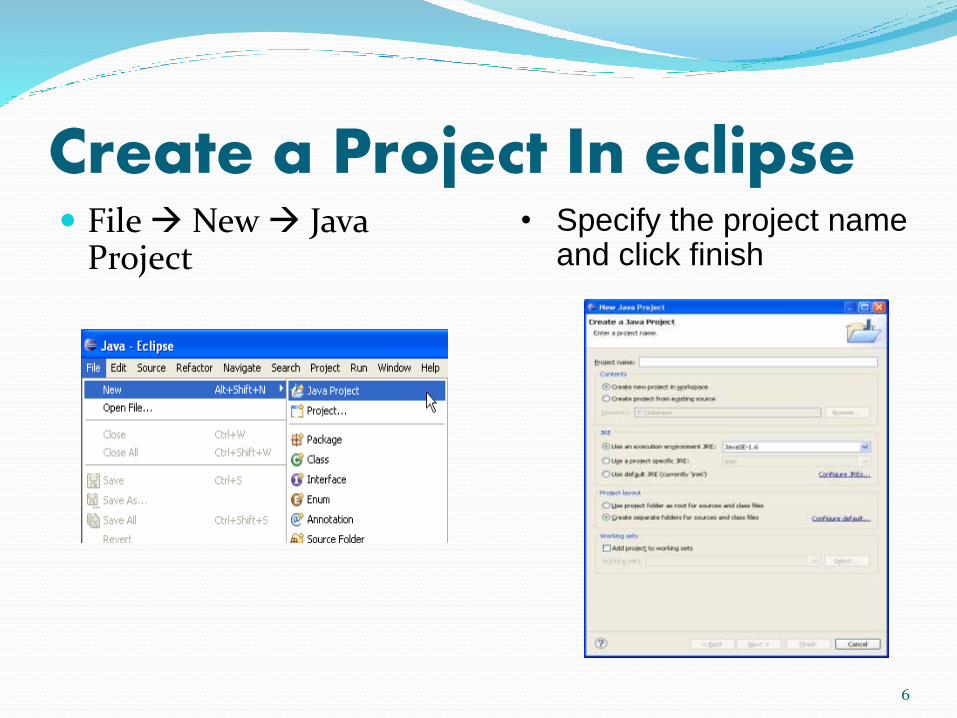
Create a Project In eclipse File New Java
Project
6
• Specify the project name and click finish
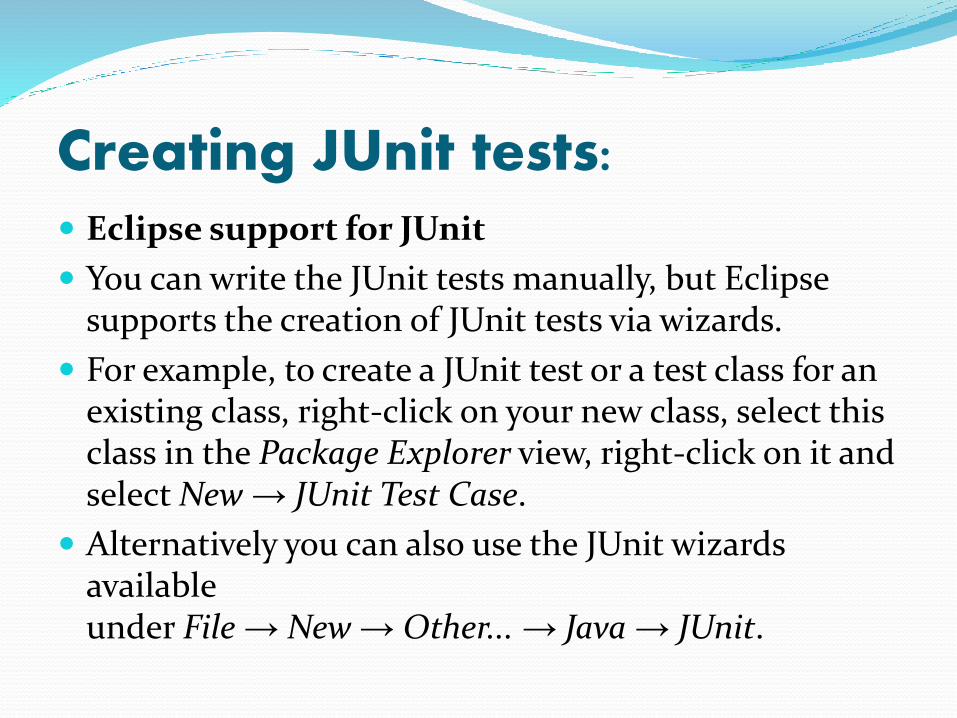
Creating JUnit tests: Eclipse support for JUnit
You can write the JUnit tests manually, but Eclipse supports the creation of JUnit tests via wizards.
For example, to create a JUnit test or a test class for an existing class, right-click on your new class, select this class in the Package Explorer view, right-click on it and select New→ JUnit Test Case.
Alternatively you can also use the JUnit wizards available under File→ New→ Other...→ Java→ JUnit.

Jar Files are already in the Elipse:

Running JUnit tests:
To run a test, select the class which contains the tests, right-click on it and select Run-as→ JUnit Test. This starts JUnit and executes all test methods in this class.
Eclipse provides the Alt+Shift+X, ,T shortcut to run the test in the selected class. If you position the cursor on one method name, this shortcut runs only the selected test method.
To see the result of an JUnit test, Eclipse uses the JUnit view which shows the results of the tests. You can also select individual unit tests in this view , right-click on them and select Run to execute them again.

Public class Junit:

Concatenation of Strings Test:

Division of integers Test:

Addition of integers Test:

Multiplication of integers Test:

Square of integers Test:

Modulus of integers Test:

Subtraction of integers Test:

Create a JUnit test suite If you have several test classes, you can combine them
into a test suite. Running a test suite will execute all test classes in that suite in the specified order.
The following example code shows a test suite which defines that two test classes should be executed. If you want to add another test class you can add it to @Suite.SuiteClasses statement.

Test Suite for All Tests:

Creating the test script inside the class file
Copy the code that was formatted in the selenium IDE and paste it in the Eclipse IDE script template.
Make sure the class name that you created and the class name in the script are same
Make sure that you have add the methods setUp and tearDown
20

Running the test through Eclipse Once the server is up go to the eclipse and right click on the
script. In that select Run As JUnit Test. See the image below.
After this you will get will see that the script has run successfully in the window that’s shown in the next slide.
21
