introduction - oklahoma · introduction the oklahoma board of tests intoxilyzer 8000 reference...
TRANSCRIPT
Introduction
The Oklahoma Board of Tests Intoxilyzer 8000 Reference Guide is intended for users of the Intoxilyzer
8000 breath test instrumentation in the State of Oklahoma. Other publications concerning the
Intoxilyzer 8000, including materials published or produced by the instrument manufacturer may be
used as supplemental references. This guide provides basic reference information but is not all
encompassing or exclusive of other materials. Applicable statutes, administrative rules, and approved
training curricula supersede any conflicts with information in this or other publications or products.
For information concerning this guide, please contact:
Oklahoma Board of Tests P.O. Box 36307 Oklahoma City, OK 73136 (405)425-2460
Section A: The Instrumentation
The purpose of this guide is to ensure that Intoxilyzer 8000 users have the necessary depth of
understanding the instrument to complete evidential breath testing. This guide will include information
about the instruments menu options, proper procedures and Affidavit preparation.
The Intoxilyzer 8000 instrumentation is approved for evidentiary use in the State of Oklahoma. It is
designed for mobile and stationary breath alcohol analysis, and is equipped with electronic
communications capability.
Power Source
110 volt AC (wall outlet). Should not be used with power inverters.
Method of Analysis
Infrared light absorption. Infrared light produced by the instrument is absorbed by the alcohol in the sample analyzed. The more infrared light absorbed, the greater the concentration of alcohol in the sample analyzed. Infrared Light Absorption Components Sample Chamber – Where a breath sample is analyzed. It is thermostatically controlled temperature of 47C to prevent condensation. Light Source – A spiral filament which pulses infrared light into the sample chamber. It is directly connected to one end of the sample chamber. Filters – Filter infrared light at specific wavelengths to identify alcohol. The 3.4 uM filter identifies alcohol and interferents in the sample. The 9.36 uM filter identifies alcohol in the sample. The two filters are directly connected to the sample chamber opposite the light source. Detectors – Two pyroelectric detectors, each directly connected to a filter, which detect and determine the amount of light not absorbed by alcohol in the sample. It converts the heat energy into an electrical response. Microprocessor – Calculates the amount of alcohol in a sample in g/210L based on the electrical responses received from the detectors. Additional Operational Components Power Switch – Black rocker switch used to turn the instrument on and off. Start Test Button – Green button used to turn on the instrument, to initiate a breath test sequence, and to bring the instrument from STANDBY MODE to READY MODE. Bar Code Reader - Scans barcode information from the back of Driver’s License and BOT Intoxilyzer access cards
Keyboard – Used to input information. A fold-down, removable, compact model is attached to the instrument. Breath Tube – Delivers a breath sample into the instrument. It is temperature controlled at 45C to prevent condensation. Display – A two-line (twenty characters per line) fluorescent display which communicates information to the user. Regulator Valve – Attaches to the top of a dry gas standard cylinder, indicates the pressure in the cylinder, and controls release of a dry gas sample. Dry Gas Standard Supply Hose – Delivers the dry gas standard into the instrument. RFI Detector – Detects Radio Frequency Interference. Internal Printer – Thermal printer which can be used to print breath test results if no external printer is connected or detected. The instrument automatically detects the absence of an external printer and defaults to the internal printer. Operational Modes NOT READY MODE – The instrument is not ready for use because it is warming to operational temperatures. The instrument will take approximately twenty (20) minutes to warm-up. During this warm-up time, the instrument will display NOT READY. READY MODE – The instrument is ready for use. STANDY BY MODE – If the green start test button is not pushed within approximately thirty (30) minutes in READY MODE, the instrument will go to STAND BY MODE. The instrument suspends all analytical functions but maintains operational temperatures (similar to a “sleep mode”). To bring back to READY MODE push the green start test button. DISABLED MODE – The instrument is disabled and cannot be used to conduct breath tests because: stored information must be uploaded, OR the Dry Gas Canister must be changed. The reason for DISABLED MODE will be displayed. Tones Three distinct tones: Beep – after completion of each operation. Continuous Tone – while a subject blows into the instrument with sufficient pressure. Low/High Tone – denotes an exception, incorrect operational procedure, or unfulfilled test requirement. Diagnostics Check Diagnostics checks are conducted to ensure that the instrument’s analytical components are operational standards are functioning properly. The instrument automatically performs all of the following tests when a diagnostic check is conducted:
Internal Printer Test – Verifies that the internal printer has paper and is operational Real Time Clock Test - Validates current time and date. Digital Signal Processor Test – Verifies that the digital signal processor is functioning correctly. Analytical Stability Test – Verifies the stability and operation of analytical components. Electronically Erasable Programmable Read Only Memory Checksum Test (EEPROM) – Verifies validity of the checksum and EEPROM data. Voltage/Current Test – Verifies voltage and current values. RAM Test – Verifies Random Access Memory availability. Modem Test – Verifies internal modem operation. Temperature Regulation Test – Verifies prescribed temperature controls for the sample chamber and breath tube. DIAGNOSTIC OK indicates that all tests are successfully completed and the instrument’s analytical components and operational standards are in compliance. The instrument the enters READY MODE. DIAGNOSTIC FAIL indicates that a diagnostic test result does not comply. The instrument will remain in NOT READY MODE. Control Tests Control tests verify the calibration of the instrument by analyzing dry gas standard or alcohol reference solution and ensure that the results obtained are within the acceptable range for the samples analyzed. Control tests are automatically conducted during the breath test sequence using dry gas standard. Control tests using dry gas standard (Dry) and/or alcohol reference solution (Wet) can also be conducted by accessing the Control Tests function in the Level Two User Menu. Replacing the Internal Printer Paper
Lift and remove the printer paper door by pulling the black knob.
Pull the green lever forward until it locks.
Lift and remove the used roll of paper from the paper roll holder.
Place a new roll of paper in the paper roll holder with the paper spooling from the bottom. Slip the leading edge of the paper underneath the rear of the black rubber roller until the edge slides out the front
Push the green lever up and back until it locks.
Feed the paper through the slot in the printer paper door.
Replace the printer paper door and press the black knob until it locks.
SECTION B: THE DRY GAS STANDARD The Intoxilyzer 8000 uses a standard consisting of a mixture of alcohol and gas which produces a known alcohol vapor concentration. This gas mixture is used to verify the calibration of the instrument. The present gas concentration used in Oklahoma is 0.08 g/210L The gas standard is contained in a cylinder tank connected to the instrument. A 105L cylinder can be placed on the Dry Gas Standard Cylinder Carrier.
Connecting the Dry Gas Standard Cylinder The gas cylinder is attached to the instrument by connecting it to the Regulator Valve, tightening the connection, and connecting the instruments Dry Gas Standard Supply Hose to the Calibration Inlet. The interface connection cable must be plugged into the Gas Power/Interface Connector for the instrument to operate. Dry Gas Standard Analysis The Dry Gas Standard is used to conduct control tests during the breath test sequence. The gas concentration used is 0.08 g/210L. The acceptable range for the gas analyses is 0.077 to 0.083 g/210L. If any analysis result is not within the acceptable range, the message CONTROL OUTSIDE TOLERANCE will be displayed. Dry Gas Standard Messages When the gas pressure remaining in the cylinder is <75 psi, the following message will be displayed: READY MODE GAS STD AT “#” PSI The “#” indicates the pressure remaining in the cylinder. Press the green Start Test Button. If the pressure in the gas cylinder is 25 psi or less or a cylinder is not connected, the following message will be displayed: DISABLED LOW TANK PRESSURE A breath test cannot be conducted until a gas cylinder is replaced. Replacing/Removing the Dry Gas Standard Cylinder The dry gas standard cylinder must be replaced when the cylinder is below minimum pressure, and when the cylinder expiration date has been reached. The replacement/removing of the Dry Gas Standard canister will only be completed by authorized Board of Tests Technicians
SECTION C: USER MENUS
A multi-level user menu allows features and functions to be changed or initiated. This guide will address
the first level menu only. The user can move through the menu by placing the cursor under the desired
letter and pressing ENTER. You may also enter the first letter of the function and press enter. If no
information is recorded within two minutes after completing a function, the instrument will return to
READY MODE. Diagnostic and setup functions can be accomplished through the keyboard Options
Menu using what is commonly known as the “Escape, Escape Sequence.”
Breath Test Operator Menu
Press ESC, ESC. Enter the password when prompted. If the wrong password is entered the instrument
will beep and display AUTHORIZATION FAIL. The instrument will return to the “READY MODE”. On input
of the proper password the Display will show: 1] A C D E P R Q
A = Continuous Air Blank C = Calibration Check D = Diagnostic E = Prelim Data Entry M = Messages P = Print Test R = Reprint Q = Quit Menu A – Continuous Air Blank When this option is selected, the air pump will be activated. The pump will continue until the START
TEST button is pushed
C – Calibration Check Check the simulator for proper connection before beginning this procedure. The instrument will begin a sequence of testing with the external simulator solution. The sequence will alternate between an air blank and a calibration check. The sequence always ends with an air blank. D – Diagnostic This option enables the user to run a self-diagnosis routine on the Intoxilyzer. A printout will be provided when finished. E – Prelim Data Entry This option allows the user to view information and make changes. Either type in the new data or press ENTER to review the existing data. In either case, press ENTER when the proper data is on the display to store it in memory. Date: MM/DD/YYYY Time: HH:MM:SS Enter Location: Sets your location Please wait saving… (will display on the instrument) M – Messages This option will allow user to print any pending broadcast messages sent from COBRA or a central communications package compatible with I8000 to the local printer connected to the I8000. The operator will be informed if any special messages are present during the Ready Mode. The display will toggle through date, time, battery status and Messages pending if present. P – Print Test This provides a more complete diagnostic test for the printer. For instruments with an internal printer: this test will print rows of characters to determine if there are any problems with the paper alignment of the printer mechanism. For Instruments with an external printer: a similar printout should be printed. This should determine if the printer is properly connected. R – Reprint
This option will reprint results of the last test performed. Q – Quit Menu To exit from this menu, enter Q.
Section D Officer’s Affidavit and Operation of the Intoxilyzer 8000 The Intoxilyzer 8000 has several features designed into its operations. The last test completed is maintained internally for easy retrieval and reprinting. The Intoxilyzer will automatically disable itself when the dry gas standard has been depleted or goes beyond the expiration date. The program will check for compliance with the tolerance allowed for the subject’s test, +/- 0.03 and the control test, +/- 0.01. A fifteen minute deprivation period countdown clock, when used, will enter the start and end times of the deprivation period. The program will print section 4, “Serving of Notice”, and Section 5 “Witnesses” when necessary. The subject’s age will automatically be calculated and UNDER 21 will be printed on the Affidavit. If you need to print another copy of the Affidavit press the F1 key. Watch for the subject’s test results after they provide each breath sample. If the subject requests an additional test or the test results are low and the officer suspect drugs, you will want to indicate “Y” when prompted “BLOOD TEST Y/N” The Blood Kit number is the only additional information you will need, IF YOU DO NOT HAVE A BLOOD KIT NUMBER at the time prompted, type in zeros. When you do get the blood kit number, write it in at the bottom right hand corner of the Officer’s Affidavit and all copies. If you get a printout with breath test results that are low and you want to draw blood or a D.R.E. requests blood be withdrawn, if you use the COSENT TO BLOOD TEST form you can start the test sequence again and select – “N” for “BREATH TEST Y/N” – AND – “y” for “BLOOD TEST Y/N” or you can use the BLOOD TEST OFFICER’S AFFIDAVIT form and skip the second Intoxilyzer step. Staple the two Affidavits together and distribute appropriately. The Blood Kit has a separate form in it that will be filled out at the time of the blood withdrawal. Put the ORIGINAL form back in the kit and mail to O.S.B.I.. When a blood test is the primary test, conduct the blood withdrawal, fill out the form and mail the forms in the completed blood kit box to the O.S.B.I.. The following is a guide to assist you through the Intoxilyzer Affidavit sequence. If you attempt to scan the bar code of your Access card and/or the driver’s license and the scan fails, you will be required to enter all data manually. Officer Permit #?: If the bar code was not read, you will need to enter your permit number.
Enter PIN number: Enter your PIN number
Operator last name?: ENTER the Intoxilyzer Operator’s last name. Operator first name?: ENTER the Intoxilyzer Operator’s first name. Operator middle init?: ENTER the Intoxilyzer Operator’s middle initial. Officers badge #: ENTER Operator’s badge number.
Officers agency?: ENTER the complete name of the agency that employs you. You may abbreviate Police Department, PD, or Sheriff’s Office, SO..etc…. The Intoxilyzer 8000 will ask you to scan the Subjects Drivers License. If the scan is successful the following will be populated, if the scan is not or the Subject does not have the drivers license in possession, you will enter the following manually. SUBJ LAST NAME: ENTER subject’s last name, if they are a Jr., Sr, II, ect… enter it after the last name SUBJ FIRST NAME: ENTER subject’s first name. SUBJ MIDDLE NAME: ENTER subject’s middle name or initial, if none press the SPACE BAR and ENTER. Date of birth?: ENTER (mm/dd/yyyy) the violator's complete birth date. List month, day and year - in that order, ie 04301965 = April 30, 1965. Sex M/F?: is the sex of the subject Male (M) or Female (F) Subj address?: ENTER the current address - house number, street number, RFD, or P.O. Box. If the driver is in the process of moving, record their last known address. SUBJ CITY: ENTER the name of the city where the violator is currently residing. SUBJ STATE: ENTER the name of the state where the violator is currently residing. ZIP: ENTER the corresponding zip code of the above named city. Drivers license #?: ENTER the complete driver license number as shown on the license. Include any letters. State of issue?: ENTER the correct two letter abbreviation for the state issuing the license. Review data Y/N: “Y” will repeat the sequence questions and allow you to look at the data you have entered. You may make changes as needed. “N” will continue to the next prompt. If “N” is selected, you will no longer be able to make changes to the previous sequence without starting over. BREATH TEST Y/N: If “N” is selected the sequence will skip the breath test and go to the next segment of the Officer’s Affidavit. “N” is normally selected in order to complete an Affidavit as a refusal.
If “Y” is selected you will be prompted as follows: Mouthpiece MFG?: Enter “G” if you use a Guth mouthpiece (round). Enter “C” if you used a
CMI mouthpiece (square)
DEPRIVATION Y/N: If you select “Y” a 16 minute countdown clock will appear and the deprivation period times will automatically be recorded on the Affidavit. You can restart the deprivation period by pressing F4 on the keyboard. You will return to the DEPRIVATION Y/N
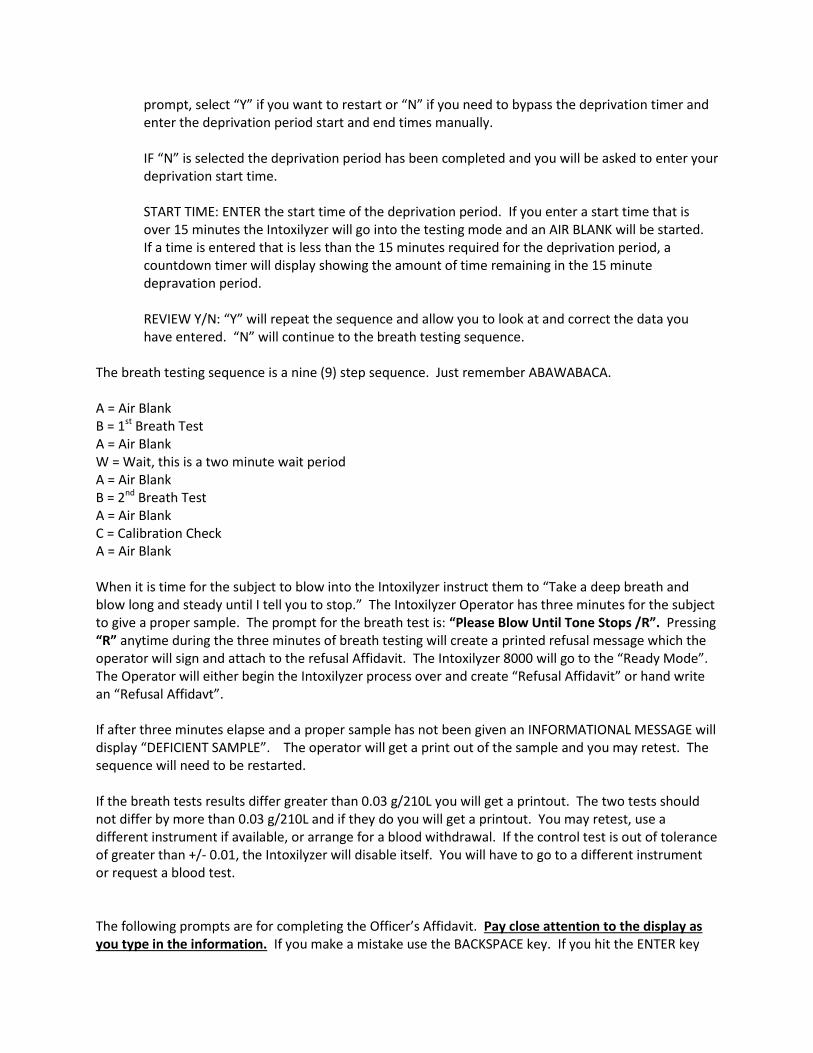
prompt, select “Y” if you want to restart or “N” if you need to bypass the deprivation timer and enter the deprivation period start and end times manually. IF “N” is selected the deprivation period has been completed and you will be asked to enter your deprivation start time. START TIME: ENTER the start time of the deprivation period. If you enter a start time that is over 15 minutes the Intoxilyzer will go into the testing mode and an AIR BLANK will be started. If a time is entered that is less than the 15 minutes required for the deprivation period, a countdown timer will display showing the amount of time remaining in the 15 minute depravation period. REVIEW Y/N: “Y” will repeat the sequence and allow you to look at and correct the data you have entered. “N” will continue to the breath testing sequence.
The breath testing sequence is a nine (9) step sequence. Just remember ABAWABACA. A = Air Blank B = 1st Breath Test A = Air Blank W = Wait, this is a two minute wait period A = Air Blank B = 2nd Breath Test A = Air Blank C = Calibration Check A = Air Blank When it is time for the subject to blow into the Intoxilyzer instruct them to “Take a deep breath and blow long and steady until I tell you to stop.” The Intoxilyzer Operator has three minutes for the subject to give a proper sample. The prompt for the breath test is: “Please Blow Until Tone Stops /R”. Pressing “R” anytime during the three minutes of breath testing will create a printed refusal message which the operator will sign and attach to the refusal Affidavit. The Intoxilyzer 8000 will go to the “Ready Mode”. The Operator will either begin the Intoxilyzer process over and create “Refusal Affidavit” or hand write an “Refusal Affidavt”. If after three minutes elapse and a proper sample has not been given an INFORMATIONAL MESSAGE will display “DEFICIENT SAMPLE”. The operator will get a print out of the sample and you may retest. The sequence will need to be restarted. If the breath tests results differ greater than 0.03 g/210L you will get a printout. The two tests should not differ by more than 0.03 g/210L and if they do you will get a printout. You may retest, use a different instrument if available, or arrange for a blood withdrawal. If the control test is out of tolerance of greater than +/- 0.01, the Intoxilyzer will disable itself. You will have to go to a different instrument or request a blood test. The following prompts are for completing the Officer’s Affidavit. Pay close attention to the display as you type in the information. If you make a mistake use the BACKSPACE key. If you hit the ENTER key
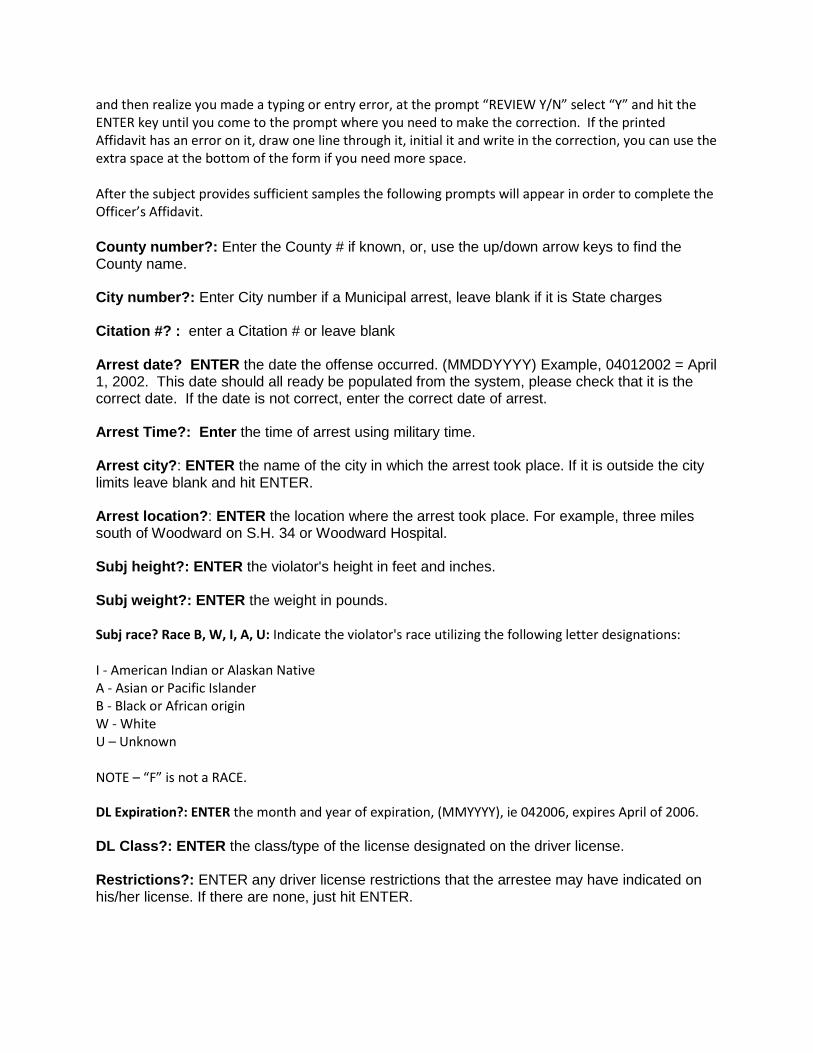
and then realize you made a typing or entry error, at the prompt “REVIEW Y/N” select “Y” and hit the ENTER key until you come to the prompt where you need to make the correction. If the printed Affidavit has an error on it, draw one line through it, initial it and write in the correction, you can use the extra space at the bottom of the form if you need more space. After the subject provides sufficient samples the following prompts will appear in order to complete the Officer’s Affidavit. County number?: Enter the County # if known, or, use the up/down arrow keys to find the County name. City number?: Enter City number if a Municipal arrest, leave blank if it is State charges Citation #? : enter a Citation # or leave blank Arrest date? ENTER the date the offense occurred. (MMDDYYYY) Example, 04012002 = April 1, 2002. This date should all ready be populated from the system, please check that it is the correct date. If the date is not correct, enter the correct date of arrest. Arrest Time?: Enter the time of arrest using military time. Arrest city?: ENTER the name of the city in which the arrest took place. If it is outside the city limits leave blank and hit ENTER. Arrest location?: ENTER the location where the arrest took place. For example, three miles south of Woodward on S.H. 34 or Woodward Hospital. Subj height?: ENTER the violator's height in feet and inches. Subj weight?: ENTER the weight in pounds.
Subj race? Race B, W, I, A, U: Indicate the violator's race utilizing the following letter designations: I - American Indian or Alaskan Native A - Asian or Pacific Islander B - Black or African origin W - White U – Unknown NOTE – “F” is not a RACE. DL Expiration?: ENTER the month and year of expiration, (MMYYYY), ie 042006, expires April of 2006. DL Class?: ENTER the class/type of the license designated on the driver license. Restrictions?: ENTER any driver license restrictions that the arrestee may have indicated on his/her license. If there are none, just hit ENTER.
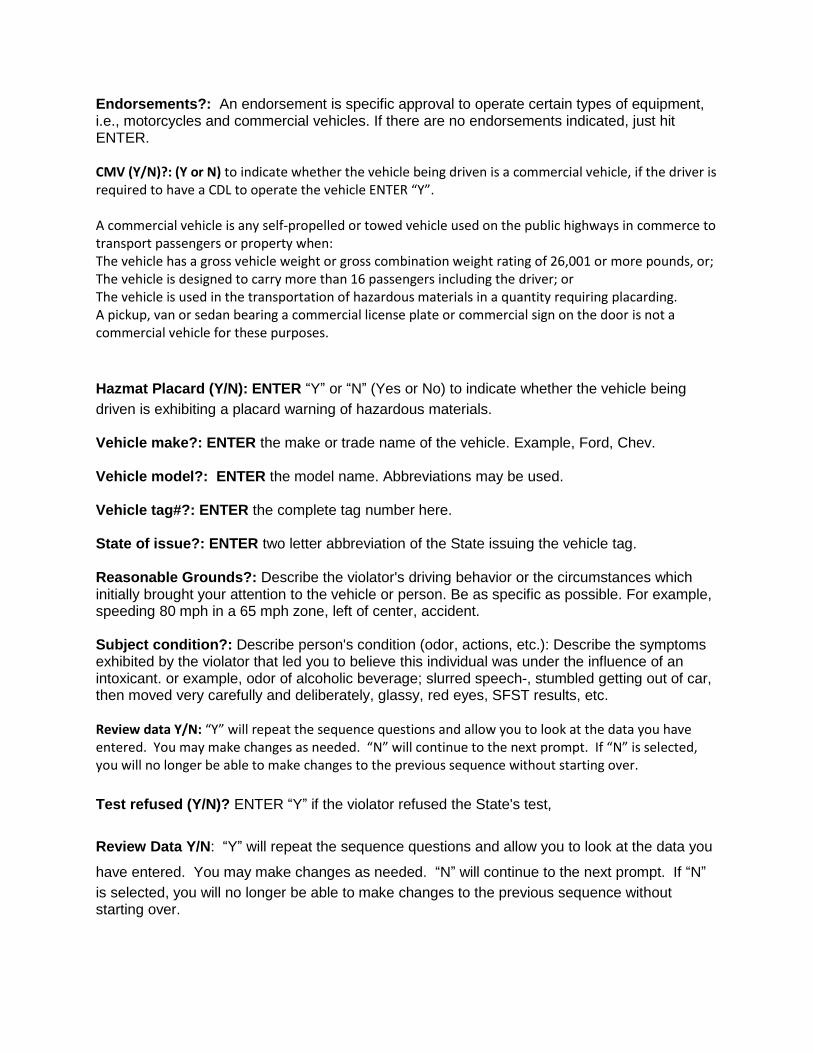
Endorsements?: An endorsement is specific approval to operate certain types of equipment, i.e., motorcycles and commercial vehicles. If there are no endorsements indicated, just hit ENTER.
CMV (Y/N)?: (Y or N) to indicate whether the vehicle being driven is a commercial vehicle, if the driver is required to have a CDL to operate the vehicle ENTER “Y”. A commercial vehicle is any self-propelled or towed vehicle used on the public highways in commerce to transport passengers or property when: The vehicle has a gross vehicle weight or gross combination weight rating of 26,001 or more pounds, or; The vehicle is designed to carry more than 16 passengers including the driver; or The vehicle is used in the transportation of hazardous materials in a quantity requiring placarding. A pickup, van or sedan bearing a commercial license plate or commercial sign on the door is not a commercial vehicle for these purposes.
Hazmat Placard (Y/N): ENTER “Y” or “N” (Yes or No) to indicate whether the vehicle being
driven is exhibiting a placard warning of hazardous materials. Vehicle make?: ENTER the make or trade name of the vehicle. Example, Ford, Chev. Vehicle model?: ENTER the model name. Abbreviations may be used. Vehicle tag#?: ENTER the complete tag number here. State of issue?: ENTER two letter abbreviation of the State issuing the vehicle tag. Reasonable Grounds?: Describe the violator's driving behavior or the circumstances which initially brought your attention to the vehicle or person. Be as specific as possible. For example, speeding 80 mph in a 65 mph zone, left of center, accident. Subject condition?: Describe person's condition (odor, actions, etc.): Describe the symptoms exhibited by the violator that led you to believe this individual was under the influence of an intoxicant. or example, odor of alcoholic beverage; slurred speech-, stumbled getting out of car, then moved very carefully and deliberately, glassy, red eyes, SFST results, etc.
Review data Y/N: “Y” will repeat the sequence questions and allow you to look at the data you have entered. You may make changes as needed. “N” will continue to the next prompt. If “N” is selected, you will no longer be able to make changes to the previous sequence without starting over.
Test refused (Y/N)? ENTER “Y” if the violator refused the State's test,
Review Data Y/N: “Y” will repeat the sequence questions and allow you to look at the data you
have entered. You may make changes as needed. “N” will continue to the next prompt. If “N”
is selected, you will no longer be able to make changes to the previous sequence without starting over.
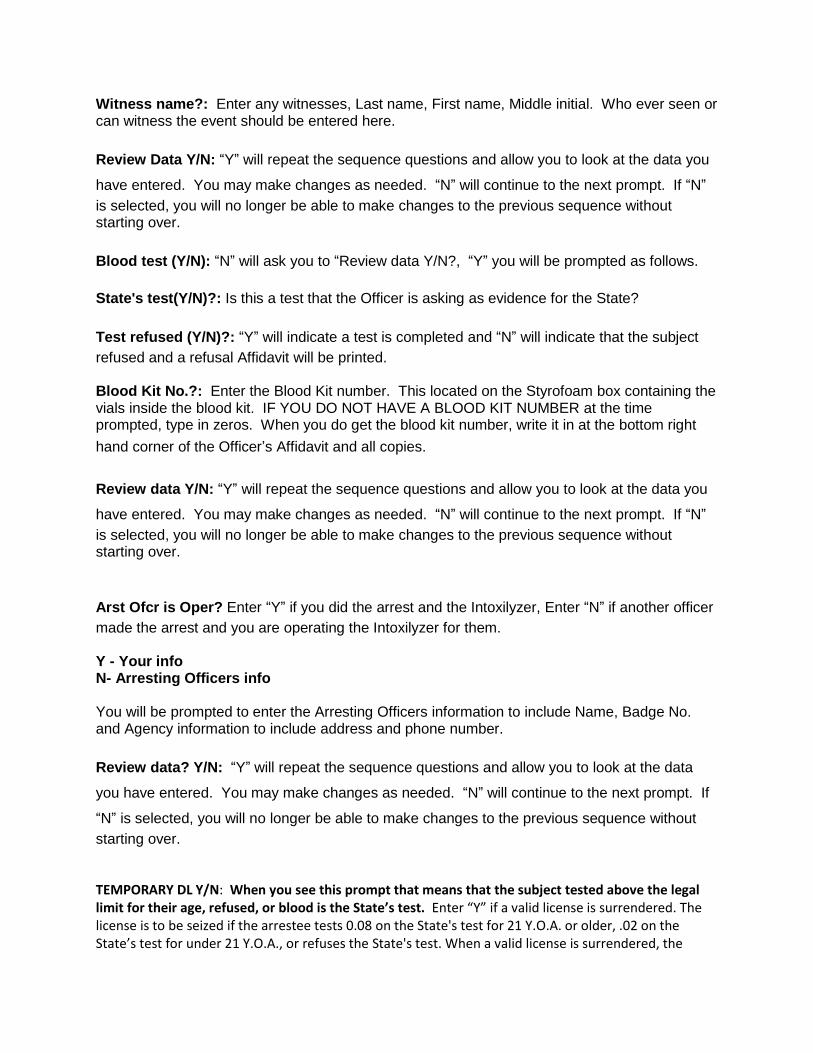
Witness name?: Enter any witnesses, Last name, First name, Middle initial. Who ever seen or can witness the event should be entered here.
Review Data Y/N: “Y” will repeat the sequence questions and allow you to look at the data you
have entered. You may make changes as needed. “N” will continue to the next prompt. If “N”
is selected, you will no longer be able to make changes to the previous sequence without starting over.
Blood test (Y/N): “N” will ask you to “Review data Y/N?, “Y” you will be prompted as follows.
State's test(Y/N)?: Is this a test that the Officer is asking as evidence for the State?
Test refused (Y/N)?: “Y” will indicate a test is completed and “N” will indicate that the subject
refused and a refusal Affidavit will be printed. Blood Kit No.?: Enter the Blood Kit number. This located on the Styrofoam box containing the vials inside the blood kit. IF YOU DO NOT HAVE A BLOOD KIT NUMBER at the time prompted, type in zeros. When you do get the blood kit number, write it in at the bottom right
hand corner of the Officer’s Affidavit and all copies.
Review data Y/N: “Y” will repeat the sequence questions and allow you to look at the data you
have entered. You may make changes as needed. “N” will continue to the next prompt. If “N”
is selected, you will no longer be able to make changes to the previous sequence without starting over.
Arst Ofcr is Oper? Enter “Y” if you did the arrest and the Intoxilyzer, Enter “N” if another officer
made the arrest and you are operating the Intoxilyzer for them. Y - Your info N- Arresting Officers info You will be prompted to enter the Arresting Officers information to include Name, Badge No. and Agency information to include address and phone number.
Review data? Y/N: “Y” will repeat the sequence questions and allow you to look at the data
you have entered. You may make changes as needed. “N” will continue to the next prompt. If
“N” is selected, you will no longer be able to make changes to the previous sequence without
starting over. TEMPORARY DL Y/N: When you see this prompt that means that the subject tested above the legal limit for their age, refused, or blood is the State’s test. Enter “Y” if a valid license is surrendered. The license is to be seized if the arrestee tests 0.08 on the State's test for 21 Y.O.A. or older, .02 on the State’s test for under 21 Y.O.A., or refuses the State's test. When a valid license is surrendered, the
Officers Affidavit becomes a temporary driver's license for 30 days from the serving of notice date. If “N”, not a temporary DL, the following options will appear. You will have to select one of the following prompts before the sequence will continue. DL EXPIRED Y/N: ENTER “Y” if the DL is expired: If driver has expired DL in their possession, do not seize it. DL not in possession: ENTER “Y” If the subject does not have a DL in their possession. DL not valid: ENTER “Y” if the subject’s license is suspended, revoked, denied or canceled. REVIEW Y/N: “Y” will repeat the sequence and allow you to look at the data you have entered, “N” will continue to the next prompt. Once you complete this step the Intoxilyzer will pause while it sends the information to the printer. If the printer malfunctioned or the Affidavit is unreadable due to low toner, correct the problem and press the F1 key to reprint the Affidavit The Affidavit does not need Notarized. Serving of Notice: Date Served: The date a copy of this form was personally delivered to the violator. Signature of the officer who actually served the notice. REVIEW Y/N: “Y” will repeat the sequence and allow you to look at the data you have entered, “N” will continue to the next prompt. Once you complete this step the Intoxilyzer will pause while it sends the information to the printer. If the printer malfunctioned or the Affidavit is unreadable due to low toner, correct the problem and press the F1 key to reprint the Affidavit. Distribution of various copies of the Officer's Affidavit: Once you complete the Affidavit sequence you will get 2 printouts. Sign SECTIONS 2, 3, & 4 and distribute them as follows:
1. Arrestee will get the Arrestee copy 2. Officer retains the Officer/DPS Copy, the original will be mailed to DPS. If a copy is needed for
Department, District Attorney etc… make a copy, ALWAYS send the ORIGINAL to DPS.
Section E: Messages
Once the green button is pushed and the Affidavit and Testing sequences have started. There are many
messages that may be displayed. Here are many of the messages and what they are telling the
operator. None of these messages are for “failures” of the instrument. The messages are indicators
that the safeguards to the instrument have been initiated.
PLEASE BLOW UNTIL TONE STOPS /R – The subject has three (3) minutes to provide a minimum acceptable breath sample.
INTERFERENT DETECT – The calculated result obtained from the detection of light from each filter did not agree, which could mean that an interfering substance was detected in the breath sample or control sample. The instrument will display INTERFERENT DETECTED, abort the test. Print INT in the results section of the report, and print *INTERFERENT DETECT. You may need to seek medical attention for the subject. IMPROPER SAMPLE – The breath sample was introduced at the wrong time. The instrument will display IMPROPER SAMPLE. A print out will be generated with “IPS” in the results. Keep and sign the printout, give a copy to the subject with any other Affidavit copies. AMBIENT FAIL – The instrument did not clear the sample chamber during the air blank prior to a breath sample analysis or a control sample analysis. The instrument will display AMBIENT FAIL. Keep and sign the printout, give a copy to the subject with any other Affidavit copies. TEST REFUSED – The operator pressed the “R” key on the keyboard when the instrument displayed PLEASE BLOW UNTIL TONE STOPS /R. The instrument will display SUBJECT TEST REFUSED. The test will abort, go to READY MODE and a printout will be generated. Restart the test on the instrument and conduct as a refusal to obtain a refusal Affidavit. Keep and sign all printouts. The Officer may elect to complete a hand written refusal. NO SAMPLE PROVIDED - The subject did not provide a breath sample, or provided a breath sample for less than one (1) second. The operator has three (3) minutes to receive a sufficient sample. The instrument will display NO SAMPLE PROVIDED. RFI DETECT – The instrument detected radio frequency interference of a sufficient strength and frequency to interfere with the breath test or control test. The instrument will display RFI DETECT, the test will be aborted and go to the READY MODE. A print out with RFI will be printed. Subject can be retested. Remove all RFI devices, i.e.… radios, cell phones, anything that can and will emit an RFI signal from the area. Keep and sign the printout, give a copy to the subject with any other Affidavit copies. SEQUENCE ABORTED – The green “Start Test” button was pressed during an operational function. The instrument will display SEQUENCE ABORTED, No printout will be printed and the instrument will go to the READY MODE. RANGE EXCEEDED - The value of the breath sample exceeded the reporting range of the instrument (0.600 g/210L). The instrument will display RANGE EXCEEDED. The test will be aborted. Assess the subject to determine if medical attention is needed. CONTROL OUTSIDE TOLERANCE – The alcohol reference solution or dry gas standard control test value was out of acceptable range. The instrument will display CONTROL OUTSIDE TOLERANCE. The instrument will go into DISABLED MODE – CALIBRATION CHECK – OUT OF TOLERANCE. The operator may retest on another machine or complete a blood kit. DIAGNOSTIC FAIL – One or more of the diagnostic check tests failed. The instrument will display DIAGNOSTIC FAIL. The operator may attempt to clear the failure by turning the instrument off, waiting 30 seconds and turning the instrument back on. The instrument will complete a five (5) minute warm-up and complete another diagnostic check. If the instrument fails a second diagnostic check, retest using another instrument or complete a blood kit.
DEFICIENT SAMPLE - The subject did not provide an adequate sample, must have at least 1.1 Liters of air volume. The test sequence stops. The subject can be retested. SAMPLE REJECTED – The breath sample did not meet the slope requirements of a minimum acceptable breath sample. This may be caused by residual mouth alcohol. The subject maybe retested, but a new depravation period must be observed. BREATH SAMPLES BEYOND TOLERANCE – The given breath samples were outside the 0.03 g/210L tolerance. The operator will be prompted to retry. No new deprivation period is needed. The Retry will be for complete breath test sequence. If “N” is selected a printout is given that states, “No .030 agreement”. Keep and sign the printout, give a copy to the subject with any other Affidavit copies. A blood test maybe given.