introduction - cloudinary
TRANSCRIPT


Introduction
This Reference is a compilation of the On-Gage Help that is available on your
PosiTector gage. To view these help items on the gage, enter the gage menu and touch
the icon or press the button with the desired menu item selected.
For an overview of the use and operation of your instrument, refer to its included
Instruction Manual or download a digital PDF at www.defelsko.com/manuals.
Update your gage to ensure your PosiTector includes these latest help references.
Instructions are available at www.defelsko.com/updates.

Page 1
ContentsMemory ........................................................................................................................
View .......................................................................................................................Off ..........................................................................................................................On ..........................................................................................................................Clear ......................................................................................................................
Calibration Settings ......................................................................................................Zero .......................................................................................................................Cal Reset ...............................................................................................................Cal Lock .................................................................................................................Polyurea .................................................................................................................Set Range ..............................................................................................................Thickness ...............................................................................................................
Setup ...........................................................................................................................Set Clock ...............................................................................................................Reset .....................................................................................................................Select Layers .........................................................................................................Edit Layers .............................................................................................................Units .......................................................................................................................Battery Type ..........................................................................................................Sound ....................................................................................................................Touch .....................................................................................................................Backlight ................................................................................................................Flip Lock ................................................................................................................Max Thick Mode ....................................................................................................Language ...............................................................................................................Gage Info ...............................................................................................................
Connect .......................................................................................................................USB .......................................................................................................................
Sync.net Now ...................................................................................................USB Drive ........................................................................................................
JSON Files .................................................................................................HTML Report .............................................................................................
Auto Sync .net .................................................................................................Updates .................................................................................................................
Help .............................................................................................................................Power Off .....................................................................................................................
22222334444566677777888899
10101010111111111213

Page 2
MemoryThe PosiTector 200 Standard has internal memory storage for recording measurement data. Stored measurements can be reviewed on-screen or downloaded to a computer. Measurements are date and time-stamped. Store up to 1000 readings (per probe) into a single batch. The memory icon appears and basic statistics are displayed when the Gage is set to store measurement data.
NOTE:Remove the last reading by pressing (-).
ViewUse the Up or Down buttons to scroll through information, statistical summary, and a list of each reading in the currently opened batch. Press the center navigation button to exit.
OffTurns memory off and stops recording (stored readings remain in memory)
OnTurns memory on and begins recording measurements.
ClearRemoves all stored readings from memory.

Page 3
Calibration Settings
Calibration, Verification and Adjustment
Three steps ensure best accuracy:
1. Calibration: typically performed by the manufacturer. All probes include a Certificate of Calibration.
2. Verification of Accuracy: typically performed by the user on known reference standards such as the included plastic shims, test block or optional coating thickness standards.
3. Adjustment - to a known thickness, if necessary.
Calibration is the controlled and documented process of measuring traceable calibration standards and verifying that the results are within the stated accuracy of the Gage. Calibrations are typically performed by the Gage manufacturer or by a certified calibration laboratory in a controlled environment using a documented process.
Verification is an accuracy check performed by the user using known reference standards. A successful verification requires the Gage to read within the combined accuracy of the Gage and the reference standards.
Adjustment, or Calibration Adjustment is the act of aligning the Gage's thickness readings to match that of a known reference sample in order to improve accuracy of a gage on a specific coating.
NOTE:The PosiTector 200 measures most polymer coatings accurately out-of-box with no adjustment required.
ZeroThe probe must be periodically zeroed to compensate for both temperature and probe wear effects. Before using, allow the probe to reach ambient temperature. Wipe the probe clean of couplant.
If measurements will be made in extreme hot or cold temperatures, it is recommended to Zero the probe in the working environment. If measurements will be made on rough substrates, it is recommended to periodically Zero the probe to compensate for wear.

Page 4
Cal ResetRestores the gage back to factory calibration and range settings. The factory calibration icon will appear on the display.
Cal LockWhen enabled, the Cal Lock icon appears and the current calibration is locked to prevent further user Thickness adjustments.
Polyurea(PosiTector 200 D probes only)When enabled (default), the Gage loads a pre-programmed calibration adjustment optimized for measurement of polyurea coatings. Polyurea will appear on the upper right corner of the display.
NOTE:Measuring range in Polyurea mode: 50 - 5000 um (2 - 200 mils)
Set RangeThe measurement range of each probe can be changed depending on the specific application or the expected thickness range of the coating system.
For most applications, the default range values do not need to be adjusted. But some conditions, like surface roughness, may cause the Gage to display very low or non-repeatable readings. In this case, the low range may be increased to cause the Gage to only display readings above the Lo value set by the user.
To adjust Set Range values:
1. Select Lo or Hi.
2. Use the (-) (+) buttons to decrease/increase the displayed value.
IMPORTANT:The PosiTector 200 will ignore any readings outside the selected range. If the coating thickness is outside this range, incorrect or dashed readings may occur.

Page 5
ThicknessThe PosiTector 200 measures most polymer coatings accurately out-of-box with no adjustment required.
To determine if an adjustment is necessary, select a coating sample of known thickness as close as possible in composition to the intended application. For best results, the thickness of the sample should be equal to or slightly greater than the maximum expected thickness of the coating to be measured.
Measure the coated sample. If the average of a series of measurements on the sample is not close to the known thickness:
1. Use (-) or (+) to decrease/increase the displayed measurement thickness value to match the known thickness of the sample.
2. For Advanced models with multiple layers selected, use the Down button to select the next layer and adjust as necessary.
3. To save adjustments, use the Down button to highlight OK and press the center navigation button.

Page 6
SetupSet configuration options for the Gage.
Set ClockAll measurements are date and time stamped (24 hour format) when stored into memory. It is therefore important to keep both the date and time current using this menu option. Use the Up and Down buttons to scroll, and the (-) and (+) buttons to adjust value. The Gage’s date and time can also be viewed in Gage Info and on top of the main menu.
ResetRestores factory settings and returns the Gage to a known condition. The following occurs:
All batches, stored datasets, batch names and screen captures are erased.
Calibration and range adjustments are cleared and returned to the Gage’s factory settings. The factory calibration icon will appear on the display.
Menu settings are returned to the following:
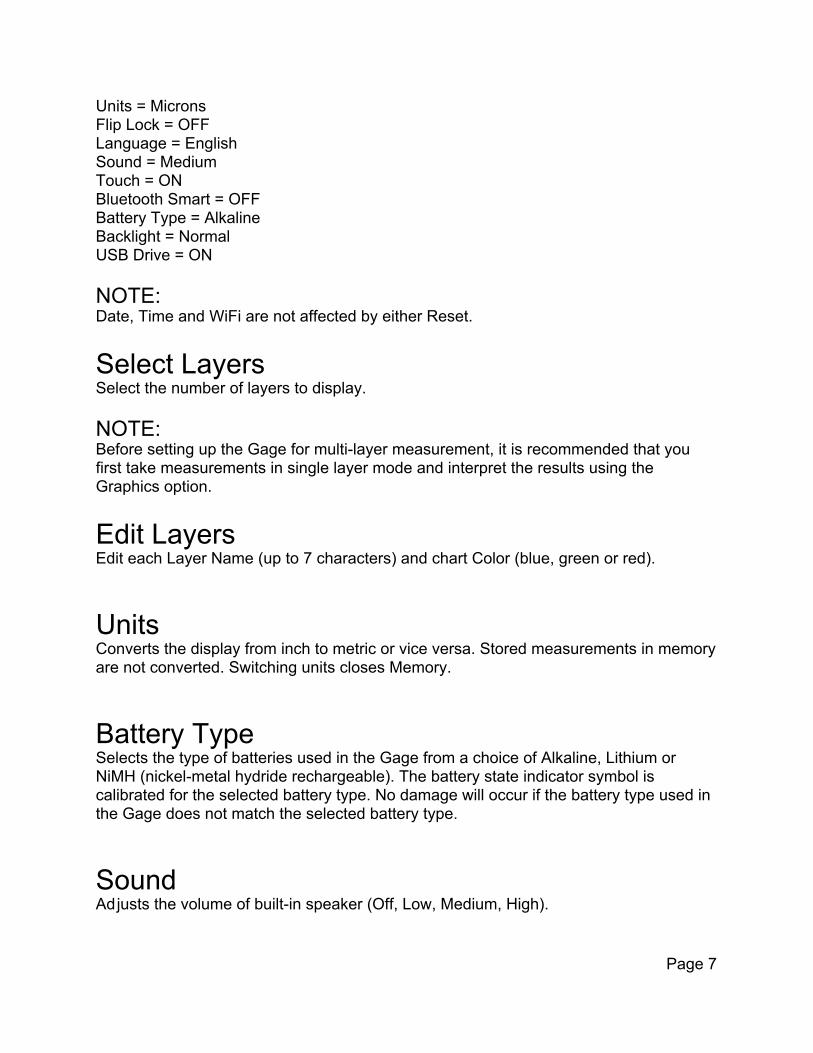
Memory = OFFGraphics = OFFCal Lock = ONAuto Dim = ONBluetooth & Stream = OFFBluetooth BLE Keyboard = OFFDisplay = NoneWiFi & Access Point = OFFLayers = 1Layer Name = Layer 1Layer Color = BlueMax Thick Mode = OFF
Perform a more thorough Hard Reset by powering down the Gage, waiting several seconds, then simultaneously holding both the center navigation and (+) buttons until the Reset symbol appears. This returns the instrument to a known, out-of-the-box condition. It performs the same function as a menu Reset with the addition of:
Bluetooth Pairing info is cleared. Menu settings are returned to the following status:
Page 7
Units = MicronsFlip Lock = OFFLanguage = EnglishSound = MediumTouch = ONBluetooth Smart = OFFBattery Type = AlkalineBacklight = NormalUSB Drive = ON
NOTE:Date, Time and WiFi are not affected by either Reset.
Select LayersSelect the number of layers to display.
NOTE:Before setting up the Gage for multi-layer measurement, it is recommended that you first take measurements in single layer mode and interpret the results using the Graphics option.
Edit LayersEdit each Layer Name (up to 7 characters) and chart Color (blue, green or red).
UnitsConverts the display from inch to metric or vice versa. Stored measurements in memory are not converted. Switching units closes Memory.
Battery TypeSelects the type of batteries used in the Gage from a choice of Alkaline, Lithium or NiMH (nickel-metal hydride rechargeable). The battery state indicator symbol is calibrated for the selected battery type. No damage will occur if the battery type used in the Gage does not match the selected battery type.
SoundAdjusts the volume of built-in speaker (Off, Low, Medium, High).

Page 8
TouchAllows the touch screen functionality to be disabled. All gage functions can also be controlled using the navigation buttons.
BacklightSelects display brightness (Sun, Normal or Night). If Auto Dim is enabled (default), the display dim slightly after a period of no activity to conserve battery life. Press the Down button to brighten the display.
Flip LockDisables the Auto Rotate feature by locking the display in its current orientation.
Max Thick ModeBy default, the PosiTector 200 reports a coating thickness result associated with the loudest ultrasonic echo, within the set range. This loudest echo often represents the total coating thickness above the coating-substrate interface.
In some applications, surface roughness and/or coating layers with significant density differences near the surface can result in a louder ultrasonic echo than the one from the coating-substrate interface, resulting in a lower than expected reading. While the Lo Range can be adjusted to ignore these loud, unwanted echoes, this sometimes requires that the range be adjusted too close to the expected coating thickness for reliable measurement.
When Max Thick Mode is selected, the PosiTector 200 reports the echo or peak associated with the deepest interface in the coating system, instead of the loudest. This is often more effective at reporting the total coating thickness above the substrate interface, and eliminates the need to adjust the Lo Range.
Since there will inevitably be some small echoes from within the substrate, only echoes above a pre-set loudness threshold will be reported.
NOTE:Max Thick Mode is not recommended for thin metal substrates less than 2.54 mm (100 mils) thick, or substrates such as composites and fiberglass.

Page 9
LanguageConverts displayed and printed words to the selected language.
Gage InfoDisplays the model number and serial number, probe type and serial number, PosiSoft.net registration key, the amount of remaining memory for storage of readings, date and time, and software packages.
For security purposes, the registration key is required to add the Gage to your free PosiSoft.net account.

Page 10
ConnectConfigure communication and connection options for the Gage.
USBConnect the Gage to a PC/Mac using the supplied USB-C cable. View and print readings and graphs with universal web browsers/file explorers or using PosiSoft Desktop.
NOTE:While connected, power is supplied through the included USB-C cable. The batteries are not used and the body will not automatically power down.
Sync.net NowWhen selected, the Gage immediately synchronizes stored measurement data to PosiSoft.net (USB connection required to a computer running PosiSoft Desktop).
Alternatively, select Auto Sync.net from within the USB connect menu to automatically synchronize upon connection to a PC. Additional measurements added to memory while connected are synchronized only when the USB cable is disconnected and reconnected, or when the Sync.net Now option is selected.
NOTE:PosiSoft Desktop is required when using USB connections to synchronize measurements with PosiSoft.net.
USB DriveWhen USB Drive is enabled, the PosiTector is recognized as a USB mass storage device which provides a simple interface to retrieve stored data in a manner similar to USB flash drives and digital cameras. USB Drive is also required to import stored measurements into PosiSoft Desktop. Once connected, any computer can view measurements stored in memory by navigating a virtual drive labeled PosiTector using the supplied USB-C cable.
NOTE:While connected, power is supplied through the included USB-C cable. The batteries are not used and the body will not automatically power down.

Page 11
JSON FilesWhen enabled (default), JSON schema files will be available in PosiSoft USB drive. Files can be parsed in to databases and custom software applications.
NOTE:Disabling this option may reduce the time required for the computer to recognize the PosiTector when first connected via USB.
HTML ReportWhen enabled (default), a formatted HTML report is viewed by selecting the index.html or START_HERE.html file found in the root directory. Optionally, text (.txt) files located in each batch folder provide access to measurement values. Stored readings and graphs can be viewed or copied using universal web browsers or file explorers.
NOTE:Disabling this option may reduce the time required for the computer to recognize the PosiTector when first connected via USB.
Auto Sync .netWhen enabled, measurements will automatically synchronize with PosiSoft.net when connected to a computer running PosiSoft Desktop. Additional measurements added to memory while connected are synchronized only when the USB cable is disconnected and reconnected, or when the Sync.net Now option is selected.
NOTE:PosiSoft Desktop is required when using USB connections to synchronize measurements with PosiSoft.net.
UpdatesDetermines if a software update is available for your Gage.
To perform an update the Gage must be connected to an internet connected computer running PosiSoft Desktop.
See www.defelsko.com/update
WARNING:The Gage will perform a Hard Reset after an update. All stored measurements will be erased from memory.

Page 12
Help
When a Menu option is highlighted, the (i) icon indicates on-gage help is available. Press (+) or touch the (i) icon to display the help. Update your gage to ensure that you have the latest on-gage help information.
A formatted PDF containing all on-gage help items is available at www.defelsko.com/help.
Menu OperationTo access the Menu, power-up the gage, then press the center navigation button. Either the keypad or touch screen can be used to navigate the menu. If desired, touch screen functionality can be disabled within the Setup > Touch menu.
Select a menu option by touching it, or use the Up and Down buttons to highlight the desired option and press the center navigation button to select it.
On menus longer than one page, the current page number is displayed below the menu name. Navigate between pages using the Up button when the first menu item is selected, or Down button when the last menu item is selected. If using touch, navigate between pages by touching the left or right arrow, or by swiping up or down.
Press the (-) button or swipe right to return to a previous screen. Select Exit to close the Menu.
A menu option with a > indicates that a sub-menu exists for the Menu option. Select the option to display its sub menu.
Screen CapturePress both (-) and (+) buttons simultaneously to save an image of the current display. The last 100 screen captures are stored in memory and can be accessed when connected to a computer via PosiSoft USB Drive.

Page 13
Power OffTo conserve battery life, the gage will automatically go to sleep after 5 minutes of inactivity and enter Sleep Mode. While in Sleep Mode the gage powers up significantly faster— convenient when moving between parts or locations. The gage will completely power off after 4 hours of inactivity. Alternatively, select Power Off from the main menu. All settings are retained.
