human humascope plus - user manual
TRANSCRIPT

8/13/2019 Human Humascope Plus - User Manual
http://slidepdf.com/reader/full/human-humascope-plus-user-manual 1/16
HS P
| User Manual
Cat.-No. 16201
8/13/2019 Human Humascope Plus - User Manual
http://slidepdf.com/reader/full/human-humascope-plus-user-manual 2/16
i
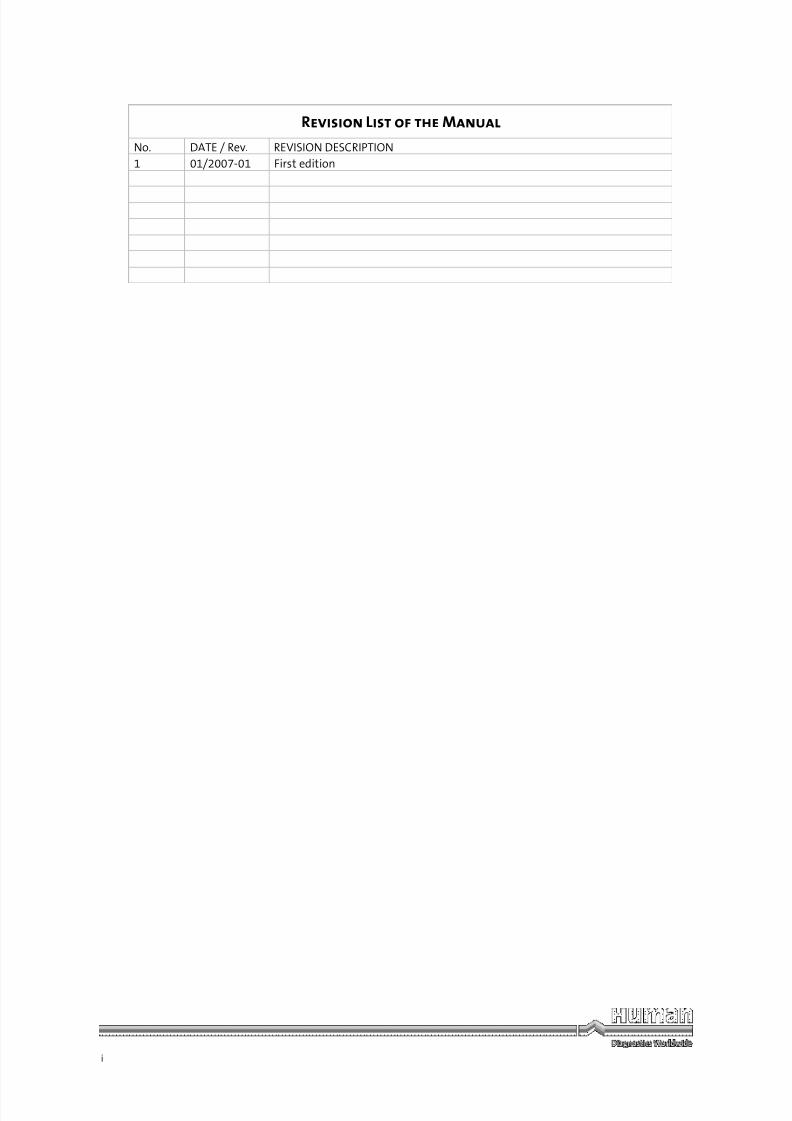
R L M
No. DATE / Rev. REVISION DESCRIPTION
1 01/2007-01 First edition

8/13/2019 Human Humascope Plus - User Manual
http://slidepdf.com/reader/full/human-humascope-plus-user-manual 3/16
ii

8/13/2019 Human Humascope Plus - User Manual
http://slidepdf.com/reader/full/human-humascope-plus-user-manual 4/16
I
1 INTRODUCTION
This manual is considered as a part of the instrument; it has to be at the operator’s hand as well as at the
maintenance operator’s availability. For accurate installation, use and maintenance, please read the followinginstructions carefully. In order to avoid instrument or personal damages, carefully read the ”GENERAL SAFETY
WARNINGS”, describing the suitable operating procedures. In case of breakdowns or any troubles with theinstrument, apply to the local Technical Service.
2 USER WARRANTY
HUMAN warrants that instruments sold by one of its authorised representatives shall be free of any defect inmaterial or workmanship, provided that this warranty shall apply only to defects which become apparent within
one year from the date of delivery of the new instrument to the purchaser.
The HUMAN representative shall replace or repair any defective item at no charge, except for transportation
expenses to the point of repair.This warranty excludes the HUMAN representative from liability to replace any item considered as expendable in
the course of normal usage, e.g.: lamps, valves, syringes, glassware, fuses, diskettes, tubing etc.The HUMAN representative shall be relieved of any liability under this warranty if the product is not used in
accordance with the manufacturer's instructions, altered in any way not specified by HUMAN, not regularly
maintained, used with equipment not approved by HUMAN or used for purposes for which it was not designed.
HUMAN shall be relieved of any obligation under this warranty, unless a completed installation / warrantyregistration form is received by HUMAN within 15 days of installation of this product.
This warranty does not apply to damages incurred in shipment of goods. Any damage so incurred shall be reportedto the freight carrier for settlement or claim.
3 INTENDED USE OF THE INSTRUMENT
The instrument has to be used for the expected purposes and in perfect technical conditions, by qualified
personnel, in working conditions and maintenance operations as described in this manual, according to theGENERAL SAFETY WARNINGS. This manual contains instructions for professional qualified operators.
4
GENERAL SAFETY WARNINGSUse only chemical reagents and accessories specified and supplied by HUMAN and/or mentioned in this manual.Place the product so that it has proper ventilation.
The instrument should be installed on a stationary flat working surface, free from vibrations.Do not operate in area with excessive dust.
Work at room temperature and humidity according to the specifications listed in this manual.
Do not operate this instrument with covers and panels removed.
Only use the power cord specified for this product, with the grounding conductor of the power cord connected toearth ground.
Use only the fuse type and rating specified by the manufacturer for this instrument, use of fuses with improperratings may pose electrical and fire hazards.
To avoid fire or shock hazard, observe all ratings and markings on the instrument.Do not power the instrument in potentially explosive environment or at risk of fire.
Prior to cleaning and/or maintaining the instrument, switch off the instrument and remove the power cord.For cleaning use only materials specified in this manual, otherwise parts may become damaged.
It is recommended always to wear protective apparel and eye protection while using this instrument.
Respective warning symbols, if appearing in this manual, should be carefully considered.
8/13/2019 Human Humascope Plus - User Manual
http://slidepdf.com/reader/full/human-humascope-plus-user-manual 5/16
II
5 DISPOSAL MANAGEMENT CONCEPT
The currently valid local regulations governing disposal must be observed. It is in the responsibility of the user toarrange proper disposal of the individual components.
All parts which may comprise potentially infectious materials have to be disinfected by suitable validatedprocedures (autoclaving, chemical treatment) prior to disposal. Applicable local regulations for disposal have to be
carefully observed.The instruments and electronic accessories (without batteries, power packs etc.) must be disposed off according to
the regulations for the disposal of electronic components.Batteries, power packs and similar power source have to be dismounted from electric/electronic parts and disposed
off in accordance with applicable local regulations.
6 INSTRUMENT DISINFECTION
Instruments or parts which may come in contact with biological samples (patient specimens, controls etc.) should
be considered at least potentially infectious.
Before doing any servicing on the instrument it is very important to thoroughly disinfect all possibly contaminatedparts. Before the instrument is removed from the laboratory for disposal or servicing, it must be
decontaminated/disinfected. Decontamination/disinfection should be performed by authorised welltrainedpersonnel, observing all necessary safety precautions. Instruments to be returned have to be accompanied by a
disinfection certificate completed by the responsible laboratory manager. If a disinfection certificate is not
supplied, the returning laboratory will be responsible for charges resulting from non-acceptance of the instrument
by the servicing centre, or from authority´s interventions.
7 NOTICE
Every effort has been made to avoid errors in text and diagrams, however, HUMAN GmbH assumes no
responsibility for any errors which may appear in this publication. It is the policy of HUMAN GmbH to improve
products as new techniques and components become available. HUMAN GmbH therefore has to reserve the rightto change specifications if necessary in the course of such improvements.
8/13/2019 Human Humascope Plus - User Manual
http://slidepdf.com/reader/full/human-humascope-plus-user-manual 6/16
C
1 NOTICE 3
2 APPLICATIONS 3
3 SPECIFICATIONS 3
4 STRUCTURE 4
4.1 Base 4
4.2 Siedentopf Tube 4
4.3 Illumination System 4
4.3.1 Koehler Illumination 54.4 Mechanical Stage (Slide Holder) 6
4.5 Ocular, Objective and Nosepiece 6
4.6 Coarse and Fine Focussing Knobs 7
4.7 Condenser 7
4.8 Immersion Oil 7
5 OPERATION 7
6 CARE AND MAINTENANCE: 7
7 DISPOSAL MANAGEMENT CONCEPT: 8
8 MICROSCOPE GLOSSARY 8
8.1 Darkfield Microscopy 8
8.2 Brightfield Microscopy 8
8.3 Phase Contrast Microscopy 9
8.4 Fluorescence Microscopy 10
8.5 Lenses 10
8.6 Focus 10

8/13/2019 Human Humascope Plus - User Manual
http://slidepdf.com/reader/full/human-humascope-plus-user-manual 7/16
2/10
8/13/2019 Human Humascope Plus - User Manual
http://slidepdf.com/reader/full/human-humascope-plus-user-manual 8/16
3/10 HumaScope Plus User Manual
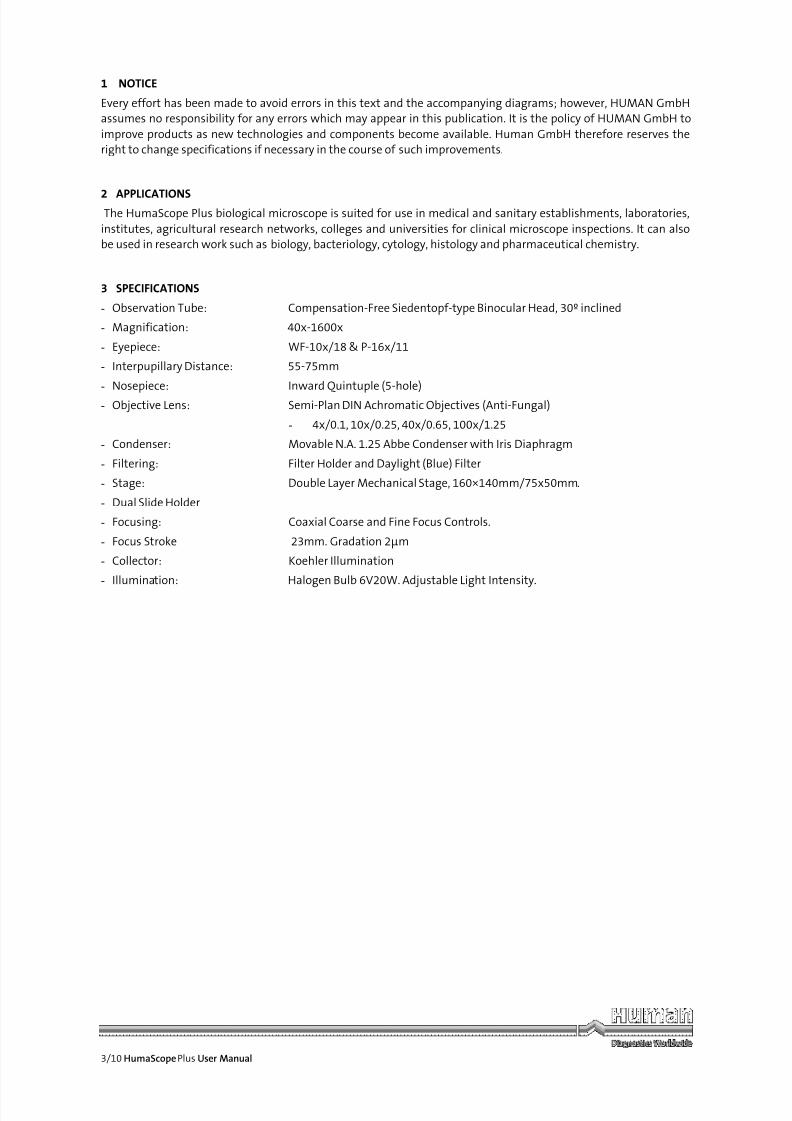
1 NOTICE
Every effort has been made to avoid errors in this text and the accompanying diagrams; however, HUMAN GmbHassumes no responsibility for any errors which may appear in this publication. It is the policy of HUMAN GmbH to
improve products as new technologies and components become available. Human GmbH therefore reserves theright to change specifications if necessary in the course of such improvements.
2 APPLICATIONS The HumaScope Plus biological microscope is suited for use in medical and sanitary establishments, laboratories,
institutes, agricultural research networks, colleges and universities for clinical microscope inspections. It can alsobe used in research work such as biology, bacteriology, cytology, histology and pharmaceutical chemistry.
3 SPECIFICATIONS
- Observation Tube: Compensation-Free Siedentopf-type Binocular Head, 30º inclined
- Magnification: 40x-1600x
- Eyepiece: WF-10x/18 & P-16x/11
- Interpupillary Distance: 55-75mm
- Nosepiece: Inward Quintuple (5-hole)
- Objective Lens: Semi-Plan DIN Achromatic Objectives (Anti-Fungal)
- 4x/0.1, 10x/0.25, 40x/0.65, 100x/1.25
- Condenser: Movable N.A. 1.25 Abbe Condenser with Iris Diaphragm
- Filtering: Filter Holder and Daylight (Blue) Filter
- Stage: Double Layer Mechanical Stage, 160×140mm/75x50mm.
- Dual Slide Holder
- Focusing: Coaxial Coarse and Fine Focus Controls.
- Focus Stroke 23mm. Gradation 2µm
- Collector: Koehler Illumination
- Illumination: Halogen Bulb 6V20W. Adjustable Light Intensity.
8/13/2019 Human Humascope Plus - User Manual
http://slidepdf.com/reader/full/human-humascope-plus-user-manual 9/16
4/10
4 STRUCTURE
4.1 Base
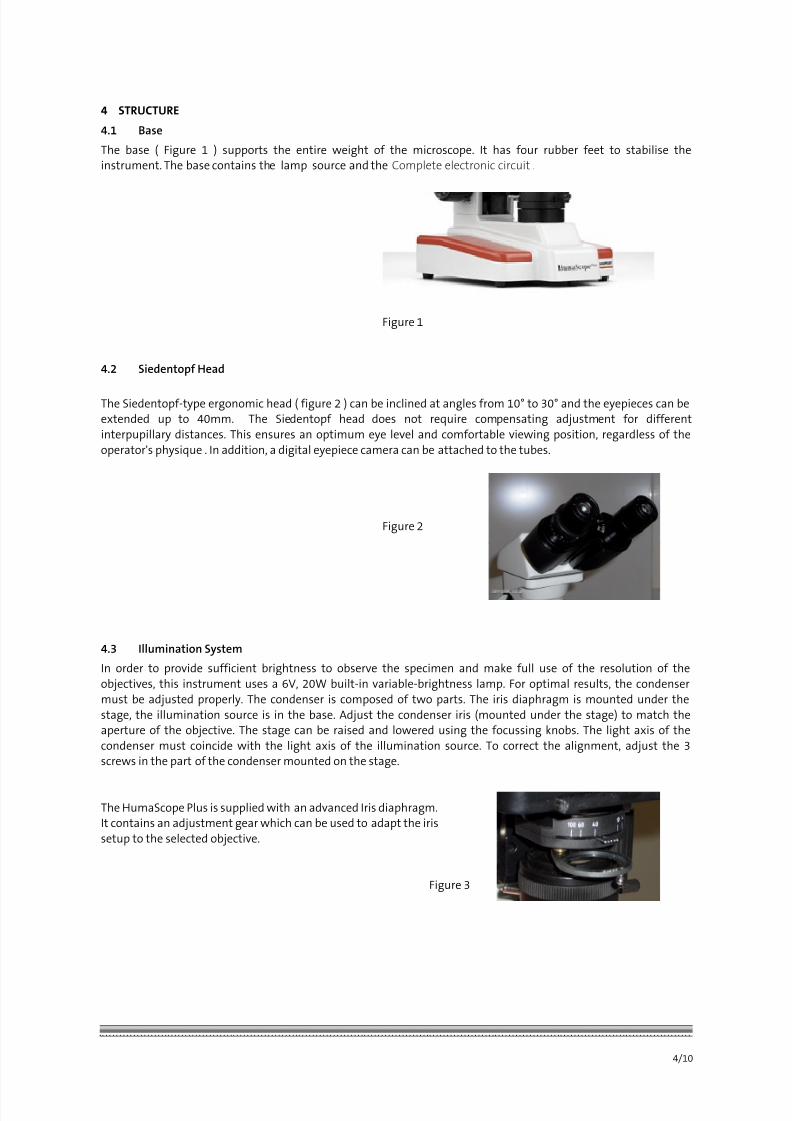
The base ( Figure 1 ) supports the entire weight of the microscope. It has four rubber feet to stabilise theinstrument. The base contains the lamp source and the Complete electronic circuit .
Figure 1
4.2 Siedentopf Head
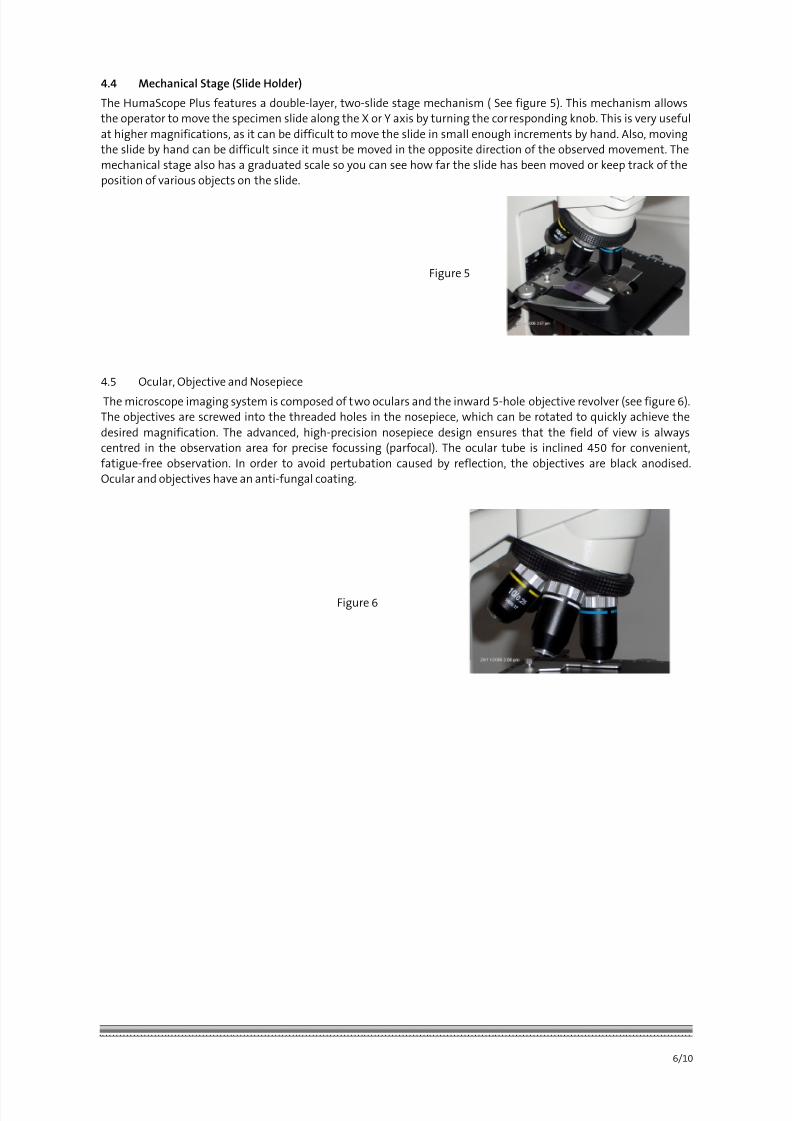
The Siedentopf-type ergonomic head ( figure 2 ) can be inclined at angles from 10° to 30° and the eyepieces can beextended up to 40mm. The Siedentopf head does not require compensating adjustment for different
interpupillary distances. This ensures an optimum eye level and comfortable viewing position, regardless of the
operator's physique . In addition, a digital eyepiece camera can be attached to the tubes.
Figure 2
4.3 Illumination System
In order to provide sufficient brightness to observe the specimen and make full use of the resolution of the
objectives, this instrument uses a 6V, 20W built-in variable-brightness lamp. For optimal results, the condenser
must be adjusted properly. The condenser is composed of two parts. The iris diaphragm is mounted under the
stage, the illumination source is in the base. Adjust the condenser iris (mounted under the stage) to match theaperture of the objective. The stage can be raised and lowered using the focussing knobs. The light axis of the
condenser must coincide with the light axis of the illumination source. To correct the alignment, adjust the 3screws in the part of the condenser mounted on the stage.
The HumaScope Plus is supplied with an advanced Iris diaphragm.It contains an adjustment gear which can be used to adapt the iris
setup to the selected objective.
Figure 3

8/13/2019 Human Humascope Plus - User Manual
http://slidepdf.com/reader/full/human-humascope-plus-user-manual 10/16
5/10 HumaScope Plus User Manual
4.3.1 Koehler Illumination
The HumaScope Plus is equipped with Koehler illumination ( See figure 4 ). In order to get the best image possible
from the optical setup of the microscope for brightfield, phase contrast and differential interference contrast, it iscrucial that the light path be set up properly.
HOW TO SET UP HumaScope Plus PROPERLY FOR KOEHLER ILLUMINATION:
If the light path is set up properly, the user has the advantage of an evenly illuminated field, a bright imagewithout glare and minimum heating of the specimen.
The following instructions apply to a microscope equipped for transmitted-light brightfield illumination..
1. Switch on the light source and make sure that light is passing through the field diaphragm at the base of the microscope stand. It may help to place a piece of paper over the field stop to confirm this.
Place your specimen on the stage and turn the nosepiece (which holds the objective lenses) to the 10X or20X lens. Open the field diaphragm as far as possible.
2. Check if the specimen is illuminated. It will help to place a piece of paper over the top of the specimen to see
if light is getting through. If you are using the brightfield condenser stop, open the iris diaphragm (oraperture diaphragm) on the condenser turret (which contains the stops for brightfield and phase, etc) to the
maximum. The front lens should be about 1-3 mm above the specimen. Use the condenser focussing knobsto do this.
3. Bring the specimen into focus with the coarse and fine focussing knobs. If the light is too bright, reduce the
light intensity using the light adjustment wheel.
4. When the specimen is in focus, start to close the field diaphragm and also begin to carefully move the
condenser up and down with the condenser focussing knobs. Look for a sharp image of the edge of the field
diaphragm.
5. When the edge of the field diaphragm silhouette is sharply defined, centre it with the two knurled knobsthat extend diagonally from the condenser. Close down the field diaphragm most or all the way to get it
centred properly. When it is centred, open the field diaphragm until its edge is outside the field.
6. Your specimen should now be properly illuminated and you should have a good image.
Figure 4
8/13/2019 Human Humascope Plus - User Manual
http://slidepdf.com/reader/full/human-humascope-plus-user-manual 11/16
6/10
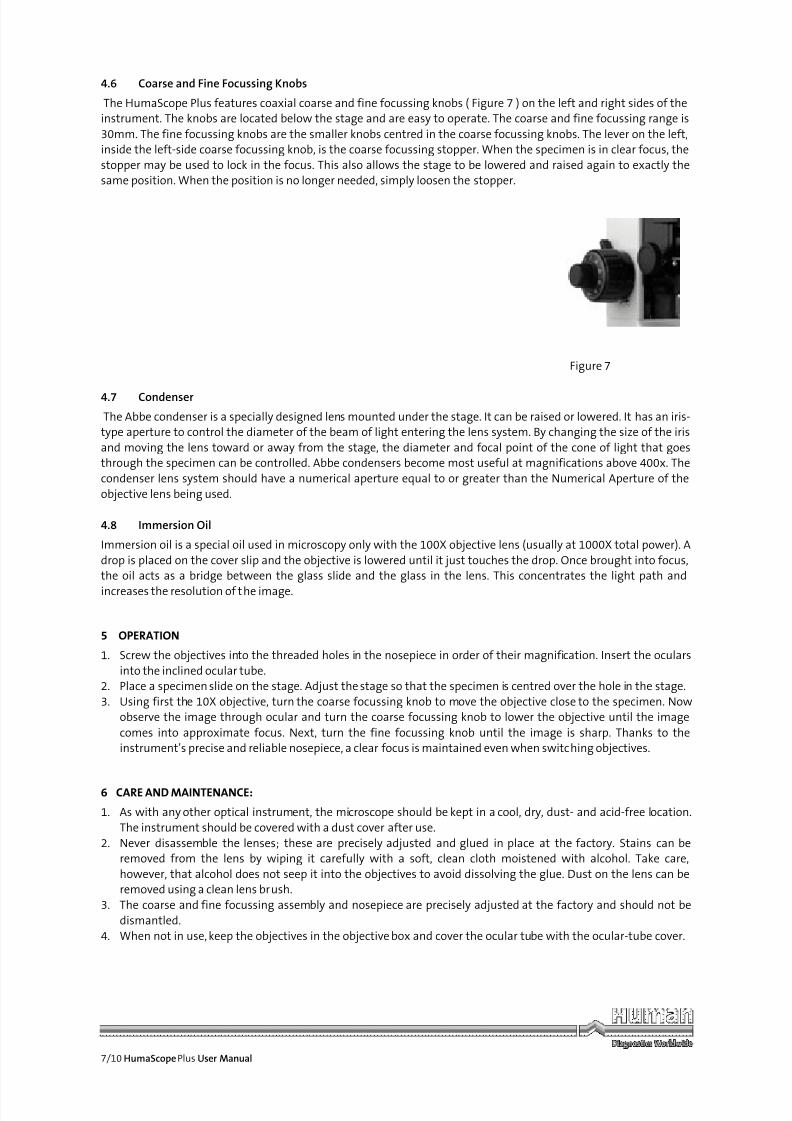
4.4 Mechanical Stage (Slide Holder)
The HumaScope Plus features a double-layer, two-slide stage mechanism ( See figure 5). This mechanism allowsthe operator to move the specimen slide along the X or Y axis by turning the corresponding knob. This is very useful
at higher magnifications, as it can be difficult to move the slide in small enough increments by hand. Also, movingthe slide by hand can be difficult since it must be moved in the opposite direction of the observed movement. The
mechanical stage also has a graduated scale so you can see how far the slide has been moved or keep track of theposition of various objects on the slide.
Figure 5
4.5 Ocular, Objective and Nosepiece
The microscope imaging system is composed of two oculars and the inward 5-hole objective revolver (see figure 6).The objectives are screwed into the threaded holes in the nosepiece, which can be rotated to quickly achieve the
desired magnification. The advanced, high-precision nosepiece design ensures that the field of view is alwayscentred in the observation area for precise focussing (parfocal). The ocular tube is inclined 450 for convenient,
fatigue-free observation. In order to avoid pertubation caused by reflection, the objectives are black anodised.Ocular and objectives have an anti-fungal coating.
Figure 6
8/13/2019 Human Humascope Plus - User Manual
http://slidepdf.com/reader/full/human-humascope-plus-user-manual 12/16
7/10 HumaScope Plus User Manual
4.6 Coarse and Fine Focussing Knobs
The HumaScope Plus features coaxial coarse and fine focussing knobs ( Figure 7 ) on the left and right sides of theinstrument. The knobs are located below the stage and are easy to operate. The coarse and fine focussing range is
30mm. The fine focussing knobs are the smaller knobs centred in the coarse focussing knobs. The lever on the left,inside the left-side coarse focussing knob, is the coarse focussing stopper. When the specimen is in clear focus, the
stopper may be used to lock in the focus. This also allows the stage to be lowered and raised again to exactly thesame position. When the position is no longer needed, simply loosen the stopper.
Figure 7
4.7 Condenser
The Abbe condenser is a specially designed lens mounted under the stage. It can be raised or lowered. It has an iris-type aperture to control the diameter of the beam of light entering the lens system. By changing the size of the iris
and moving the lens toward or away from the stage, the diameter and focal point of the cone of light that goesthrough the specimen can be controlled. Abbe condensers become most useful at magnifications above 400x. The
condenser lens system should have a numerical aperture equal to or greater than the Numerical Aperture of the
objective lens being used.
4.8 Immersion Oil
Immersion oil is a special oil used in microscopy only with the 100X objective lens (usually at 1000X total power). A
drop is placed on the cover slip and the objective is lowered until it just touches the drop. Once brought into focus,the oil acts as a bridge between the glass slide and the glass in the lens. This concentrates the light path and
increases the resolution of the image.
5 OPERATION
1. Screw the objectives into the threaded holes in the nosepiece in order of their magnification. Insert the oculars
into the inclined ocular tube.2. Place a specimen slide on the stage. Adjust the stage so that the specimen is centred over the hole in the stage.
3. Using first the 10X objective, turn the coarse focussing knob to move the objective close to the specimen. Nowobserve the image through ocular and turn the coarse focussing knob to lower the objective until the image
comes into approximate focus. Next, turn the fine focussing knob until the image is sharp. Thanks to theinstrument’s precise and reliable nosepiece, a clear focus is maintained even when switching objectives.
6 CARE AND MAINTENANCE:
1. As with any other optical instrument, the microscope should be kept in a cool, dry, dust- and acid-free location.
The instrument should be covered with a dust cover after use.
2. Never disassemble the lenses; these are precisely adjusted and glued in place at the factory. Stains can beremoved from the lens by wiping it carefully with a soft, clean cloth moistened with alcohol. Take care,
however, that alcohol does not seep it into the objectives to avoid dissolving the glue. Dust on the lens can beremoved using a clean lens brush.
3. The coarse and fine focussing assembly and nosepiece are precisely adjusted at the factory and should not be
dismantled.
4. When not in use, keep the objectives in the objective box and cover the ocular tube with the ocular-tube cover.

8/13/2019 Human Humascope Plus - User Manual
http://slidepdf.com/reader/full/human-humascope-plus-user-manual 13/16
8/10
7 DISPOSAL MANAGEMENT CONCEPT
The currently valid local regulations governing disposal must be observed. It is in the responsibility of the user toarrange for proper disposal of the individual components.
All parts which have come into contact with potentially infectious materials must be disinfected using a validprocedure (autoclaving, chemical treatment) prior to disposal. The instrument and electronic accessories (without
batteries, power packs etc.) must be disposed of in accordance with regulations for the disposal of electroniccomponents.
Batteries, power packs etc. must be separated from electric/electronic parts and disposed of in accordance withapplicable local regulations.
8 MICROSCOPE GLOSSARY
8.1 Darkfield Microscopy
Darkfield microscopy is a method of acquiring a slide image. It is specific to the way the light is projected onto aslide in the microscope equipped with a darkfield condenser. The method allows elements in the field of view to be
distinguished that would be invisible or poorly visible using other methods of lighting (such as brightfield or phasecontrast light). This method is commonly used to evaluate slides on which the object and the background are the
same colour (such as red blood cells in vital blood or clear bacterial organisms in saline). In darkfield microscopy,
objects appear in the form of glowing outlines on a black/dark background.
The advantage of darkfield illumination is that details can be seen that are normally not resolved by the
microscope’s objective. While the actual details cannot be seen, the light reflected by them can. A nice analogy hereis that of dust in a room. Normally, in a well-lit room very small dust particles cannot be seen. However, if the lights
are turned out, a beam of light from an acute angle makes these same particles visible. Besides the opticaladvantages, darkfield illumination is very beautiful and gives an almost science-fiction-like image.
What is the difference between darkfield and brightfield?
The difference between the two is the way light is projected onto the slide. As a result, elements on the slide not
visible (or poorly visible) in bright light are visible with darkfield illumination.
8.2 Brightfield
This is the basic microscope configuration.
In brightfield microscopy, the transparent or translucent specimen is either naturally coloured or stained andappears dark against a bright, white background or field.
8/13/2019 Human Humascope Plus - User Manual
http://slidepdf.com/reader/full/human-humascope-plus-user-manual 14/16
9/10 HumaScope Plus User Manual
8.3 Phase Contrast
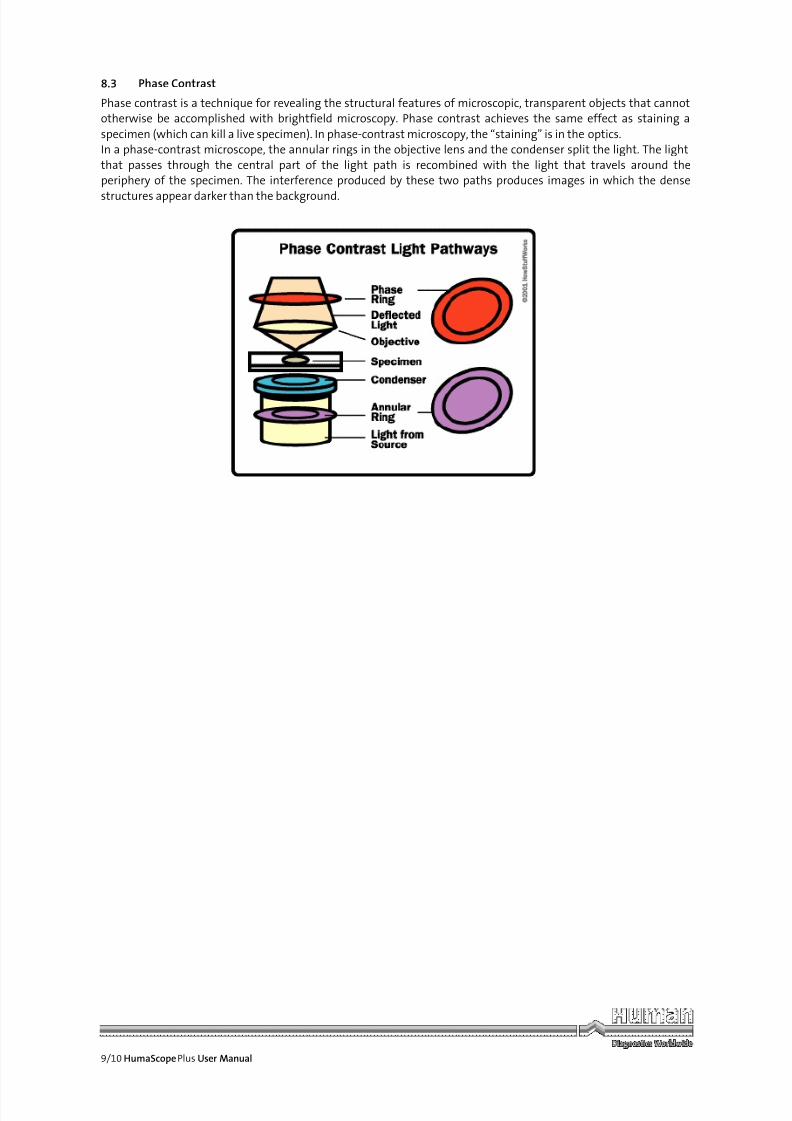
Phase contrast is a technique for revealing the structural features of microscopic, transparent objects that cannototherwise be accomplished with brightfield microscopy. Phase contrast achieves the same effect as staining a
specimen (which can kill a live specimen). In phase-contrast microscopy, the “staining” is in the optics.In a phase-contrast microscope, the annular rings in the objective lens and the condenser split the light. The light
that passes through the central part of the light path is recombined with the light that travels around theperiphery of the specimen. The interference produced by these two paths produces images in which the dense
structures appear darker than the background.

8/13/2019 Human Humascope Plus - User Manual
http://slidepdf.com/reader/full/human-humascope-plus-user-manual 15/16
10/10
8.4 Fluorescence Microscopy
The fluorescence of a substance is seen when a molecule is exposed to a specific wavelength of light (excitationwavelength or spectrum) and the light it emits (the emission wavelength or spectrum) is of a higher wavelength.
To view this fluorescence in the microscope, several light-filtering components are needed. Specific filters areneeded to isolate the excitation and emission wavelengths of a fluorochrome. A bright light source with proper
wavelengths for excitation is also needed. For normal fluorescence applications, this is a mercury vapour arcburner.
8.5 Lenses
- objective lens - gathers light from the specimen
- ocular - transmits and magnifies the image from the objective lens to your eye
- nosepiece - rotating mount that holds 4 interchangeable objective lenses
- tube - holds the ocular at the proper distance from the objective lens and blocks out stray light
8.6 Focus
- to position the objective lens at the proper distance from the specimen
- coarse-focus knob - used to bring the object into the focal plane of the objective lens
- fine-focus knob - used to make fine adjustments to focus the image

8/13/2019 Human Humascope Plus - User Manual
http://slidepdf.com/reader/full/human-humascope-plus-user-manual 16/16
HUMAN
Gesellschaft für Biochemica und Diagnostica mbH
| Max-Planck-Ring 21 · 65205 Wiesbaden · Germany
| Tel.: +49 61 22/99 88-0 · Fax: +49 61 22/99 88-100
| e-Mail: [email protected] · www.human.de
01 2007 01