how to make the foldable - leon county schools1. cut out each frayer model. 2. fold each frayer...
TRANSCRIPT

Closed
Foldable
Open
Foldable
Or, you can print the document 2-sided by following these steps: 1. Select two-sided if your printer has the
option.2. Print the pages of the student foldable
(pages 4-7). See screenshot to the rightfor an example print setup. All printersare different so yours may not lookexactly like the example.
HOW TO MAKE THE FOLDABLE:
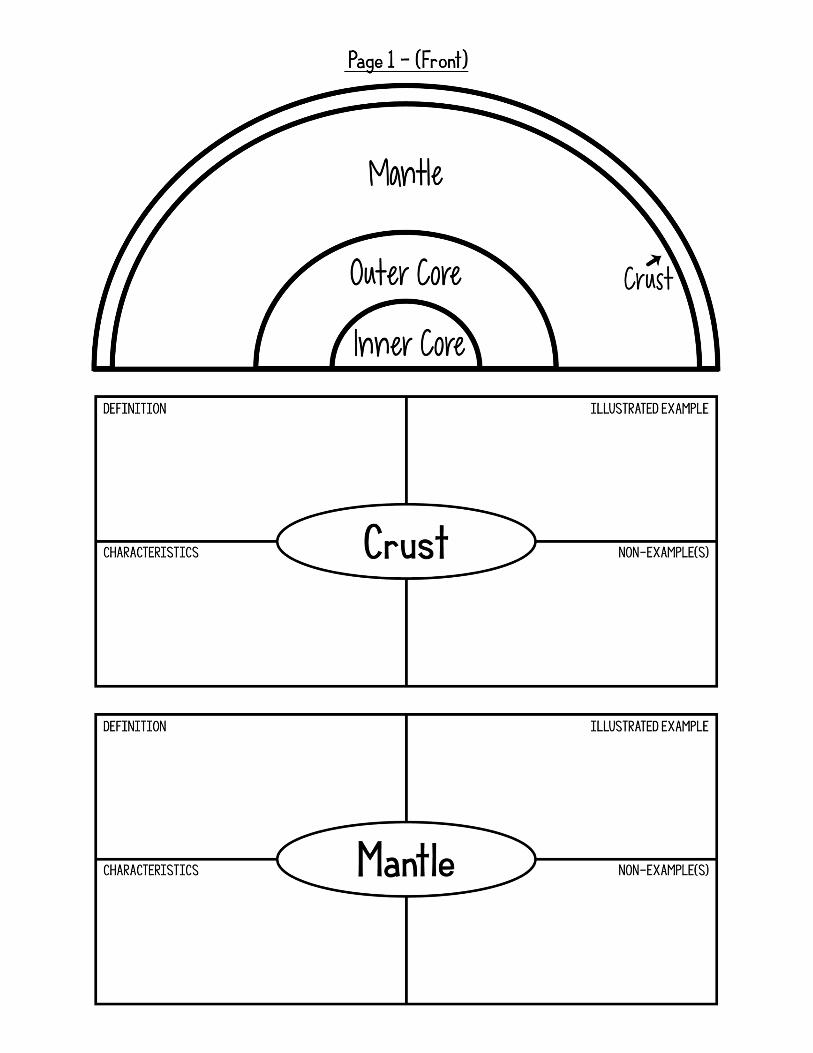
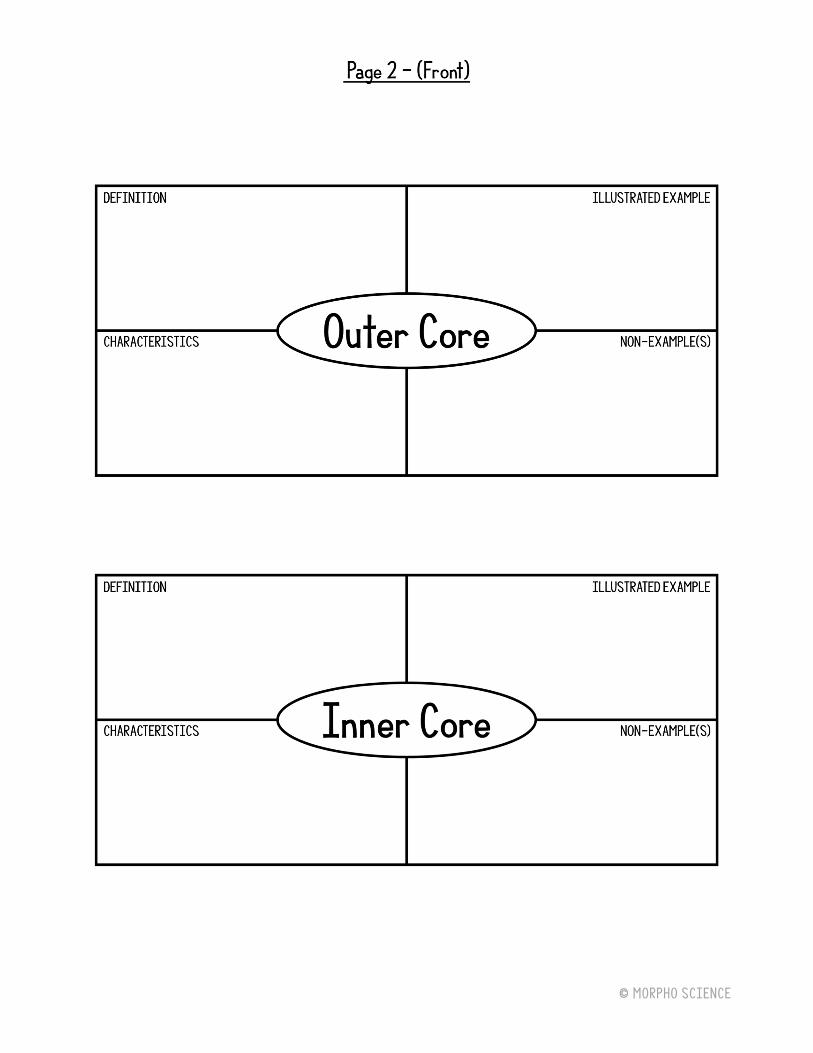
1. Cut out each Frayer model.2. Fold each Frayer model in half on the center, horizontal
line.This should be avalley fold. à
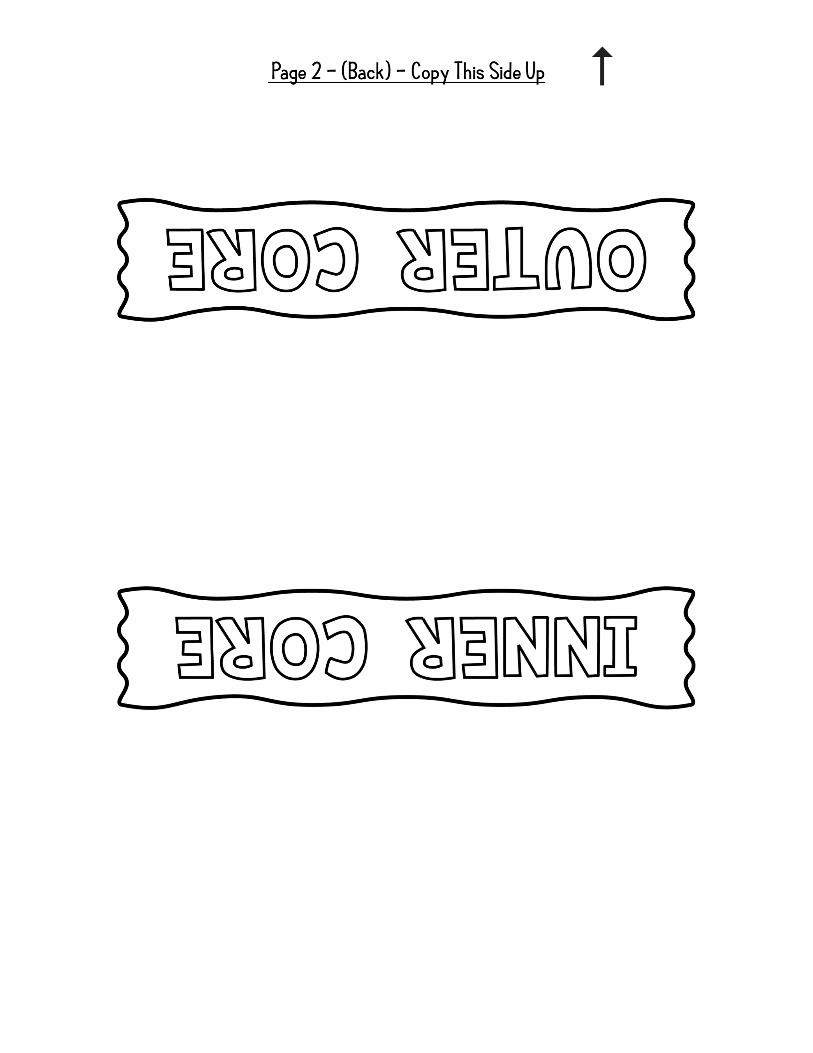
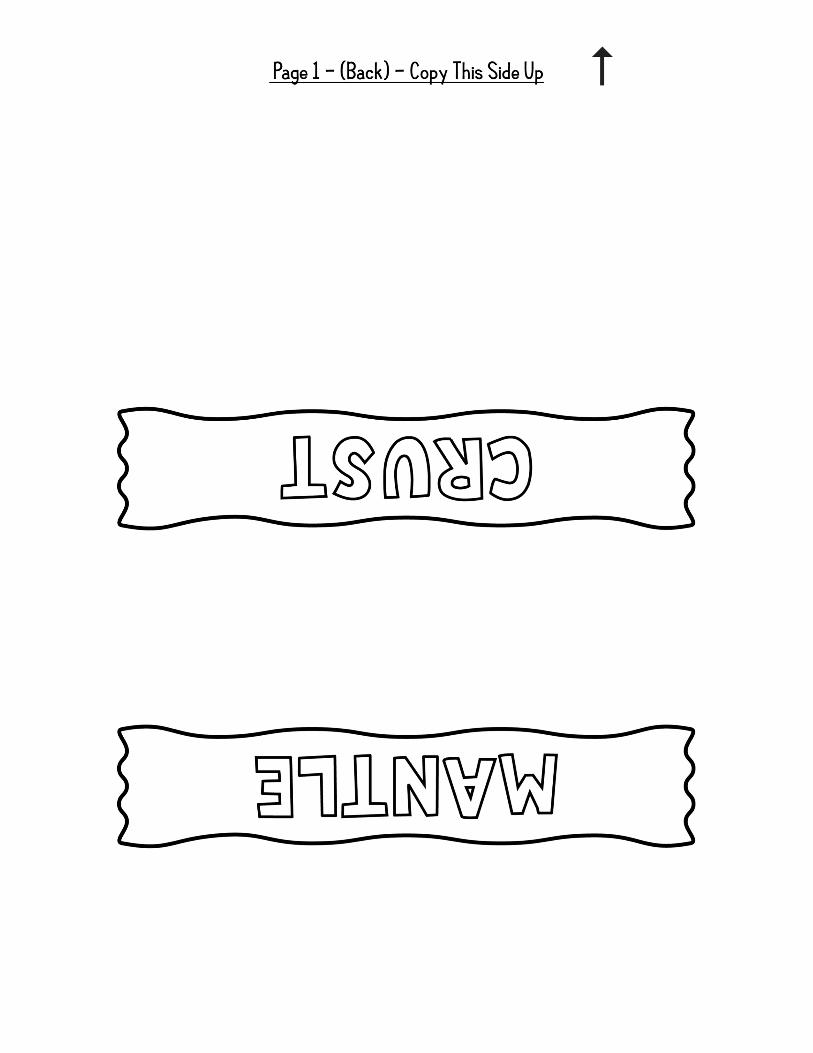
3. Turn the flap so that the vocabulary word faces right-side up.
3. Glue the title header at the top of an 8.5 x 11 paper.
4. Place the folded Frayer models below the title header in the appropriate order.
5. Glue the lower half of each Frayer model down by only placing glue behind the bottom two boxes.
6. Once finished, you should see all terms on the outside of the foldable and the flaps will open to reveal each Frayer model.
HOW TO PRINT:For this foldable to work correctly, you must ensure that pages 4-7 are copied 2-sided in the exact order and orientation of this file. Pages 5 & 7 appear to beupside down but this is intentional. The labels will appear right-side up once folded.You can easily copy 2-sided by printing pages 4-7 and using a copy machine tocopy to 2-sided.
© M O R P H O S C I E N C E