how to make ceramics 070708
TRANSCRIPT

How to work with clay
While we can’t do justice to the process in the ceramics studio, the process of a wheel thrown
vessel and a handbuilt piece follow logical, traditional steps. Paul Harp demonstrates while
Larry Merrill photographs.

1The beginning step of wedging will evenly distribute the moisture in the clay, align the clay particles for greater plasticity and remove air pockets trapped inside.

2 Before you begin throwing on the wheel the clay must be on perfect center.

3
Coning the clay upward and then sending it back down will aid in centering and align the clay particles in a circular pattern.
4
5
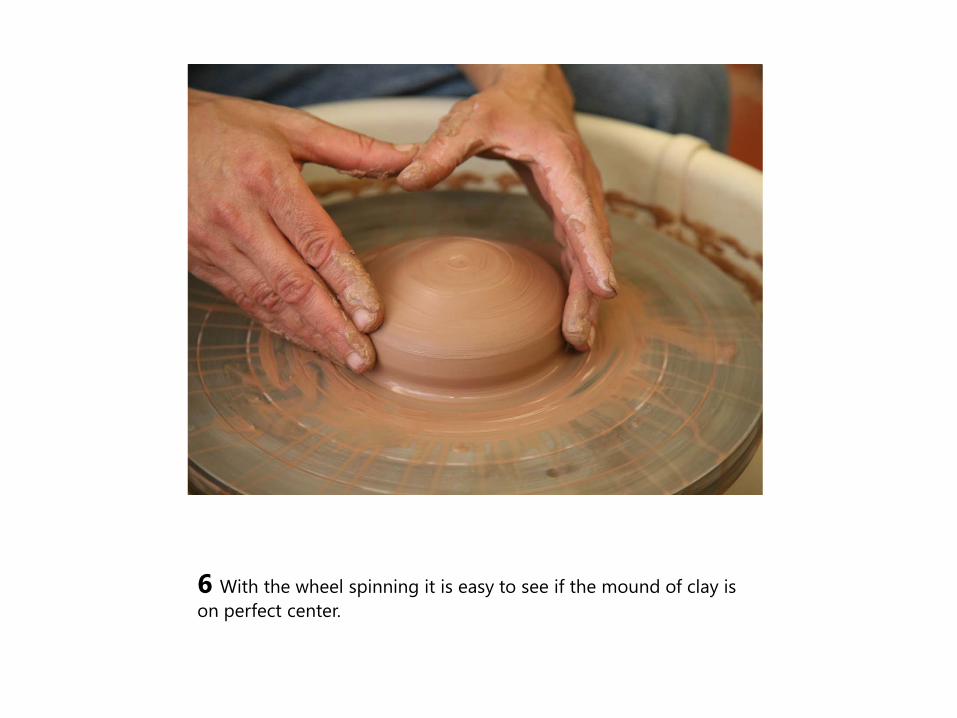
6 With the wheel spinning it is easy to see if the mound of clay is on perfect center.

7 As the wheel spins, two steady hands and one finger will open the mound of clay.

8 By making a floor and then the wall the pot is built from the bottom to the top.
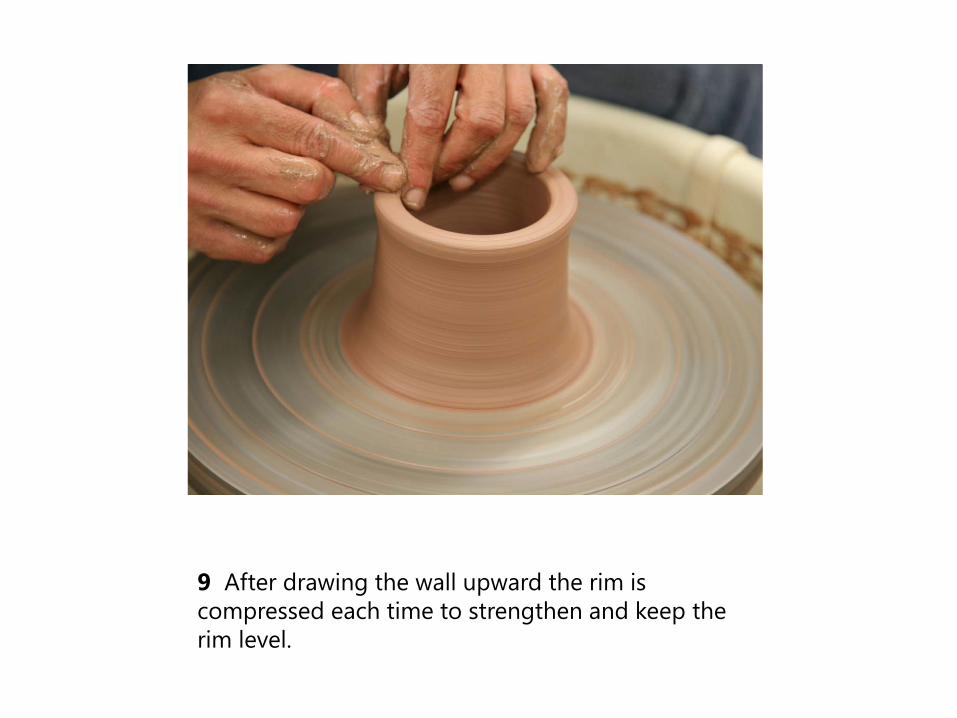
9 After drawing the wall upward the rim is compressed each time to strengthen and keep the rim level.

10 Finger tips are used to draw the clay upward starting at the base to gain height.
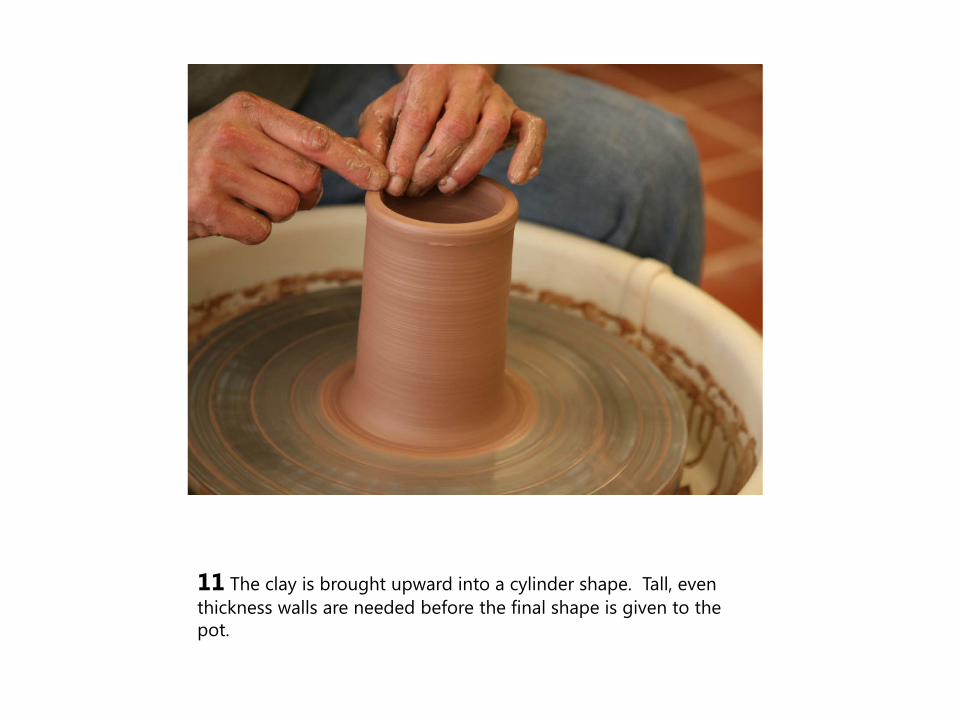
11 The clay is brought upward into a cylinder shape. Tall, even thickness walls are needed before the final shape is given to the pot.
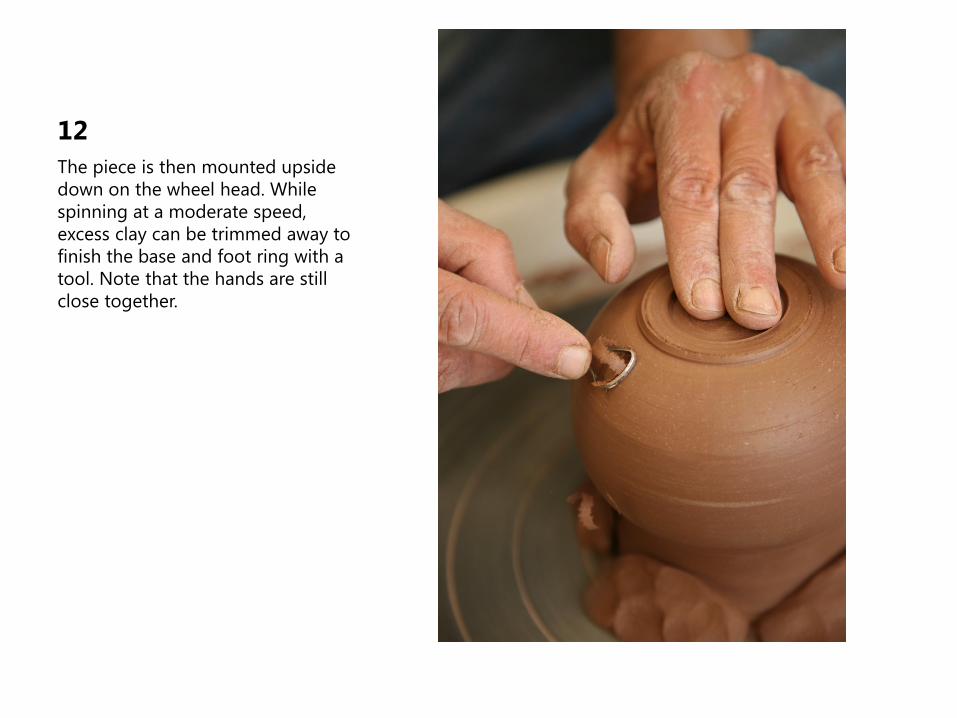
12The piece is then mounted upside down on the wheel head. While spinning at a moderate speed, excess clay can be trimmed away to finish the base and foot ring with a tool. Note that the hands are still close together.
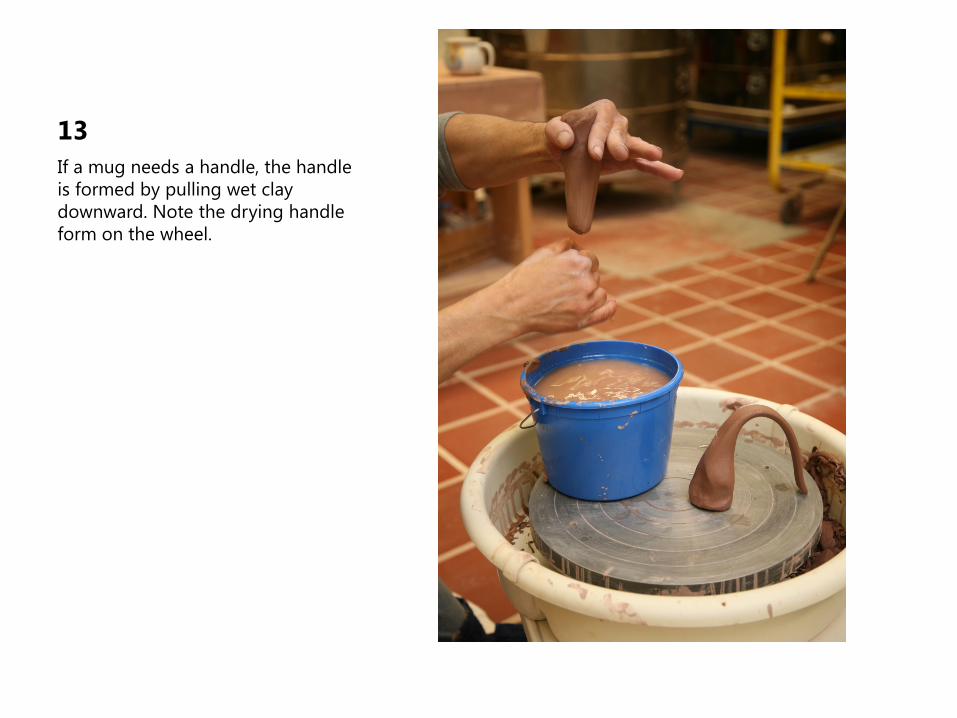
13If a mug needs a handle, the handle is formed by pulling wet clay downward. Note the drying handle form on the wheel.
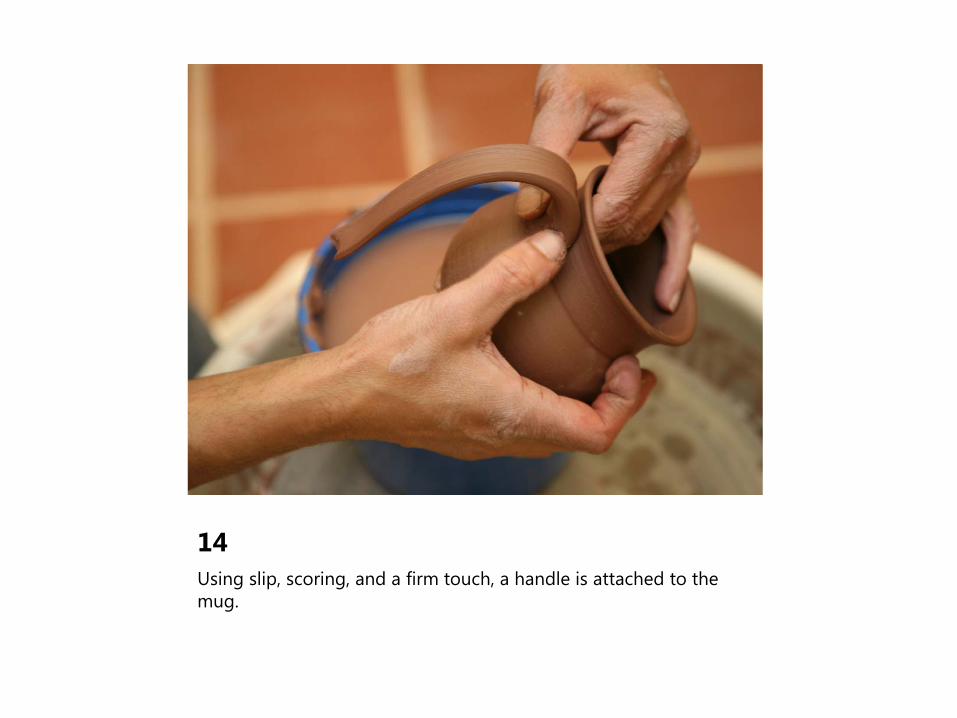
14Using slip, scoring, and a firm touch, a handle is attached to the mug.

15After the final shaping of the handle, the mug is now ready to dry completely before the bisque firing.

16When making a handbuilt piece, you can start with a slab of clay, a cardboard template, and a sharp tool.

17Designs are added using coils and stamped bits of balled clay. A thin consistency of clay called "slip" is used like a glue.

18Note the plasticity (the bendability) of this clay. When wet, clay can do almost anything and will retain the memory of every motion.

19The clay slab can be draped and formed over a plaster dome. When left to dry until leather hard and then removed the clay piece will retain a bowl shape.

20We use electric kilns to fire the work first to a bisque finish.
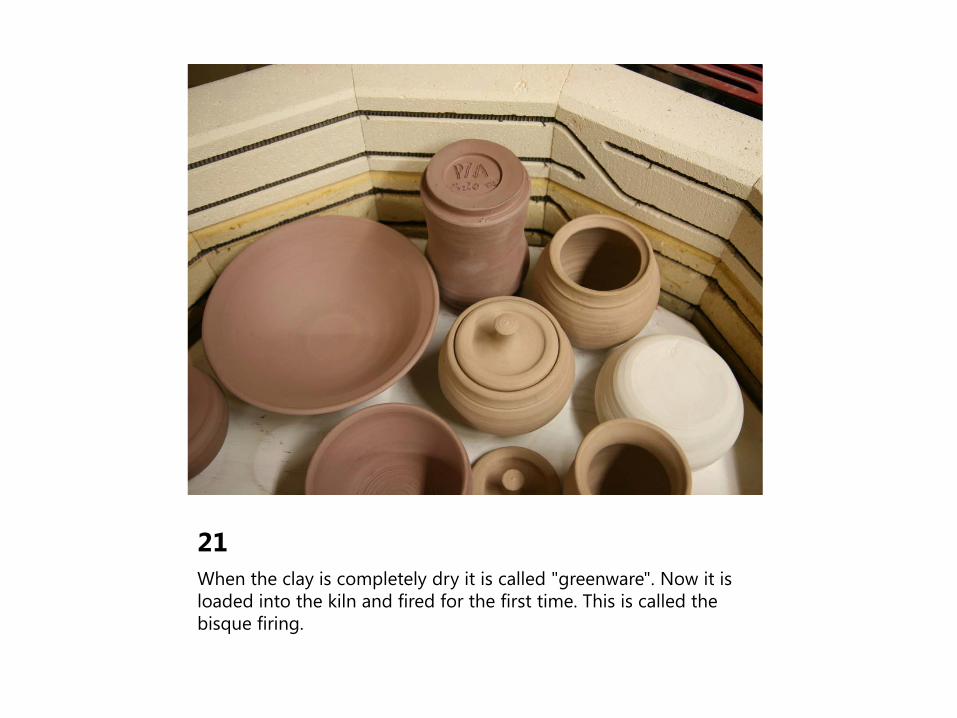
21When the clay is completely dry it is called "greenware". Now it is loaded into the kiln and fired for the first time. This is called the bisque firing.

22The pieces are now called bisque ware and have the same characteristics of a clay flower pot.

23Bisque ware can then be dipped into the glaze and absorb the water to form a coating of glaze on the piece.

24Tongs can be used to completely dip a piece evenly without leaving finger marks.

24The second firing in the kiln melts the glaze to form a glass coating on the surface of the clay piece. This glaze seals the porous surface making the piece stronger and beautiful.