how to create a realistic drop shadow using photoshop
DESCRIPTION
Many times you may wish to give your image a natural look by adding shading or kind of drop shadow, but don't know how to do it. The following tutorial will give you insightful steps to create the realistic drop shadow in photoshop.TRANSCRIPT
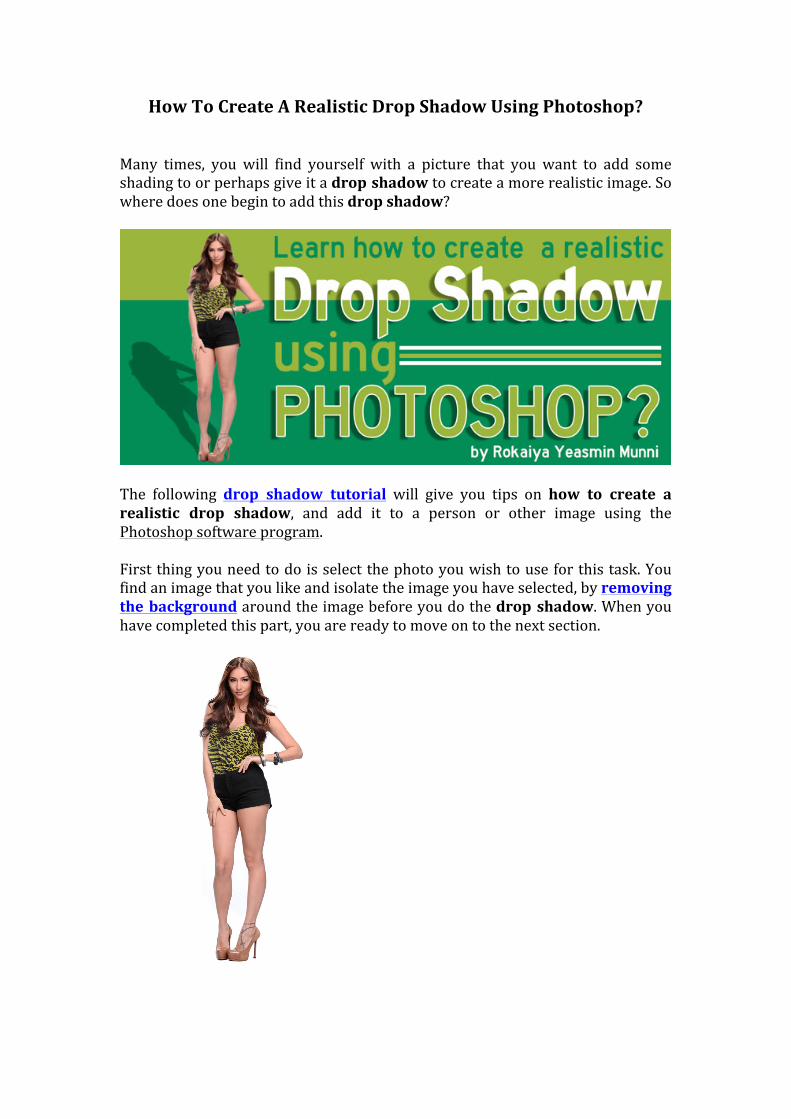
How To Create A Realistic Drop Shadow Using Photoshop? Many times, you will find yourself with a picture that you want to add some shading to or perhaps give it a drop shadow to create a more realistic image. So where does one begin to add this drop shadow?
The following drop shadow tutorial will give you tips on how to create a realistic drop shadow, and add it to a person or other image using the Photoshop software program. First thing you need to do is select the photo you wish to use for this task. You find an image that you like and isolate the image you have selected, by removing the background around the image before you do the drop shadow. When you have completed this part, you are ready to move on to the next section.

Therefore, the first step you would want to do, is open a layer and then double-‐click in the blank space on that first layer. This will bring up a box with the different layer styles.
Then you would start by adding a normal layer drop shadow, which is found in the upper left hand corner of the layer style box.
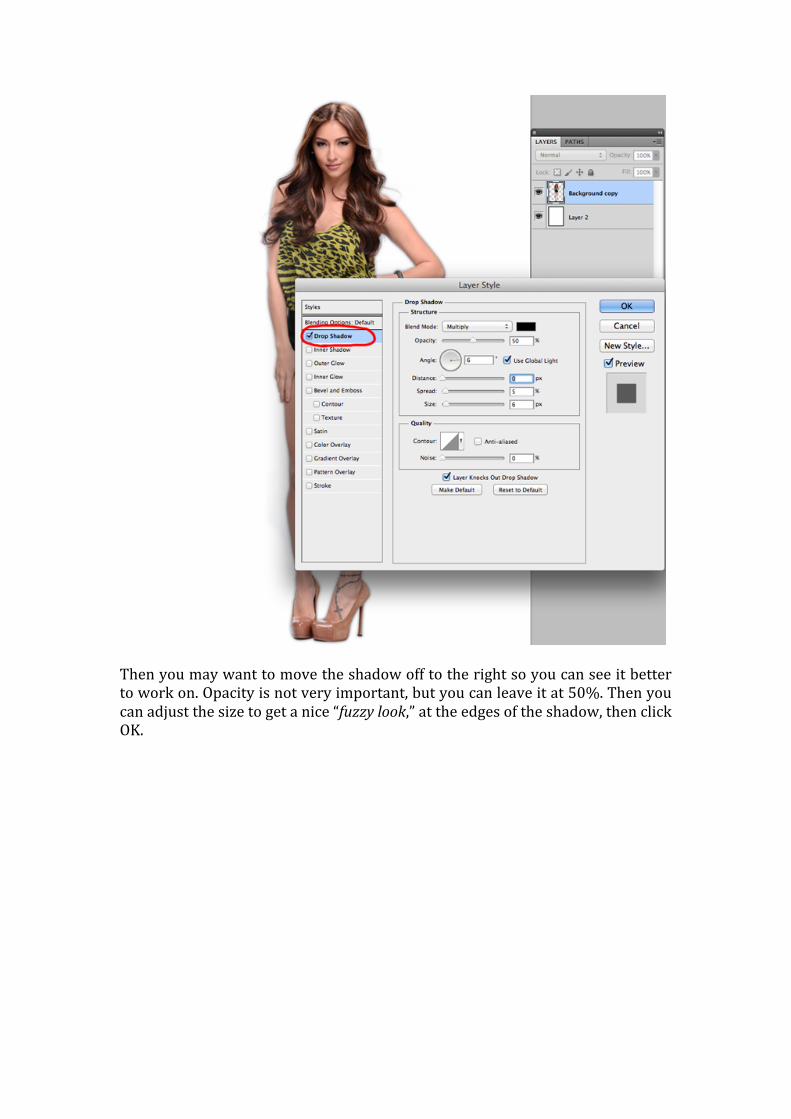
Then you may want to move the shadow off to the right so you can see it better to work on. Opacity is not very important, but you can leave it at 50%. Then you can adjust the size to get a nice “fuzzy look,” at the edges of the shadow, then click OK.
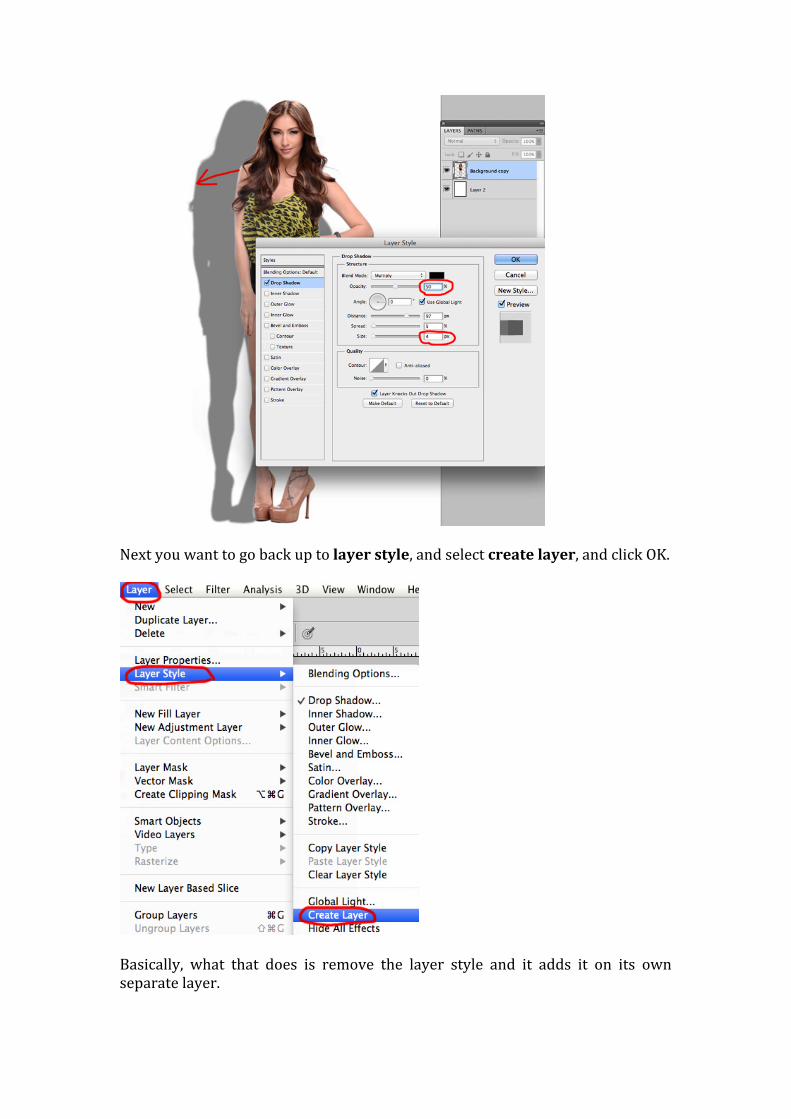
Next you want to go back up to layer style, and select create layer, and click OK.
Basically, what that does is remove the layer style and it adds it on its own separate layer.

Then all you have to do is transform it and move it around to behind the image, where it will actually look like a drop shadow. So, you would place the shadow directly behind the image to begin with, and then go to CMD+T (Mac) or CTRL+T (PC) to begin the transform process, and drag the small visible dot all the way down to the bottom of the image.

Then you can begin moving the drop shadow around; here it would depend on your particular photo and where the light is actually coming from, and tweaks it so it works for you.
A couple little tricks you can use. Like; you can either hold down the CMD key (Mac) down or the CTRL key (PC) to get the little icon to move the corners around and slant them a little to get a more realistic shadow appearance. Then click “return.”


You can also go in a mask or remove the extra shadow bits at the front for a cleaner appearance.
Now you can go back and adjust the opacity settings to lighten the shadow’s appearance, which is why you started out with it at 50% to begin with when you created the layer style in the beginning.
t

So there you have it, a few quick tips on how to do basic drop shadow technique, and add a more realistic appearance to your images. You can also learn my created another drop shadow tutorial, which is applied in a product image.
About the author: Rokaiya Yeasmin Munni Graphic Designer, SEO Specialist and Deputy Manager (Marketing Division) At Outsource Experts Ltd, which is the mother company of http://www.clippingpathindia.com