handle cane adapter - edgeedge.rit.edu/content/p14043/public/ddr_documents... · web viewhandle...
TRANSCRIPT

Handle Cane Adapter i. Tools
a) Available in Machine Shopi) Dial Calipers (0”-6”)ii) Micrometers (0”-1”, 1”-2”)iii) Latheiv) Mill with vise and digital axis monitor v) Negative-Rake Carbide Insert General Purpose 1/8” Lathe tool bitvi) 4-40 Cobalt Steel Hand Tap with @ least 1” thread lengthvii) .089” HSS drill bit with @ least 1” drilling depthviii) ¼” 120° Hole-Starting Carbide Center Drill with @ least 0.2” drilling depthix) 1” HSS drill bit with @ least 1” drilling depthx) 1” HSS Reamer with @ least 1” drilling depthxi) 0.75” HSS drill bit with @ least 1” drilling depthxii) 0.75” HSS Reamer with @ least 1” drilling depthxiii) Indexing Headxiv) Single Edge Edge-Finderxv) File
b) Purchase - noneii. Resources
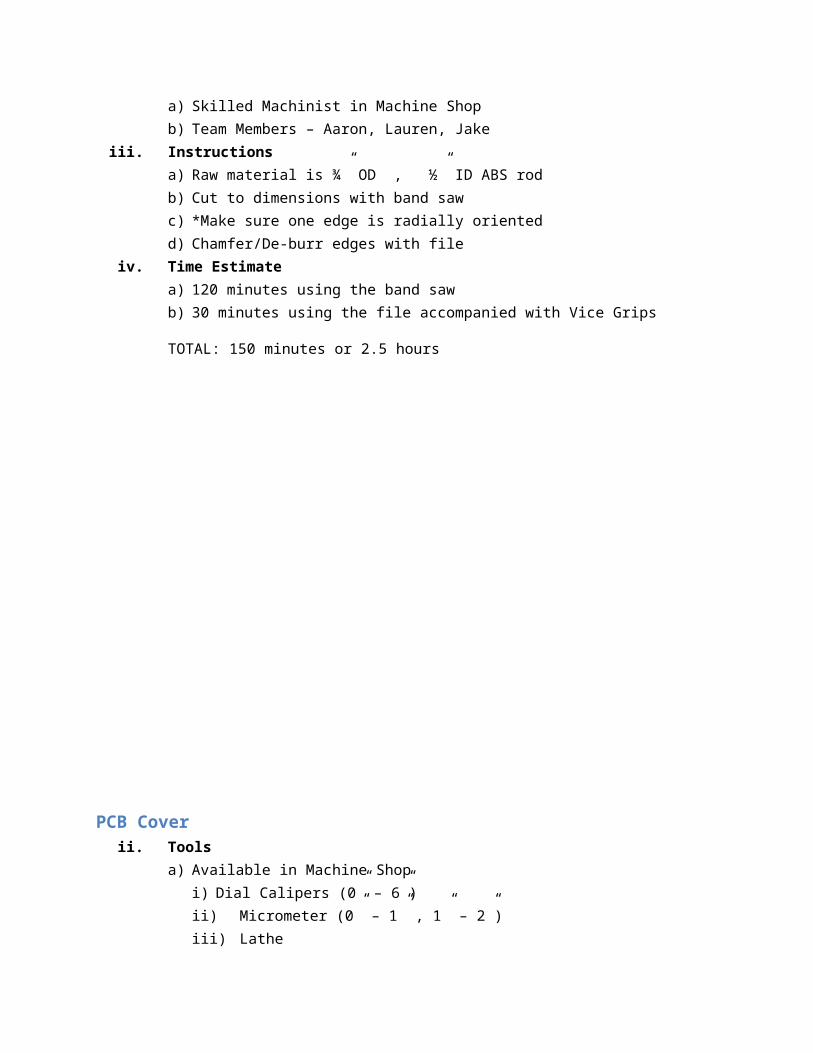
a) Skilled Machinist in Machine Shopb) Team Members – Aaron, Lauren, Jake
iii. Instructionsa) Cut 1.5” diameter raw ABS rod to 1.25” diameter and 2.5” length using lathe @ 500
RPM b) Use edge finder with the mill to create a datum based upon part geometry fixed in vise
(see drawing for manufacturing dimensions)c) Touch off all holes with a center drill and then drill all holes with drill bits using the milld) Remove part from vise and hand tap all holese) Drill large bore holes using lathef) Ream large holes using lathea) Remove part from lathe and gently turn hand taps through existing tap threads again to
remove burrs created by previous operation. Hand tap holes in the mill vise g) Chamfer/De-burr edges with file
iv. Time Estimatea) 30 minutes using latheb) 30 minutes for alignment of part in mill with edge finder c) 30 minutes drill small holes using the milld) 30 minutes to tap all holese) 60 minutes to align and drill large holesf) 30 minutes to re-tap and de-burr threads that have
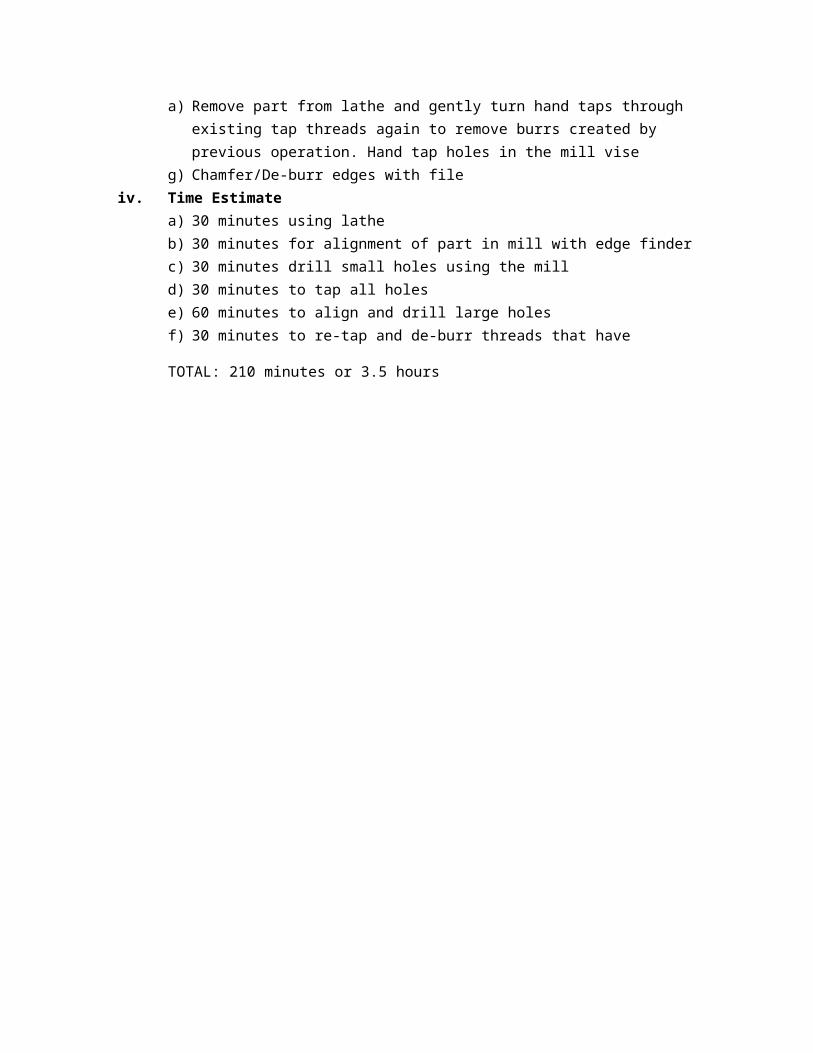
TOTAL: 210 minutes or 3.5 hours

Motor Mount i. Tools
a) Available in Machine Shopi) ½” HSS end mill bit with @ least 1” of mill depthii) .089” HSS drill bit with @ least 1” drilling depthiii) Mill with vise and digital axis monitor iv) Lathev) 4-40 Cobalt Steel Hand Tap with @ least 1” thread lengthvi) ¼” 120° Hole-Starting Carbide Center Drill with @ least 0.2” drilling depthvii) Single Edge Edge-Finderviii) Negative-Rake Carbide Insert General Purpose 1/8” Lathe tool bitix) Dial Calipers (0” – 6”)x) Micrometers (0”-1”, 1”-2”)xi) File
b) Purchase i) M1.6x0.35 tap w @ least 0.5” thread depth
ii. Resourcesa) Skilled Machinist in Machine Shopb) Team Members – Aaron, Lauren, Jake
iii. Instructionsa) Cut 1.25” diameter raw ABS rod to 1” diameter and 1” length using lathe @ 500 RPM b) Use edge finder with the mill to create a datum based upon part geometry fixed in the
vise (see drawing for manufacturing dimensions)c) Touch off all holes with a center drill and then drill all holes with drill bits using the milld) Remove part from vise and hand tap all holese) Mill off top half of rod f) Remove part from mill and gently turn hand taps through existing tap threads again to
remove burrs created by previous operation. Hand tap holes in the mill viseg) Chamfer/De-burr edges with file
iv. Time Estimatea) 30 minutes using latheb) 30 minutes for alignment of part in mill with edge finder c) 120 minutes for drilling using the milld) 30 minutes to tap all holese) 30 minutes using mill to make flat face
TOTAL: 240 minutes or 4 hours

Roller Arm (2)i. Tools
a) Available in Machine Shopi) Dial Calipers (0” – 6”)ii) Micrometer (0” – 1”)iii) Latheiv) Negative-Rake Carbide Insert General Purpose 1/8” Lathe tool bitv) Prototrac Millvi) 1/8” HSS drill bit with @ least 1” drilling depthvii) ¼” 120° Hole-Starting Carbide Center Drill with @ least 0.2” drilling depthviii) Single Edge Edge-Finderix) 4-40 Cobalt Steel Hand Tap with @ least 1” thread lengthx) 3/8” HSS end mill bit with @ least 1” of mill depthxi) 3mm HSS drill bit with @ least 1” drilling depthxii) .087” HSS drill bit @ least 1” drilling depthxiii) Indexing Headxiv) File
b) Purchasei) 1/32” HSS Corner-Rounding end mill bit
ii. Resourcesa) Skilled Machinist in Machine Shopb) Team Members – Aaron, Lauren, Jake
iii. Instructionsa) Cut 1” Aluminum rod using lathe @ 600RPM to .402” radius and length of 0.3”b) Cut rod using lathe to .188” diameter in specified region (see drawing for manufacturing
dimensions)c) Use edge finder with the mill to create a datum based upon part geometry fixed in vise
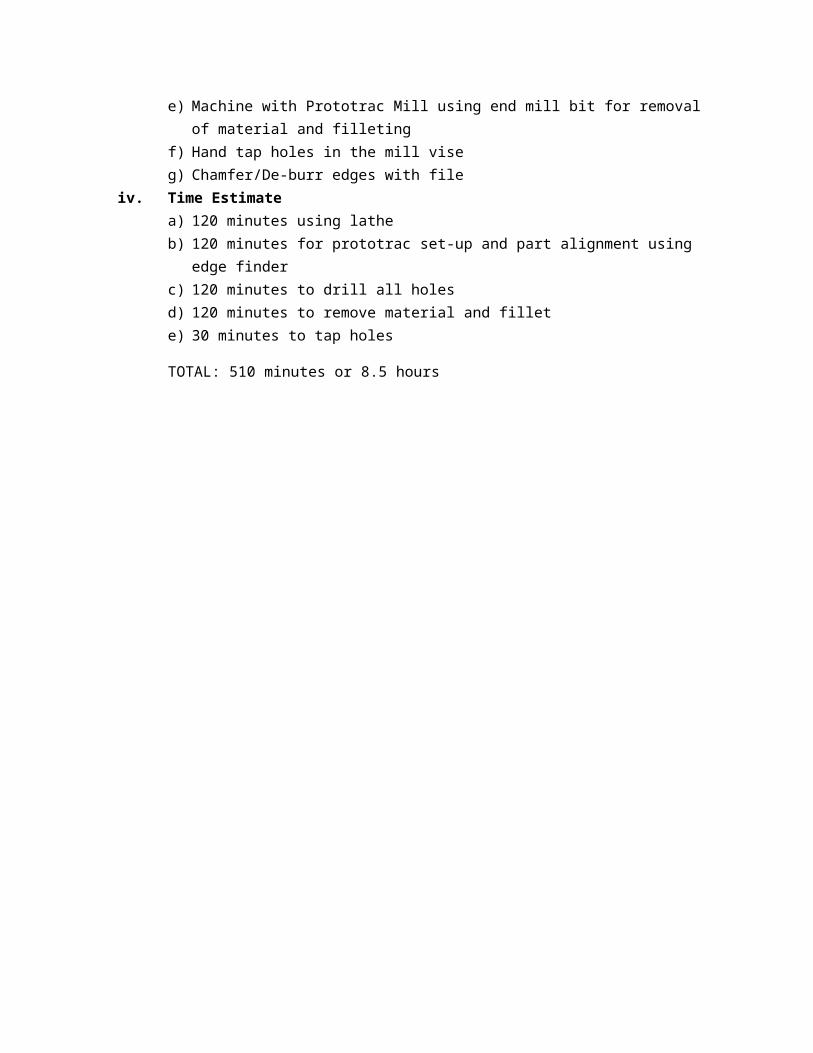
(see drawing for manufacturing dimensions)d) Touch off all holes with a center drill and then drill all holes with drill bits using the mille) Machine with Prototrac Mill using end mill bit for removal of material and filletingf) Hand tap holes in the mill vise g) Chamfer/De-burr edges with file
iv. Time Estimatea) 120 minutes using latheb) 120 minutes for prototrac set-up and part alignment using edge finderc) 120 minutes to drill all holesd) 120 minutes to remove material and fillete) 30 minutes to tap holes
TOTAL: 510 minutes or 8.5 hours

Shaft Mount i. Tools
a) Available in Machine Shopi) .089” HSS drill bit with @ least 1” drilling depthii) 4-40 Cobalt Steel Hand Tap with @ least 1” thread lengthiii) ½” HSS end mill bit with @ least 1” of mill depthiv) Dial Calipers (0” – 6”)v) Mill with vise and digital axis monitor vi) Micrometer (0” – 1”)vii) Latheviii) Negative-Rake Carbide Insert General Purpose 1/8” Lathe tool bitix) Single Edge Edge-Finderx) ¼” 120° Hole-Starting Carbide Center Drill with @ least 0.2” drilling depthxi) Indexing Headxii) Filexiii) 6mm drill bit with plunge capability with @ least 1” mill depth
b) Purchasei) ¼” end mill bit with plunge capability with @ least 1” mill depth
ii. Resourcesa) Skilled Machinist in Machine Shopb) Team Members – Aaron, Lauren, Jake
iii. Instructionsa) Turn 1” ABS rod using lathe @ 500RPM to .751” diameter and length of 0.5”b) Use edge finder with the mill to create a datum based upon part geometry fixed in vise
(see drawing for manufacturing dimensions)c) Touch off all holes with a center drill and then drill all holes with drill bits using the milld) Plunge mill the 0.236” diameter holee) Hand tap holes in the mill vise f) Cut the radial cutout using the millg) Mill off top sectionh) Chamfer/De-burr edges with file
iv. Time Estimatea) 30 minutes using latheb) 60 minutes for alignment of part in mill with edge finder c) 120 minutes to drill, mill and tap holesd) 30 minutes to mill top surface
TOTAL: 240 minutes or 4 hours

Bearing Shaft – 6112K310i. Tools
a) Available in Machine Shopi) Latheii) Negative-Rake Carbide Insert General Purpose 1/8” Lathe tool bitiii) Dial Calipers (0” –6”)iv) Micrometer (0” – 1”)v) File
b) Purchase - noneii. Resources
a) Skilled Machinist in Machine Shopb) Team Members – Aaron, Lauren, Jake
iii. Instructionsa) Cut 3mm Aluminum rod to length of 0.91” using lathe @ 600RPM b) If needed, turn part in lathe to achieve proper interference fit in roller armsc) Chamfer/De-burr edges with file
iv. Time Estimate a) 30 minutes to cut to length and fit
TOTAL: 30 minutes or 0.5 hours

Bump Dowel Pins (4)i. Tools
a) Available in Machine Shopi) Latheii) Negative-Rake Carbide Insert General Purpose 1/8” Lathe tool bitiii) Dial Calipers (0” –6”)iv) Micrometer (0” – 1”)v) File
b) Purchase - noneii. Resources
a) Skilled Machinist in Machine Shopb) Team Members – Aaron, Lauren, Jake
iii. Instructionsa) Cut 1/8” Aluminum dowels to length of 0.57” using lathe @ 600RPM b) If needed, turn part in lathe to achieve proper interference fit in roller armsc) Chamfer/De-burr edges with file
iv. Time Estimate a) 120 minutes to cut to length
TOTAL: 120 minutes or 2 hours

Outer Collari. Tools
a) Available in Machine Shopi) Dial Calipers (0” –6”)ii) Micrometer (0” – 1”)iii) Band sawiv) Lathev) Mill with vise and digital axis monitor vi) ¼” 120° Hole-Starting Carbide Center Drill with @ least 0.2” drilling depthvii) Indexing Headviii) File for de-burring and chamferingix) ½” HSS end mill bit with @ least 1” of mill depthx) 1” HSS Reamer with @ least 1” drilling depth
b) Purchase i) HSS countersink tool bit for 4-40 machine screw (82°)ii) 0.129” HSS drill bit with @ least 1” drilling depth
ii. Resourcesa) Skilled Machinist in Machine Shopb) Team Members – Aaron, Lauren, Jake
iii. Instructionsa) Use edge finder with the mill to create a datum based upon part geometry fixed in
indexing head vise (see drawing for manufacturing dimensions). Raw stock is 1.25” OD 1/8” thick ABS tube, 3” length
b) Ream tube ID with lathe @ 600RPM feeding @ 2”/minc) Touch off all holes with a center drill and then drill all holes with drill bits using the mill,
then follow with countersink bit.d) Cut excess cylinder length of tube with band saw and finish surface with mill.e) Cut tube to appropriate semicircle anglef) Chamfer/De-burr edges with file
iv. Time Estimate a) 30 minutes to create datum and align part in mill indexing head.b) 60 minutes to center drill, drill, and countersink all holesc) 60 minutes using the band saw and milld) 30 minutes using the file
TOTAL: 180 minutes or 3 hours

Outer Collar Fulli. Tools
a) Available in Machine Shopi) Dial Calipers (0” –6”)ii) Micrometer (0” – 1”)iii) Band sawiv) Mill with vise and digital axis monitor v) ¼” 120° Hole-Starting Carbide Center Drill with @ least 0.2” drilling depthvi) Indexing Headvii) File for de-burring and chamferingviii) ½” HSS end mill bit with @ least 1” of mill depth
b) Purchase i) HSS countersink tool bit for 4-40 machine screw (82°)ii) 0.129” HSS drill bit with @ least 1” drilling depth
ii. Resourcesa) Skilled Machinist in Machine Shopb) Team Members – Aaron, Lauren, Jake
iii. Instructionsa) Use edge finder with the mill to create a datum based upon part geometry fixed in
indexing head vise (see drawing for manufacturing dimensions). Raw stock is 1.25” OD 1/8” thick ABS tube, 3” length
b) Touch off all holes with a center drill and then drill all holes with drill bits using the mill, then follow with countersink bit.
c) Cut excess cylinder length of tube with band saw and finish surface with mill.d) Chamfer/De-burr edges with file
iv. Time Estimate a) 30 minutes to create datum and align part in mill indexing head.b) 60 minutes to center drill, drill, and countersink all holesc) 60 minutes using the band saw and milld) 30 minutes using the file
TOTAL: 180 minutes or 3 hours

PCB Holder (4)i. Tools
a) Available in Machine Shopi) Dial Calipers (0” –6”)ii) Band sawiii) Vise Gripsiv) File for de-burring and chamfering
b) Purchase (none)ii. Resources
a) Skilled Machinist in Machine Shopb) Team Members – Aaron, Lauren, Jake
iii. Instructionsa) Raw material is ¾” OD , ½” ID ABS rodb) Cut to dimensions with band sawc) *Make sure one edge is radially orientedd) Chamfer/De-burr edges with file
iv. Time Estimate a) 120 minutes using the band sawb) 30 minutes using the file accompanied with Vice Grips
TOTAL: 150 minutes or 2.5 hours

PCB Coverii. Tools
a) Available in Machine Shopi) Dial Calipers (0” – 6”)ii) Micrometer (0” – 1” , 1” – 2”)iii) Latheiv) Mill with vise and digital axis monitor v) Negative-Rake Carbide Insert General Purpose 1/8” Lathe tool bitvi) ¾” HSS drill bit with @ least 6” drill depthvii) ¾” Reamer bit with @ least 2” of flute lengthviii) 0.089” HSS drill bit with @ least 1” drilling depthix) ¼” 120° Hole-Starting Carbide Center Drill with @ least 0.2” drilling depthx) Single Edge Edge-Finderxi) 4-40 Cobalt Steel Hand Tap with @ least 1” thread lengthxii) 3/8” HSS end mill bit with @ least 1” of mill depthxiii) File
b) Purchase (none)iii. Resources
a) Skilled Machinist in Machine Shopb) Team Members – Aaron, Lauren, Jake
iv. Instructionsa) Cut 1.25” OD Fiberglass rod using lathe @ 600RPM to 1” diameter and length of 5.976”b) Drill a ¾” hole through the rod, in the direction concentric with the rodc) Ream Fiberglass rod all the way through using ¾” reamer @ 600RPM, feeding @ 2”/mind) Use edge finder with the mill to create a datum based upon part geometry fixed in vise
(see drawing for manufacturing dimensions)e) Touch off all holes with a center drill and then drill all holes with drill bits using the millf) Mill off length section using end mill bit g) Hand tap shaft through holes in the mill vise h) Chamfer/De-burr edges with file
v. Time Estimatea) 60 minutes using lathe, cutting and reamingb) 90 minutes to align part and drill all holesc) 60 minutes to remove material with end milld) 30 minutes to tap holese) 30 minutes using the file
TOTAL: 270 minutes or 4.5 hours

Motor Coveri. Tools
a) Available in Machine Shopi) Dial Calipers (0” – 6”)ii) Micrometer (0” – 1” , 1” – 2”)iii) Latheiv) Mill with vise and digital axis monitor v) Negative-Rake Carbide Insert General Purpose 1/8” Lathe tool bitvi) ¾” HSS drill bit with @ least 6” drill depthvii) ¾” Reamer bit with @ least 2” of flute lengthviii) ¼” 120° Hole-Starting Carbide Center Drill with @ least 0.2” drilling depthix) Single Edge Edge-Finderx) 3/8” HSS end mill bit with @ least 1” of mill depthxi) File
b) Purchase i) HSS countersink tool bit for 4-40 machine screw (82°)ii) 0.129” HSS drill bit with @ least 1” drilling depthiii) 1/8” end mill bit with plunge capability with @ least 1” mill depth
ii. Resourcesa) Skilled Machinist in Machine Shopb) Team Members – Aaron, Lauren, Jake
iii. Instructionsa) Cut 1.25” OD Fiberglass rod using lathe @ 600RPM to 1” diameter and length of 5.976”b) Drill a ¾” hole through the rod, in the direction concentric with the rodc) Ream ABS rod all the way through using ¾” reamer @ 600RPM, feeding @ 2”/mind) Use edge finder with the mill to create a datum based upon part geometry fixed in vise
(see drawing for manufacturing dimensions)e) Touch off all holes with a center drill and then drill all holes with drill bits and
countersink bit using the millf) Mill off length section using end mill bit g) Use edge finder with the mill to create a datum based upon part geometry fixed in vise
(see drawing for manufacturing dimensions)h) Mill slots in the part with 1/8” end mill biti) Hand tap shaft through holes in the mill vise j) Chamfer/De-burr edges with file
iv. Time Estimatea) 90 minutes using lathe, cutting, drilling, and reamingb) 90 minutes to align part, drill, and countersinkc) 60 minutes to remove material with end milld) 30 minutes using the file
TOTAL: 270 minutes or 4.5 hours

Battery Coveri. Tools
a) Available in Machine Shopi) Dial Calipers (0” – 6”)ii) Micrometer (0” – 1” , 1” – 2”)iii) Latheiv) Mill with vise and digital axis monitor v) Negative-Rake Carbide Insert General Purpose 1/8” Lathe tool bitvi) ¾” HSS drill bit with @ least 6” drill depthvii) ¾” Reamer bit with @ least 2” of flute lengthviii) ¼” 120° Hole-Starting Carbide Center Drill with @ least 0.2” drilling depthix) 0.089” HSS drill bit with @ least 1” drilling depthx) Single Edge Edge-Finderxi) 3/8” HSS end mill bit with @ least 1” of mill depthxii) File
b) Purchase i) HSS countersink tool bit for 4-40 machine screw (82°)ii) 0.035” HSS drill bit with @ least 1” cutting depth
ii. Resourcesa) Skilled Machinist in Machine Shopb) Team Members – Aaron, Lauren, Jake
iii. Instructionsa) Cut 1.25” OD Fiberglass rod using lathe @ 600RPM to 1” diameter and length of 5.976”b) Drill a ¾” hole through the rod, in the direction concentric with the rodc) Ream ABS rod all the way through using ¾” reamer @ 600RPM, feeding @ 2”/mind) Use edge finder with the mill to create a datum based upon part geometry fixed in vise
(see drawing for manufacturing dimensions)e) Touch off all holes with a center drill and then drill all holes with drill bits using the millf) Mill off length section using end mill bit g) Chamfer/De-burr edges with file
iv. Time Estimatea) 60 minutes using lathe, cutting and drillingb) 60 minutes to align part, drill, and countersinkc) 60 minutes to remove material with end milld) 30 minutes using the file
TOTAL: 210 minutes or 3.5 hours

Handle Tubei. Tools
a) Available in Machine Shopi) Dial Calipers (0” – 18”)ii) Micrometer (0” – 1”, 1” – 2”)iii) Latheiv) Mill with vise and digital axis monitor v) Negative-Rake Carbide Insert General Purpose 1/8” Lathe tool bitvi) ¾” HSS drill bit with @ least 6” drill depthvii) ¾” Reamer bit with @ least 2” of flute length and @ least 10” overall lengthviii) 3/8” HSS end mill bit with @ least 1” of mill depthix) Single Edge Edge-Finderx) 0.089” HSS drill bit with @ least 1” drilling depthxi) 4-40 Cobalt Steel Hand Tap with @ least 1” thread lengthxii) File
b) Purchase i) HSS countersink tool bit for 4-40 machine screw (82°)ii) 1/8” HSS end mill bit with @ least 0.375” of mill depthiii) 25/64” HSS end mill bit with @ least 1” of mill depthiv) 1/16” HSS end mill bit with @ least 0.375” of mill depthv) 0.129” HSS drill bit with @ least 1” drilling depthvi) ¼” 82° Hole-Starting Carbide Center Drill with @ least 0.2” drilling depthvii) 0.035” HSS drill bit with @ least 0.5” drilling depthviii) 0.094” HSS drill bit with @ least 0.5” drilling depth
ii. Resourcesa) Skilled Machinist in Machine Shopb) Team Members – Aaron, Lauren, Jake
iii. Instructionsa) Cut 1.25” OD Fiberglass rod using lathe @ 600RPM to 1” diameter and length of 13”b) Drill a ¾” hole through the rod, in the direction concentric with the rod, using the lathec) Ream Fiberglass rod through the rod using ¾” reamer @ 600RPM, feeding @ 2”/min. d) Use edge finder with the mill to create a datum based upon part geometry fixed in vise
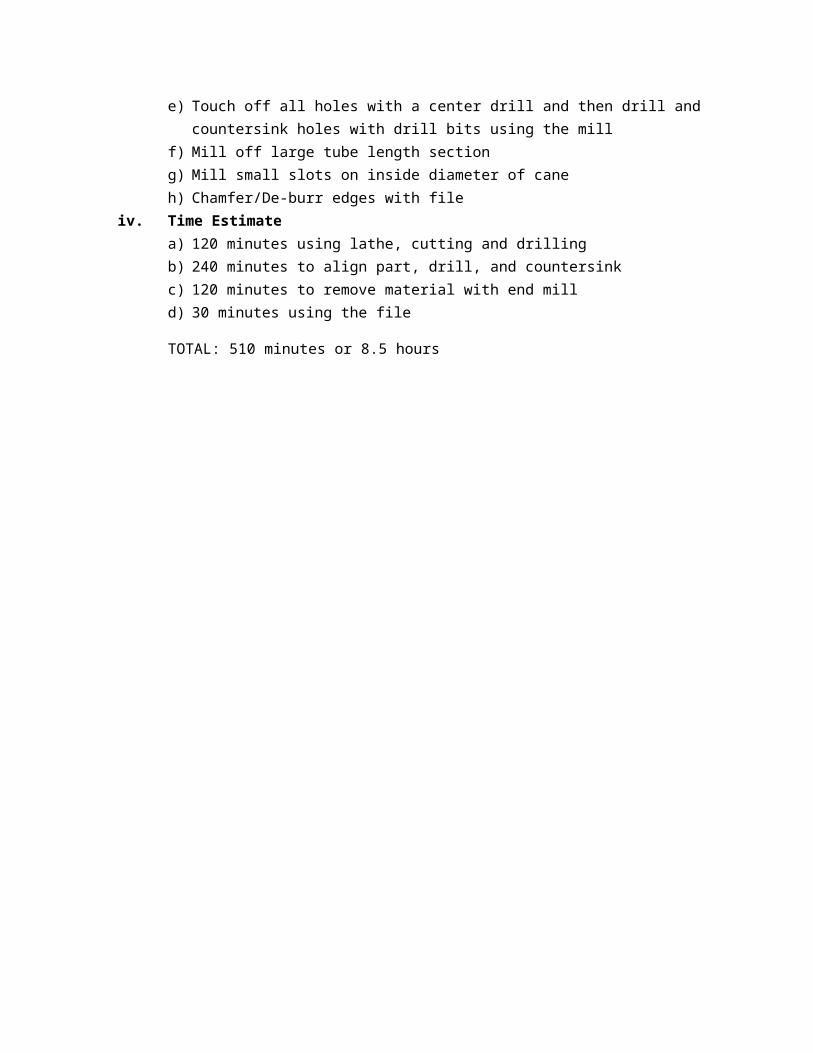
(see drawing for manufacturing dimensions)e) Touch off all holes with a center drill and then drill and countersink holes with drill bits
using the millf) Mill off large tube length sectiong) Mill small slots on inside diameter of cane h) Chamfer/De-burr edges with file
iv. Time Estimatea) 120 minutes using lathe, cutting and drillingb) 240 minutes to align part, drill, and countersink

c) 120 minutes to remove material with end milld) 30 minutes using the file
TOTAL: 510 minutes or 8.5 hours

End Capi. Tools
a) Available in Machine Shopi) Dial Calipers (0” – 6”)ii) Micrometer (0” – 1”, 1” – 2”)iii) Latheiv) Mill with vise and digital axis monitor v) Negative-Rake Carbide Insert General Purpose 1/8” Lathe tool bitvi) ¾” HSS drill bit with @ least 6” drill depthvii) ¾” Reamer bit with @ least 2” of flute length and @ least 10” overall lengthviii) ½” HSS end mill bit with @ least 1” of mill depthix) Single Edge Edge-Finderx) 0.089” HSS drill bit with @ least 1” drilling depthxi) 4-40 Cobalt Steel Hand Tap with @ least 1” thread lengthxii) 11/32” HSS drill bit with @ least 1” of drill depthxiii) ¼” 120° Hole-Starting Carbide Center Drill with @ least 0.2” drilling depthxiv) File
b) Purchase i) HSS countersink tool bit for 4-40 machine screw (82°)ii) 1/8” HSS end mill bit with @ least 1” of mill depthiii) 10.5mm HSS end mill bit with @ least 1” of drill depthiv) 15/64” HSS end mill bit with @ least 1” of mill depthv) 3/8-32 Cobalt Steel Hand Tap with @ least 1” thread lengthvi) 0.129” HSS drill bit with @ least 1” drilling depth
ii. Resourcesa) Skilled Machinist in Machine Shopb) Team Members – Aaron, Lauren, Jake
iii. Instructionsa) Cut 1.25” OD ABS rod using lathe @ 600RPM to 1” diameter and length b) Cut 1” machined rod to 0.726” OD using lathe, including chamfers (see drawing for
manufacturing dimensions)c) Use edge finder with the mill to create a datum based upon part geometry fixed in vise
(see drawing for manufacturing dimensions)d) Touch off all holes with a center drill and then drill with drill bits using the mille) Mill slots and holes f) Hand tap holeg) Chamfer/De-burr edges with file
iv. Time Estimatea) 60 minutes using lathe, cutting and drillingb) 60 minutes to align part, drill, and countersinkc) 60 minutes to mill slots and holes

d) 30 minutes to tape) 30 minutes using the file
TOTAL: 240 minutes or 4 hours

Motor Mount Platei. Tools
a) Available in Machine Shopi) Dial Calipers (0” – 6”)ii) Mill with vise and digital axis monitor iii) ½” HSS end mill bit with @ least 1” of mill depthiv) Prototrac Millv) Single Edge Edge-Findervi) ¼” 120° Hole-Starting Carbide Center Drill with @ least 0.2” drilling depthvii) Fileviii) Band saw
b) Purchase i) 0.049” HSS drill bit with @ least 0.5” of drill depthii) 0.154” HSS drill bit with @ least 0.5” of drill depth
ii. Resourcesa) Skilled Machinist in Machine Shopb) Team Members – Aaron, Lauren, Jake
iii. Instructionsa) Cut steel bar stock to 15% larger length and width dimensions than finished part.b) Use mill to make the part rectangularc) Use edge finder with the mill to create a datum based upon part geometry fixed in vise
(see drawing for manufacturing dimensions)d) Mill part to desired thickness and outer dimensions (see drawing for manufacturing
dimensions)e) Use edge finder with the mill to create a datum based upon part geometry fixed in vise
(see drawing for manufacturing dimensions)f) Touch off all holes with a center drill and then drill with drill bits using the millg) Chamfer/De-burr edges with file
iv. Time Estimatea) 30 minutes using band sawb) 60 minutes make rectangular in millc) 60 minutes to align part and mill away materiald) 60 minutes to align and drill parte) 30 minutes using the file
TOTAL: 240 minutes or 4 hours
Press Fit Bearing Tooli. Tools
a) Available in Machine Shopi) Dial Calipers (0” – 6”)ii) Micrometer (0” – 1”, 1” – 2”)iii) Latheiv) Negative-Rake Carbide Insert General Purpose 1/8” Lathe tool bitv) ¼” 120° Hole-Starting Carbide Center Drill with @ least 0.2” drilling depthvi) 0.250” HSS end mill bit with @ least 1” of mill depthvii) File
b) Purchase i) 0.39” HSS end mill bit with @ least 1” of mill depthii) 0.129” HSS drill bit with @ least 1” drilling depth
ii. Resourcesa) Skilled Machinist in Machine Shopb) Team Members – Aaron, Lauren, Jake
iii. Instructionsa) Cut 1.25” OD steel rod using lathe @ 600RPM to 1” diameter and 0.75” length b) Touch off all holes with a center drill and then drill with drill bits and mill with end mill
bits using the lathec) Chamfer/De-burr edges with file
iv. Time Estimatea) 120 minutes using the latheb) 30 minutes using the file
TOTAL: 150 minutes or 2.5 hours