getting started installing greenhills and net+os setting up the development board building the...
TRANSCRIPT
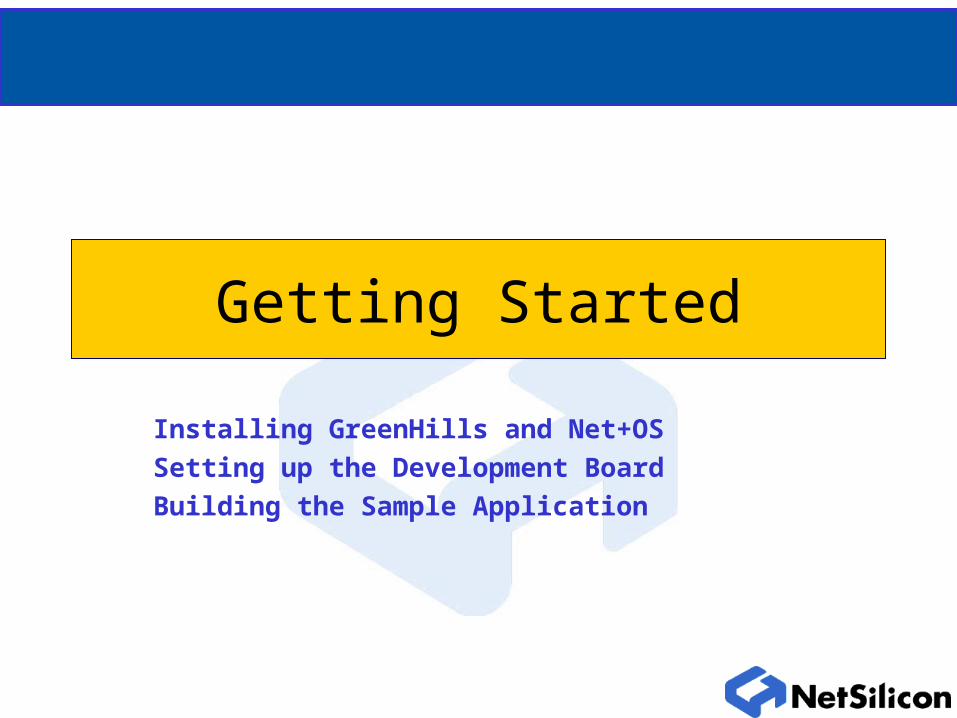
Getting Started
Installing GreenHills and Net+OS
Setting up the Development Board
Building the Sample Application

GreenHills/Net+OS Prerequisites
• Recommended workstation– >= 133 MHz Pentium-based– 120 Mb free hard drive space– >= 32 Mbyte RAM– CDROM drive– 1024 X 768, 256-color display– Mouse– Hyperterminal or similar terminal emulator installed– Windows 98 or more recent– Internet Explorer 3.01 or more recent
• Obtain IP address/gateway/subnet mask for boards (or plan to use DHCP)

Main Menu Options
SelectFirst for New
Install
SelectFirst forUpgrade
MULTI must be installed first; Net+OS install overwrites files.

GreenHills Licenses
• Duration– Evaluation
• Supplied with Development System
• Effective for 30 days
• Should be replaced by permanent in most cases
– “Permanent”• Requires P.O. Number
• Request from NetSilicon License Administrator
• Good for 180 days
• Type– Network: company buys “n” seats shared among network users– Locked to computer: keyed to individual workstation– Locked to dongle: requires hardware key that can be moved among
workstations to allow each exclusive use of product

Installing the License Key
• Must create new folder to install• Copy the attachment to the email from the
License Administrator into the new folder• Run Start >> Programs >> MULTI 2000, ARM
v2.1&v3.5 - NETsilicon's NET+ARM>>Licensing>>Install Licenses
• From the dialog box, highlight the key file and click on Install

Board Connections• Connect the RJ45 port on the development board to the
workstation’s LAN card or a hub.• Cable the board’s serial port to the workstation’s serial port
using a cross-connect cable..• Set the workstation serial port to 9600,n,8,1,HW flow.• From the front (LED’s toward you), attach the ICE at P2 with the
red stripe toward the right.• Attach the ICE interface to the workstation:
– If Raven, parallel port to workstation ECP/EPP port.
– If Jeeni, serial port to alternate workstation serial port.
• Power up the ICE and the development board.• Board reset is SW 5, near connector P5U.

Modifying the Board Configuration
• Press any key in the specified time, followed by M, to modify
• To accept current value, press Enter

• This is the main builder window
Building the First Project

• Once all files are present in project workspace, building is readily done
Building the Project

The Baseline Application
Project Configuration Files (*.bld);Source path,
System include directories, etc.
Included Libraries;ThreadX,
TCP/IP Stack,Drivers,
BSP Integration
C and Assembly
Source Files; Common to all
Projects
Linker File (*.lx);Map the
Software to the Hardware
Memory Map
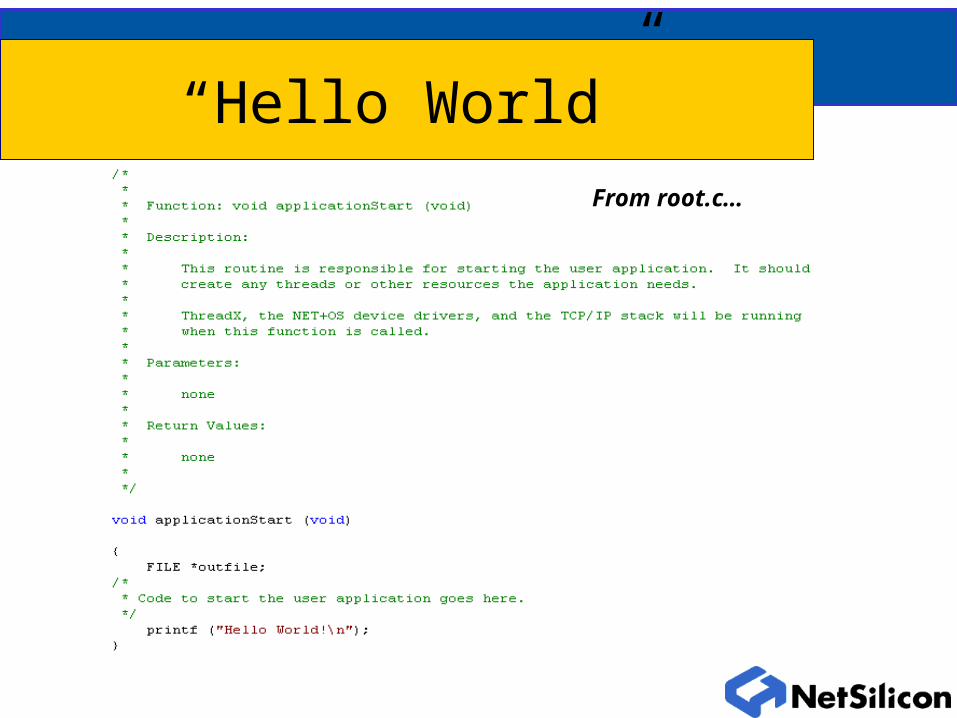
“Hello World”
From root.c…

Connecting to Target (1of 3)
• In the Builder, choose Remote > Connect to Target.

Connecting to Target (2 of 3)
• Enter OCDSERV command line.
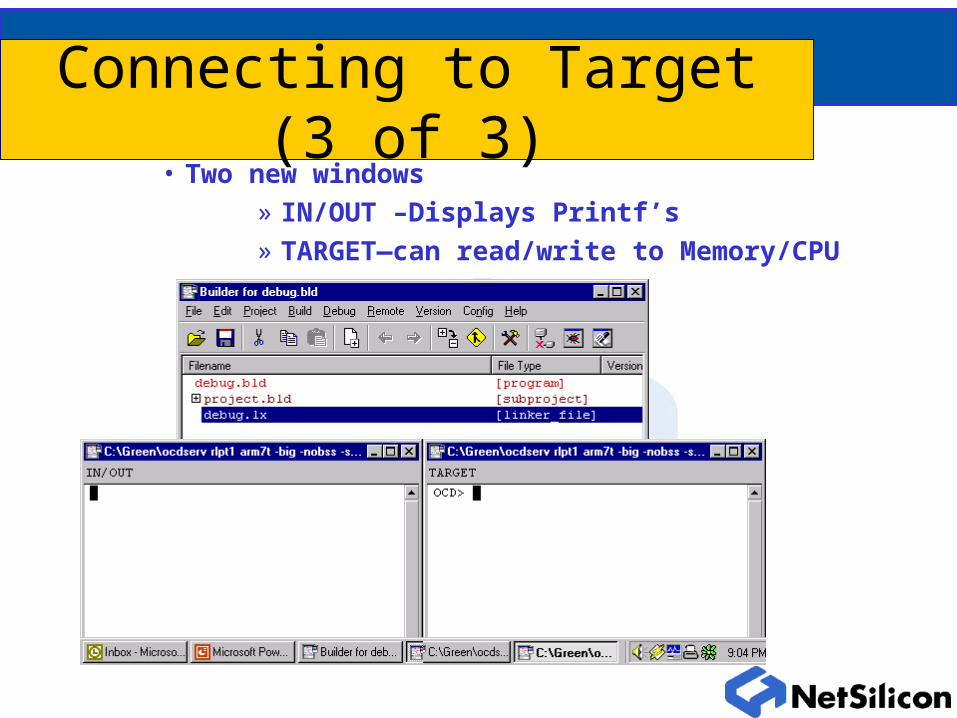
Connecting to Target (3 of 3)• Two new windows
» IN/OUT –Displays Printf’s» TARGET—can read/write to Memory/CPU

Starting Debugger
• In the Builder select Debug > debug

Download code to Target• Click “play” button or (F5)

Run Program
• Program is Running• Use breakpoints or step through code

Getting Started Summary
• Install GreenHills
• Obtain GreenHills 30-day license
• Install Net+OS
• Set up Board and Debugger
• Build and run first application
• [Order GreenHills “Permanent” License]