gail vanairsdale global clinical education manager enlite sensor insertion
TRANSCRIPT

Gail VanairsdaleGlobal Clinical Education Manager
Enlite Sensor Insertion

2 | For Internal Use Only
Enlite Sensor Insertion Objectives
1 Identify necessary supplies and system components
2 Describe appropriate insertion sites and technique for inserting Enlite sensor
Complete successful Enlite sensor insertion into model abdomen
3
At the completion of this session, participants will:

3 | For Internal Use Only
Patient Training Video

4 | For Internal Use Only
Gather Supplies
• Enlite™ Sensor• Enlite™ Serter• MiniLink® transmitter• Alcohol wipe• Sensor overtape• Sharps container
5 | For Internal Use Only
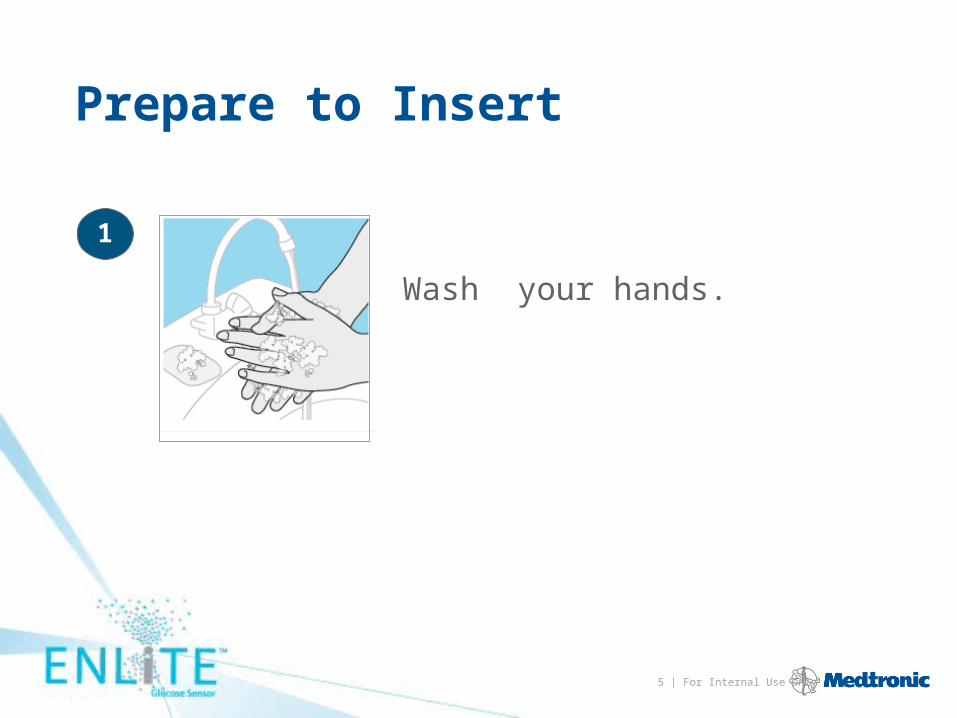
Prepare to Insert
Wash your hands.7B
1

6 | For Internal Use Only
Prepare to Insert
• 5 centimeters (2 inches) from your navel• 5 centimeters (2 inches) from your insulin pump infusion site• 7.5 centimeters (3 inches) from any manual insulin injection site
2
Select appropriate insertion site
Note: Clinical trials for glucose sensors were performed on Note: Clinical trials for glucose sensors were performed on sensor inserted in the areas shown abovesensor inserted in the areas shown above

7 | For Internal Use Only
Prepare the Site
Clean insertion site with alcohol.Let it air dry.
3

8 | For Internal Use Only
Open the Sensor Package
Open the sensor package.
Remove the pedestal from the package. Place the pedestal on a flat surface, such as a table.
4
5

9 | For Internal Use Only
Push Serter onto Pedestal
Push the Serter down until the base of the Serter sits flat on the table.
6
7

10 | For Internal Use Only
Detach Serter from Pedestal
To detach the Serter from the pedestal, place two fingers on the pedestal arms and slowly pull the Serter straight up.
Do not detach the pedestal from the Serter in mid-air, as this might damage the sensor.
8

11 | For Internal Use Only
Place Serter on Site
Place the base of the Serter flat against your insertion site.
9
WARNING: Never point a loaded Serter toward WARNING: Never point a loaded Serter toward any body part where insertion is not desiredany body part where insertion is not desired

12 | For Internal Use Only
Inserting the Enlite Sensor
10A
10B
10C
10D

13 | For Internal Use Only
Remove Needle Housing
11
Gently hold the base of the sensor against the skin. Hold the needle housing at the top and slowly pull straight out, away from the sensor.
Dispose of the needle housing in a sharps container after a single use.Do not clean or resterilize, and do not try to extract the needle from the needle housing.
WARNING: If bleeding occurs, apply steady pressure using WARNING: If bleeding occurs, apply steady pressure using sterile gauze or a clean cloth for up to three minutessterile gauze or a clean cloth for up to three minutes

14 | For Internal Use Only
Sensor Adhesive Tape
12
13
Straighten the sensor adhesive tape so that it lies flat against the skin
While holding the sensor in place, gently lift the adhesive tab. Carefully remove the bottom piece of white paper from under the adhesive pad. Press the adhesive against the skin.

15 | For Internal Use Only
Apply the Sensor Overtape
14
3
Before connecting the device, apply overtape. Do not cover the adhesive tab (1) or sensor connectors (2) with overtape (3).

16 | For Internal Use Only
Connecting the Device
15
16
Connect the device to the sensor.
NOTE: Overtape is not shown in steps 15-19NOTE: Overtape is not shown in steps 15-19

17 | For Internal Use Only
Cover with Sensor adhesive tab
18
17
19
Cover the device with the sensor adhesive tab.

18 | For Internal Use Only
Skill Practice
• Table lead will guide you through process• Two participants at a time will insert
sensors, apply overtape, and attach MiniLink, using model abdomen.
• Do NOT insert sensors into yourself, each other, or other living beings
• When you have completed your practice, remove your sensors from models and place into sharps container.
• The next pair of participants will then insert sensors.