flying creatures of the fifth day learning...
TRANSCRIPT

Please visit our website at:
www.ajourneythroughlearning.com
While there, sign up for our email newsletters and receive a FREE lapbook!
You’ll also receive great discount codes, special offers, and find out
what’s new and what’s to come!
Join us on Facebook!
We would like to give a huge thank you to Jeannie Fulbright and Davis Carman
for their permission and support of this product.
Cover design by Alex Wiggers
Clip art from www.clipart.com
Flying Creatures of the Fifth Day
Learning Lapbook™- Full Color Version
Authors: Nancy Fileccia and Paula Winget
Copyright © 2010 A Journey Through Learning
Pages may be copied for other members of household only. For group use,
please see our website to purchase a classroom/co-op license.
Copyright 2010 www.ajourneythroughlearning.com

Materials Needed
What you need to get started
*A printed copy of the Zoology 1- Flying Creatures of the Fifth Day Learning Lapbook™ - Full
Color Version by A Journey Through Learning
*Zoology 1 book by Jeannie Fulbright
*14 colored file folders
*Scissors
*Glue (We recommend Zip Dry Glue)
*Hole puncher
*Brads
*Stapler
*Crayons and/or colored pencils
To make the storage system
*Duct tape
*One 3-ring binder
How to Start
Flying Creatures of the Fifth Day by Jeannie Fulbright has 14 lessons (chapters). Each lesson
uses one colored file folder for a total of 14 folders needed to complete this lapbook. Gather your
folders and fold them so that they will be ready to use as you get to each lesson. Directions for
folding are included on a following page.
At the top of each mini-booklet page are directions concerning the construction of your mini-
booklet, pages to read from the Fulbright book (highlighted in bold text), and what your student will
record in the mini-booklet after reading to show what is learned. A small key is also here to show
you where to glue each mini-booklet into the folders.
When the first two folders are filled up with the mini-booklets, follow the directions for using duct
tape and a three-ring binder to make a storage system. Do this for all of your folders as they are
completed by the student.
In the back you will an answer key, additional reading suggestions for each lesson, and
enrichment pages.
Hamburger Fold-Fold horizontally Hotdog Fold-Fold vertically
Folds-Labeled with a small line to show where the fold is and the words “hamburger fold” or “hotdog fold.”
Dotted Lines-These are the cutting lines
Cover Labels-Some of the booklets will have a cover label that will need to be glued to the top to cover a blank space.
Copyright 2010 www.ajourneythroughlearning.com

Roll out enough duct
tape to go across the
folders lengthwise.
Put duct tape sticky side
up. Place binded edge of
lapbook on the duct tape
(no more than ¼ inch!).
Then stick duct tape to
the other side again
about ¼ inch. There will
need to be enough tape
to hole punch.
Stick duct tape into
hole puncher but be
careful not to punch
holes in your folders.
It will look like this. Store folders in 3-ring
binder.
Making a storage system for your lapbook(s)This method of storage not only keeps your lapbooks from getting lost but also keeps them
neat and readily available to show to dad, grandparents, friends, etc. When they are not being
shown off, just place the binder on your bookshelf!
1. Gather the number of
folders required for your
particular lapbook.
2. Open up each folder
and flatten it out.
3. Take the right side and
fold it all the way over
until the tab is just before
the middle crease in the
folder. Do not overlap this
crease with the tab.
Folding the folders
4. Fold the left hand-side
over just to the crease
but not overlapping it.
Your folder now has two
flaps. We like to run a
ruler down each fold to
make the fold neater and
flatter. Do steps 3 and 4
to the remaining folders.
Now it is time to begin
your lapbook.
5. When your child has
filled up the first two
folders with the mini-
booklets, take the two
folders and apply a
generous amount of
glue to their flaps. Stick
them together. Now you
are ready to prepare
them for the storage
system. Do the same for
the rest of the folders as
they are completed.
Copyright 2010 www.ajourneythroughlearning.com
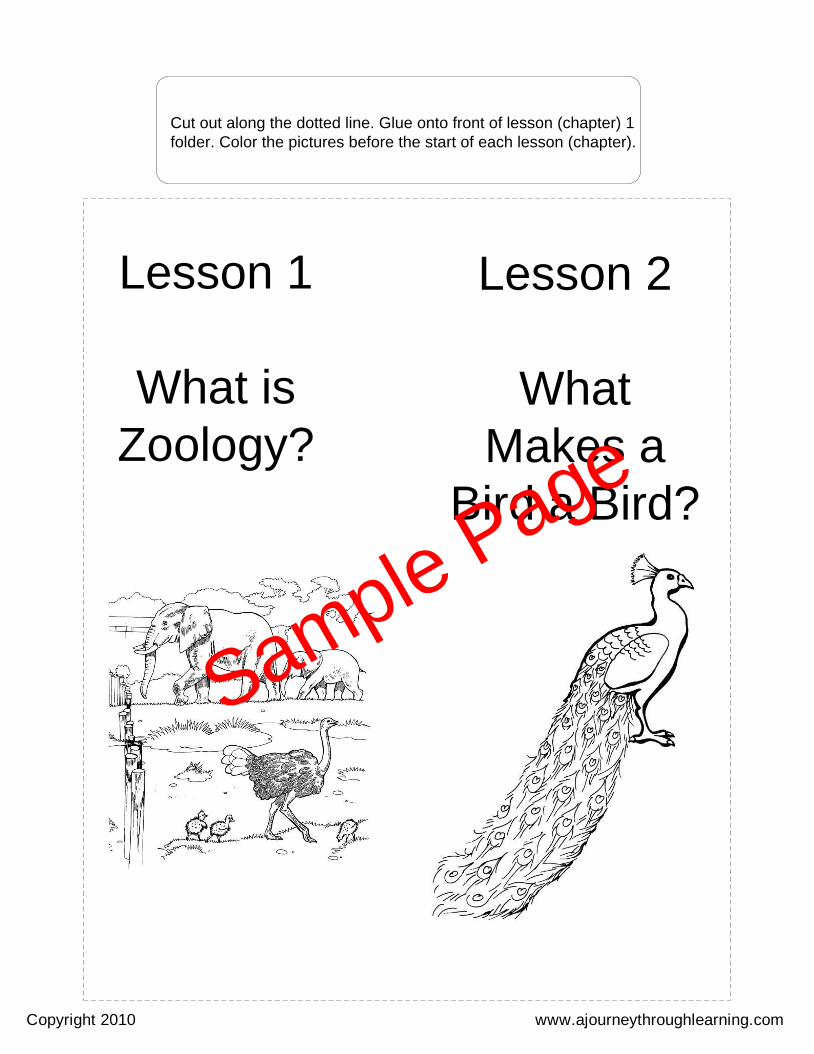
Lesson 1
What is
Zoology?
Cut out along the dotted line. Glue onto front of lesson (chapter) 1
folder. Color the pictures before the start of each lesson (chapter).
Lesson 2
What
Makes a
Bird a Bird?
Sample Page
Copyright 2010 www.ajourneythroughlearning.com
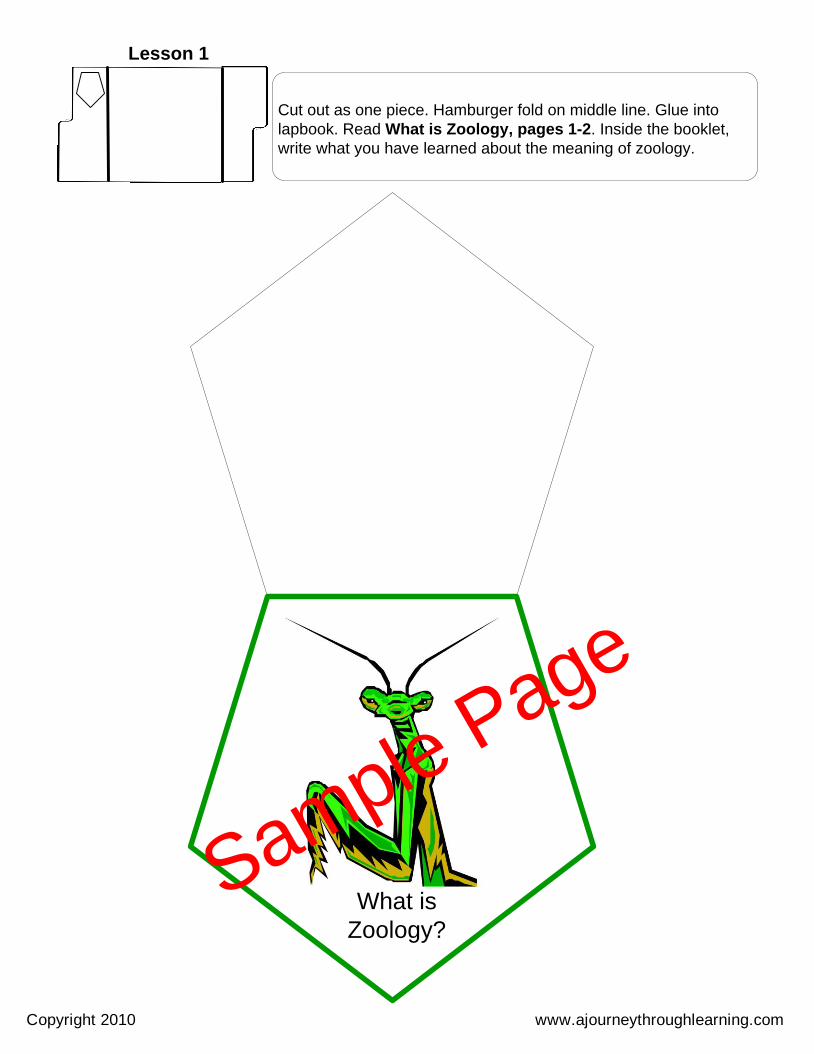
Lesson 1
Cut out as one piece. Hamburger fold on middle line. Glue into
lapbook. Read What is Zoology, pages 1-2. Inside the booklet,
write what you have learned about the meaning of zoology.
What is
Zoology?
Sample Page
Copyright 2010 www.ajourneythroughlearning.com
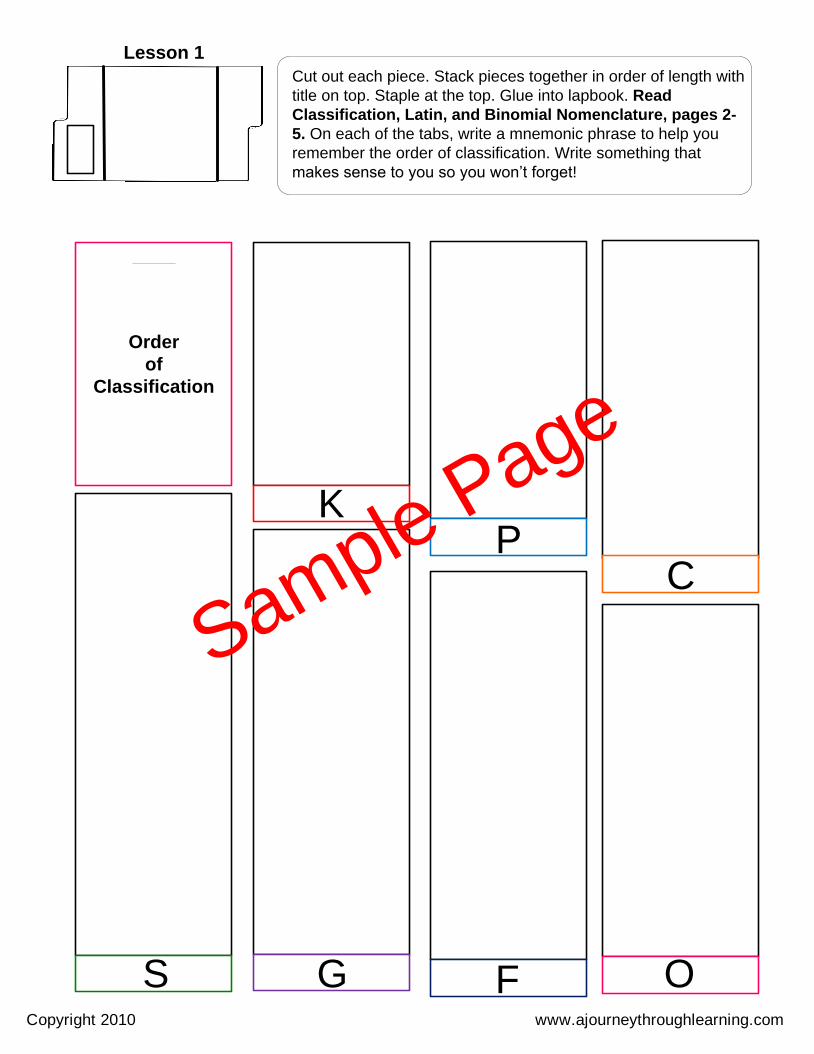
Cut out each piece. Stack pieces together in order of length with
title on top. Staple at the top. Glue into lapbook. Read
Classification, Latin, and Binomial Nomenclature, pages 2-
5. On each of the tabs, write a mnemonic phrase to help you
remember the order of classification. Write something that
makes sense to you so you won’t forget!
Lesson 1
Order
of
Classification
KP
C
OFGS
Sample Page
Copyright 2010 www.ajourneythroughlearning.com

Cut out the labels and set aside. Go to next page. Fold top
flap back and then fold over the other so that image is on
the front. Glue labels onto blank sides of booklet (one per
square). Glue booklet into lapbook. Read Flight, Uplifting
Pressure, Airfoil, and What a Drag, pages 7-8. On page
7 of your book you see a picture of a wing with air pressure
lines. Draw these lines on the wing in your booklet. Answer
the questions inside the booklet.
Uplifting Pressure
What is air pressure?
Airfoil
Describe how the shape of a
bird’s wing aids in flying.
Lesson 1
Flight
What have you learned
about air?
What a Drag
What have you learned
about drag?
Sample Page
Copyright 2010 www.ajourneythroughlearning.com

Flight
Sample Page
Copyright 2010 www.ajourneythroughlearning.com

Habitats
Lesson 1
Cut out the two pieces. Cut out
the dotted insert. Stack the
pieces on top of each other and
fasten with a brad so that the
top piece turns. Glue into
lapbook. Read Habitats, pages
12-13. Draw different animal
habitats that you read about in
the squares.
X
Cut out
X X
Sample Page
Copyright 2010 www.ajourneythroughlearning.com

Cut out the booklet as one piece. Glue into
lapbook. At the top of page 14 is a
beautiful bible verse that speaks of the
instinct of animals. Copy the bible verse
on the lines using your very best
handwriting.
“It is by your understanding that the hawk soars,
stretching its wings toward the south?”Job 39:26
Lesson 1
Sample Page
Copyright 2010 www.ajourneythroughlearning.com

Cut out as one piece. Hamburger fold on middle line. Glue
into lapbook. Read Instinct, page 14. A bird’s nest was
mentioned as an example of instinct in your reading. Inside,
write what you have learned instinct means.
Lesson 1
What is
instinct?Sample Page
Copyright 2010 www.ajourneythroughlearning.com
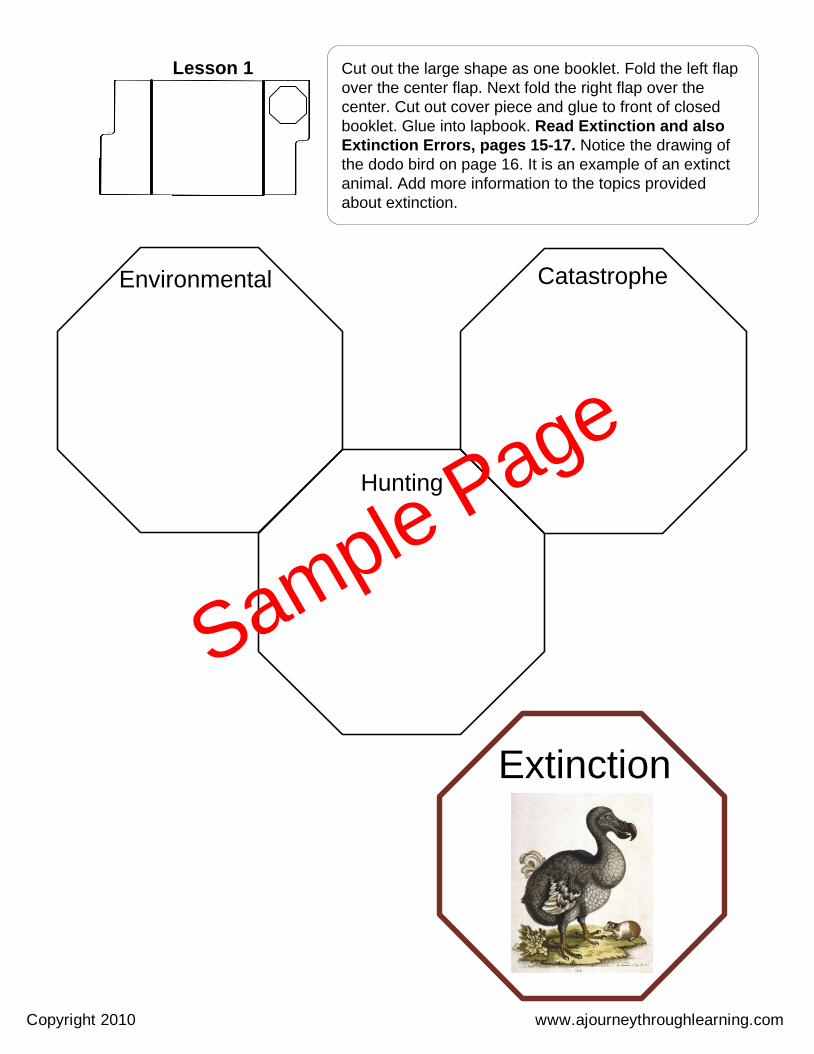
Cut out the large shape as one booklet. Fold the left flap
over the center flap. Next fold the right flap over the
center. Cut out cover piece and glue to front of closed
booklet. Glue into lapbook. Read Extinction and also
Extinction Errors, pages 15-17. Notice the drawing of
the dodo bird on page 16. It is an example of an extinct
animal. Add more information to the topics provided
about extinction.
Environmental Catastrophe
Extinction
Hunting
Lesson 1
Sample Page
Copyright 2010 www.ajourneythroughlearning.com
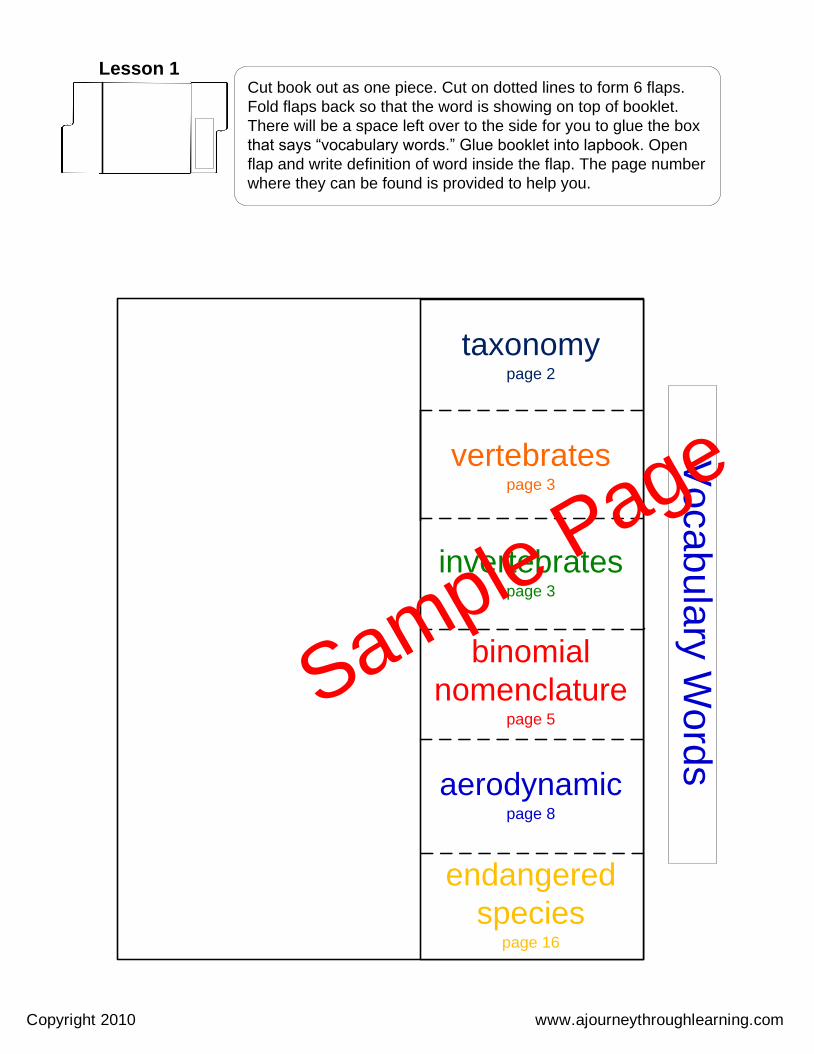
Cut book out as one piece. Cut on dotted lines to form 6 flaps.
Fold flaps back so that the word is showing on top of booklet.
There will be a space left over to the side for you to glue the box
that says “vocabulary words.” Glue booklet into lapbook. Open
flap and write definition of word inside the flap. The page number
where they can be found is provided to help you.
Lesson 1
taxonomypage 2
vertebratespage 3
invertebratespage 3
binomial
nomenclaturepage 5
aerodynamicpage 8
endangered
speciespage 16
Vo
ca
bu
lary
Wo
rds
Sample Page
Copyright 2010 www.ajourneythroughlearning.com

Lesson 1
What is Zoology- The study of animals. Page 1
Order of Classification- answers will vary. Pages 2-4
Flight-What have you learned about air- Answers will vary. Page 6
Uplifting Pressure- What is air pressure-The pressing of air against you. Page 6
Airfoil- Describe how the shape of a bird’s wing aids in flying- Because the top of the wing is curved, the air
moving over the top of the wing has further to go and must move faster than the air below the wing. Fast- moving air
cannot exert as much pressure as slow-moving air. This pressure difference lifts the wing. Page 8
What a Drag-What have you learned about drag- Answers will vary. Pages 12-13
What is instinct- Instinct is a built in need to do something for survival. It is a special gift from God. Page 14
Extinction-Environmental-Changes in the environment like a drought, long time of cold weather, Hunting- Many
animals are killed by hunters or their habitats are destroyed. Catastrophe- A widespread disaster like the worldwide
flood described in Genesis. Pages 15-17
Vocabulary
Taxonomy-used to group and name all living things. Page 2
Vertebrates-animals that have a backbone. Page 3
Invertebrates-animals that do not have a backbone. Page 3
Binomial Nomenclature- A two name system that scientists use to classify animals. It includes the genus and the
species. Page 5
Aerodynamic- can travel through the air without a lot of drag. Page 8
Endangered Species-animals that are dying out and might become extinct. Page 16
Answer Key
Copyright 2010 www.ajourneythroughlearning.com