fabrication and mechanism design
TRANSCRIPT

Fabrication and Mechanism Design
A n a s t a s i a S c h a u e rW o o d r u f f S c h o o l o f M e c h a n i c a l E n g i n e e r i n gG e o r g i a I n s t i t u t e o f T e c h n o l o g yA t l a n t a , G e o r g i a U S A

Learning Objectives
• Understand how and why to use CAD before and during conceptual design and prototyping
• Demonstrate proper material selection for ME2110 machines• Comprehend joining and fastening methods and general
fabrication tips• Review how to avoid common ME2110 mistakes based on
lessons learned from previous semesters

ME2110 is Practical Design
• Projects can be time-consuming• Part of your grade relies on your ideas actually working:
successful designs have good ideas and good construction• Construction must be feasible with the tools that are available• Your group may have varying skill sets; you can choose tools
and manufacturing methods accordingly• Construction needs to be well-executed

Design Process
Design tools – HoQ, specification sheet, function tree
Competition document
Morphological chart, selection matrix
CAD, prototype, test
Design discussion, reports, sprints
Iterative design

CAD and Conceptual Design
• Why use CAD?– Locate and orient subsystems and parts– Enhanced visualization– Fast concept generation by combining existing concepts– File sharing for co-operation and communication– Detailed design can proceed from conceptual models– CAD models easily evaluated with engineering tools (e.g. FEA)– Leads directly to rapid prototyping processes for fabricating parts
(Invention Studio)

Drawbacks to CAD
• Lack of up-front hands-on experience• It can be challenging to ensure that concepts are physically
manufacturable or assemble-able in the real world• Cannot test certain effects without making assumptions• Balance physical testing with CAD

CAD and Prototyping
• Trade-off involving time and effort: upfront design and CAD vs. building and tinkering
CAD: ~15 hoursManufacture: ~3 hoursAssembly: ~15 minutes

CAD Tips
• McMaster-Carr for standard parts and hardware
• Thingiverse and GrabCAD for inspiration or more complex parts

Manufacturing Methods

Rapid Prototyping – Laser Cutter
• Used for 2D cuts• Can cut through up to 0.5” wood (0.25” is
optimal)• Typically used for wood and some plastics• Also consider the waterjet if you need to cut
through thicker material – works for plastic, metal, hardwood

Laser Cutter
Appropriate for:• Cutting curves or complex
geometry• When high precision and
repeatability is needed• Gears!
Less appropriate for:• Cutting straight edges
(consider using band saw instead)
• Many plastics• Thick materials

Laser Cutting Examples

Laser Cutting – Gears
• The gear toolbox in Solidworks is a great, easy resource to use
• There are many gear generator websites that can calculate the pitch diameter, # of teeth, gear ratios, etcfor you– https://geargenerator.com/– http://hessmer.org/gears/InvoluteSpurGearBuil
der.html– http://www.jeromeleary.com/gears/

Laser Cutting – 2D to 3D
• Finger joints, hardware, glue– Width of finger joint
should typically be the thickness of the material
– Due to laser kerf giving clearance, interlocking parts can generally be dimensioned to the same size

Rapid Prototyping – 3D Printing
• The IDEA lab printers are Ultimaker 2+ that use Fused Deposition Modeling with PLA filament
• Print STL files exported from CAD programs

3D Printing
Appropriate for:• Making a new part to
interface with existing parts (ex motor mount)
• Parts with complex 3D geometry
• Interlinked assemblies
Less appropriate for:• 2D objects (gears)• Boxes or other items that
can more easily be made by assembling 2D parts

Good Use of Printing for ME2110
• Custom parts with complex 3D geometry
• Interfaces with mechatronics components

Rapid Prototyping – Boxes
• 3D Printing: warped, slow • Laser Cutting: fast, flat, accurate

Materials

Common Materials – Wood
• Natural Wood– Hardwoods are more stable and less likely to
warp than softwoods– Cons: expensive
• Manmade Wood Products– Low cost– MDF (Medium Density Fiberboard) is a good
choice for ME2110– Pilot holes are critical to keep the material
from falling apart– Plywood (or OSB) is not good for laser
cutting due to the adhesives

• PVC– Rods and pipes– Inexpensive, easy to work with
• HDPE– Mainly flat sheets or round stock– Formerly used in 2110 as motor couplings
• Key use for 2110: linear or rotational bearing surfaces– Low coefficient of friction against most
materials
Common Materials – Plastics

Common Materials – Metal
• For products requiring a long lifetime• Waterjet can be used to cut sheet metal
to shape• Potential uses in 2110: aluminum rods
for shafts or 80/20 extrusion for structure
• Cons: expensive, there are no metal-working tools in the IDEA lab

Joining

Common Methods
• Nails– Good in shear, not in tension
• Screws– Draws two pieces of wood together, good for
tension, may break under shear forces• Nuts and bolts
– Draws two pieces together through an oversized hole, can be disassembled and reassembled
• Glue• Soldering
– Make sure electrical connections are stable

Screws
• May need to countersink heads
• Drill pilot hole first– Top piece of wood
should be clearance hole, bottom should be pilot hole
– Drill pilot holes one at a time to account for misalignment

Nuts and Bolts
• Holds two pieces together, requires clearance holes through both materials
• Keep in mind that with a standard hex bolt, you will need two separate wrenches to tighten it
• Locking– Common: nylock nuts and lock washers (must be
used appropriately with a washer)

Glues
• Wood glue– Stronger than screws due to total surface adhesion– Must be left to cure and dry overnight (clamped), can be messy, very
permanent• Hot glue
– Can be a good temporary fastening method for rapid experimental prototyping
• Epoxy– Good for joining 3D prints– Not to be used to mount/couple mechatronics components!

Joining Corners
• Use corner clamps and squares

Joints with Motion
• With only one fastening point (rather than two), you have a pin joint
Links
Pin JointNut
Jam Nut
Washers
Bolt
Bushingor SleeveBearing

Joints with Motion
• Rotational Constraints– Hinges– Lazy Susan– Pillow block bearing– Sleeve bearing
• Translational Constraints– Drawer slider– Linear bearing

ME2110 Tips

Mechanisms
• Simple Machines (Archimedes) – ways to gain a mechanical advantage to multiply a force– Lever– Wheel and axle– Pulley– Inclined plane– Wedge– Screw

Robot Design Tips
• Wire management– Wires can easily catch on bolts, screws, zip
tie ends, or any moving parts on your robot– Heat shrink, zip ties, twist ties, spiral covers
• LED Feedback– Use the built-in LEDs to indicate the status
or state of your system, indicate a chosen protocol, etc

Robot Design Tips
• Sensors– Check out other sensors, such as a light-sensitive
diode, ultrasonic range finder, or encoder– Check solder joints and use heat shrink or
electrical tape on critical joints

Common Mistakes
• Don’t build without a plan– Always CAD first!
• Slanted or not-sturdy frames will cause trouble later on• Duct tape is not a fastener!• Modify your mousetraps – the springs are a great component,
but the rest is weak• Don’t overuse string; it can tangle and snag easily• Regularly inspect and maintain your machine• Coupling and mounting motors and actuators

Common Mistakes
• Don’t wait until the last minute to use equipment – especially with the reservation system for printers/laser cutting
• Always test multiple times, in different conditions (different tracks, lighting conditions, etc)
• Design fixation: don’t get stuck on a design just because you’ve spent a lot of time on it already
• Gears not meshing or wrong gear ratio• Consider trade-offs – when does it become worth it to
purchase a component rather than design and manufacture it?

Summary
• Use mechanisms and joining methods to create capable designs– Simple machines, constrained mechanisms
• Select appropriate materials and prototyping methods– Choose a strategy that works for the strengths of your team
• Plan and design your device thoroughly before you begin to build– Design for manufacturing, design for assembly

Appendix & Additional Resources

Other Sources for Standard Parts
• 507 Mechanical Movements– http://507movements.com/
• ServoCity– https://www.servocity.com/
• SDP/SI– https://shop.sdp-si.com/catalog/
• MISUMI USA– https://us.misumi-ec.com/
• Application Library– https://us.misumi-ec.com/us/ideanote/

Laser Cutting: BoxesMakercase• Box shape (basic/polygon/bent)• Box sizes (width/height/depth)• Material thickness• Box type (open/closed)• Edge joints (flat/finger/t-slot)• Finger size / # bendsLinks• https://www.festi.info/boxes.py/index.html• https://makeabox.io/• http://jeromeleary.com/laser/
https://www.makercase.com/

Laser Cutting: Part Nesting
What is part nesting?• Rearrange individual components on raw
material layout so to limit bounding box and to share cut lines between them
• Save time on fabrication• Save material (e.g., trim loss)• Manual nesting vs optimized nesting
Links• https://deepnest.io/ (Mac, Windows, Linux)• https://svgnest.com/ (web-based)

Good Example: AXE (Fall 2019)
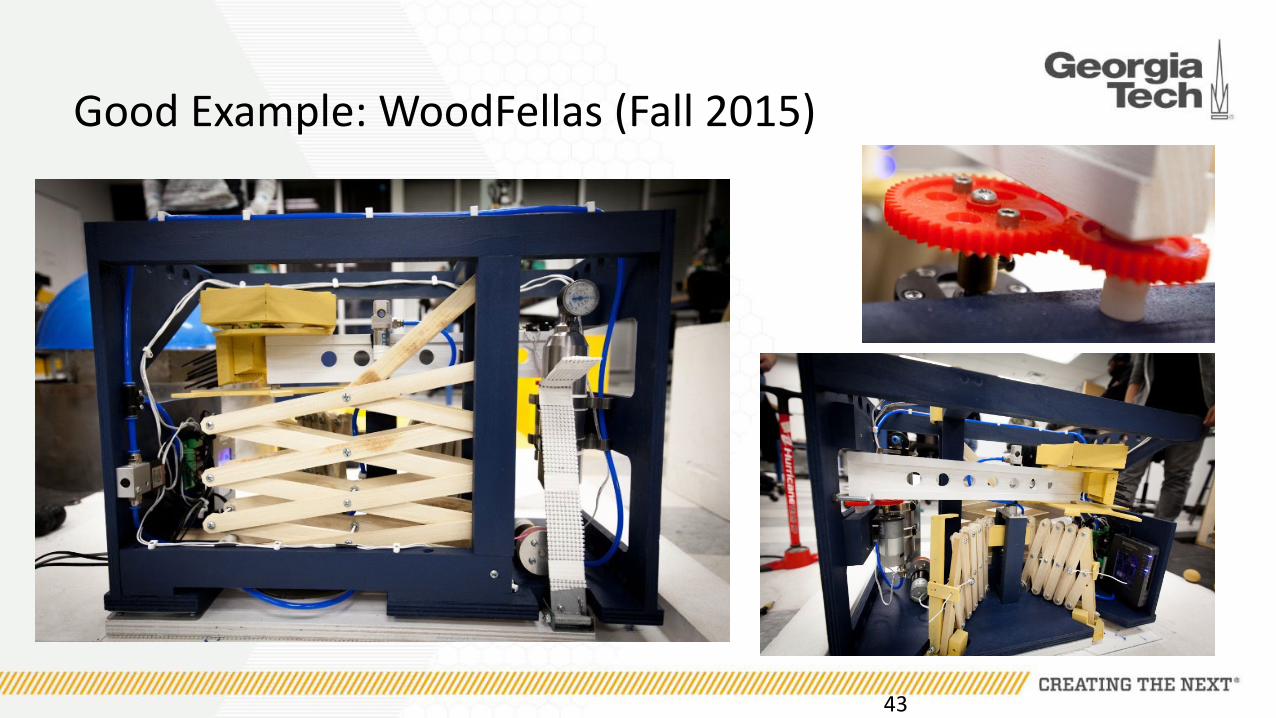
Good Example: WoodFellas (Fall 2015)
43