exploration unit plan: ceramics
TRANSCRIPT

Unit Plan: Ceramics Exploration
By Makayla Ndu
Table of Contents
1. Description 11. Second Project: Coiled Structure2. Introduction 12. Assessment: Quiz3. Introduction Continued 13. Third Project: Illusions4. Ceramic Artists 14. Review
a. Betty Woodman 15. Examb. Jun Kaneko 16. Reflectionc. Rosanjin 17. Critique
5. Tools6. Safety7. Techniques8. First Project: Geometric Shapes9. Kiln
10. Glaze

Unit Plan: DescriptionGrade: 11th (16-17 year olds)
Class Time: 45 Minutes
Classes Meet: Monday and Friday
Objective: In this unit students will explore a series of building and glazing techniques that
involve the use of clay. They will take from prior knowledge and new knowledge in order to complete three major projects using three main techniques, pinching, coiling and sculpting. Students will understand the flexibility and fragility of ceramic work and the different phases the material goes through. Key elements and principles such as form, texture, rhythm and variety will be discussed throughout each lesson. What inspired this unit was the lack of knowledge students had on ceramics and the amount of schools that don’t teach ceramics. The importance of ceramics is the process itself and the reusable aspect (from the earth) that other materials do not have. Its ability to be its own adhesive and its functional use as a food safe surface to artwork in a gallery. This material has no age limit and helps with the development of fine motor skills. The students will take part in teaching the lesson by asking questions and demonstrating techniques to give them a sense of responsibility and leadership in a classroom. Students excel further with a hands on approach and retain information better when they are performing the action themselves.

Introduction of Ceramics● What is clay?
○ Natural rock or soil material
● Where is it found?
○ On the surface of the earth
○ South Carolina
● What is it made out of?
○ Kaolinite
● What do we use it for?
○ Dinnerware
○ Artwork
○ Construction
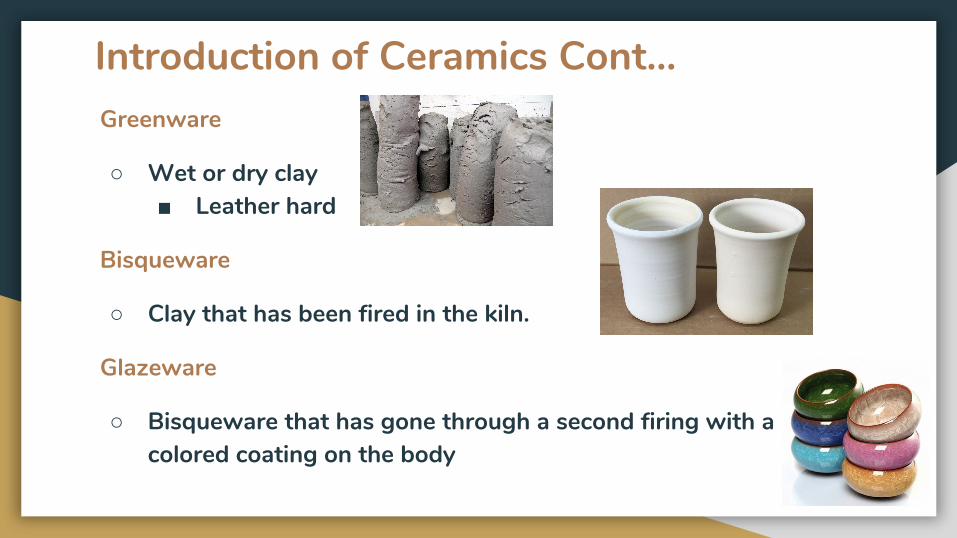
Introduction of Ceramics Cont...Greenware
○ Wet or dry clay■ Leather hard
Bisqueware
○ Clay that has been fired in the kiln.
Glazeware
○ Bisqueware that has gone through a second firing with a colored coating on the body
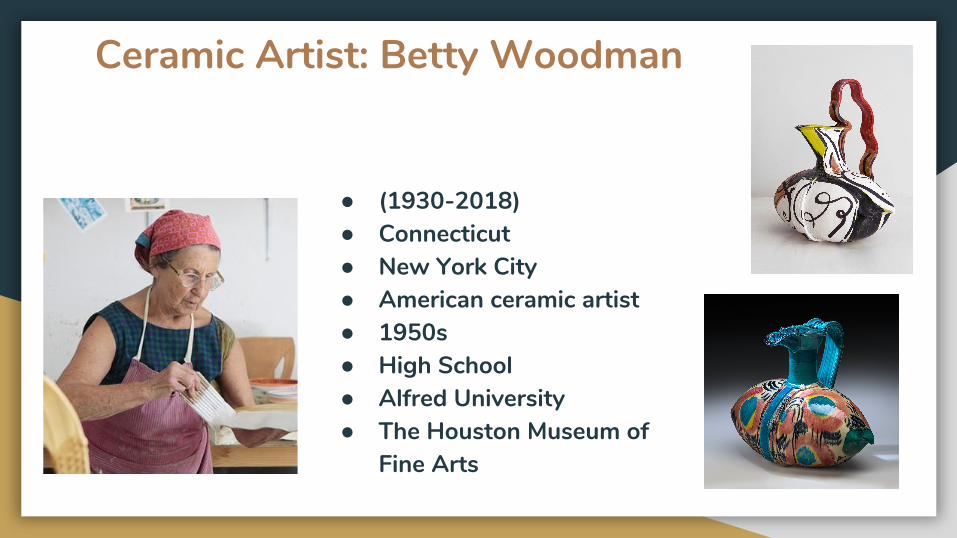
Ceramic Artist: Betty Woodman
● (1930-2018)● Connecticut● New York City● American ceramic artist● 1950s● High School● Alfred University● The Houston Museum of
Fine Arts

Ceramic Artist: Jun Kaneko
● (1942- present)● 76 years old● Japan● Japanese ceramic artist● Abstract surfaces● Royal college of art,
London● University of California
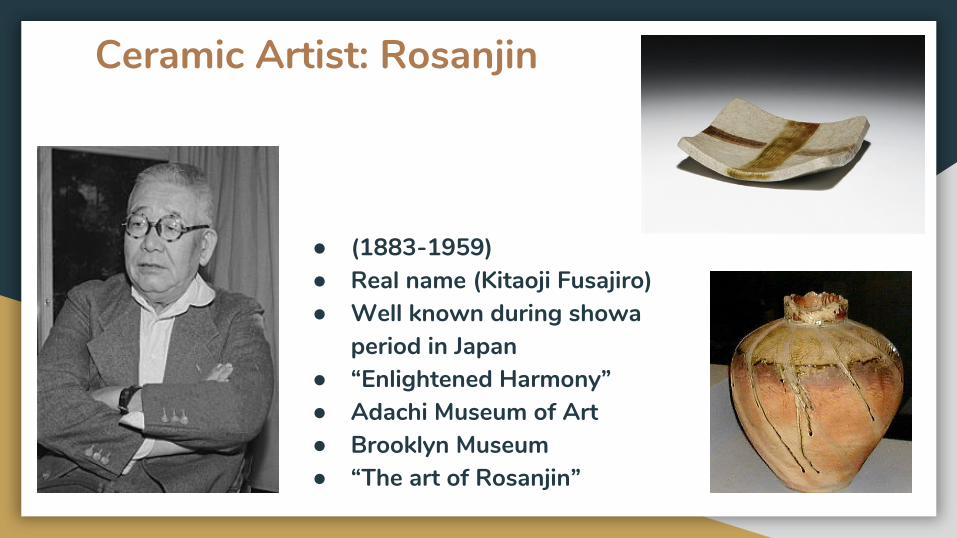
Ceramic Artist: Rosanjin
● (1883-1959)● Real name (Kitaoji Fusajiro)● Well known during showa
period in Japan ● “Enlightened Harmony”● Adachi Museum of Art● Brooklyn Museum● “The art of Rosanjin”

Tools
● Modeling tools● Loop tools● Needle tools● Trimming tools● Fettling knife● Rib● Sponge● Clay cutter

Safety
● Never touch food or drinks with hands covered in clay.
● Always wear a mask when sanding bone dry clay or mixing clay
● How to handle sharp tools.● Always pay attention when using a needle tool.● Proper use of the clay cutting tool.● Clean up table after clay use.● Never mix greenware and bisqueware together.● Always wear an apron to avoid a mess.

Techniques
● Pinching○ In a circular motion, gently pinch the clay as
you turn it.● Coiling
○ A series of long, rolled pieces of clay to build a form.
● Throwing○ Making pots on a ceramic wheel that turns
when you press on the pedal.● Wedging
○ Kneading clay to get rid of air bubbles before use.
● Score and Slip○ A series of marks on the parts being
attached with a liquid mixture of clay and water as the adhesive.
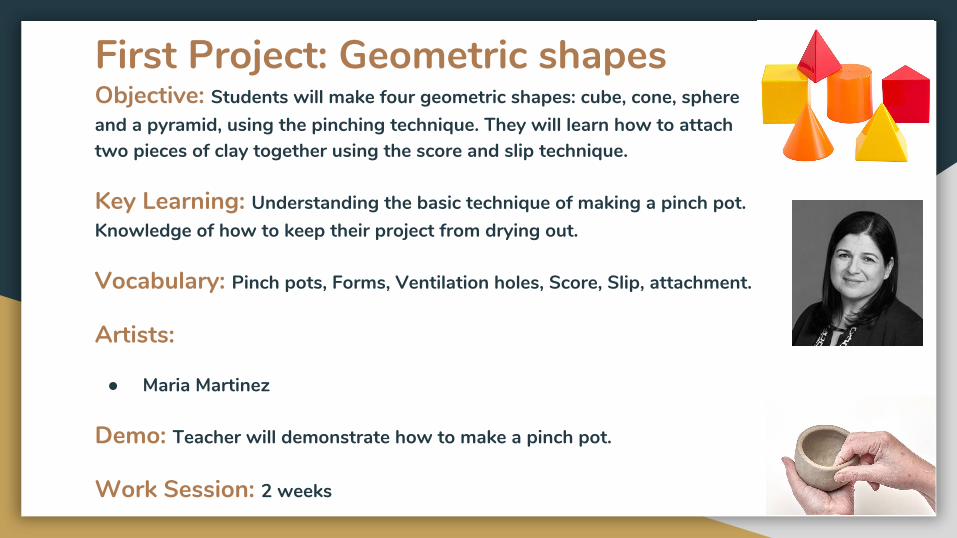
First Project: Geometric shapesObjective: Students will make four geometric shapes: cube, cone, sphere and a pyramid, using the pinching technique. They will learn how to attach two pieces of clay together using the score and slip technique.
Key Learning: Understanding the basic technique of making a pinch pot. Knowledge of how to keep their project from drying out.
Vocabulary: Pinch pots, Forms, Ventilation holes, Score, Slip, attachment.
Artists:
● Maria Martinez
Demo: Teacher will demonstrate how to make a pinch pot.
Work Session: 2 weeks

Kiln
● What is a kiln?● What is it used for?● How long does it take for one firing?● What temperatures do we fire clay at?
○ Bisqueware○ Glazeware
● Demo○ Students will be present as the teacher demonstrates how to
operate the kiln and its functions. They will have a hands on experience of loading the kiln, giving them the responsibility of their own work.

GlazeObjective: Students will learn how to apply glaze to their bisqueware pieces. Safety precautions and techniques will help prevent students from damaging their work in the kiln.
● What is glaze?● How do we apply glaze?● What are some safety rules for glazing?
○ Glaze must not cover the bottom and should have a ¼ of an inch clean on the bottom.
○ Never use glaze on greenware○ Be aware of what glaze is on your project (Dinnerware safe)○ Do not paint multiple layers of glaze, this can cause glaze to run
and spill onto the kiln shelf.○ Do not mix glazes together in a cup or in the bottle.○ Always mix or shake glaze, the chemicals settle at the bottom
from lack of use.
● Demo○ Students will be shown the proper way of applying glaze to
their project and what happens if done incorrectly.

Second Project: Coiled StructureObjective: Students are to make an object from their environment or personal interest using the coiling technique.
Key Learning: Understanding and exploring their environment using another clay technique, coiling. The importance of scoring and slipping.
Vocabulary: Balance, Coiling, Score, Slip, Attachment
Artists:
● Louise Goodman
Demo: Teacher will demonstrate how to make the base of their form and how to make a coil.
Work Session: 4 weeks

Assessment: Quiz
● Determine where students are in understanding the material covered so far in the unit plan.
● A quiz will assess as a class, what the students are excelling at and what the students are still struggling on comprehending.○ Example (5 short answers)
■ Name the three phases of ceramics■ What is clay?■ What are some techniques?■ What is a kiln?■ What is glaze?
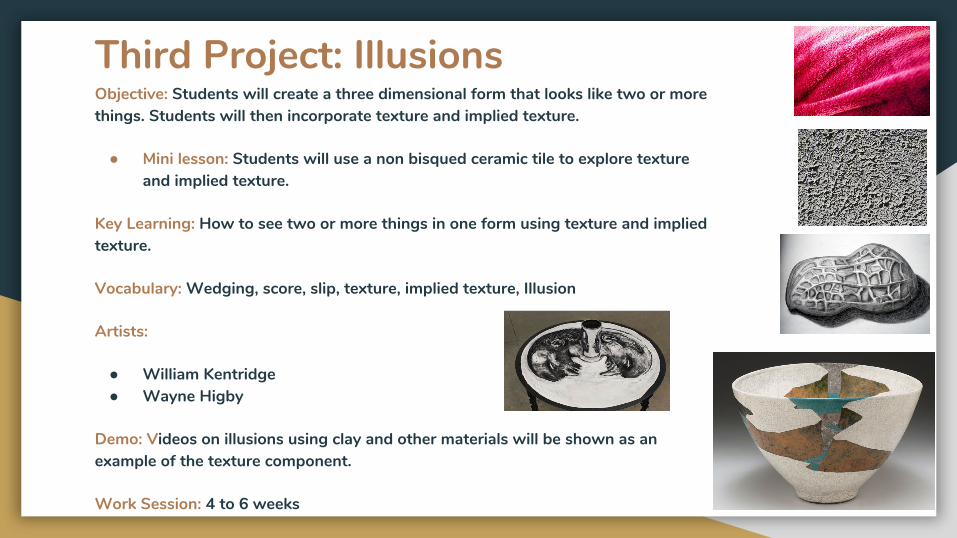
Third Project: IllusionsObjective: Students will create a three dimensional form that looks like two or more things. Students will then incorporate texture and implied texture.
● Mini lesson: Students will use a non bisqued ceramic tile to explore texture and implied texture.
Key Learning: How to see two or more things in one form using texture and implied texture.
Vocabulary: Wedging, score, slip, texture, implied texture, Illusion
Artists:
● William Kentridge ● Wayne Higby
Demo: Videos on illusions using clay and other materials will be shown as an example of the texture component.
Work Session: 4 to 6 weeks

Review
Review the material that was covered throughout the unit to ensure students have an understanding of the material before the exam. This will help determine who needs to study or any confusion of a specific section on the material taught. Exam on what they learned overall, based off of review.
Question examples:
● What is clay?● What are the phases?● What are some safety rules?● What are some techniques used in clay?● What kind of tools do we use for clay and for what?

Exam
Exam on what they learned overall, based off of review from the previous class. This will assess students knowledge and the strengths and weaknesses throughout the unit plan.
● 30 Multiple choice questions (3pts)● 2 Short answers (5pts)

Reflection
Objective: Students are to answer questions about their work and critique themselves before the class critique.
● Students take a moment to look at their finished work.
○ On a piece of paper, students will answer the following questions:
■ What is my strong point in this project?
■ What is my weak point in this project?
■ What would I change/improve on the project?
○ Gives students a chance to critique their own work and self reflect.

CritiqueObjective: Students are to go around the room with the provided sticky notes and write what they find interesting, some suggestions and improvements their peers can make on their project. As a class, we will do a walk through to discuss them in further detail.
● Sticky notes○ Students write down their suggestions and critique on a sticky note for each student.○ With sticky notes, students can look at some of the suggestions seen around the room and
think about what they might do to their own work.○ Knowledge on how to critique will be given to ensure students understand the benefits of
taking suggestions on improvements for their projects.● As a class, we will go around and discuss each work and give students a chance to talk about
their work.○ Which one did you enjoy most?○ What would you have done differently?