enviro collective guide to succulents and bushwalking
DESCRIPTION
UNSW Environment Collective's Guide to Succulent Sourcing and BushwalkingTRANSCRIPT

By Kalina Knight

Intro to this Zine
So you may or may not have a succulent in your
possession right now from the enviro collective. If
so, know that we stole that succulent - and from
one of many houses around UNSW.
This zine is an introduction to the basics of how to
get your own free succulents growing.
Succulents are great. They’re really trendy, hard to
kill and easy to keep in a small pot, i.e. student
fodder. They’re charac-
terised by thick fleshy
leaves that are there to
store water i.e. think
cactus, think aloe vera.
I wrote this zine to en-
courage people to take
advantage of what they
can get for free - which
sometimes might entail
stealing, depending on
how you define it. This
is especially true when it
comes to plants, as many
(like succulents) can grow from clippings or bud
off as they grow.

Germinating Herbs like Pro (lol jks, amateur city)
This applies to the seeds we’re giving out, but it’s a
good general guide.
You will need:
- some small pots/vessels
- a warm sunny room
- plastic bag or cling wrap
- decent soil (ideally free compost or potting mix)
The general idea is that they need to stay at a
stable temperature and moisture content.
Instructions:
1. Fill pots up to 2cm below the rim with soil
2. Spread your seeds about 2cm apart and sprinkle a
very thin layer of soil over the top (about 5mm).
3. Water in and cover the top of the pot with the bag
or cling film (this will help regulate the moisture and
humidity), keep the soil moist, but not wet.
4. Take cover off as soon as green shoots appear to
avoid fungus taking over, AND voilà you now have a
herb growing. Keep them in a light (but not full sun
position) until the ‘true’ leaves have formed and then
you can move them to their final position.

So How to Actually Do the Stealing and the Propagating of the Succulents
You will need:
- Succulent cuttings - get as many as you want and try and find variation as it ends up looking way more profesh. - Soil - you don’t need to buy this, just dig some up from somewhere - Sand or gritty stuff - same amount as the soil - Small pebbles (optional but recommended) - Smallish pots/vessels - use your creativity here, they just need some drainage holes
Instructions
Step 1
Find succulents. Preferably a bigger plant so that you don’t kill it by tak-ing a clipping. If it’s in someone’s yard you can ask first (or not, it’s up to your discretion) whether you can have a clipping, but if it’s on public land go for it. I recommend looking around your local neighbour-hood first, and if you don't have any luck try a public park or more coastal/beachy/swanky area in say the eastern suburbs of Sydney for example.

Step 2
Actually get a clipping of the desired succulent. This is the hardest part where you need to get over your embarrassment of taking random clippings of plants in public - this is the only way you can get them for free. You can use scissors (the cleaner cut avoids fungal infection) or just break it off; aim for about 5-10cm of stem and go for newer, smaller growth as it’ll take better.
Step 3
Dry the cutting for 1-2 days in a dry, well ventilated area. Outside, undercover and out of direct sunlight will do the job. This will allow the stem to form a seal so that the succulent doesn’t get a fungal infec-tion from the soil and die (i.e. it gets all soft and liquidy then finally collapses, it’s gross and sad). Step 4 Actually get together the rest of the materials. Step 5
Make your potting mix out of the soil and sand/grit, just mix it together 50/50. This will give the little guy good drainage as to not rot and die.

Step 6
Ideally you’ll have some sort of small pebbles in which case you want to fill the bottom third of your pots/vessels with them (if not don’t worry, just skip this). Then top it up to about 1-2cm below the rim with your soil mix. Step 7
Figure out how you want to arrange the succulents you have in the pot(s) - try to vary the colour and height of them. Once you’re happy that they’re in maximum instagram glory configuration use your finger to make a hole deep enough for the stems and put your succulents into place. Press down the soil around them so that they stay in place but aren’t too tightly packed.
Extra: If you like the look you can add a layer of pebbles on top of the soil for prettiness and a bit of protection from evapora-tion.
Step 8
Water them in and allow them to drain. Only water again once the soil starts to feel dry, you don’t want to overwater and kill them with love, I promise you it’s soul crushing.

From here they need to get rooted and you know they’ll have done that once they start producing new growth - about 4-6 weeks. In terms of long term care, most succulents like sun-ny positions (but not all) and make sure you water them more often (but not to much, still stick to the dry rule) in summer while it’s hot and barely at all over winter.
Step 9 Enjoy your pots/vessels of love.
Turn over for our short guide to
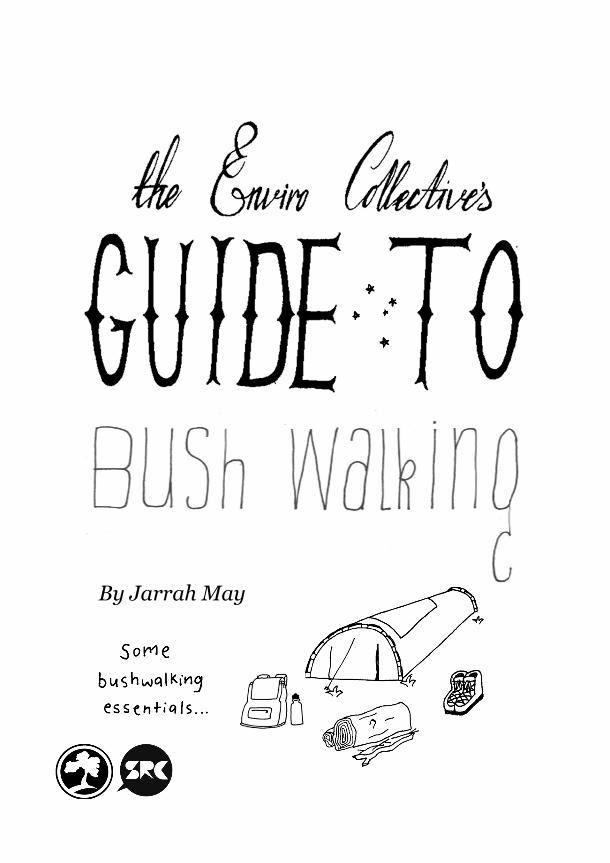
By Jarrah May

Why Bush Walk? We who care have our work cut out for us, right now there are a million environmental causes to get fired up over. However, there are times when we need to feel peaceful rather than passionate and need rejuve-nation rather than confrontation. Bushwalking offers a reprieve from the business of our lives. There are many bushwalks which are accessible by public transport from Sydney.
Important! Print off copies of track notes and maps. A good website for these is wildwalks.com. Also let someone know of your bushwalking plans. If you attempt a more adven-turous route enquire about PLBs at the local police sta-tion. Always stay on the track. Be prepared! Think about food, water, sensible gear, first aid... thinking this through is the best way to ensure your safety! J

Here are three great options:
#1: Spit Bridge to Manly. 10km, 4hrs.
This walk will not provide a complete reprieve from civilisation but it does provide nice views over mid-dle harbour and from Arabanoo lookout. The walk is well signposted and is great if you are worried about your sense of direction. The walk begins at some steps which lead you underneath Spitbridge. A bus can be taken from Wynyard to Spitbridge and a Ferry can be taken back to circular quay from Manly at the end of the walk. #2: National Pass from Wentworth Falls to the Conservation Hut (and back again). 8km, 6hrs
This is a lesser known walk in the Blue Mountains but the path is clear and well signposted. To get there take a train to Wentworth Falls village. Once in the village cross the highway and head towards the picnic park where you will find the walk’s entrance. This walk includes beautiful waterfalls, lookouts and forests. The conservation hut (where you can get a coffee or lunch) is half way at which point you turn around and head back to Wentworth Falls.

#3: The Bundeena to Otford Coast Track- Royal
National Park. 2 days with camping, 26 km.
This is a lovely walk which takes you through vary-
ing vegetation, the first day is mostly scrub with cliff
top views of the ocean while, the second day takes
you into the rainforests. There are also beaches for
swimming (not patrolled- know your rips!) To get to
Bundeena take a train to Cronulla and then catch the
Bundeena Ferry. When you’ve arrived at Bundeena
Ferry Wharf: head along Brighton Street, take a left
at Scarborough Street then a right onto Beachcomb-
er Avenue. Follow for 1k approx. to park entrance.
This is an overnight trip, camping must be booked in
advance via- www.nationalparks.nsw.gov.au- look
up North Era Campground. The fee is $10 per night
for two adults and $5 each additional adult. There is
no drinking water so you will need to carry enough
for two days. When you come to the end of the walk
at Otford lookout turn on to Lady Wakehurst Drive
and head south. Turn right onto Domville Road and
then right again onto Otford rd. Then Right onto la-
dy Carrington road and follow to Otford station.
Further bushwalks and bushwalking information can be found at these websites: short-walks.com.au walkingcoastalsydney.com.au wildwalks.com
npansw.org.au (national parks association nsw) http://www.nationalparks.nsw.gov.au