
Training Program
Version 3.06
Use Page-up and Page-down to scroll through the slide show
EZ-Cup Drug Screen
The EZ-Cup Drug Screen is only a preliminary screen and all positive screens must be confirmed using a more definitive form of testing such as GC/MS (Gas Chromatography/Mass Spectrometry) Confirmation programs are available upon request.
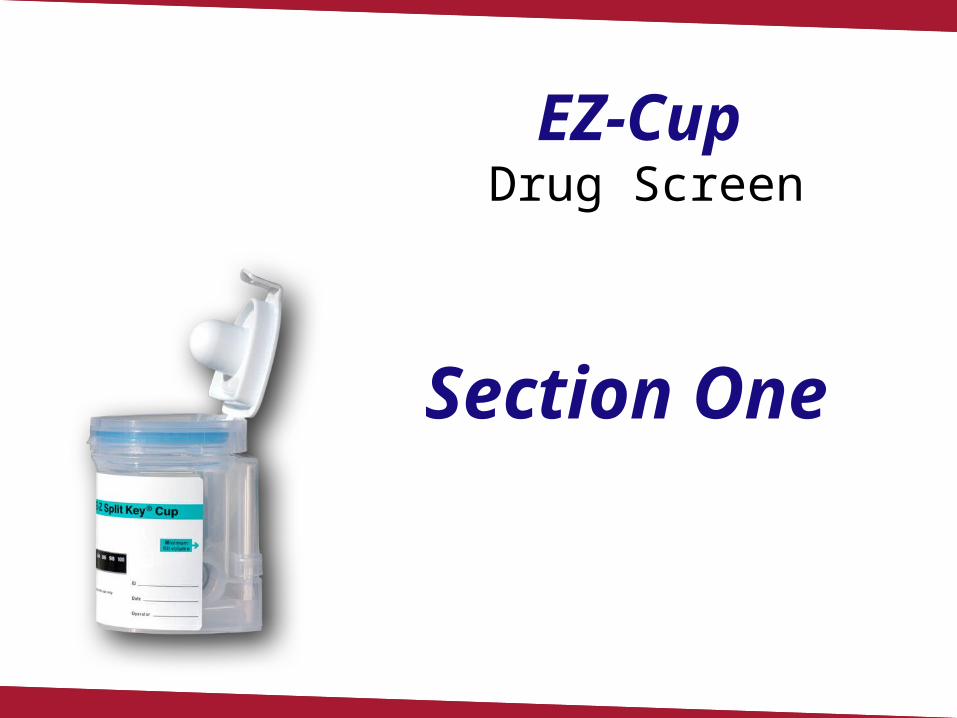
EZ-Cup
Drug Screen
Section One

TheEZ-Cup
Large opening for easy specimen collection
Completely closed system for total urine specimen integrity
Detects for up to 10 drugs in the Test Window
Easily interpreted results
Clear construction for optimum observation of urine specimen

TheEZ-Cup Detects for up to 10 drugs
DRUG NAMEPhencyclidineAmphetaminesMarijuanaCocaineOpiates (Morphine)MethamphetamineBenzodiazepinesBarbituratesMethadoneEcstasy
DRUG CODEPCPAMPTHCCOCOPI
mAMPBZOBARMTD
MDMA
CUT OFF25 ng/mL
1000 ng/mL50 ng/mL
300 ng/mL2000 ng/mL1000 ng/mL
300 ng/mL300 ng/mL300 ng/mL500 ng/mL
Available in 3 to 10 drug test configurations.
Various configurations detect for different drug combinations.
Consult your sales representative for exact configurations.

TheEZ-Cup
The Result Windows
The result window is located on the front side of the EZ-Cup.When the test has run, the result window will display lines indicating a positive, a negative, or an invalid result.The results window is flat for easy photocopying.

EZ-Cup Drug Screen
Proper Procedure
Section Two
TheEZ-Cup

Overview of the InstructionsSTEP 1
Have the donor provide a specimen (Collector retains the
key)
STEP 2 Verify temperature is within range on the
temperature strip. (90 –100°F)
STEP 3 Push the lid down
until it snaps.
STEP 4 Push plunger into the side of cup
firmly. This will activate cup.
STEP 5 Peel back the label to read the
results
Temperature Strip

Instruct the donor to provide a urine specimen in the collection container and return it with the lid securely
closed.
Note: Donor should provide specimen at least to the top of the temperature strip.
The Instructions
STEP 1 Have donor provide specimen

STEP 2 Inspect the Specimen
While the donor is holding the collection container, inspect the specimen for
color, consistency, temperature, and volume.
Note: The specimen temperature should be between
90-100 degrees F.
The Instructions

STEP 3Initiate the test
Once the specimen has been inspected for validity, remove the label to reveal the result window. Depress
the activation key to activate the screen.
Never accept an open collection container from the donor. Always instruct the donor to secure the collection container lid prior to giving it
to the collector.
The Instructions

STEP 4Read the Test Results
Lines will begin to develop in less than 30 seconds.
Once the “C” control lines have clearly developed, negative results can be
read. “Non-negative” results should be read at 5
minutes.
The Instructions
Note: The intensity of the line should not be considered when reading the results. Any visible line indicates a negative.

EZ-Cup
Drug Screen
Interpreting The Results
Section Three
Control Lines
Test Lines
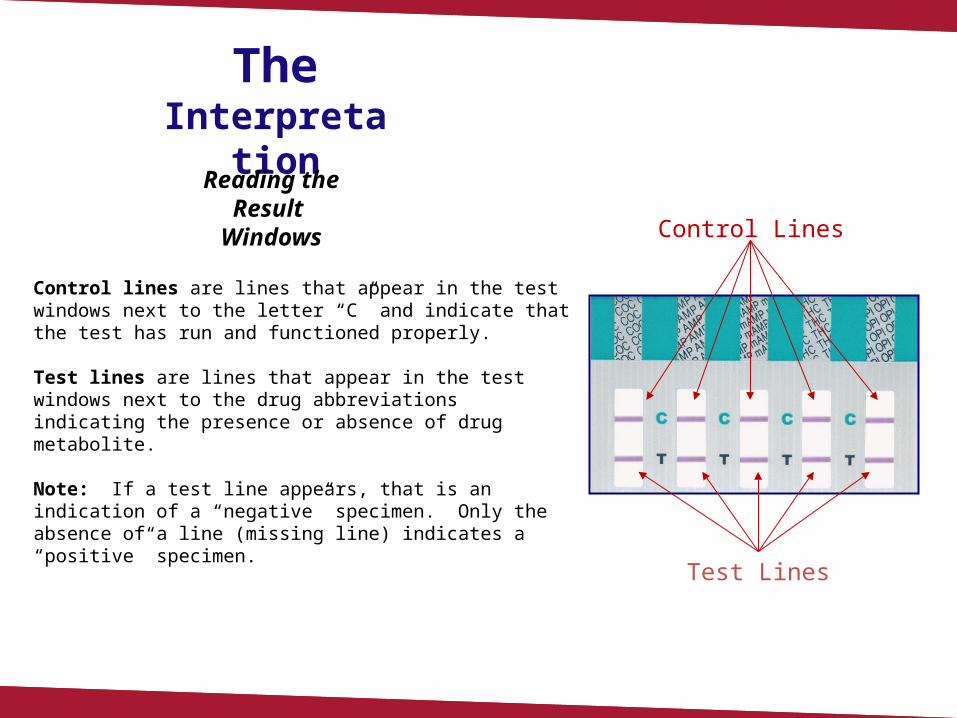
Control lines are lines that appear in the test windows next to the letter “C” and indicate that the test has run and functioned properly.
Test lines are lines that appear in the test windows next to the drug abbreviations indicating the presence or absence of drug metabolite.
Note: If a test line appears, that is an indication of a “negative” specimen. Only the absence of a line (missing line) indicates a “positive” specimen.
TheInterpretation
Reading the Result
Windows

Reading the Result Windows
“Negative” for all drugs.Notice both control lines and test lines are present.Any Test line – no matter how faint – is a negative result.
“Positive” for OPI (Opiates).Notice test line on the OPI strip is missing. A missing line indicates a positive as long as a control line is visible.
“Invalid” Test.Notice the missing control line in the last window. Any test with missing control lines must be considered invalid.
TheInterpretation

Questions
The next section is a series of questions. Go through the questions carefully and write your answers on the answer sheet provided. Then
when you are finished, fax the answer sheet to us at 866-229-0722.

Question #1
Which drug class does each of the above letters represent?
A B C D E
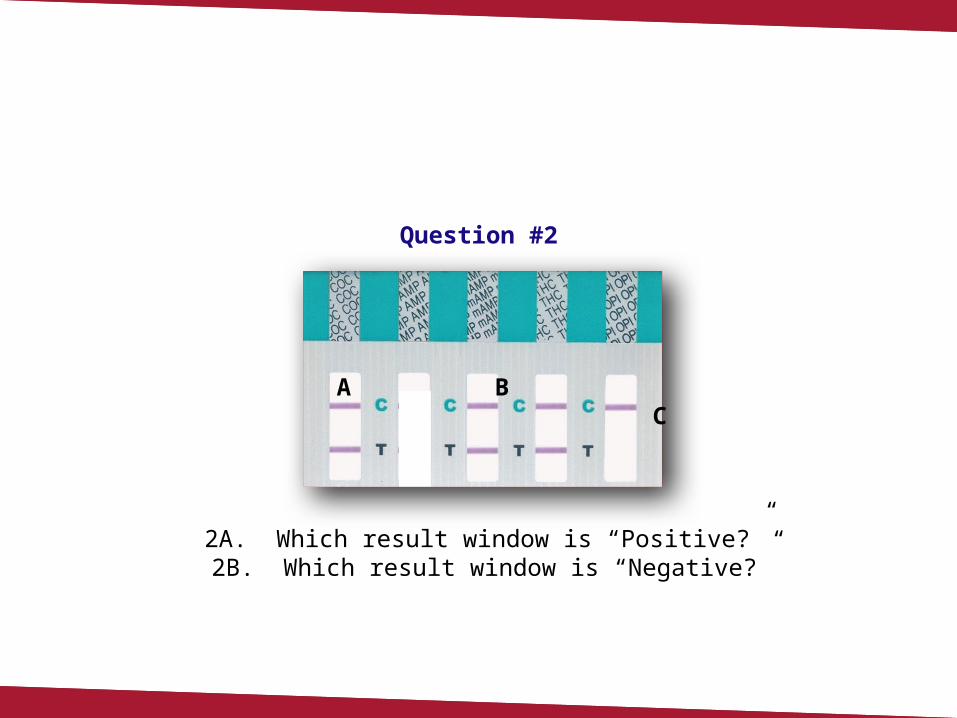
Question #2
2A. Which result window is “Positive?” 2B. Which result window is “Negative?”
A B C

Question #3
What is the correct outcome of this drug screen?

Question #4
What is the correct outcome of this drug screen?

Question #5
What is the correct outcome of this drug screen?

CompletedCongratulations! You have completed the EZ-Cup Training Program. We hope you have learned the proper use of EZ-Cup Drug Screen and are now ready to perform on-site, instant drug screens.
You may print the answer sheet provided on this CD presentation, fill in the answers and fax to
866-229-0722.

Name:
Company:
Address:
City: St: Zip:
Phone:
3. What is the correct outcome of this drug
screen?
A – Negative
B – Positive
C – Invalid
Please fill in or circle the appropriate answer and fax answer sheet to
1-866-229-0722.
Please contact us if you have any questions concerning GC/MS
confirmation. 2B. Which test window has a
negative result?
A
B
C
4. What is the correct outcome of this drug
screen?
A – Negative
B – Positive
C – Invalid
5. What is the correct outcome of this drug
screen?
A – Negative
B – Positive
C – Invalid
2A. Which test window has a positive result?
A
B
C
A- ________________
B- ________________
C- ________________
D- ________________
E- ________________
1. What drug does eachletter represent?
EZ-Cup Drug Screen Answer Sheet
Hinged Lid Cup


