Sterile Packaging, Storage and Transportation
Tom StangCRCST, CHL
Clinical and Education Manager

Objectives Describe sterile packaging Discuss packaging materials and their differences Identify acceptable closure methods and their proper uses Describe pack preparations and procedures Identify key factors of sterile storage Discuss proper transportation of sterile products
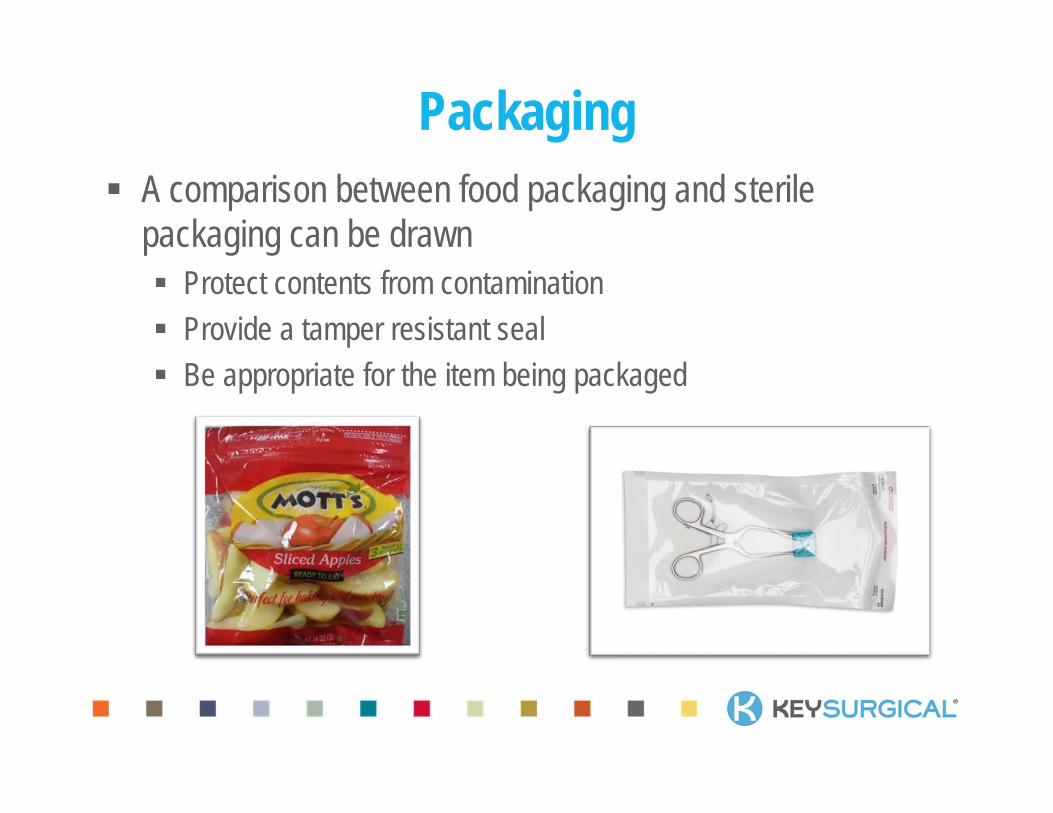
Packaging A comparison between food packaging and sterile
packaging can be drawn Protect contents from contamination Provide a tamper resistant seal Be appropriate for the item being packaged

Objectives of Sterile Packaging
Objectives of Sterile Packaging
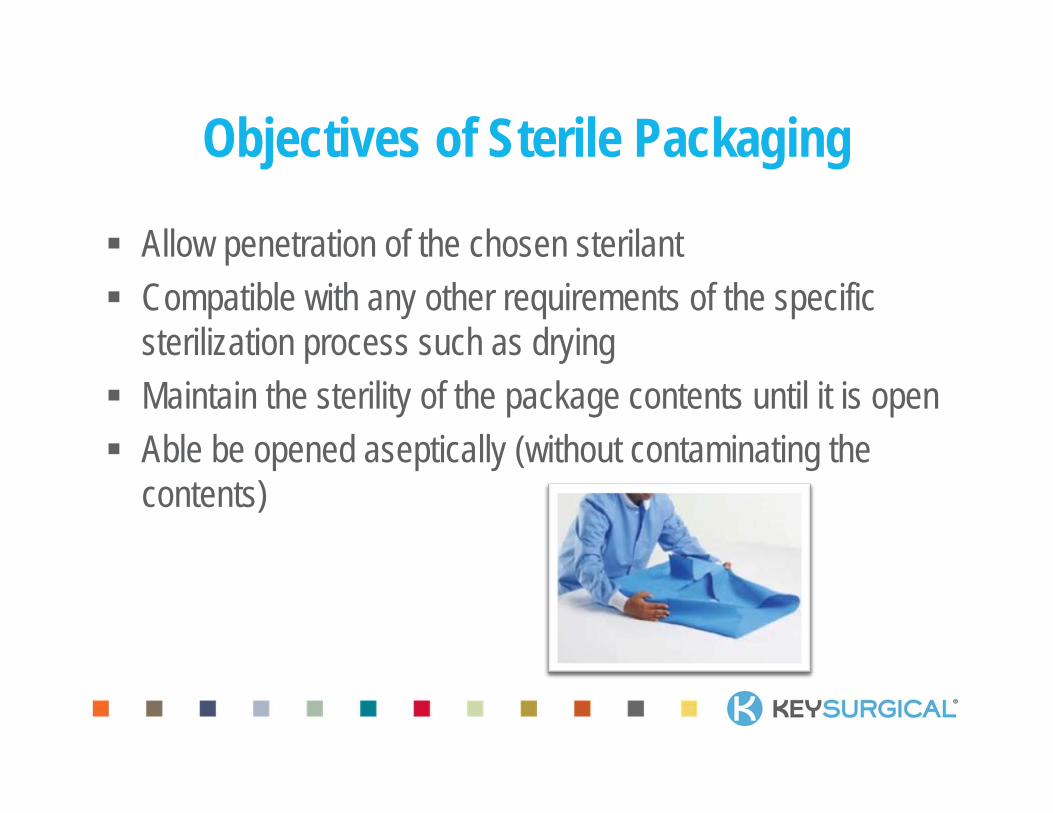
Allow penetration of the chosen sterilant Compatible with any other requirements of the specific
sterilization process such as drying Maintain the sterility of the package contents until it is open Able be opened aseptically (without contaminating the
contents)

CS Technician Responsibilities
Understand the various packaging materials advantages, limitations, etc.
Be able to select the packaging that is most appropriate for each item
Apply the selected packaging in a manner that ensures: Success of the sterilization process Protection of the item during storage and
transport
Selecting Packaging Material Different types of packaging are needed for different
sterilization methods May vary based on package contents Specifically designed for sterilization packaging Approved by the FDA Two types of sterile packaging Reusable Disposable

Packaging Considerations for Sterilization
Steam sterilization Withstand temps of 250°F - 275°F (121°C – 135°C) Allow for air removal and steam penetration Permit drying of contents and packaging material
Ethylene oxide sterilization (EtO, EO) Allow for adequate penetration of gas sterilant and removal of
gas residual (aeration) Gas plasma sterilization Able to tolerate a deep vacuum draw without absorbing the
sterilant, interrupting the cycle or damaging the contents
Reusable Packaging Material

Reusable Packaging Materials
Before the early 1980’s, woven textiles were the reusable packaging materials of choice. However new technologies have increased the choices for sterilization packaging. The standards for manufacturing today’s packaging materials have been based on penetration and microbial barrier capability measures for a minimum of 140 thread count.
Central Service Technical Manual pg. 240
Textile Packaging Still the packaging method of choice for some healthcare
facilities Often driven by costs and/or the environment Some facilities contract with off-site companies to pick up used textile
wraps, launder, inspect and return for use Requires more labor Must be laundered and inspected for tears or punctures
If damaged, must be discarded or repaired Must be de-linted as needed to minimize the risk of lint entering the
sterile pack and field Must be held at room temperature
ST79 8.3.1: 68°F - 73°F (20°C - 23°C) at a relative humidity of 30% - 60% for a minimum of two hours prior to sterilization

Woven Textiles
Muslin – Broad term describing a wide variety of plain-weave cotton or cotton/polyester fabrics having minimum 140 threads per square inch.
Other woven textiles Duck cloth Twill Barrier cloth Treated barrier fabrics
NOTE: Canvas should never be used as a sterile packaging material

Rigid Container Systems Box like structures with sealable and removable lids Made of anodized aluminum, stainless steel, plastic or a
combination of these materials Have lids and filters that allow sterilant penetration while
providing a microbial barrier Filters may be: Disposable (synthetic spunbond product) Reusable (ceramic filters or a valve system)
Consist of an inner basket to hold the instruments The weight of the container should not exceed
25lbs (ANSI/AAMI ST79 8.4.2)

Cleaning and Inspection of Rigid Containers
Remove disposable filters or release the filter protector/holder Valve-type closures must be cleaned according to
manufacturer’s instructions for use (IFU) Interior baskets removed and cleaned Chemical indicators, disposable labels and locks removed Inspect all container system components for proper function Inspect gasket for debris, cuts or tears Inspect valves, filter mechanisms and latches
for proper operationCentral Service Technical Manual pg. 244
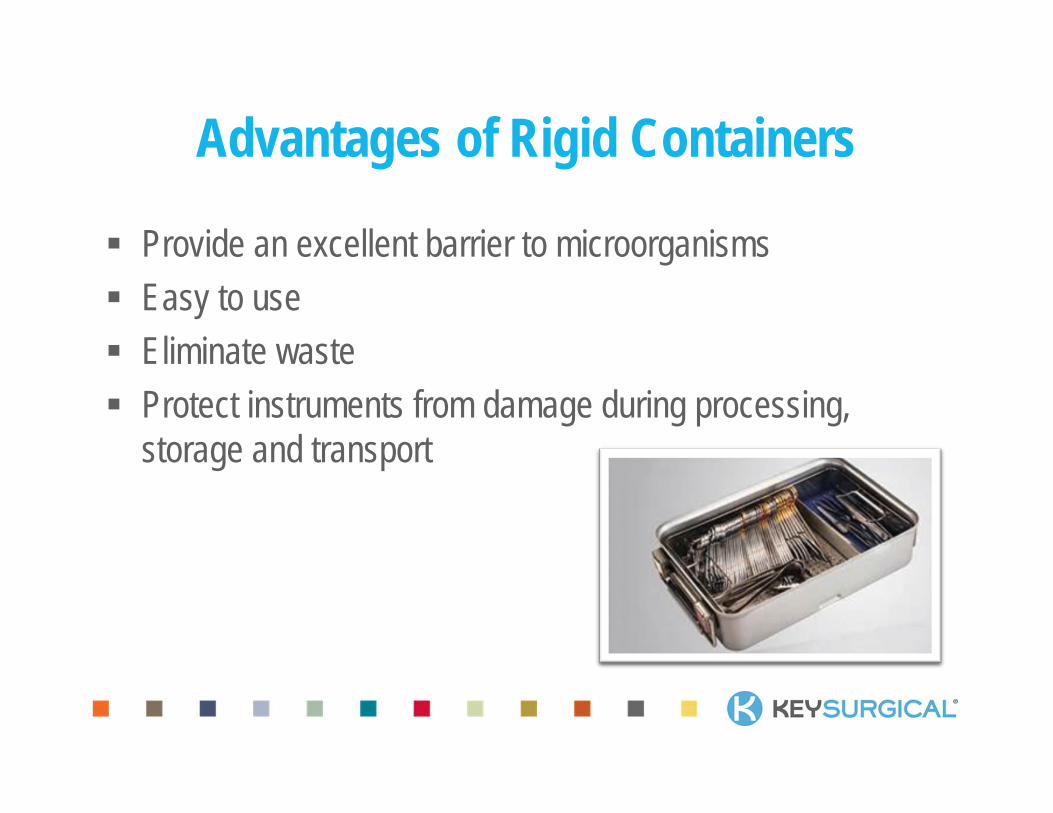
Advantages of Rigid Containers
Provide an excellent barrier to microorganisms Easy to use Eliminate waste Protect instruments from damage during processing,
storage and transport

Disadvantages of Rigid Containers Safety issues linked to ergonomics A large empty container can weigh 8-9lbs
Additional cycle time may be required Impacted as a container’s weight increases because of excess
condensation Plastic containers may require longer dry time Lack of metal, which produces heat by conduction
Additional space is needed for storage Additional labor is needed to clean Additional space is needed in the mechanical washers Sharp edges/corners can injure employees

Disposable Packaging Materials
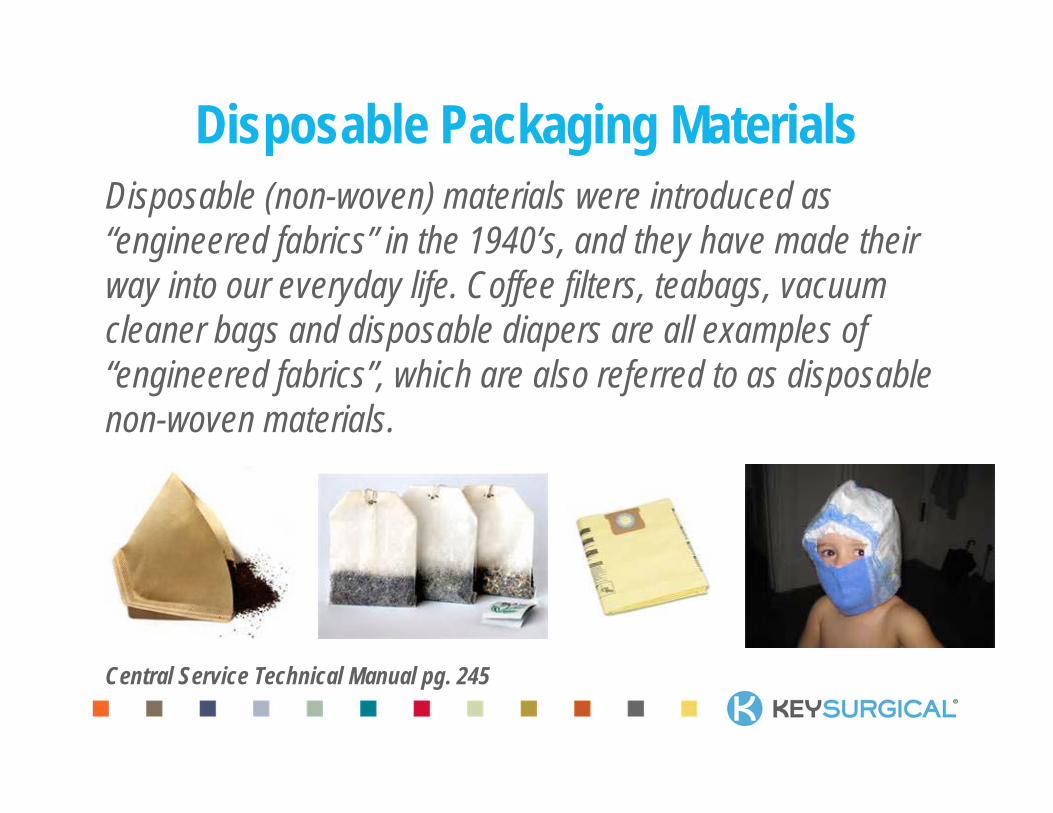
Disposable Packaging MaterialsDisposable (non-woven) materials were introduced as “engineered fabrics” in the 1940’s, and they have made their way into our everyday life. Coffee filters, teabags, vacuum cleaner bags and disposable diapers are all examples of “engineered fabrics”, which are also referred to as disposable non-woven materials.
Central Service Technical Manual pg. 245

Disposable Packaging Materials Popular choice for sterilization Excellent barrier effectiveness Three common types of disposable packaging materials Paper Non-woven wrap Peel pouches

Non-Woven Wrap Commonly referred to as “Flat wraps” SMS (spunbond-meltblown-spunbond)
Polyolefin materials are exposed to high heat and are pressure bonded together to form sheets
Most popular flat wrap
Designed for single use Available in a variety of sizes and weights Available in single sheet or double sheets Double sheets are bonded together

Paper Papers that contain cellulose can not be used in gas
plasma sterilizers Medical grade Generally smooth-surfaced Available in many sizes to accommodate various devices Pouches of medical grade paper specifically formulated for
sterilization are also available

Peel Pouches Used for small instruments and lightweight items Two basic types of peel pouches Paper/plastic
Typically compatible with steam or EtO sterilization Not compatible with gas plasma sterilization Consists of a paper side and a plastic side
Spunbond polyolefin/plastic combination Used for gas plasma sterilization Often referred to as Tyvek® pouches Consists of a plastic side and a polyolefin side
Both types have the plastic side to allow viewing of contents
Sterilization penetration through the non-plastic side

Methods of Packaging Closures
Package Closure Methods
The purpose of a package closure (seal) is to seal the package securely, maintain the sterile integrity of the contact area during transport and storage, and prevent resealing if package is opened or if the seal is compromised.
Only approved methods of closure should be used to seal a sterile package. There are several types of package closures, and Central Service Technicians must ensure that they use the method that is appropriate for the packaging need.
Central Service Technical Manual pgs. 246-247

Do Not Use
Pins, staples or other sharp objects Paperclips or binding clips Tapes that are not designed specifically to withstand the
rigors of sterilization
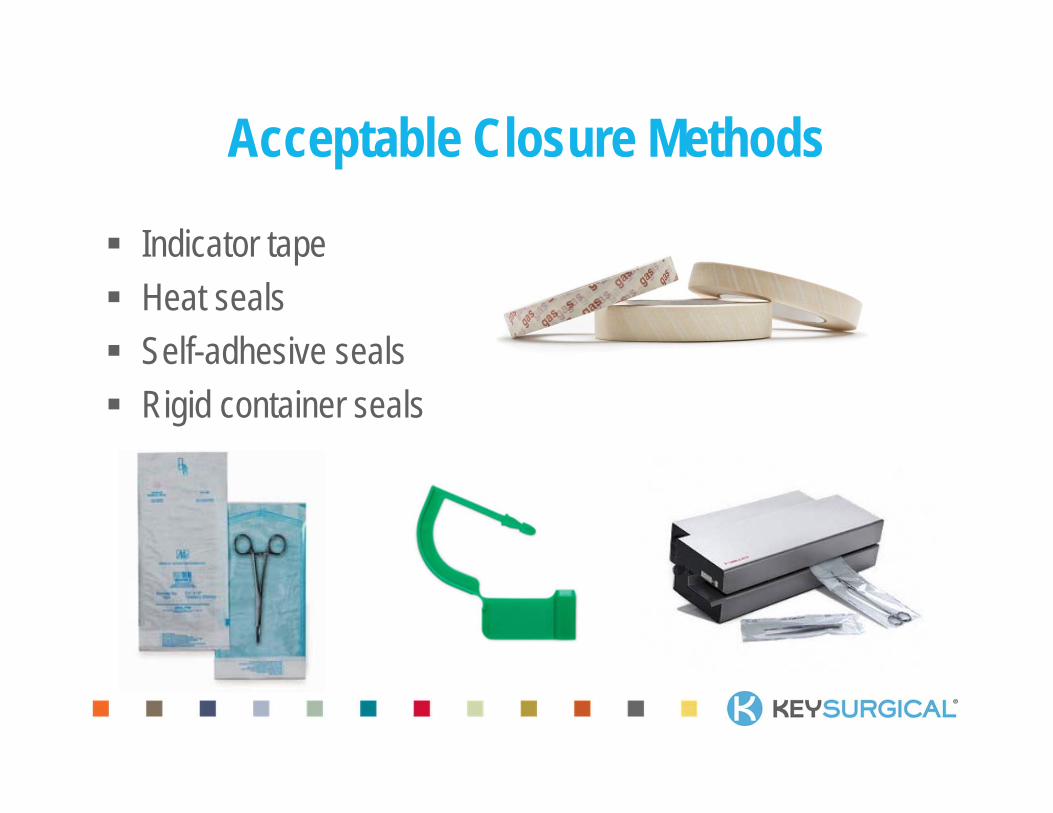
Acceptable Closure Methods
Indicator tape Heat seals Self-adhesive seals Rigid container seals

Indicator Tape Considered best practice because they are made
specifically to withstand sterilization. Will change color after being exposed to the sterilization process
Should be used on every package to avoid mixing up processed and unprocessed packages
Does not provide proof that adequate sterilization of package contents has occurred

Heat Seals
Used for paper/plastic or plastic/plastic seals Follow the IFU for the heat sealer and the packaging
manufacturers to ensure appropriate exposure times and temperatures
Inadequate exposure times and temperatures may cause inadequate seals
Exceeding manufacturers’ recommendations may cause package damage
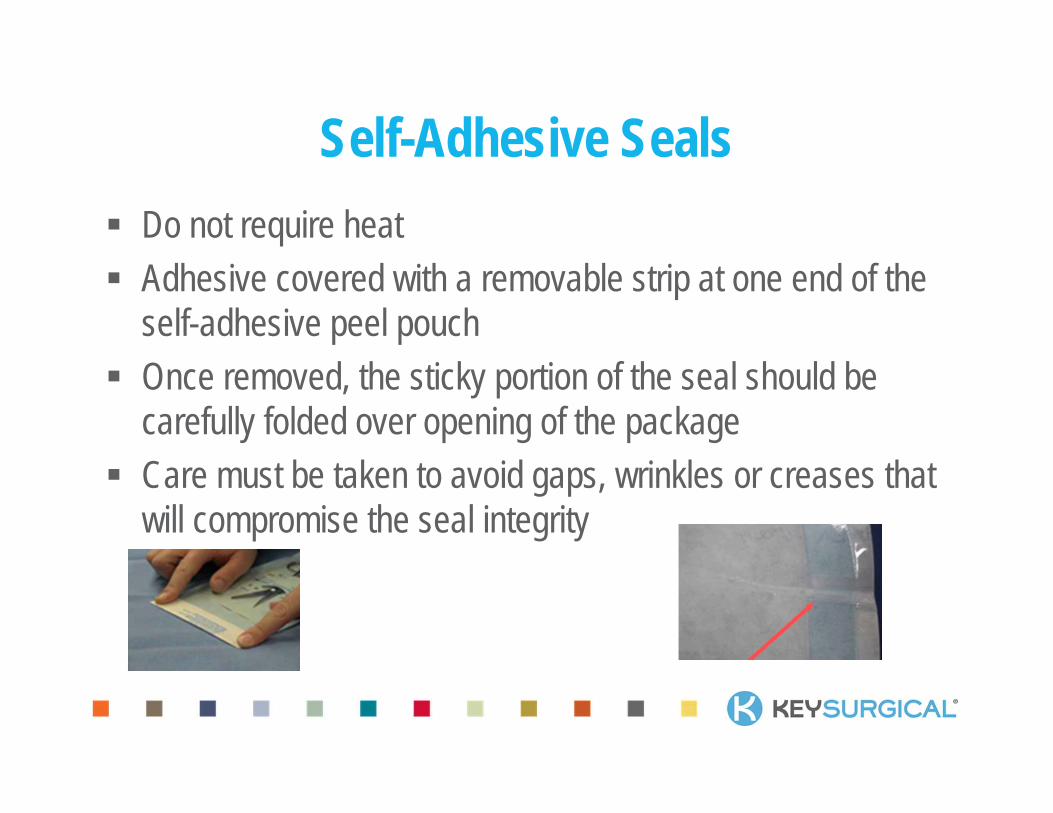
Self-Adhesive Seals Do not require heat Adhesive covered with a removable strip at one end of the
self-adhesive peel pouch Once removed, the sticky portion of the seal should be
carefully folded over opening of the package Care must be taken to avoid gaps, wrinkles or creases that
will compromise the seal integrity

Locking Tags
Most commonly used with rigid containers Designed to break when the container has been opened Most commonly made of plastic Tamper-resistant Lock in place and must be broken to open the container
Preparation of Package Contents,
Wrapping & Labeling

Preparation of Pack Contents Instruments that disassemble All parts should be arranged for easy assembly after the package
is opened Instruments that open (scissors, hemostats, etc.) Should be kept in unlocked, open positions to
enable the sterilant to reach all parts

Delicate and Sharp Instruments
Should be protected while being handled and when assembled for sterilization
Use specifically designed holders or tip protectors Protectors must be permeable to the sterilant
being used

Package Assembly Instruments are placed on a stainless steel, heat-tolerant plastic
or anodized aluminum tray with a perforated or mesh bottom Tray liners (surgical “huck” towels) may be used to absorb
moisture and provide cushion for instruments Non-absorbent silicone liner mats may be used to cushion
instruments Include a sterility indicator Peel pouches are not recommended to
be used inside instrument trays Gauze squares should not be used as additional
packing or wicking material

Packaging Procedures Peel Pouches Tip protectors help to protect the pouch contents and prevent the
tips from penetrating the pouch If used, ensure that the material is appropriate for the type of sterilization to
be used Instruments should be placed in the pouch so the end of the item
to be grasped will be presented first when the pouch is opened Pouches must be sized to properly allow for adequate air
removal, sterilant penetration and drying
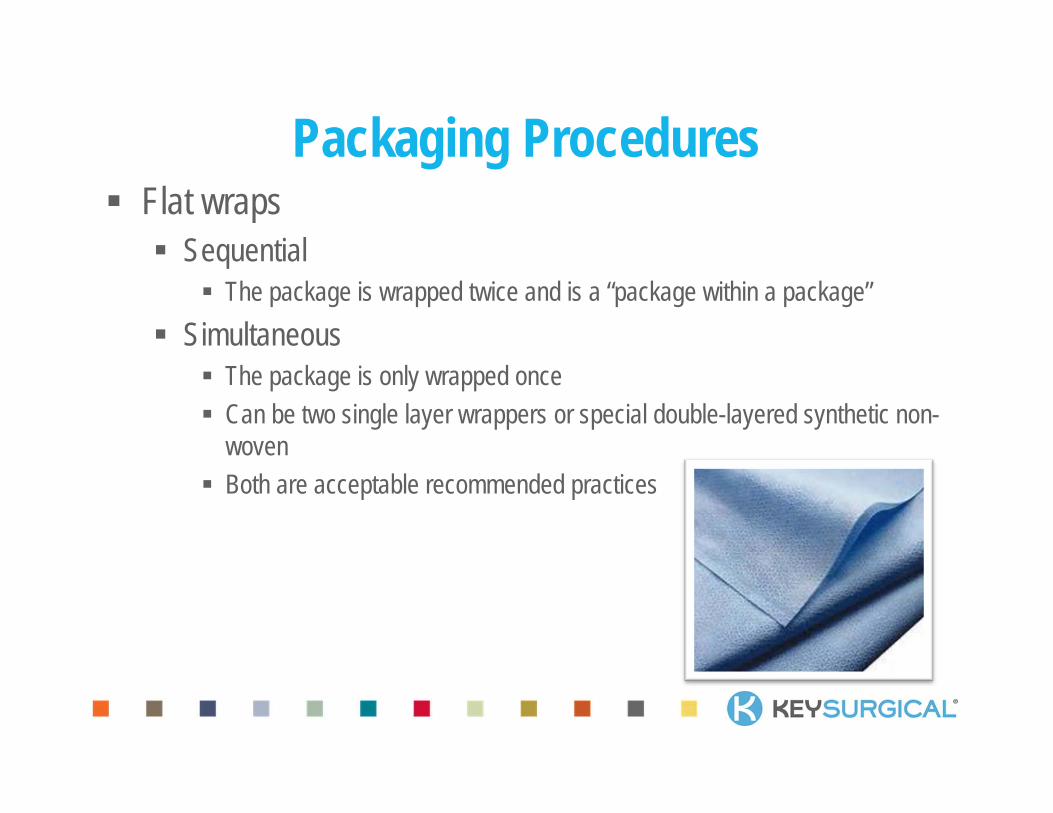
Packaging Procedures Flat wraps Sequential
The package is wrapped twice and is a “package within a package” Simultaneous
The package is only wrapped once Can be two single layer wrappers or special double-layered synthetic non-
woven Both are acceptable recommended practices

Considerations For Wrap Must be large enough to completely contain the contents
without leaving excess material Wrap must be snug but not tight If wrap is also being used to create a sterile field, it must be
sufficient size to extend at least 6” below the edge of the surface being covered
Corner protectors will help in preventing tears in wrap

Packaging Labeling Label information should include: Description of package contents Initial package assembler Lot control number Identification of sterilizer and cycle used Date of sterilization Requesting department or surgeon’s name may be included Assigned storage location
Standardized abbreviations and terms avoid confusion Slang terms and nicknames should be avoided

Sterility Maintenance, Storage and
Transportation
Sterility Maintenance Sterilized packages must maintain their content sterility
until they are intentionally opened Traditionally, sterility of a package has been thought of as
“time-related” Joint Commission (JCAHO) and the Association of peri-
Operative Registered Nurses (AORN) now recognize that sterility is “event related”
Event-related sterility depends on the quality of the wrapper material, handling procedures, storage and transport conditions

Basic Sterility Concerns
Primary conditions that can adversely affect the sterility of a package Moisture and liquid/fluid contamination Dirt, dust and debris Physical damage to the package
Storage Considerations
Proper use of stock rotation principles is important to assure that packs with time-sensitive expiration are used before they must be discarded. Sterile Storage areas for sterile supplies located outside of the Central Service department must be included in the quality assurance and infection control audits conducted for the sterile storage area in the department. If satellite storage sites are used, personnel responsible for areas should be trained about requirements of sterility maintenance.
Central Service Technical Manual pg. 260
Sterile Storage Areas Must be kept clean All storage units should be cleaned routinely with a hospital approved
germicidal agent Cleaning should begin in Sterile Storage and move to assembly and
end in decontamination (cleanest to dirtiest) Air supply to the storage area should be as clean and dust-free
as possible (usually requires filtration) Room should be under positive pressure with at least 4 air
exchanges per hour Temperature should be approximately 75°F (24°C) with less
than 70% humidity
AAMI/ANSI ST79 8.9.2
Sterile Storage
Sterile packages should not be stored near or under sinks 8” - 10” off the floor 18” below the ceiling or the level of the sprinkler head At least 2” away from exterior walls & windows Located away from heavy traffic and access to the area
should be restricted
AAMI/ANSI ST79 8.9.2

Sterile Stock Arrangement Packages should be arranged so that they are not crushed,
bent or compromised Easy to locate Heavier items should be on the lower or middle shelves Lighter and less cumbersome items can be placed higher First In, First Out (FIFO) system should be followed The goal of proper stock arrangement is to provide
minimum pack handling while allowing FIFO rotation
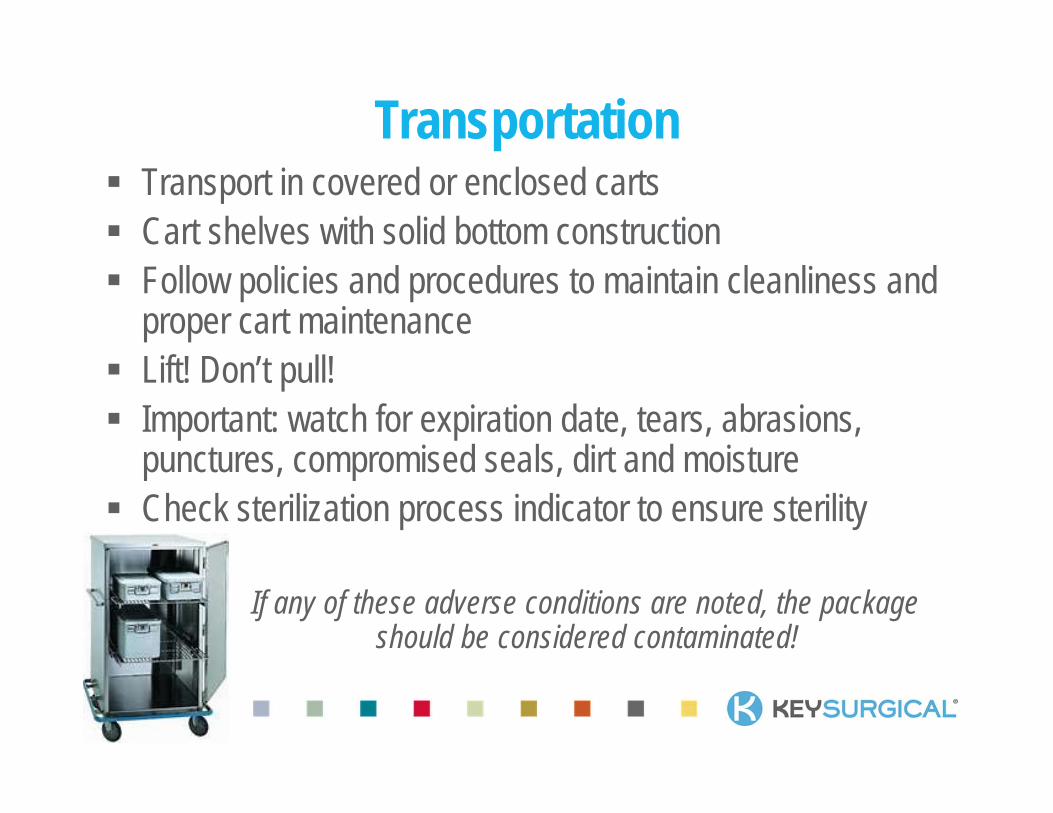
Transportation Transport in covered or enclosed carts Cart shelves with solid bottom construction Follow policies and procedures to maintain cleanliness and
proper cart maintenance Lift! Don’t pull! Important: watch for expiration date, tears, abrasions,
punctures, compromised seals, dirt and moisture Check sterilization process indicator to ensure sterility
If any of these adverse conditions are noted, the package should be considered contaminated!

Closing Comment
Even the most minor break in protocol can cause great harm to patients.

QUESTIONS
Sources IAHCSMM Central Service Technical Manual,
Seventh Edition ANSI/AAMI ST79:2011 ANSI/AAMI ST77