Soldering 101
A Really HOT Topic
Soldering
• The process of making an electrical connection by melting low-temperature metal alloys around component leads
• Soldering is just as much an “Art” as it is a “Science”
• We will:– Go over some soldering vocabulary– Illustrate graphically soldering techniques– Solder a few components on the TV Remote board– Complete the board as homework

Soldering Process in Brief
1. Turn on soldering iron and let it get to temperature2. Clean soldering tip with a damp cloth or sponge3. Install the component and hold in place with a physical
connection4. Heat the component lead and the adjacent circuit board
pad – apply the right amount of heat (art)5. Touch solder to the component lead and pad - melt the
right amount of solder (art)6. Remove solder7. Remove heat (art)8. Hold steady until cool9. Inspect the connection (art and good eye)

Vocabulary
• Circuit Board• PCB• Components• Component side• IC socket• Pins

Vocabulary
• Point-to-Point wiring• Physical (mechanical)
connections• Lugs• Component leads• Junctions

Vocabulary
• Component side• Component outline• Silk screen• Double sided circuit
board (top side)• Top trace• Solder mask

Vocabulary
• Double sided circuit board bottom side
• Solder pads• Through hole• Foil trace• Pad• Ground plain• Soldering side• Multi-layer board

Vocabulary
• Surface mount component
• Pitch• Pin #1 designation on
IC

Vocabulary
• Tinning• Wetting• Surface tension• Flow

Vocabulary
• Connection• Volcano• Shine or sheen• Dull or crusty• Cold solder joint• Tack-solder

Vocabulary
• Soldering Iron• Tip• Soldering Station• Tip cleaning surface

Solder Types
• Rosin core and Flux– Flux type is used for household soldering– Rosin core is used for electrical wiring (reduced corrosion
potential)
• Rosin and flux are chemical compounds that clean the metal surfaces that are being soldered– The rosin or flux melts first to contact the joint– The rosin or flux float the impurities away from the metal
surfaces and to the top surface of the solder joint– Produces the smoke you will see associated with soldering
• You will be using rosin core solder
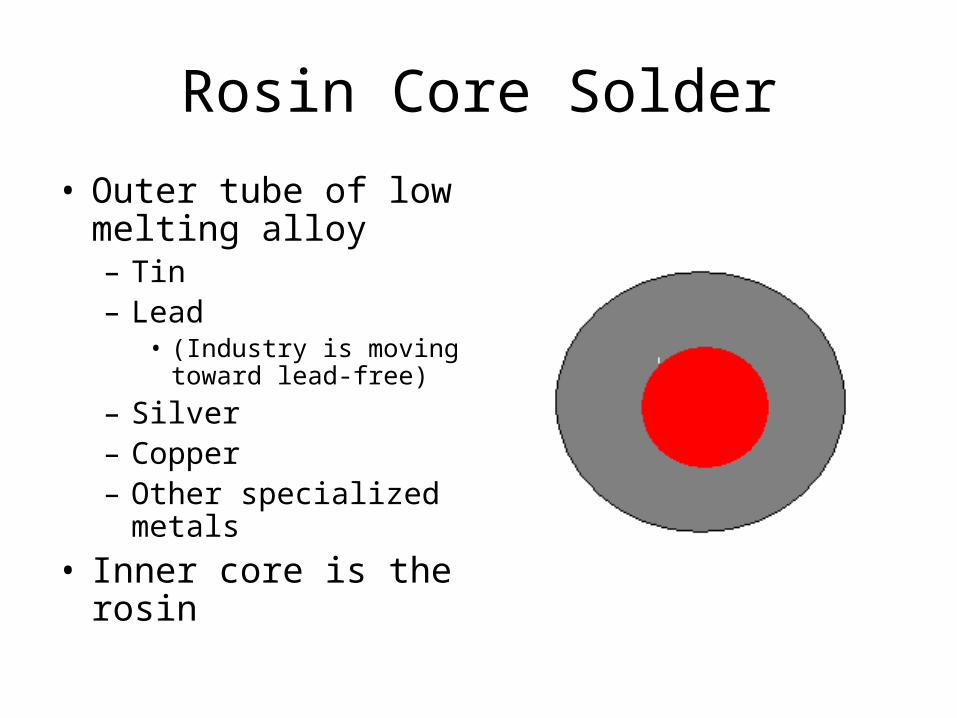
Rosin Core Solder
• Outer tube of low melting alloy– Tin– Lead
• (Industry is moving toward lead-free)
– Silver– Copper– Other specialized
metals
• Inner core is the rosin

Solder Specifications by % Alloy

Soldering Process in Brief (again)
1. Turn on soldering iron and let it get to temperature2. Clean soldering tip with a damp cloth or sponge3. Install the component and hold in place with a physical
connection4. Heat the component lead and the adjacent circuit board
pad – apply the right amount of heat (art)5. Touch solder to the component lead and pad - melt the
right amount of solder (art)6. Remove solder7. Remove heat (art)8. Hold steady until cool9. Inspect the connection (art and good eye)

Soldering Process
• Insert component from the “component side” of the PCB and bend leads out to physically hold the component steady and in place
• When you can’t bend leads – “Tack Solder” one lead to hold component in place

Soldering Process
• Touch the tip to the component lead AND the pad
• Apply just enough heat– TLAR (That Looks
About Right)

Soldering Process

Soldering Process
• When you have headed the joint just the right amount (TLAR) touch solder to lead and pad (not to the tip)– Do as I say, not as I
do!– Why I sometimes will
use the tip?

Soldering Process
• The melting solder will flow around the joint– Called wetting– Surface tension will
produce a nice “Volcano” looking joint
• Keep the tip in place until TLAR

Soldering Process
• Remove solder then tip and allow joint to cool– Hold steady while cooling
• Inspect for good joint (TLAR)– Reheat “cold solder” joints
• Clip and remove excess leads (safety first, watch for flying leads)

Good vs. Bad Solder Joints
• Cold solder joints are probably the cause of most circuit problems!
• You need to use caution not to overheat a joint (TLAR)– But don’t get overly
concerned except for the most delicate components

Some Safety Concerns
• Don’t solder while circuit is powered
• Use well ventilated and lighted work space
• Don’t touch the solder tip – it’s hot (dahhh)
• Static discharge protection – not a hazard for you but can trash some sensitive components
• Watch for flying leads when clipping excess

Your Turn
• We’ll solder a couple of components on the TV Remote board
• Complete the board over the evening
• FOLLOW THE DIRECTIONS ON THE CD-ROM!!!!!
• Don’t get anxious – don’t power the board until inspected
• Return tomorrow for board inspection


