COMPUTER SCIENCE GEMS5 Challenging Projects

PROJECT 1: MASTERMIND
Summary: A code breaking game 12 guesses Feedback is # correct and # correct but out
of place. Can be very challenging to decide on the
best strategy.
PROJECT 1: MASTERMIND
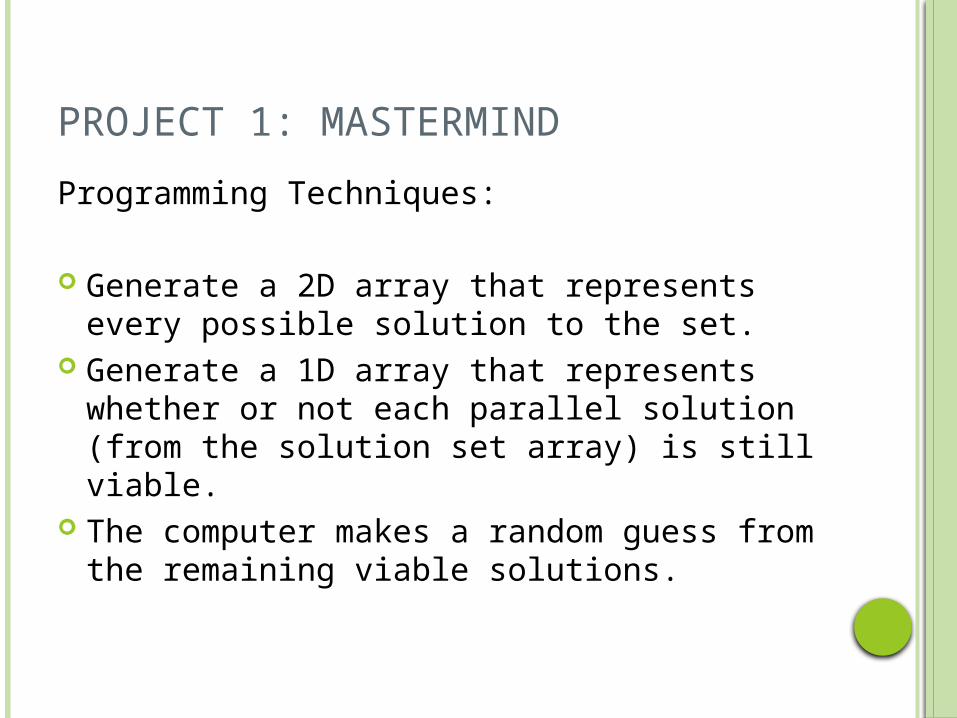
Programming Techniques:
Generate a 2D array that represents every possible solution to the set.
Generate a 1D array that represents whether or not each parallel solution (from the solution set array) is still viable.
The computer makes a random guess from the remaining viable solutions.

PROJECT 1: MASTERMIND
Programming Techniques:
A method returns the number of correct items in the guess.
Another method returns the number of sort-of correct items in the guess.
Another method updates the viable solution set array.

PROJECT 2: EXPLORING EVOLUTION WITH STRINGS
Summary:
This project creates an evolutionary model using a string array.
Done in two parts. Students can see how evolutionary processes
can result in complex systems.

PROJECT 2: EXPLORING EVOLUTION WITH STRINGS
Programming Techniques:
Download a copyright free e-book from Project Gutenberg (https://www.gutenberg.org/).
Save the e-book into a file. Read the file and store it in a single array.

PROJECT 2: EXPLORING EVOLUTION WITH STRINGS
Programming Techniques:PART 1:
Generate another string of random characters Check to see if the new generation matches
the target (optimal) string. If the two strings don’t match, repeat.
Discussion about whether or not this would work to achieve a good solution.

PROJECT 2: EXPLORING EVOLUTION WITH STRINGS
Programming Techniques:PART 2:
Generate another string of random characters Check to see if the new generation matches the target
(optimal) string. If the two strings don’t match, create a new generation.
The new generation only changes characters that don’t match. (i.e. the traits that are most suited to the environment are preserved).
Repeat until a match is found.
Discussion about whether or not this would work to achieve a good solution. What’s the difference?
PROJECT 3: FLOOD FILL AND THE KNIGHT’S TOUR
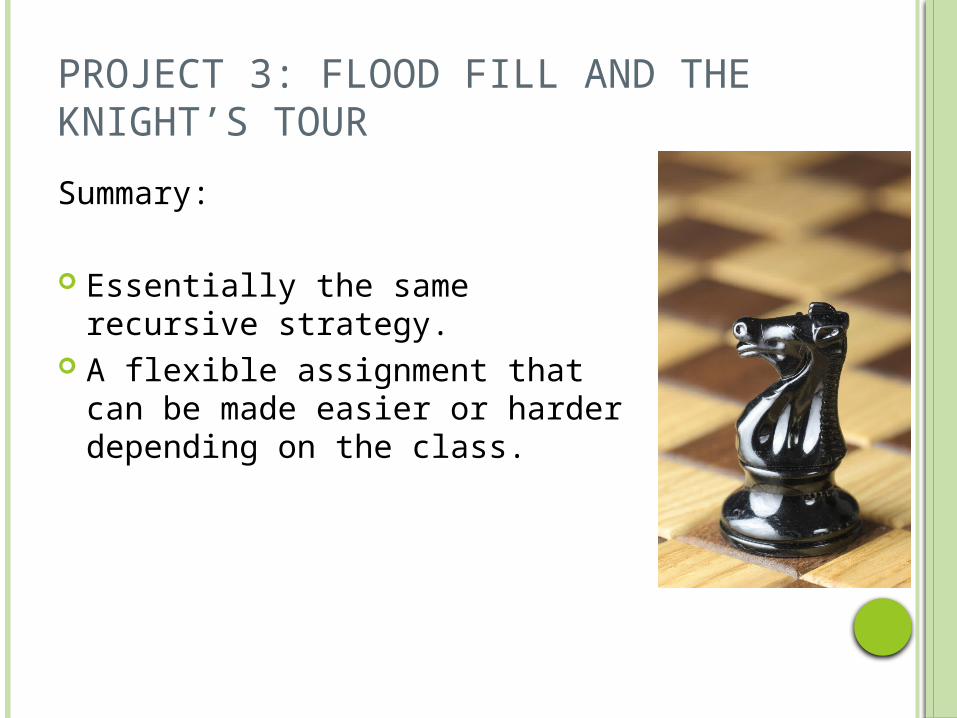
Summary:
Essentially the same recursive strategy.
A flexible assignment that can be made easier or harder depending on the class.

PROJECT 3: FLOOD FILL AND THE KNIGHT’S TOUR
Programming Techniques:
Start by modelling a cell as an object that contains state data. (either a colour or occupied/unoccupied)
Arrange the cells into a grid / chessboard using a linked grid.
Choose a starting point and then use a brute force recursive method to populate adjacent cells.

PROJECT 3: FLOOD FILL AND THE KNIGHT’S TOUR
Use a 2D array instead of a linked grid.
Can make the grid smaller.
Link the grid according to the knight’s movement.
Link the grid diagonally as well.
Easier Harder
PROJECT 3: FLOOD FILL AND THE KNIGHT’S TOUR
Shows the benefits of recursion (Not easily solved using iteration).
Uses a lot of different skills (methods, OOP, recursion, etc).
Allows the students to ask good questions about optimization (i.e. is it worth it to look for dead ends in the Knight’s Tour?)

PROJECT 4: SUDOKU SOLVER
Summary:
Model the Sudoku board Have the computer use logic to
solve the puzzle. When logic fails, guessing can
save the day.
PROJECT 4: SUDOKU SOLVER
Programming Techniques:
Start by modelling a cell as an object that contains state data for each cell. (Potential numbers, solved/unsolved, existing number).
Arrange the cells into a linked grid. When a cell gets solved, the board immediately
changes the cell potentials in that cell’s row, column, and box.
Look for a cell with either 1 or 0 potentials.
PROJECT 4: SUDOKU SOLVER
Programming Techniques:
Can use logic to solve additional cells. When logic fails, can make a guess and record
that guess onto a stack. If the guess doesn’t work out, the program can revert back to the last saved state on the stack.
Needs to be able to detect when the puzzle has been stuck!
Uses almost every skill learned in CS 20 and CS30.
PROJECT 4: SUDOKU SOLVER
Use a 2D array instead of a linked grid.
Can use easier Sudoku puzzles.
No guessing, just logic
Using advanced logic before resorting to guessing.
Easier Harder

PROJECT 5: RASPBERRY PI GAMEBOY
Available at Adafruit.com (https://learn.adafruit.com/pigrrl-raspberry-pi-gameboy/overview)

PROJECT 5: RASPBERRY PI GAMEBOY
Summary: 3D print Gameboy cases. Spend some time decorating/customizing the
cases. Assemble, solder, construct the internal parts
of the machine. Work with the linux OS to align the screen and
image the SD card. Install a sample game *(copyright free) Time frame: 2 weeks.
PROS AND CONSPros: Generates hype and
excitement. Get to use learned
skills. Learn new hardware
skills. Encourages
diversification to other areas.
Can be done in grade 11-12
Cons: Expensive (approx.
$150 per student) Need special
facilities (paint area, solder stations, etc.)
A lot of work for the teacher.
PROJECT 5: RASPBERRY PI GAMEBOY


