dio probo cure - dionavihq.dionavi.com/images/hospital/probo_cure_en_manual.pdf · thank you for...
TRANSCRIPT

Please note that this equipment is for professional (Class A) electromagnetic
compatibility equipment and intended for use outside the home.
PROBOCurePROBOCure
250
310
615
382
250
Right Side ViewFront View Rear View
Bottom View
Open The Front Door
Left Side View
Top View
ISO View
DIO PROBO cureUser Guide
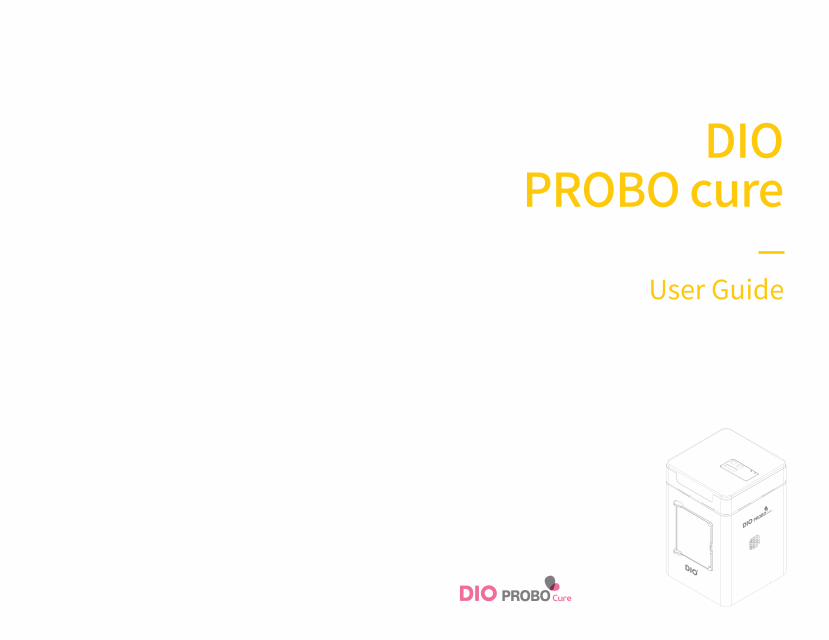
DIO PROBO cure
User Guide
PROBOCurePROBOCure
250
310
615
382
250
Right Side ViewFront View Rear View
Bottom View
Open The Front Door
Left Side View
Top View
ISO View
DIO PROBO CureUser Guide
CONTENTS
Box Contents
Product Specifications
10
11
Before use
DIO PROBO Cure Installation
Precautions
Warranty
14
14
15
Installation
How to use DIO PROBO Cure18
Using DIO PROBO Cure
Greetings

DIO PROBO Cure User Guide
7
GREETINGS
Thank you for purchasing the DIO PROBO Cure.
We provide Total Digital Solutions for the sake of the diverse digital
treatment. DIO PROBO Cure is a UV Curing machine for post curing of
3D printer output. This manual helps you to use a DIO PROBO Cure.
Caution: Before you start using DIO PROBO Cure,
please read through the entire manual.
DIO PROBO Cure User Guide
9
1. Before use
Box Contents
Product Specifications
DIO PROBO Cure User Guide

DIO PROBO Cure User Guide
1110
Before use
Box ContentsBasic Packing
① DIO PROBO Cure ② Power cable
PROBOCurePROBOCure
250
310
615
382
250
Right Side ViewFront View Rear View
Bottom View
Open The Front Door
Left Side View
Top View
ISO View
PROBOCurePROBOCure
250
310
615
382
250
Right Side ViewFront View Rear View
Bottom View
Open The Front Door
Left Side View
Top View
ISO View
Caution: Please check your package components and if you have a missing component, contact your distributor.
Product Specifications
③ Reflector ④ Transparent Borad
Light Source UV LED
Input Voltage 100-240V a.c., 2A
Frequency 50/60 Hz
LED Operation Temp -10 ~ 85˚C
Operating Temperature 5 ~ 35˚C
Sterilization UV Lamp 5 W(254 nm)
Curing Chamber 120 Ø, 95 mm(H)
Outer Dimension 250 x 250 x 384 mm
Weight 6 kg
PROBOCurePROBOCure
250
310
615
382
250
Right Side ViewFront View Rear View
Bottom View
Open The Front Door
Left Side View
Top View
ISO View
PROBOCurePROBOCure
250
310
615
382
250
Right Side ViewFront View Rear View
Bottom View
Open The Front Door
Left Side View
Top View
ISO View

DIO PROBO Cure User Guide
13
2. Installation
DIO PROBO Cure Installation
Precautions
Warranty
DIO PROBO Cure User Guide

DIO PROBO Cure User Guide
1514
Do not use the machine in places exposed to humidity. There is a risk of electric shock.
Please refrain from using the machine in dusty conditions or in places exposed to chemical substances.
Do not use damaged power cable, plug and power outlets.
Do not modify this machine for any reason.
Do not place or use the machine in hot locations. Such locations that is exposed to direct sunlight or nearby gas boiler, lighters, heaters, and etc.
In order to prevent internal heat and lack of ventilation, leave at least 5cm (2 inches) of space from the wall when installing the machine.
Do not force the door to open when the machine is in process.
Caution: The ultraviolet rays inside the product may be harmful to the user exposed for a prolonged time.
Please note that the FREE warranty does not cover damage to the product caused by improper use that does not comply with the above precautions.
DIO PROBO Cure Installation
Connect the supplied [AC power cable] to the [AC terminal] on the back of the machine.
Turn the switch on [AC terminal] to apply power to the machine.
Install reflector and transparent board on a rotary plate.
Precautions
Warranty
The FREE warranty to be valid for a(1) year from the date of sale will
be VOIDED and does not cover consumable products and defects of
products arising from customer’s mishandling of product and incautious
treatment of product.
For more information, please contact to DIO corporation.
Installation
Product Connection Guide
DIO PROBO Cure User Guide
17
3.Using DIO PROBO Cure
How to use DIO PROBO Cure
DIO PROBO Cure User Guide

DIO PROBO Cure User Guide
1918
Using DIO PROBO Cure
How to use DIO PROBO Cure
① Current UV LED Temperature② UV LED Level③ UV Curing Level④ Sterilization Button⑤ UV Curing Button⑥ Time⑦ Curing Temperature Up/Down⑧ Start/StopControl Pannel
②
⑥ ⑦ ⑧
③ ④ ⑤
①
Caution: In order to prevent damage to machine and output models, do not set curing time for more than 5 minutes.
Main function
High capacity & Intensity UV LED Post Curing Machine.
Recommended Curing Time : Small model 2-3 min. Large model 5 min.
Selection of Sterilization and Curing functions (Dual selection available).
Setting of UV LED Power Level (1Lv-5Lv).
Achievement of best quality of curing by irradiation of 3 dimensional light source in every direction and automatic turntable.
Achievement of high quality of curing by high reflectivity disc at the bottom of the turntable and high permeability disk on the top of the machine.
High transmittance lens is on UV LED surface and high capacity UV light source can reach the object to be cured.
Alarm function for Pause / Complete / Safety Functions.
Safety function that stops automatically when UV LED Safety temperature is reached and door is open during operation.
LED Lifetime : 20,000 Hours.
How to Use
Start
- If you press the START/STOP button, curing starts with the [UV Level, Time] value set and the UV LED of sterilization/curing is operated simultaneously. When finished, the UV LED turns off and an alarm sounds.
- It is possible to set UV LED level and curing time before start.
- In order to prevent damage to machine and output models, do not set curing time for more than 5 minutes.
Pause
- Pause and turn off UV LED when you press START/STOP button during operation.
- Continue[Remaining time] and turn on UV LED when you press START/STOP button again.
Reset
- Press and hole START/STOP button to reset to default time and UV level.
How to Use
Check and set the control panel time of the top cover, UV LED level and sterilization/curing function.
Open the door and place the product to be cured on the turntable.
Press START/STOP button to start curing.
When the set time is over and the alarm sounds, the curing is completed.
Open the door and check the curing status of the product.

DIO PROBO Cure User Guide
2120
Safety Functions
Hold mode
- After using the hardening function, Hold mode is activated for 5 minutes and ‘Hold display’ sign is flickered on the time display.
- The equipment does not operate in hold mode.
UV LED overheat prevention
- All operation stops and UV LED turns off with UV alarm when the temperature of the UV LED module reaches 40 degrees or more during curing operation.
Door open detection
- When the door is open during operation, the Control panel display turns off and an alarm sounds.
- UV LED and motor stops, then close the door and press START/STOP button again to restart.
MEMO
Using DIO PROBO Cure
22 DIO PROBO Cure User Guide_E ver.2 2018.09
MEMO

www.dionavi.com