determination of the rate of the light dependent pathway as measured by the reduction of dpip...
TRANSCRIPT

Determination of the Rate of the Light Dependent Pathway as
measured by the reduction of DPIP
PHOTOSYNTHESIS LAB

PURPOSE
• Demonstrate the reduction of substrates as a result of the action of the Light Dependent reactions of photosynthesis
• Compare the rate of chemical reduction between
• Live chloroplasts exposed to light
• Heat killed chloroplasts exposed to light
• Live chloroplasts kept in darkness

RATIONALE• Absorption of light by pigments is the result of movement of electrons in those
pigments between different energy levels
• The formation of sugars results from the reduction of carbon using energetic (excited) electrons coming from the light dependent reactions occurring in the thylakoids
• In normal photosynthesis, the coenzyme NADP+ is reduced by excited electrons. The NADP+ carries those electrons to the stroma for use in the light independent pathways (Calvin Cycle)
• The dye DPIP is an oxidizing agent, and can be reduced by the photosystem as well. The DPIP becomes colorless when it is reduced, allowing students to measure the rate of reduction as a function of the color change in the DPIP
• The color change of DPIP will be measured as a change in transmittance of light (as determined with the Spec20 spectrophotometer)

PROCEDURE• Prepare 4 small test tubes for use in the experiment.
• Each tube will contain 5 mL of material including 1.0mL of phosphate buffer and distilled water to total 5.0mL. See the chart below for the contents of each tube
• Tube 1 will be used to calibrate the Spec20. It will contain no DPIP
• Tubes 2, 3, and 4 will be the experimental tubes containing DPIP
• Tube 2 will contain live chloroplasts, kept dark by a sleeve of aluminum foil
• Tube 3 will contain live chloroplasts, exposed to light
• Tube 4 will contain heat killed chloroplasts, exposed to light
• All 4 tubes will be placed in a test tube rack equidistant from a light source
• Each tube will be tested for transmittance by the Spec20 in 5 minute intervals for 15 minutes
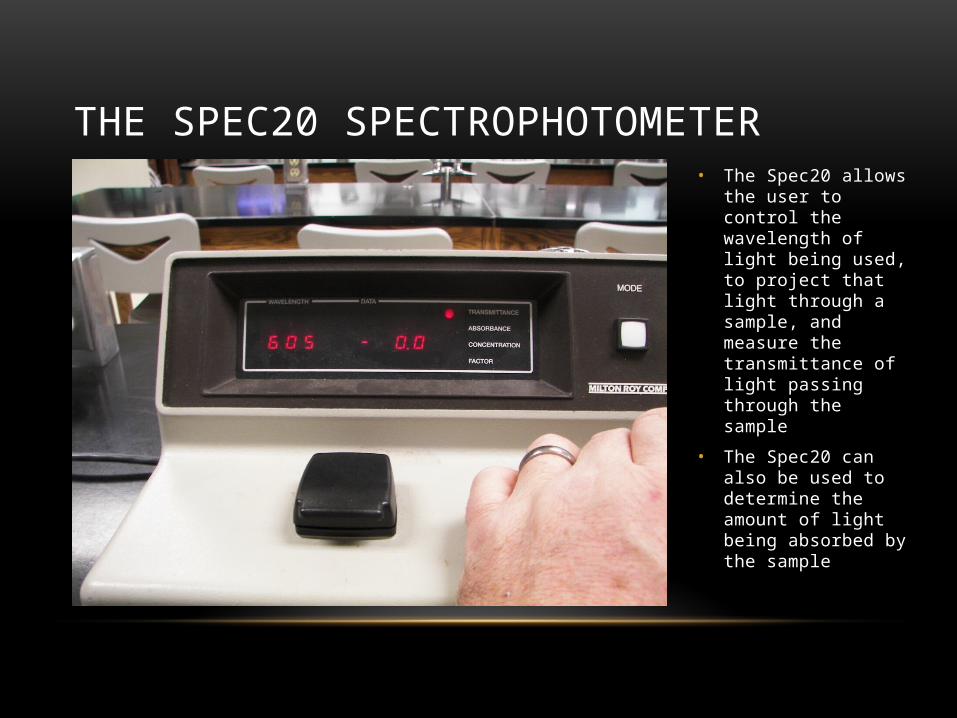
• The Spec20 allows the user to control the wavelength of light being used, to project that light through a sample, and measure the transmittance of light passing through the sample
• The Spec20 can also be used to determine the amount of light being absorbed by the sample
THE SPEC20 SPECTROPHOTOMETER

• The knob on the top of the Spec20 is used to set wavelength.
• Notice the display reads 605. This device is now set to measure transmittance of light at 605 nanometers.
• This wavelength is at peak absorption for the dye DPIP being used in this lab
SETTING THE WAVELENGTH

• All sensitive lab instruments need to be calibrated. The device needs to “know” what zero transmittance is, and what 100% transmittance is.
• With the sample receptacle empty, use the left hand knob to set transmittance to zero
CALIBRATION: STEP 1 – SETTING YOUR ZERO

• Some amount of light will be absorbed by the test tube being used, and by the water the sample is dissolved in. We have to calibrate the Spec20 to ignore that so our data considers only the contents of our sample
• Place the “blank” into the port. The blank contains distilled water and the nonreactive components of our sample
CALIBRATION: STEP 2 - INSERT THE BLANK

• With the blank inserted, use the right hand knob to set the transmittance to 100%
• The Spec20 will now show transmittance as if the test tube, water, and buffer were not present in your sample
CALIBRATION: STEP 3 – SET FULL SCALE
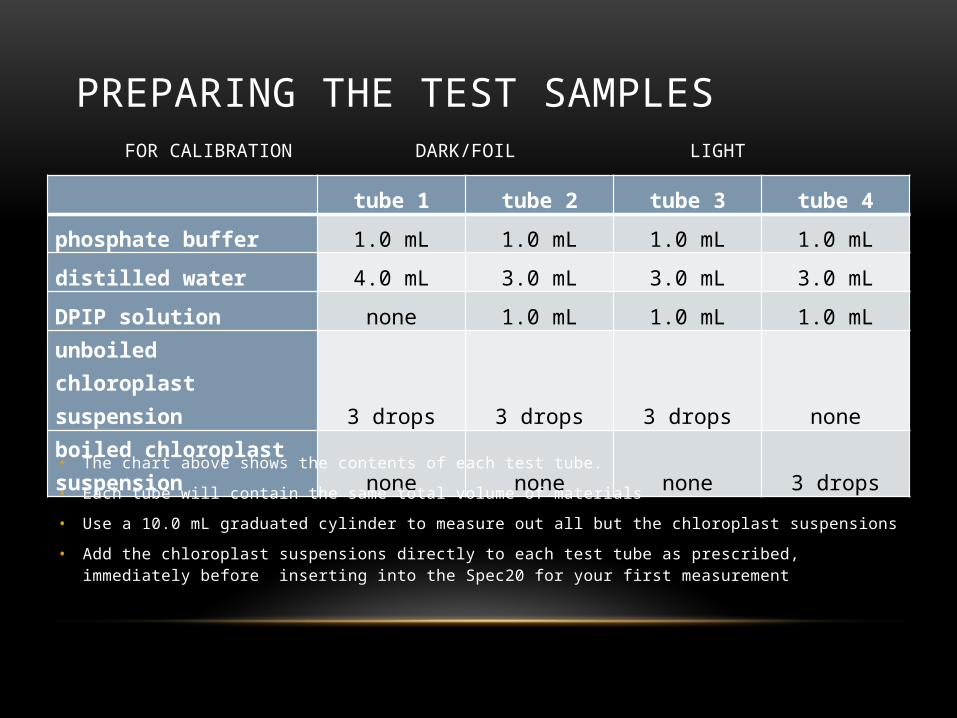
tube 1 tube 2 tube 3 tube 4
phosphate buffer 1.0 mL 1.0 mL 1.0 mL 1.0 mL
distilled water 4.0 mL 3.0 mL 3.0 mL 3.0 mL
DPIP solution none 1.0 mL 1.0 mL 1.0 mLunboiled chloroplast suspension 3 drops 3 drops 3 drops none
boiled chloroplast suspension none none none 3 drops
• The chart above shows the contents of each test tube.
• Each tube will contain the same total volume of materials
• Use a 10.0 mL graduated cylinder to measure out all but the chloroplast suspensions
• Add the chloroplast suspensions directly to each test tube as prescribed, immediately before inserting into the Spec20 for your first measurement
PREPARING THE TEST SAMPLESFOR CALIBRATION DARK/FOIL LIGHT HEAT KILLED

The 4 tubes must now be exposed to light so that photosynthesis can occur.
• Tube 1 will be used to recalibrate for each new data set
• Tube 2 is covered with foil to prevent exposure to light
• Tube 3 contains live chloroplast suspension exposed to light
• Tube 4 contains boiled chloroplast suspension, exposed to light
PREPARING THE APPARATUS

HYPOTHESIS AND PREDICTIONS
• What effect will darkness have on the rate of photosynthesis?
• What effect will boiling the chloroplast suspension have on the activity of the chloroplasts? Why?
• Which test tube(s) should have the highest rate of photosynthesis? Why?
• Which test tubes(s) should have the lowest rate of photosynthesis? Why?

Transmittance
0 minutes 5 minutes 10 minutes 15 minutes
tube 2 - unboiled, dark
tube 3 - unboiled, light
tube 4 - boiled, light
• Expose the test tubes to light• Use the Spec20 to measure transmittance every 5 minutes• Enter your data as shown below
COLLECTING DATA
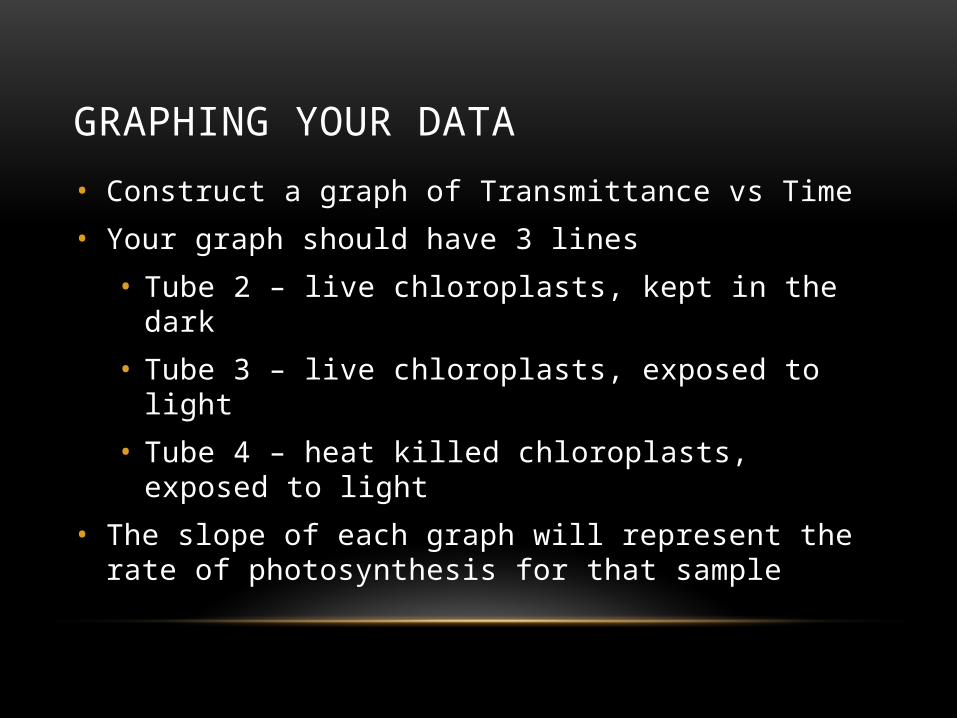
GRAPHING YOUR DATA
• Construct a graph of Transmittance vs Time
• Your graph should have 3 lines
• Tube 2 – live chloroplasts, kept in the dark
• Tube 3 – live chloroplasts, exposed to light
• Tube 4 – heat killed chloroplasts, exposed to light
• The slope of each graph will represent the rate of photosynthesis for that sample

SAMPLE DATA AND GRAPH
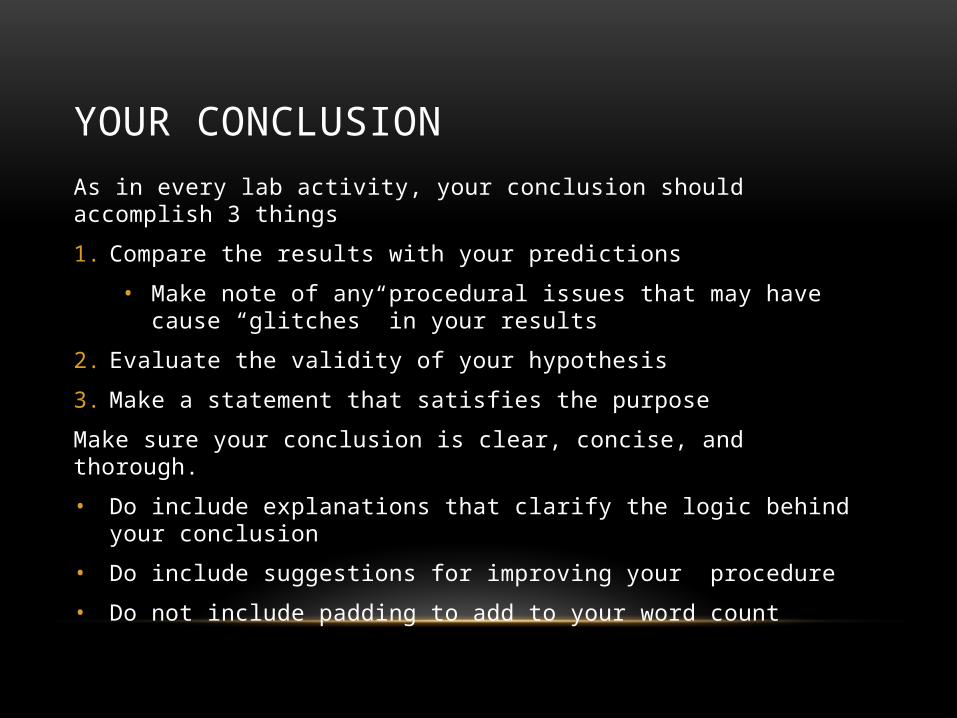
YOUR CONCLUSIONAs in every lab activity, your conclusion should accomplish 3 things
1. Compare the results with your predictions
• Make note of any procedural issues that may have cause “glitches” in your results
2. Evaluate the validity of your hypothesis
3. Make a statement that satisfies the purpose
Make sure your conclusion is clear, concise, and thorough.
• Do include explanations that clarify the logic behind your conclusion
• Do include suggestions for improving your procedure
• Do not include padding to add to your word count