dentist user guide - oral arts dental
TRANSCRIPT
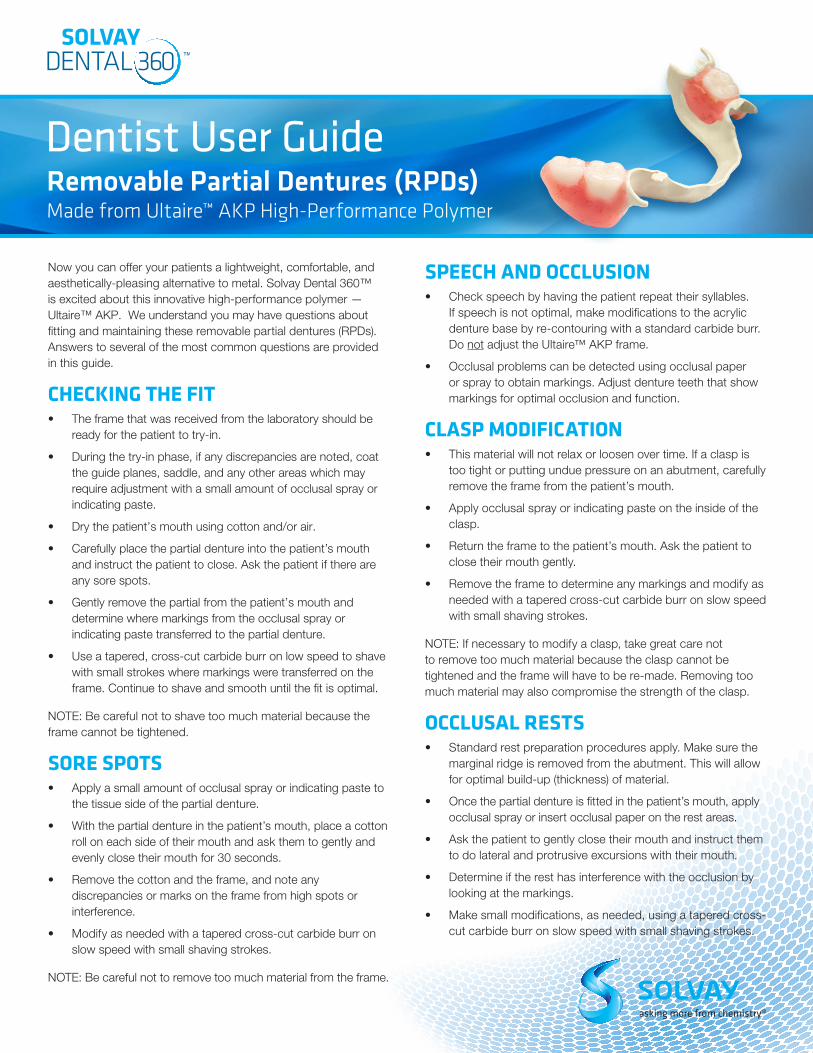
Dentist User GuideRemovable Partial Dentures (RPDs)Made from Ultaire™ AKP High-Performance Polymer
Now you can offer your patients a lightweight, comfortable, and aesthetically-pleasing alternative to metal. Solvay Dental 360™ is excited about this innovative high-performance polymer — Ultaire™ AKP. We understand you may have questions about fitting and maintaining these removable partial dentures (RPDs). Answers to several of the most common questions are provided in this guide.
CHECKING THE FIT• The frame that was received from the laboratory should be
ready for the patient to try-in.
• During the try-in phase, if any discrepancies are noted, coat the guide planes, saddle, and any other areas which may require adjustment with a small amount of occlusal spray or indicating paste.
• Dry the patient’s mouth using cotton and/or air.
• Carefully place the partial denture into the patient’s mouth and instruct the patient to close. Ask the patient if there are any sore spots.
• Gently remove the partial from the patient’s mouth and determine where markings from the occlusal spray or indicating paste transferred to the partial denture.
• Use a tapered, cross-cut carbide burr on low speed to shave with small strokes where markings were transferred on the frame. Continue to shave and smooth until the fit is optimal.
NOTE: Be careful not to shave too much material because the frame cannot be tightened.
SORE SPOTS• Apply a small amount of occlusal spray or indicating paste to
the tissue side of the partial denture.
• With the partial denture in the patient’s mouth, place a cotton roll on each side of their mouth and ask them to gently and evenly close their mouth for 30 seconds.
• Remove the cotton and the frame, and note any discrepancies or marks on the frame from high spots or interference.
• Modify as needed with a tapered cross-cut carbide burr on slow speed with small shaving strokes.
NOTE: Be careful not to remove too much material from the frame.
SPEECH AND OCCLUSION• Check speech by having the patient repeat their syllables.
If speech is not optimal, make modifications to the acrylic denture base by re-contouring with a standard carbide burr. Do not adjust the Ultaire™ AKP frame.
• Occlusal problems can be detected using occlusal paper or spray to obtain markings. Adjust denture teeth that show markings for optimal occlusion and function.
CLASP MODIFICATION• This material will not relax or loosen over time. If a clasp is
too tight or putting undue pressure on an abutment, carefully remove the frame from the patient’s mouth.
• Apply occlusal spray or indicating paste on the inside of the clasp.
• Return the frame to the patient’s mouth. Ask the patient to close their mouth gently.
• Remove the frame to determine any markings and modify as needed with a tapered cross-cut carbide burr on slow speed with small shaving strokes.
NOTE: If necessary to modify a clasp, take great care not to remove too much material because the clasp cannot be tightened and the frame will have to be re-made. Removing too much material may also compromise the strength of the clasp.
OCCLUSAL RESTS• Standard rest preparation procedures apply. Make sure the
marginal ridge is removed from the abutment. This will allow for optimal build-up (thickness) of material.
• Once the partial denture is fitted in the patient’s mouth, apply occlusal spray or insert occlusal paper on the rest areas.
• Ask the patient to gently close their mouth and instruct them to do lateral and protrusive excursions with their mouth.
• Determine if the rest has interference with the occlusion by looking at the markings.
• Make small modifications, as needed, using a tapered cross-cut carbide burr on slow speed with small shaving strokes.

The information provided are recommendations and the user alone must finally determine suitability of any information or products for its contemplated use and the manner of use. The information and the products are for use by technically skilled persons at their own discretion and risk, and does not relate to the use of this product in combination with any other substance or any other process. This information gives typical properties only and may not be applicable for specific purposes.
Any trade names or brand names referenced herein are the opinions of the technical support of Solvay and are by no means partnerships or endorsements by Solvay Dental 360™.
Solvay Dental 360™, a division of Solvay Specialty Polymers USA, LLC. All trademarks and registered trademarks are property of the companies that comprise the Solvay Group or their respective owners. © 2017, Solvay Specialty Polymers. All rights reserved. DN201700137 v1.0 EN
Caution: Federal law restricts this device to sale by or on the order of a dentist or other authorized dental professional.
Worldwide HeadquartersSolvay Specialty Polymers Italy S.p.AViale Lombardia, 20 20021 Bollate (MI), Italy
Americas HeadquarterscSolvay Specialty Polymers USA, LLC4500 McGinnis Ferry RoadAlpharetta, GA 30005, USA
www.solvay.com www.solvaydental360.com
CLEANING• It is recommended that patients follow standard RPD
protocol for care and cleaning of their Ultaire™ AKP partial dentures.
• Solvay recommends patients use a soft brush, denture cleaner, regular toothpaste, and to store their Ultaire™ AKP partial dentures in fresh tap water when not in use.
CUSTOM TRAYS• A custom tray should be prepared for every case.
• The model should be blocked out evenly, not only for undercuts, but also to allow for a consistent thickness of impression material to minimize the potential for distortion.
CLASP REPAIR• Ultaire™ AKP does not behave like metal or acetyl.
Ultaire™ AKP balances rigidity and toughness, making it more forgiving than metal, but more rigid than acetyl.
• If it is necessary to repair a clasp, follow the standard repair procedure of taking a pickup impression of the partial in the patient’s mouth and forwarding the partial in the impression to the laboratory.
ADDING TEETHIf it is necessary to add a tooth to the Ultaire™ AKP partial denture, we recommend proceeding with a process similar to the one detailed below:
• Take a pickup impression of the partial denture in the mouth.
• Create a finish line with a #2 round burr. (Figure 1)
• Prepare meshwork area by making retention holes with a #6 round burr where the tooth will be added. (Figure 3)
• Contour the denture tooth to fit the area.
• Mix acrylic to a dough-like consistency and place in the area where the tooth will be added.
• Position the denture tooth on the frame. (Figure 4)
• Cure for 20 minutes in a pressure pot at 100 degrees Fahrenheit under 20 psi.
• Once cured, check the occlusion and adjust as needed.
• Finish and polish. (Figure 2)
Figure 1 Figure 2
Figure 3 Figure 4