cup cozy (java jacket) pattern #s304 - crochet, sewing &...
TRANSCRIPT
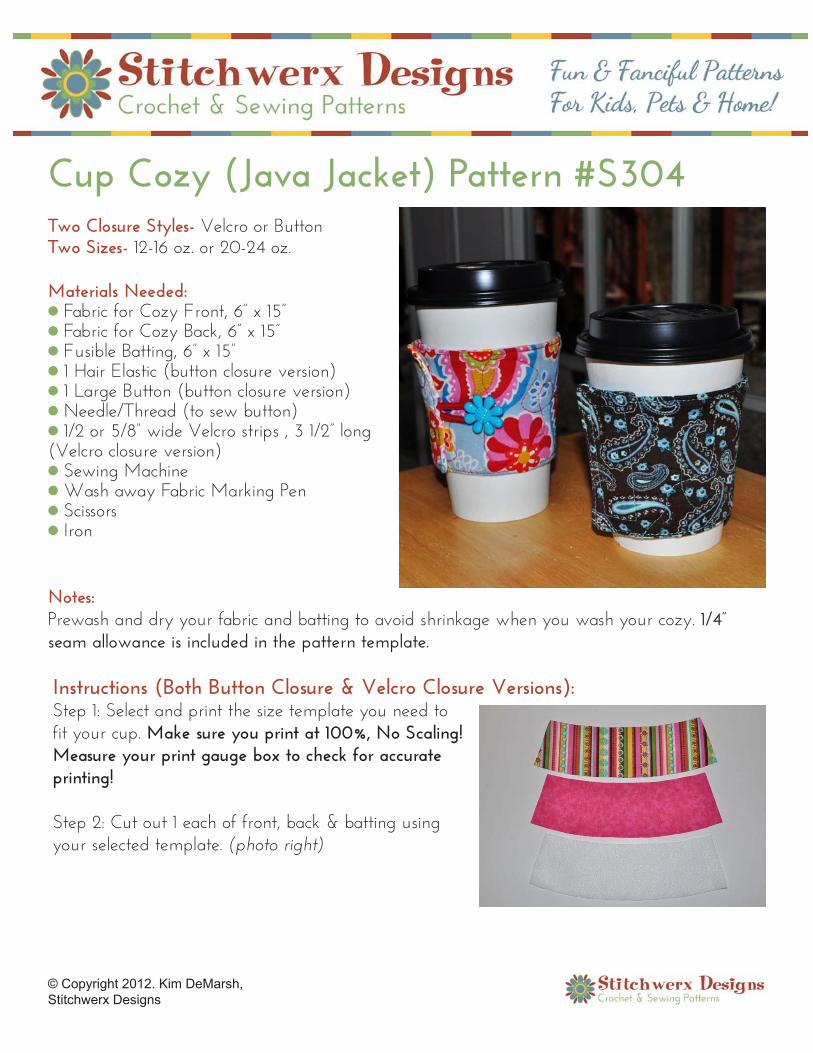
Cup Cozy (Java Jacket) Pattern #S304
© Copyright 2012. Kim DeMarsh, Stitchwerx Designs
Two Closure Styles- Velcro or ButtonTwo Sizes- 12-16 oz. or 20-24 oz.
Materials Needed:l Fabric for Cozy Front, 6” x 15”l Fabric for Cozy Back, 6” x 15”l Fusible Batting, 6” x 15”l 1 Hair Elastic (button closure version)l 1 Large Button (button closure version)l Needle/Thread (to sew button)l 1/2 or 5/8” wide Velcro strips , 3 1/2” long (Velcro closure version)l Sewing Machinel Wash away Fabric Marking Penl Scissorsl Iron
Notes:Prewash and dry your fabric and batting to avoid shrinkage when you wash your cozy. 1/4” seam allowance is included in the pattern template.
Instructions (Both Button Closure & Velcro Closure Versions):Step 1: Select and print the size template you need to fit your cup. Make sure you print at 100%, No Scaling!Measure your print gauge box to check for accurate printing!
Step 2: Cut out 1 each of front, back & batting using your selected template. (photo right)

Step 3: Trim about 1/8” off the batting all the way around to reduce seam bulk. Fuse batting to wrong side of the back panel.
Velcro Closure VersionContinue to Step 6 below.
Button Closure Version OnlyStep 4: Cut hair elastic in half. Make a loop with 1 piece.
Step 5: With right side of back piece facing up, position loop on right edge as shown in photo. Zig zag stitch loop in place.
Both VersionsStep 6: Pin front to back right sides together & stitch using 1/4” seam allowance. Leave opening as indicated on pattern so you can turn cozy right side out.
Step 6B: If you are doing the Button Closure version, reinforce the stitching where the loop is sewn into the seam.
Step 3
Step 4
Step 5
© Copyright 2012. Kim DeMarsh, Stitchwerx Designs
Step 6
Step 6B

Step 7: Clip corners and curves being careful not to clip into seam. Turn right side out. Step 8: Turn in 1/4” seam at opening and press.
Step 9: Stitch 1/8” from edge all the way around.
Velcro Closure Version OnlyStep 10: Cut Velcro strips to fit about 1/4” inside cozy height. Sew hook & loop Velcro strips in place on cozy as shown in photos.
Cozies with Velcro closures are reversible by flipping cozy around and fastening Velcro the other way.
Step 7
Step 9
Step 10: Velcro hook strip oncozy back
Step 10: Velcro loop strip oncozy front
© Copyright 2012. Kim DeMarsh, Stitchwerx Designs

Quilting (both versions)You can machine quilt both versions at this point if you wish. This is optional. I like to quilt my cozies. You can do the freestyle quilting or straight lines, reallywhatever you want.
Button Closure Version OnlyAfter quilting, sew you button on as indicated onpattern.
© Copyright 2012. Kim DeMarsh, Stitchwerx Designs.
Your cozy is ready for use!
Please visit my etsy shop for other cozy designs including strip piece and applique designs. Money-saving Pattern Bundles available.
I would love to see your creations! Please stop by my blog and leave me a comment or photos!
Happy Sewing!Kim
This pattern may not be reproduced, redistributed or sold in any form. Items made from this pattern may be made for personal use or sold in small quantities. Please include a credit for online sales listings. “Pattern by Stitchwerx Designs- http://stitchwerxdesigns.etsy.com”.
Website: http://stitchwerx.netEtsy Shop: www.etsy.com/shop/StitchwerxDesignsSpoonflower Shop: http://www.spoonflower.com/profiles/stitchwerxdesigns
This referenceimage should be 1.5” square printedat 100%.
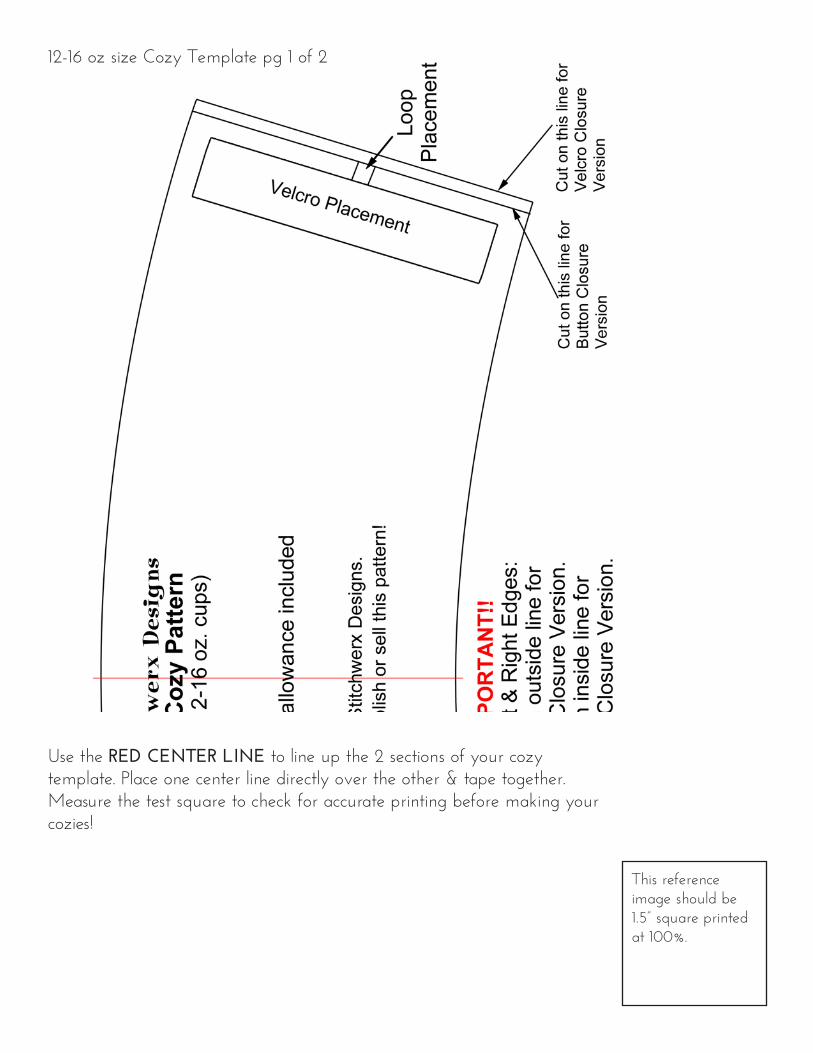
Use the RED CENTER LINE to line up the 2 sections of your cozy template. Place one center line directly over the other & tape together. Measure the test square to check for accurate printing before making your cozies!
12-16 oz size Cozy Template pg 1 of 2

This referenceimage should be 1.5” square printedat 100%.
Use the RED CENTER LINE to line up the 2 sections of your cozy template. Place one center line directly over the other & tape together. Measure the test square to check for accurate printing before making your cozies!
12-16 oz size Cozy Template pg. 2 of 2
This referenceimage should be 1.5” square printedat 100%.
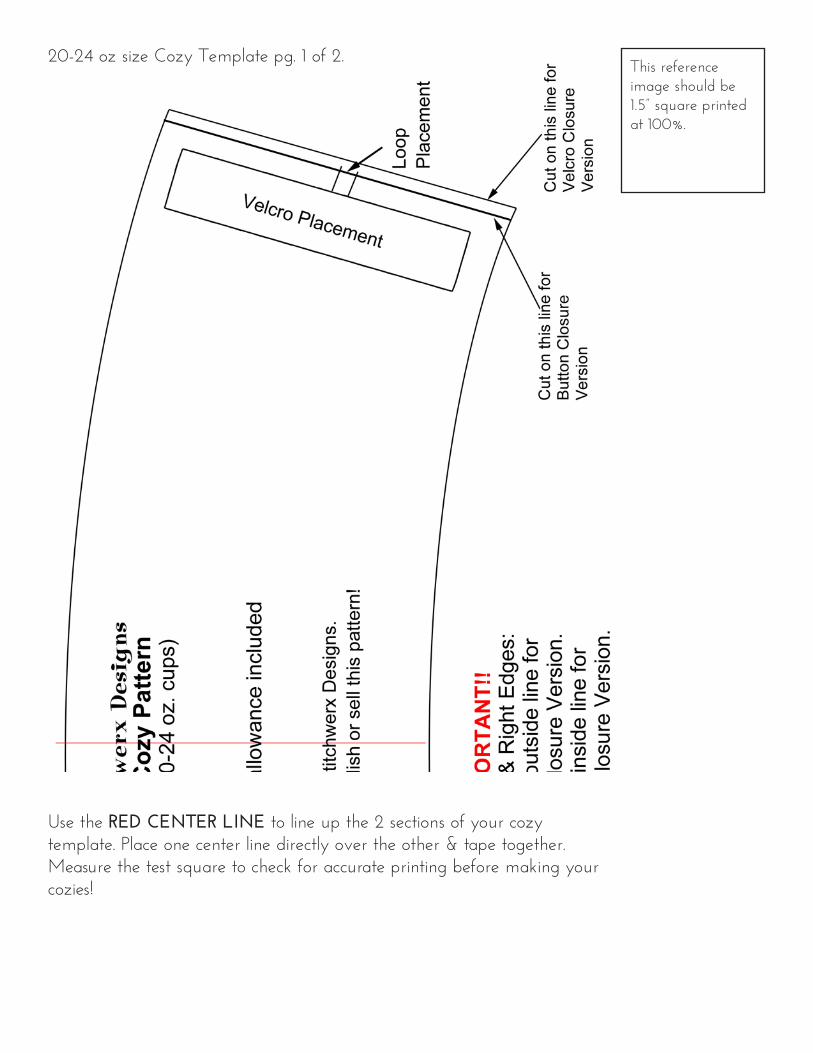
Use the RED CENTER LINE to line up the 2 sections of your cozy template. Place one center line directly over the other & tape together. Measure the test square to check for accurate printing before making your cozies!
20-24 oz size Cozy Template pg. 1 of 2.

This referenceimage should be 1.5” square printedat 100%.
Use the RED CENTER LINE to line up the 2 sections of your cozy template. Place one center line directly over the other & tape together. Measure the test square to check for accurate printing before making your cozies!
20-24 oz size Cozy Template pg. 2 of 2.