csc350: learning management systems comsats institute of information technology (virtual campus)
TRANSCRIPT

CSC350: Learning Management Systems
COMSATS Institute of Information Technology (Virtual Campus)

2
Lecture # 25
SlateSakai Learning & Teaching Environment

3
Review of the Previous Lecture
• Making a Quiz• Role of Question-Bank• Forums
– A single simple discussion– Each person posts one discussion– Q and A forum– Standard forum displayed in a blog-like-format– Standard forum for general use– Choices (of teacher & subject)
• Glossary• Chat• Gradebook

4
Topics of Discussion
• The Topics Follow:

5
Overview of SLATE
• Sakai Learning And Teaching Environment is full-featured system currently supporting technology-enabled teaching, learning, research and collaboration needs for educational institutions and organizations.
• The SLATE provides a secure collaboration environment, initially designed to meet the needs of students working together on university courses.
• SLATE is a secure web-based portal and in order to get started you will need the web address and a user account. When your user account is created you will have been assigned a role, such as maintain (this is the same as instructor) or access (i.e. the user).
• This role will decide what level of permissions you have.
• The URL is http://slate.university.edu.pk
6
Getting Started
SLATE Login Page
The main URL of the system takes you to the Welcome Screen. From the Welcome Screen you can access some basic information from the left Menu Bar:
• The Message of the Day, which provides updates on new features, service issues, outage messages, etc.
• Descriptions of Features
• A list of upcoming Training sessions
• A link to Help resources
• Logging In
7
Getting Started…
• To log into the system, enter your username and password in the text box on top right corner of the Welcome Page and then click “login”.
• You will gain access to your “My Workspace” page.
8
User Name
User name format is: iXXZZZZ
• f: Faisalabad campus• i: Islamabad Campus• k: Karachi campus• l: Lahore campus• p: Peshawar campus
Note: You should change your SLATE account password from “Account” after first login
9
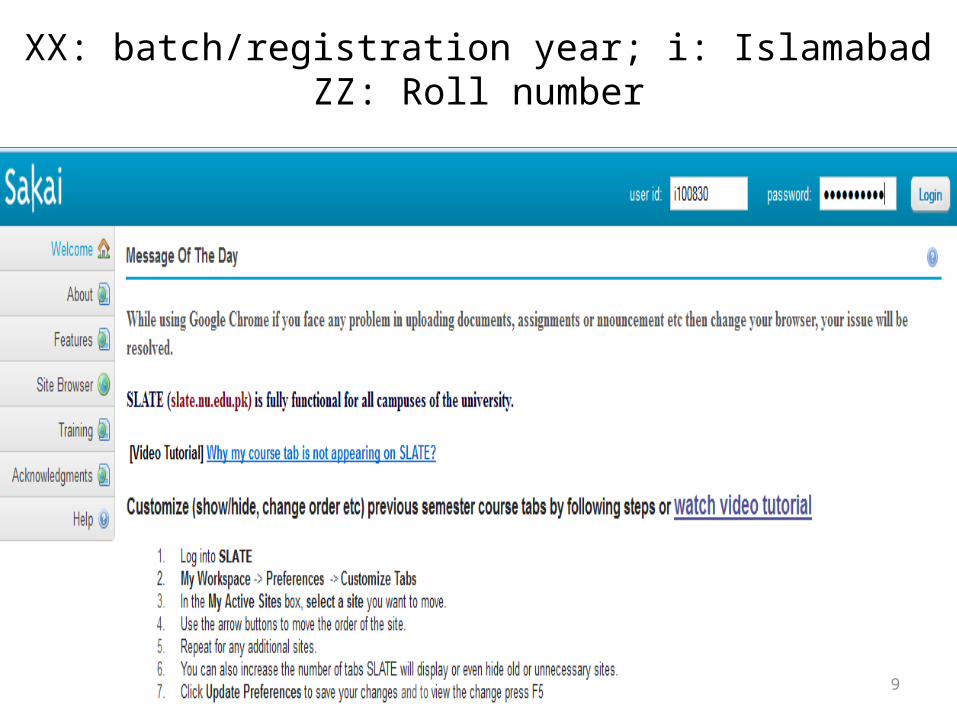
XX: batch/registration year; i: IslamabadZZ: Roll number
10
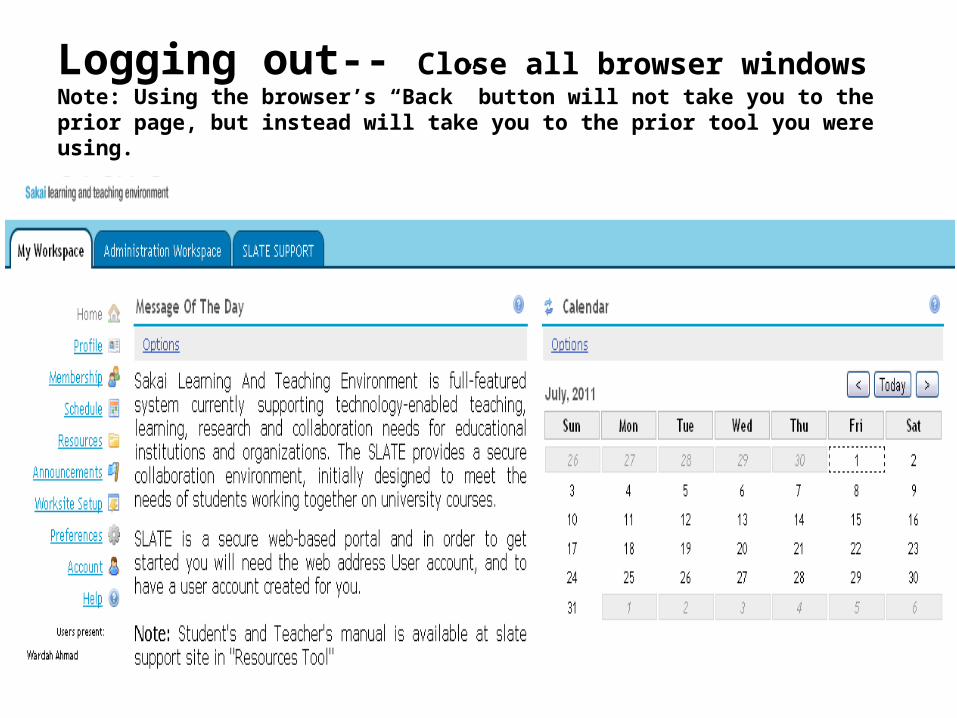
Logging out-- Close all browser windowsNote: Using the browser’s “Back” button will not take you to the prior page, but instead will take you to the prior tool you were using.

11
My Workspace
My Workspace worksite contains its own set of configurable tools unique to this personalized area. My Workspace worksite provides each user an area containing tools enabling the management of individual information.
• By default, a user in My Workspace worksite is able to do the following:• Post files to a private resource tool• View an integrated schedule of all the user’s worksites• Create private schedule items• View announcements from all the user’s worksites• View a list of sites in which the user belongs• Join new worksites• Manage personal preferences
12
Tools in ‘My Workspace’
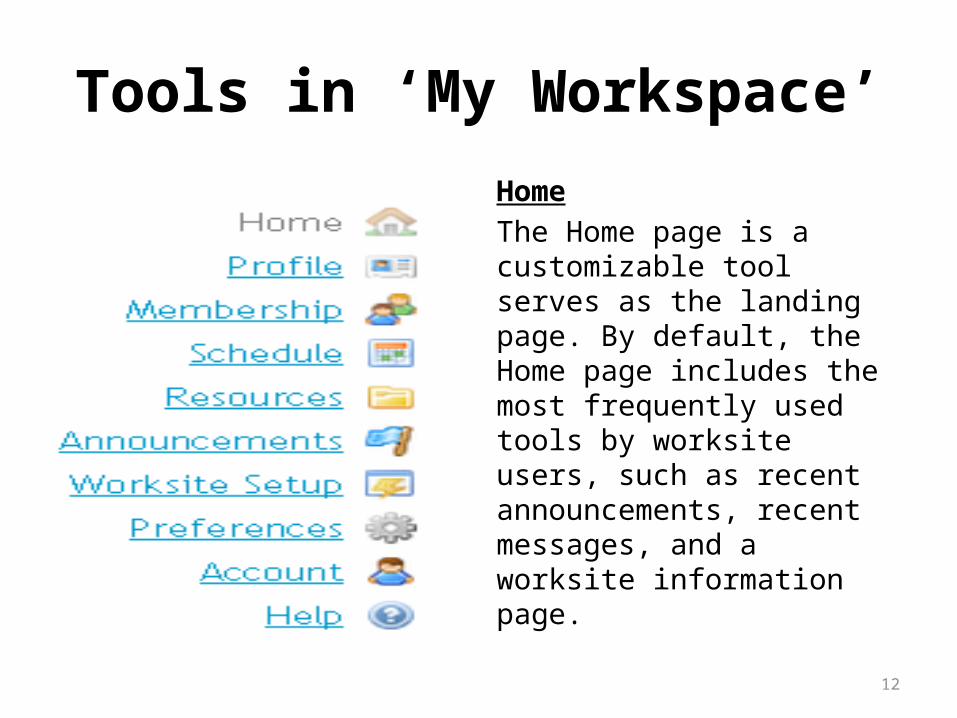
Home
The Home page is a customizable tool serves as the landing page. By default, the Home page includes the most frequently used tools by worksite users, such as recent announcements, recent messages, and a worksite information page.
13
Tools in ‘My Workspace’
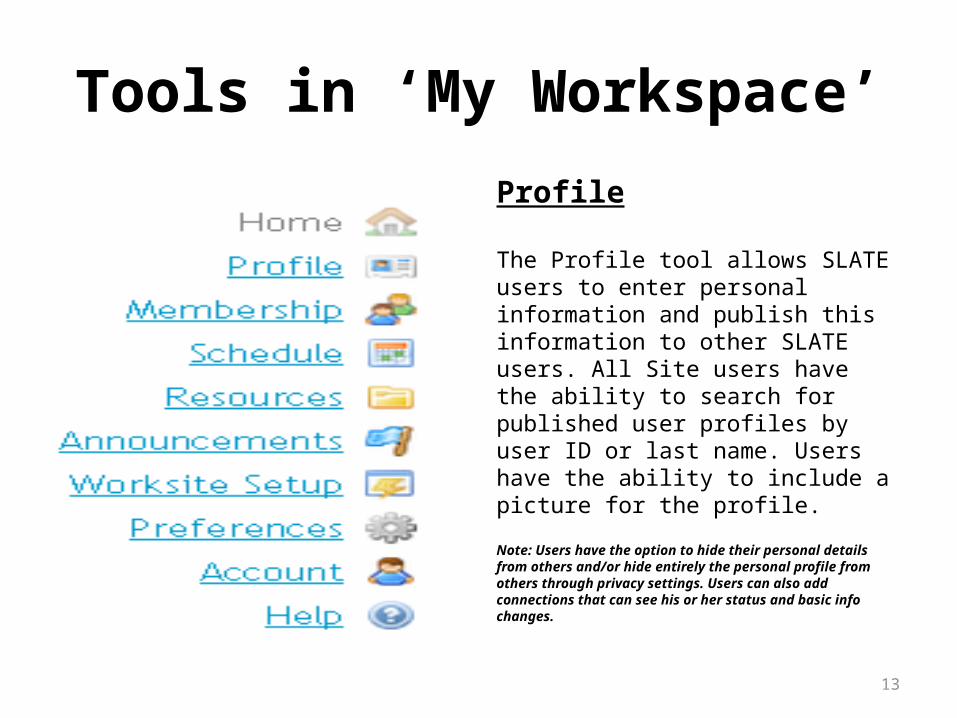
Profile
The Profile tool allows SLATE users to enter personal information and publish this information to other SLATE users. All Site users have the ability to search for published user profiles by user ID or last name. Users have the ability to include a picture for the profile.
Note: Users have the option to hide their personal details from others and/or hide entirely the personal profile from others through privacy settings. Users can also add connections that can see his or her status and basic info changes.

14
Tools in ‘My Workspace’
Membership
The Membership tool allows users to view a list of their worksites. In addition, this tool allows users to search for and join available or joinable worksites. The Membership tool in My Workspace is where you can join and unjoin available worksites.
Joining and unjoining sites
In My Workspace, from the menu bar on left side, click Membership from the list of tools. Click “Joinable Sites” link to see a list of all the available sites of which you are not a member. If you would like to join any of them, click ‘Join’ link under the site name.
15
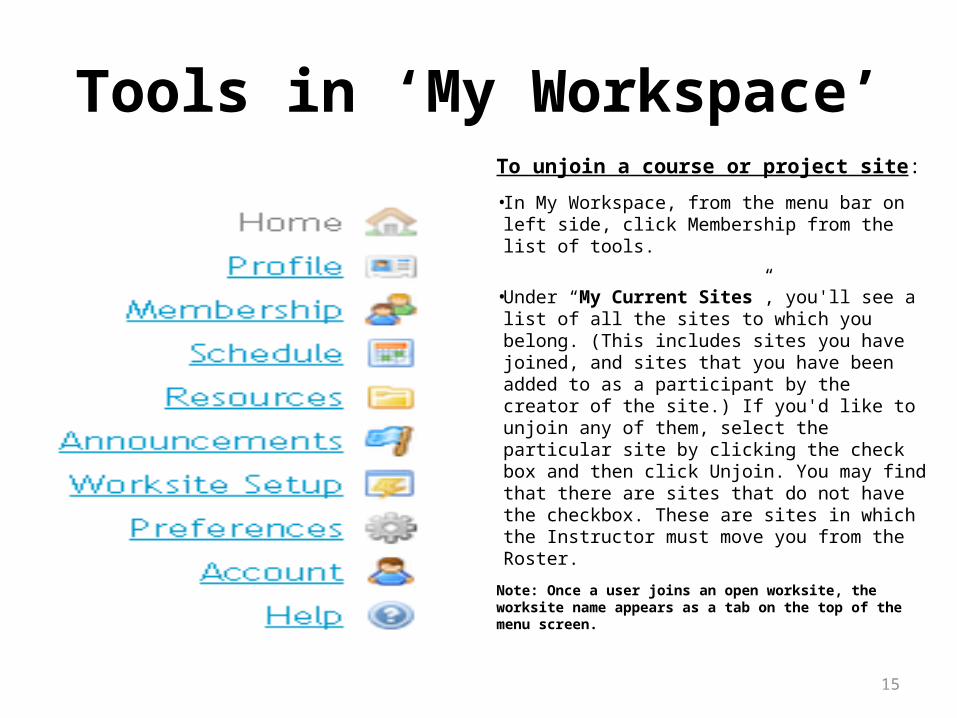
Tools in ‘My Workspace’To unjoin a course or project site:
• In My Workspace, from the menu bar on left side, click Membership from the list of tools.
• Under “My Current Sites”, you'll see a list of all the sites to which you belong. (This includes sites you have joined, and sites that you have been added to as a participant by the creator of the site.) If you'd like to unjoin any of them, select the particular site by clicking the check box and then click Unjoin. You may find that there are sites that do not have the checkbox. These are sites in which the Instructor must move you from the Roster.
Note: Once a user joins an open worksite, the worksite name appears as a tab on the top of the menu screen.
16
Schedule
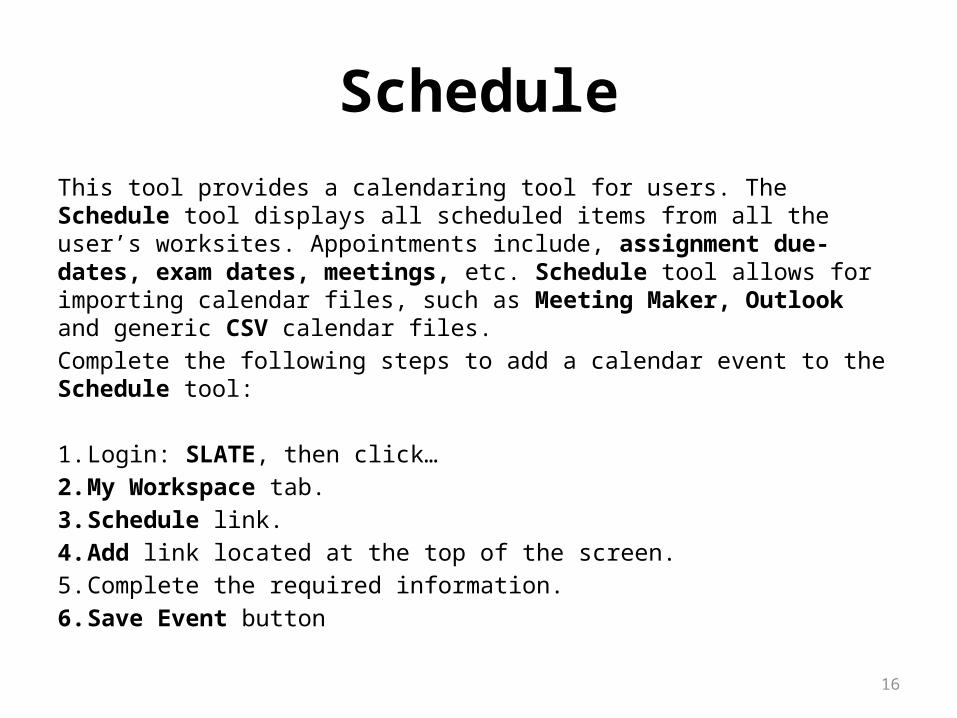
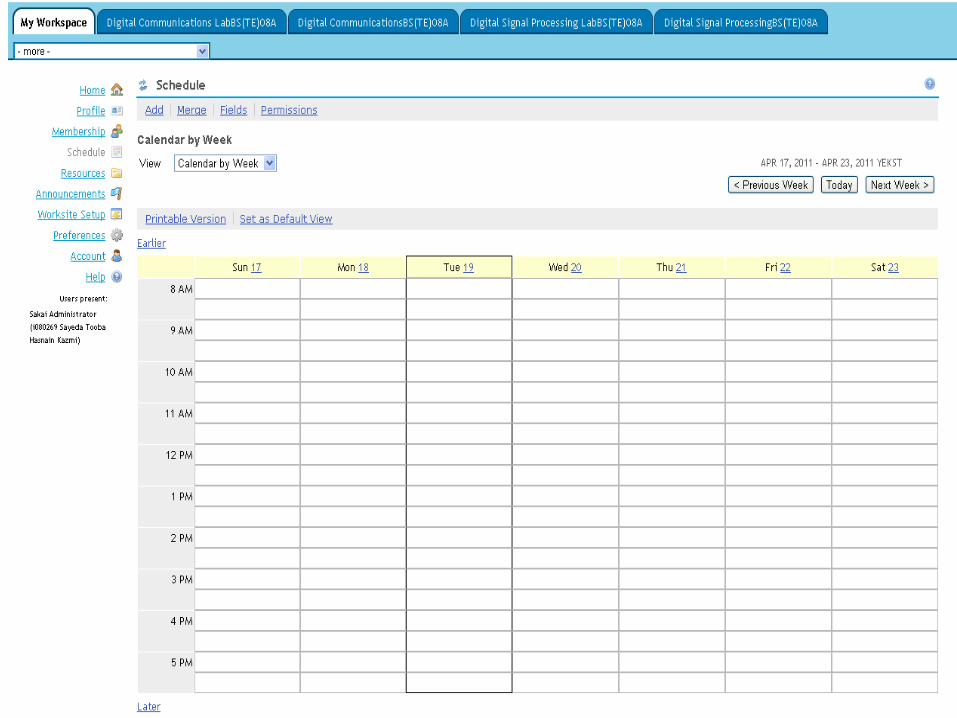
This tool provides a calendaring tool for users. The Schedule tool displays all scheduled items from all the user’s worksites. Appointments include, assignment due-dates, exam dates, meetings, etc. Schedule tool allows for importing calendar files, such as Meeting Maker, Outlook and generic CSV calendar files.
Complete the following steps to add a calendar event to the Schedule tool:
1. Login: SLATE, then click…
2. My Workspace tab.
3. Schedule link.
4. Add link located at the top of the screen.
5. Complete the required information.
6. Save Event button
17

18
Resources
Resources tool allows to store files. This tool enables to upload files from a local computer to SLATE. Users may also create a webdav client on their personal computer to allow for easy drag-and-drop.
Steps to add a file to Resources:
1. Login: SLATE and click
2. My Workspace tab.
3. Resources tool.
4. Add link.
5. Choose the Upload files option.
6. Browse to browse your computer for the file.
7. add details for this item link.
8. Complete the Title, access, item showing and Copyright Status information.
9. Click to add another file link by repeating step 6, 7 and 8.
10. Click Upload files Now button. All files will be uploaded.
19
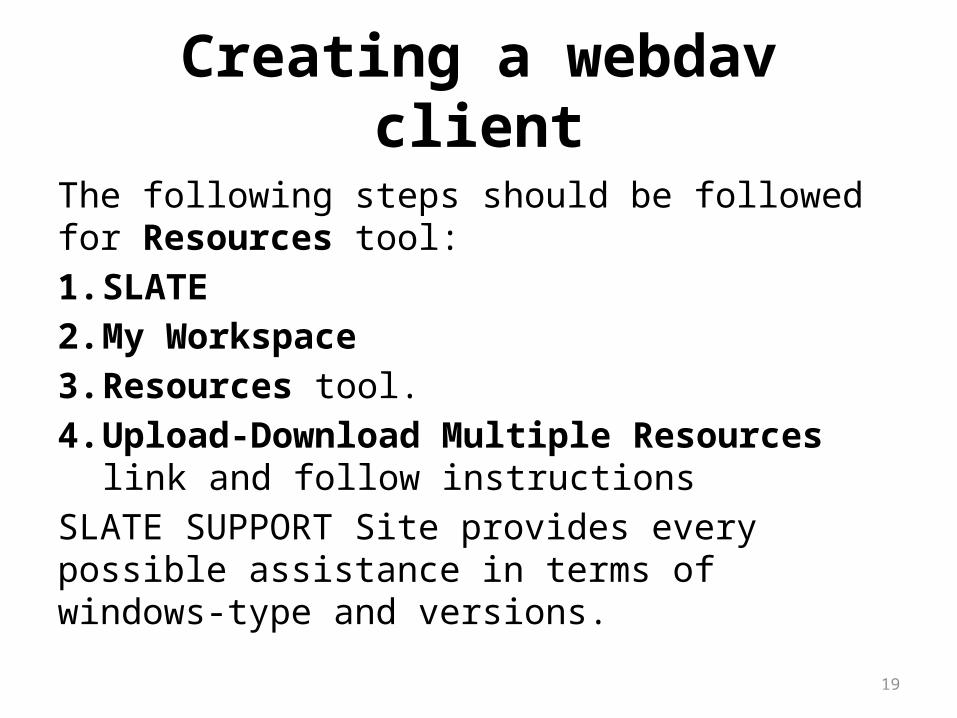
Creating a webdav client
The following steps should be followed for Resources tool:
1. SLATE
2. My Workspace
3. Resources tool.
4. Upload-Download Multiple Resources link and follow instructions
SLATE SUPPORT Site provides every possible assistance in terms of windows-type and versions.
20
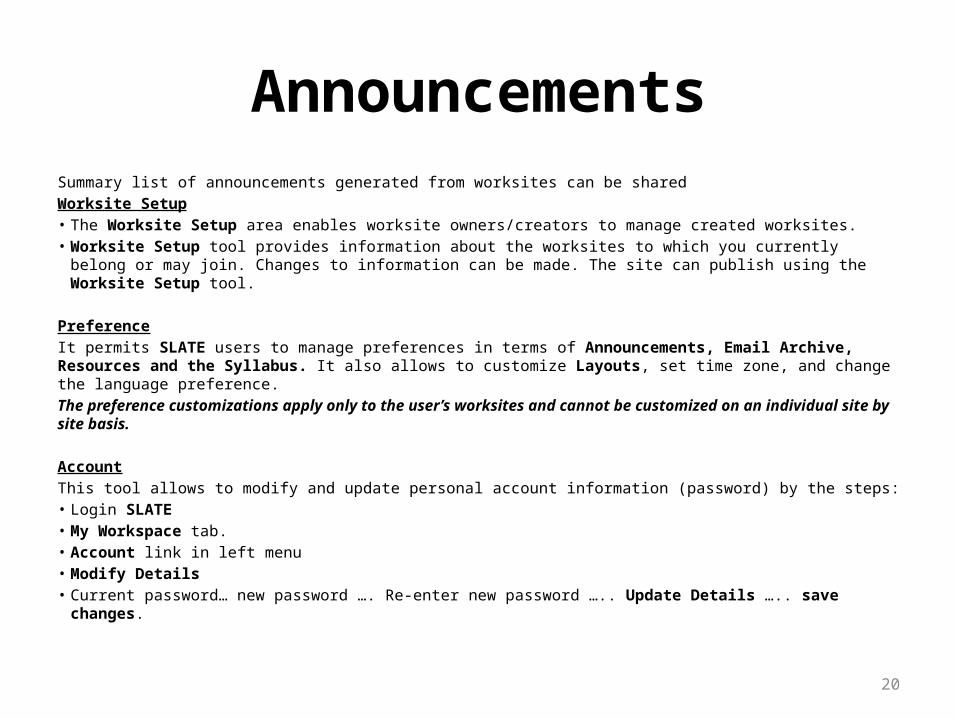
AnnouncementsSummary list of announcements generated from worksites can be shared
Worksite Setup• The Worksite Setup area enables worksite owners/creators to manage created worksites. • Worksite Setup tool provides information about the worksites to which you currently belong or may join.
Changes to information can be made. The site can publish using the Worksite Setup tool.
Preference
It permits SLATE users to manage preferences in terms of Announcements, Email Archive, Resources and the Syllabus. It also allows to customize Layouts, set time zone, and change the language preference.
The preference customizations apply only to the user’s worksites and cannot be customized on an individual site by site basis.
Account
This tool allows to modify and update personal account information (password) by the steps: • Login SLATE• My Workspace tab. • Account link in left menu• Modify Details• Current password… new password …. Re-enter new password ….. Update Details ….. save changes.

21

22

23
Thank You