creo 4.0 installation - information services & technology 4.0 installation...1 creo 4.0...
TRANSCRIPT

1
Creo 4.0 Installation
By: Dr. Herli Surjanhata
Before you install, you must have NJIT VPN as shown below,
Activate VPN – see figure below.
Click Connect and enter your UCID and Password.
Click OK.
Now you are connected to webvpn.njit.edu and start to install Creo 4.0
Download Creo 4.0 file and if necessary unzip it to destination folder.
Navigate to installation folder,

2
Right-click setup.exe of Creo 4.0 and select Run as administrator.
The PTC Installation Assistant dialog box appears.

3
Click

4
Be sure to check and see below.
and then click .
5
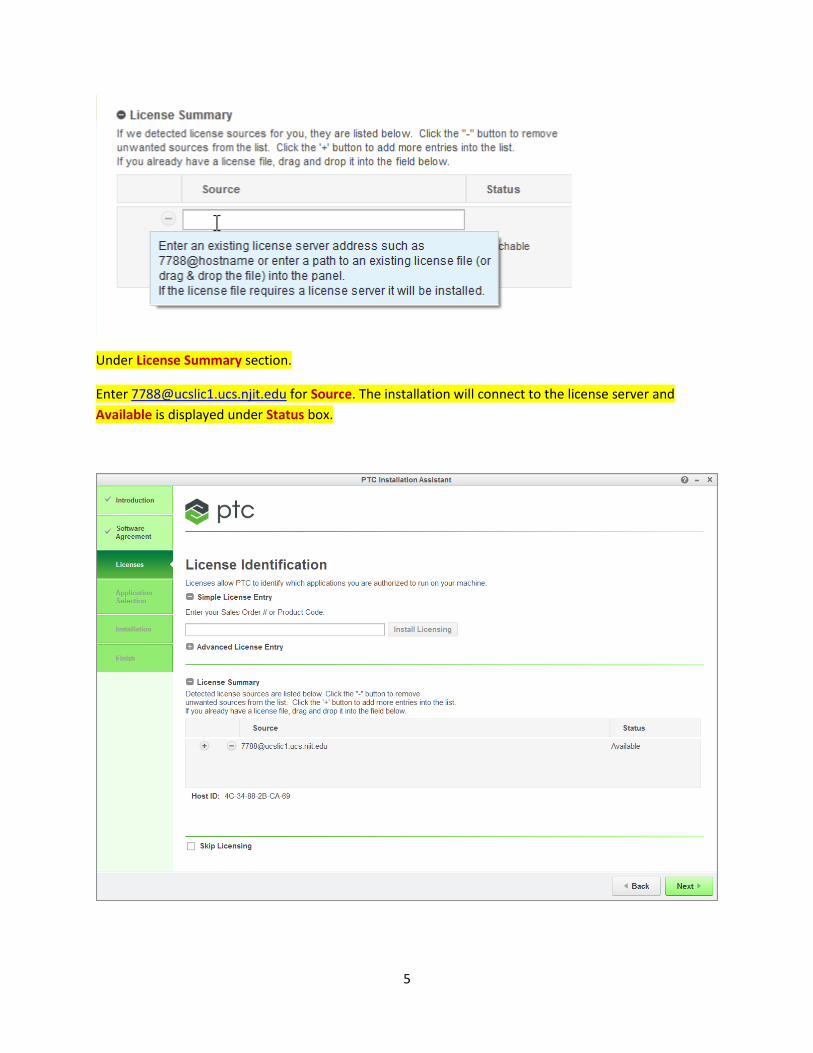
Under License Summary section.
Enter [email protected] for Source. The installation will connect to the license server and
Available is displayed under Status box.

6
Be sure the status of your license server is Available. Click .
Click on Customize … button. Application Custom Setting dialog box appears.
Note that Creo Direct is highlighted and check Direct Modeling Converter.

7
Highlight PTC Creo Layout

8
Highlight Creo Parametric and check the ALL for Options, API Toolkits and Interface as shown below.

9
Highlight Creo Simulate and check the setting as shown below.
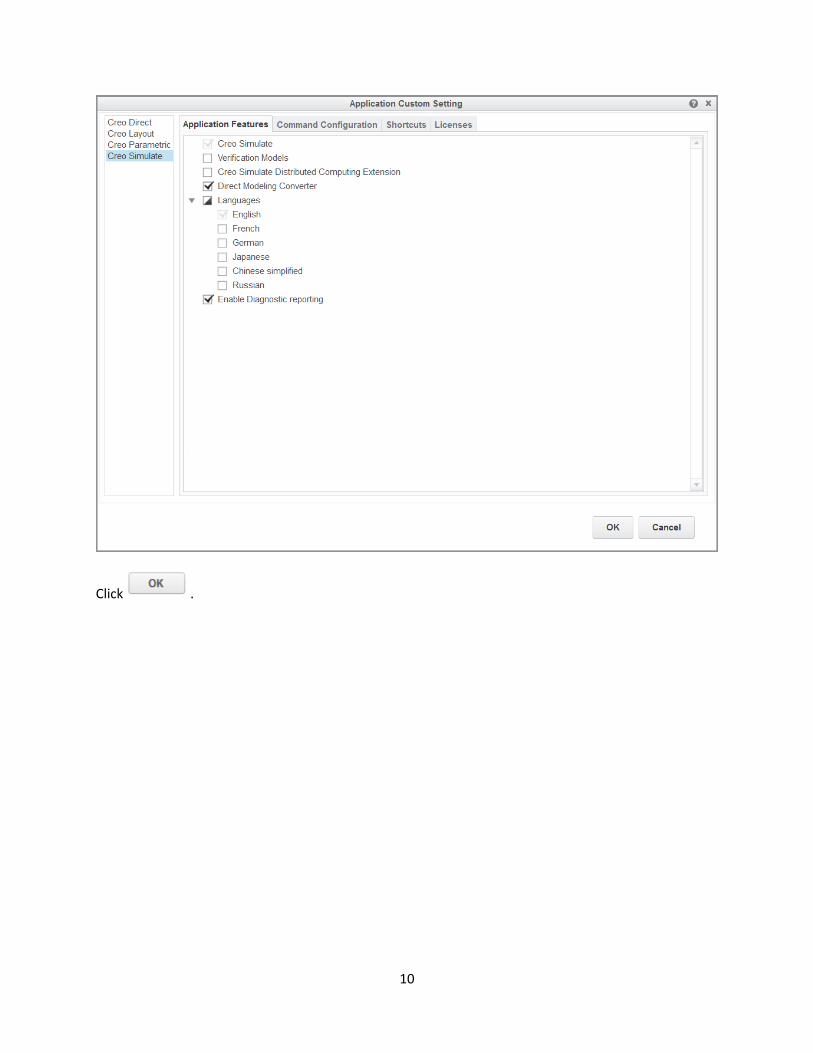
10
Click .

11
Note:
If you want to install Mathcad, check PTC Mathcad option as shown below.
Click on the PTC Installation Assistant.
The installation in progress figures are shown below.

12
13
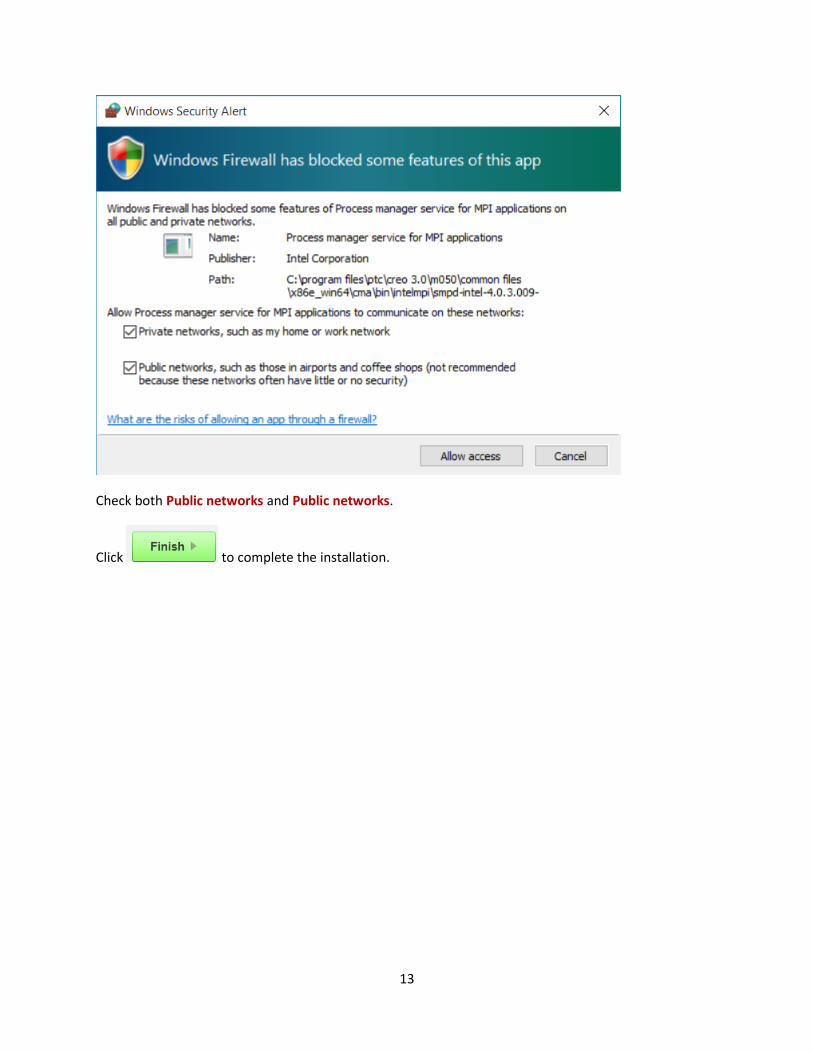
Check both Public networks and Public networks.
Click to complete the installation.