chapter 13 endotracheal tube and tracheostomy care 13 endotracheal tube and tracheostomy care...
TRANSCRIPT
Chapter 13 Endotracheal Tube and Tracheostomy Care
Procedure 93 Assisting With Endotracheal Intubation
Procedure 94 Ventilating An Endotracheal Tube Using A Bag-Valve Device
Procedure 95 Ventilating A Tracheostomy Using A Bag-Valve Device
Procedure 96 Suctioning A Tracheostomy
Procedure 97 Giving Tracheostomy/Stoma Care Using A Nondisposable Inner Cannula
Procedure 98 Giving Tracheostomy/Stoma Care Using A Disposable Inner Cannula
Procedure 99 Applying A Tracheostomy Dressing And Ties
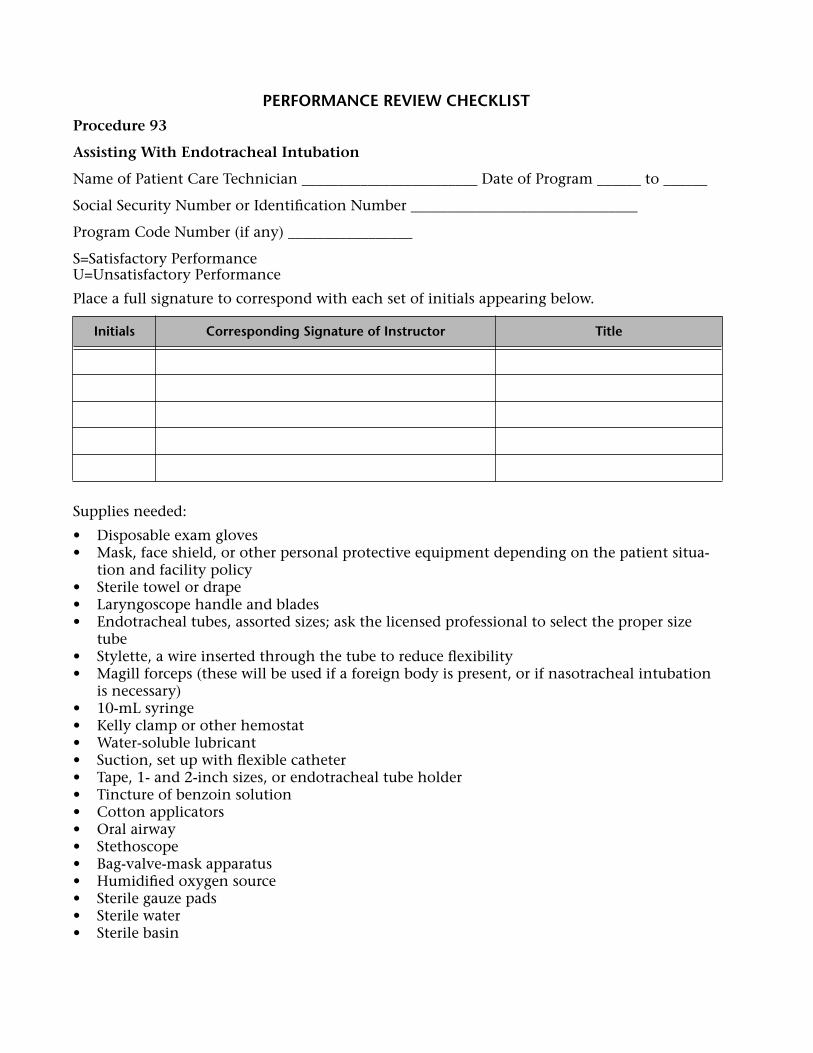
PERFORMANCE REVIEW CHECKLIST
Procedure 93
Assisting With Endotracheal Intubation
Name of Patient Care Technician ________________________ Date of Program ______ to ______
Social Security Number or Identification Number _______________________________
Program Code Number (if any) _________________
S=Satisfactory PerformanceU=Unsatisfactory Performance
Place a full signature to correspond with each set of initials appearing below.
Supplies needed:
• Disposable exam gloves• Mask, face shield, or other personal protective equipment depending on the patient situa-
tion and facility policy• Sterile towel or drape• Laryngoscope handle and blades• Endotracheal tubes, assorted sizes; ask the licensed professional to select the proper size
tube• Stylette, a wire inserted through the tube to reduce flexibility• Magill forceps (these will be used if a foreign body is present, or if nasotracheal intubation
is necessary)• 10-mL syringe• Kelly clamp or other hemostat• Water-soluble lubricant• Suction, set up with flexible catheter• Tape, 1- and 2-inch sizes, or endotracheal tube holder • Tincture of benzoin solution• Cotton applicators• Oral airway• Stethoscope• Bag-valve-mask apparatus• Humidified oxygen source• Sterile gauze pads• Sterile water• Sterile basin
Initials Corresponding Signature of Instructor Title
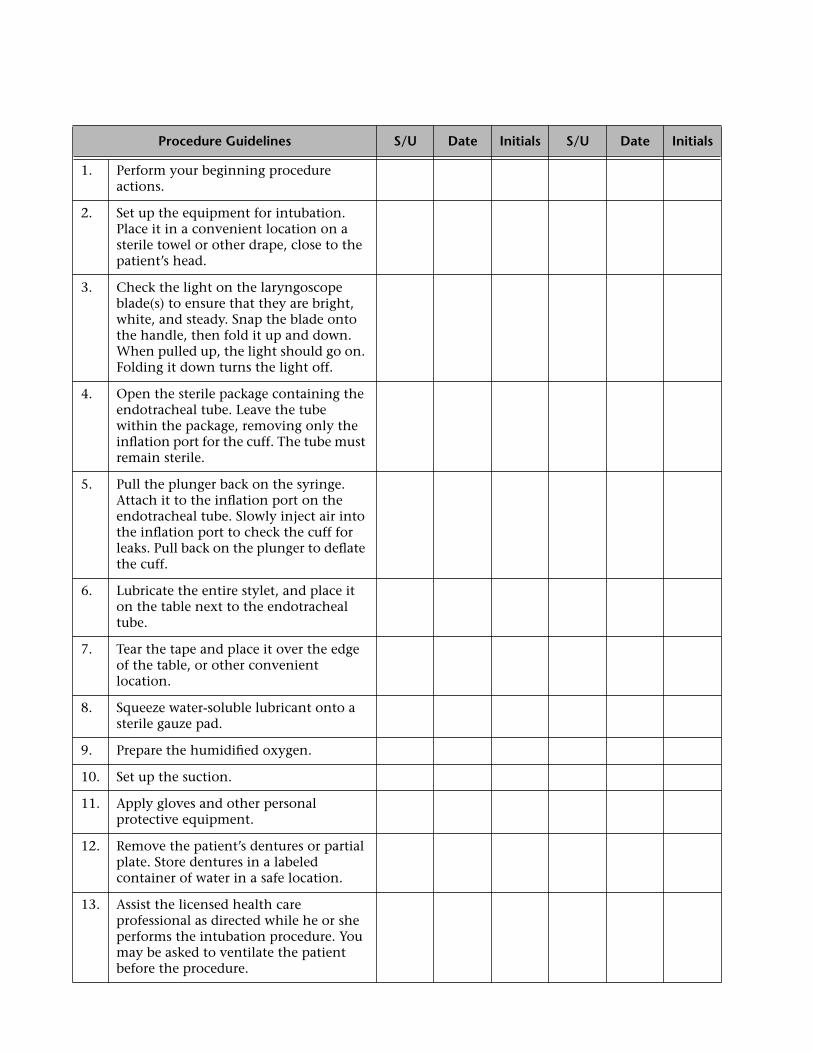
Procedure Guidelines S/U Date Initials S/U Date Initials
1. Perform your beginning procedure actions.
2. Set up the equipment for intubation. Place it in a convenient location on a sterile towel or other drape, close to the patient’s head.
3. Check the light on the laryngoscope blade(s) to ensure that they are bright, white, and steady. Snap the blade onto the handle, then fold it up and down. When pulled up, the light should go on. Folding it down turns the light off.
4. Open the sterile package containing the endotracheal tube. Leave the tube within the package, removing only the inflation port for the cuff. The tube must remain sterile.
5. Pull the plunger back on the syringe. Attach it to the inflation port on the endotracheal tube. Slowly inject air into the inflation port to check the cuff for leaks. Pull back on the plunger to deflate the cuff.
6. Lubricate the entire stylet, and place it on the table next to the endotracheal tube.
7. Tear the tape and place it over the edge of the table, or other convenient location.
8. Squeeze water-soluble lubricant onto a sterile gauze pad.
9. Prepare the humidified oxygen.
10. Set up the suction.
11. Apply gloves and other personal protective equipment.
12. Remove the patient’s dentures or partial plate. Store dentures in a labeled container of water in a safe location.
13. Assist the licensed health care professional as directed while he or she performs the intubation procedure. You may be asked to ventilate the patient before the procedure.
__________________________________ _______________
Instructor Signature Date
__________________________________ _______________
Student Signature Date
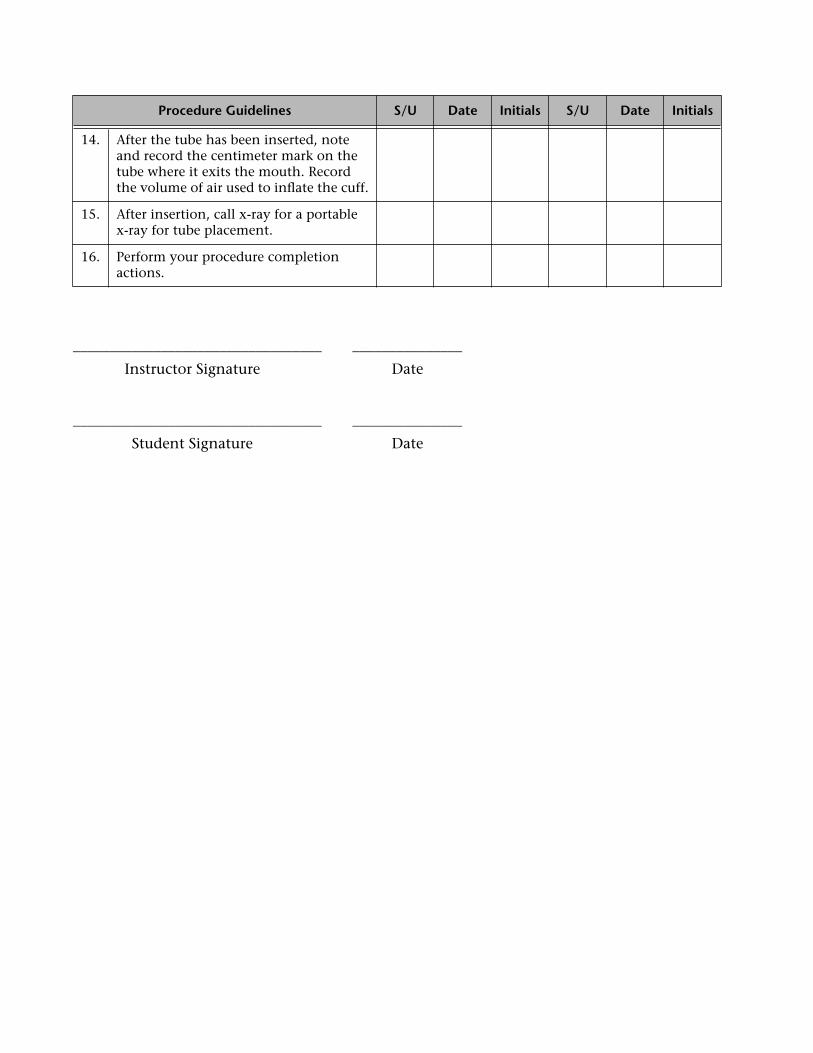
14. After the tube has been inserted, note and record the centimeter mark on the tube where it exits the mouth. Record the volume of air used to inflate the cuff.
15. After insertion, call x-ray for a portable x-ray for tube placement.
16. Perform your procedure completion actions.
Procedure Guidelines S/U Date Initials S/U Date Initials

PERFORMANCE REVIEW CHECKLIST
Procedure 94
Ventilating An Endotracheal Tube Using A Bag-Valve Device
Name of Patient Care Technician ________________________ Date of Program ______ to ______
Social Security Number or Identification Number _______________________________
Program Code Number (if any) _________________
S=Satisfactory PerformanceU=Unsatisfactory Performance
Place a full signature to correspond with each set of initials appearing below.
Supplies needed:
• Disposable exam gloves• Eye protection and face mask• Bag-valve-mask• Oxygen source with nipple adapter for connecting tubing• Oxygen connecting tubing
Initials Corresponding Signature of Instructor Title
Procedure Guidelines S/U Date Initials S/U Date Initials
1. Perform your beginning procedure actions.
2. Connect the bag-valve-mask device to the connecting tubing. Attach the connecting tubing to the oxygen flow meter.
3. Turn the flow meter on to 15 liters per minute, or as instructed.
4. If the bag-valve-mask is assembled, remove the mask by twisting and pulling slightly.
5. Connect the bag-valve to the endotracheal tube.
__________________________________ _______________
Instructor Signature Date
__________________________________ _______________
Student Signature Date
6. Squeeze the bag with sufficient force to cause the patient’s chest to rise. Release the bag. Repeat at a rate of once every 3 to 5 seconds, or as directed. The rate may vary depending on the purpose of the procedure.
7. Upon completion, disconnect the bag-valve device and reconnect the endotracheal tube to the ventilator, or as instructed.
8. Perform your procedure completion actions.
Procedure Guidelines S/U Date Initials S/U Date Initials
PERFORMANCE REVIEW CHECKLIST
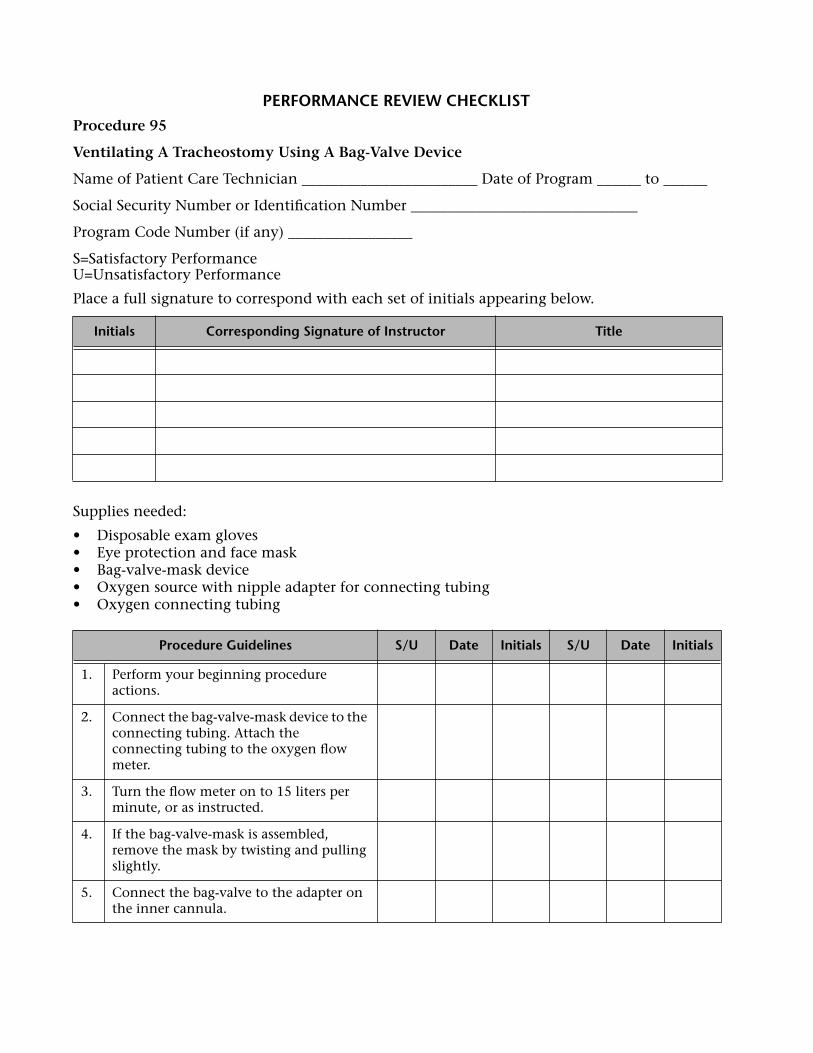
Procedure 95
Ventilating A Tracheostomy Using A Bag-Valve Device
Name of Patient Care Technician ________________________ Date of Program ______ to ______
Social Security Number or Identification Number _______________________________
Program Code Number (if any) _________________
S=Satisfactory PerformanceU=Unsatisfactory Performance
Place a full signature to correspond with each set of initials appearing below.
Supplies needed:
• Disposable exam gloves• Eye protection and face mask• Bag-valve-mask device• Oxygen source with nipple adapter for connecting tubing• Oxygen connecting tubing
Initials Corresponding Signature of Instructor Title
Procedure Guidelines S/U Date Initials S/U Date Initials
1. Perform your beginning procedure actions.
2. Connect the bag-valve-mask device to the connecting tubing. Attach the connecting tubing to the oxygen flow meter.
3. Turn the flow meter on to 15 liters per minute, or as instructed.
4. If the bag-valve-mask is assembled, remove the mask by twisting and pulling slightly.
5. Connect the bag-valve to the adapter on the inner cannula.
__________________________________ _______________
Instructor Signature Date
__________________________________ _______________
Student Signature Date
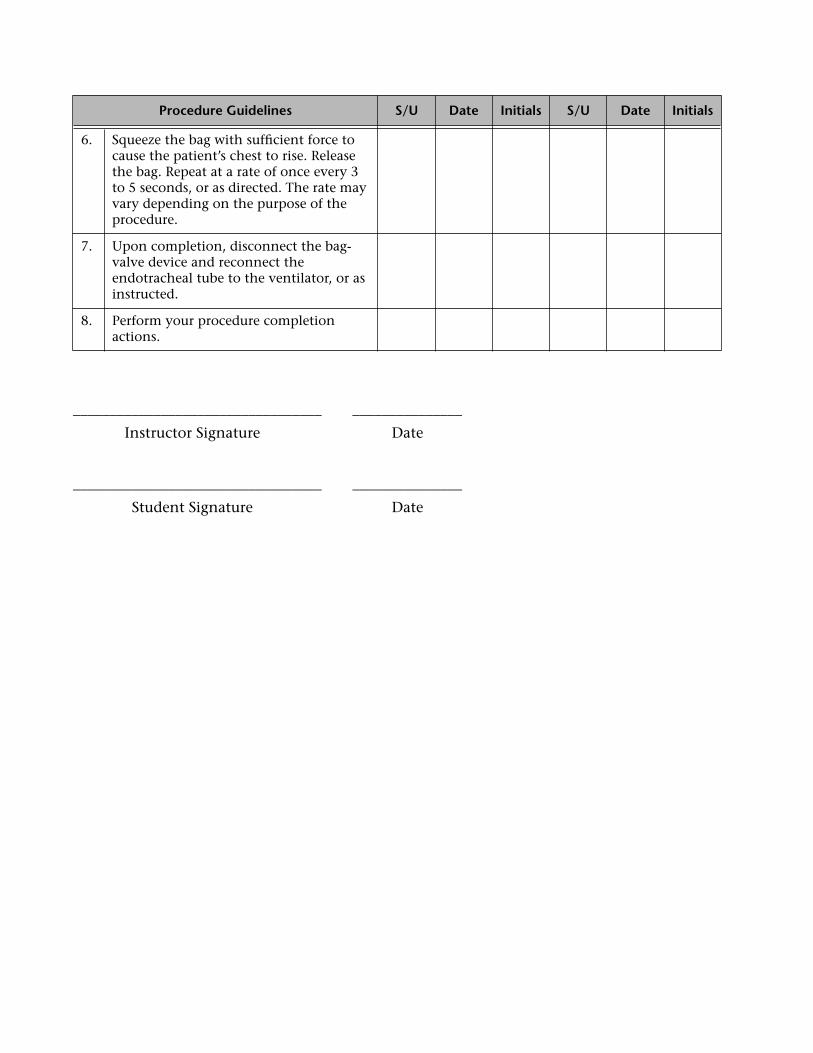
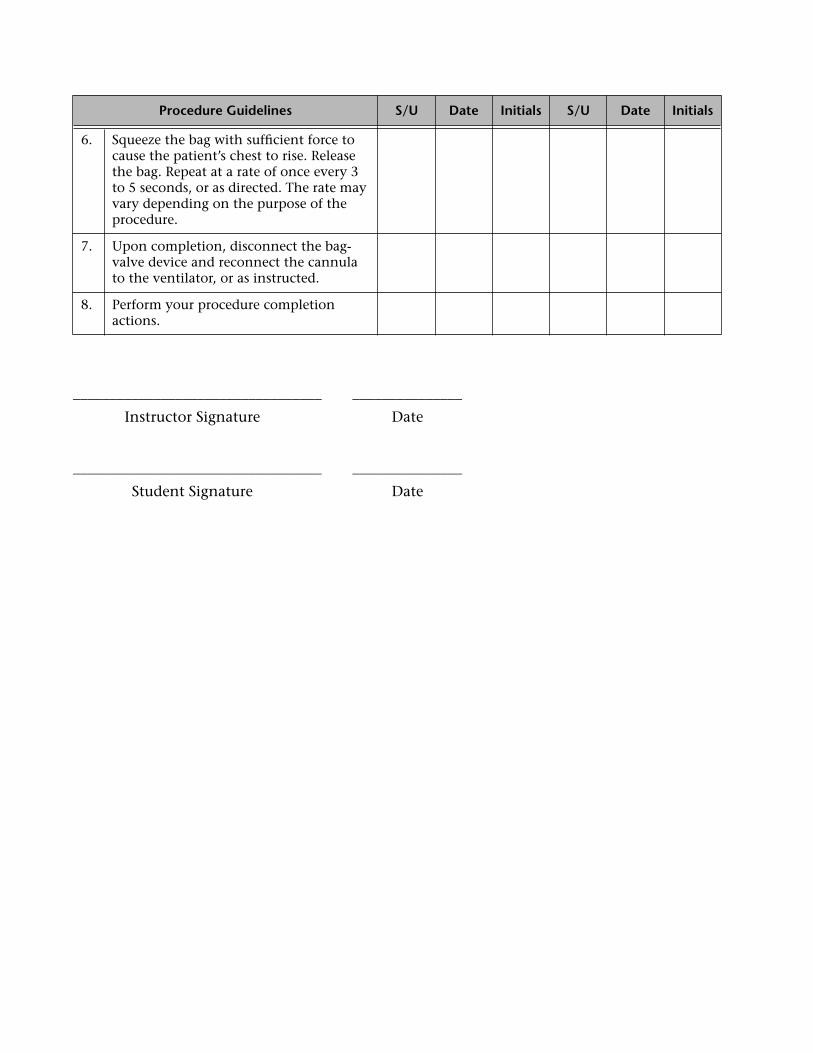
6. Squeeze the bag with sufficient force to cause the patient’s chest to rise. Release the bag. Repeat at a rate of once every 3 to 5 seconds, or as directed. The rate may vary depending on the purpose of the procedure.
7. Upon completion, disconnect the bag-valve device and reconnect the cannula to the ventilator, or as instructed.
8. Perform your procedure completion actions.
Procedure Guidelines S/U Date Initials S/U Date Initials
PERFORMANCE REVIEW CHECKLIST
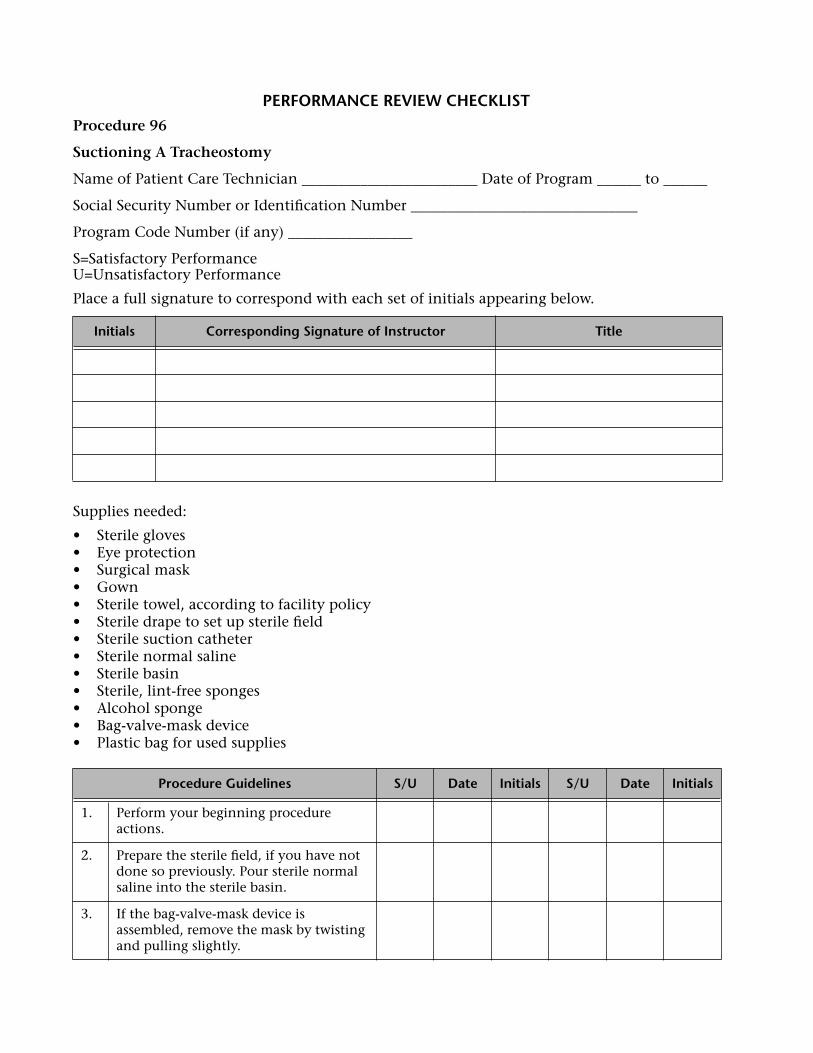
Procedure 96
Suctioning A Tracheostomy
Name of Patient Care Technician ________________________ Date of Program ______ to ______
Social Security Number or Identification Number _______________________________
Program Code Number (if any) _________________
S=Satisfactory PerformanceU=Unsatisfactory Performance
Place a full signature to correspond with each set of initials appearing below.
Supplies needed:
• Sterile gloves• Eye protection• Surgical mask• Gown• Sterile towel, according to facility policy• Sterile drape to set up sterile field• Sterile suction catheter• Sterile normal saline• Sterile basin• Sterile, lint-free sponges• Alcohol sponge• Bag-valve-mask device• Plastic bag for used supplies
Initials Corresponding Signature of Instructor Title
Procedure Guidelines S/U Date Initials S/U Date Initials
1. Perform your beginning procedure actions.
2. Prepare the sterile field, if you have not done so previously. Pour sterile normal saline into the sterile basin.
3. If the bag-valve-mask device is assembled, remove the mask by twisting and pulling slightly.
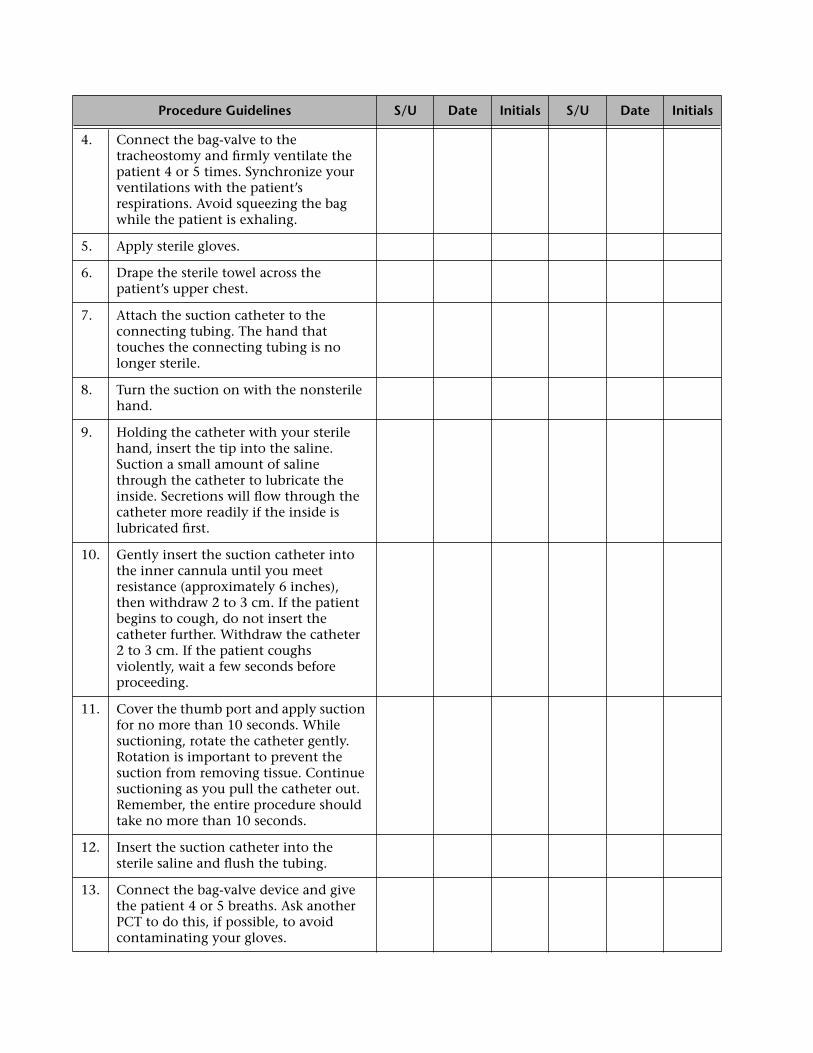
4. Connect the bag-valve to the tracheostomy and firmly ventilate the patient 4 or 5 times. Synchronize your ventilations with the patient’s respirations. Avoid squeezing the bag while the patient is exhaling.
5. Apply sterile gloves.
6. Drape the sterile towel across the patient’s upper chest.
7. Attach the suction catheter to the connecting tubing. The hand that touches the connecting tubing is no longer sterile.
8. Turn the suction on with the nonsterile hand.
9. Holding the catheter with your sterile hand, insert the tip into the saline. Suction a small amount of saline through the catheter to lubricate the inside. Secretions will flow through the catheter more readily if the inside is lubricated first.
10. Gently insert the suction catheter into the inner cannula until you meet resistance (approximately 6 inches), then withdraw 2 to 3 cm. If the patient begins to cough, do not insert the catheter further. Withdraw the catheter 2 to 3 cm. If the patient coughs violently, wait a few seconds before proceeding.
11. Cover the thumb port and apply suction for no more than 10 seconds. While suctioning, rotate the catheter gently. Rotation is important to prevent the suction from removing tissue. Continue suctioning as you pull the catheter out. Remember, the entire procedure should take no more than 10 seconds.
12. Insert the suction catheter into the sterile saline and flush the tubing.
13. Connect the bag-valve device and give the patient 4 or 5 breaths. Ask another PCT to do this, if possible, to avoid contaminating your gloves.
Procedure Guidelines S/U Date Initials S/U Date Initials
__________________________________ _______________
Instructor Signature Date
__________________________________ _______________
Student Signature Date
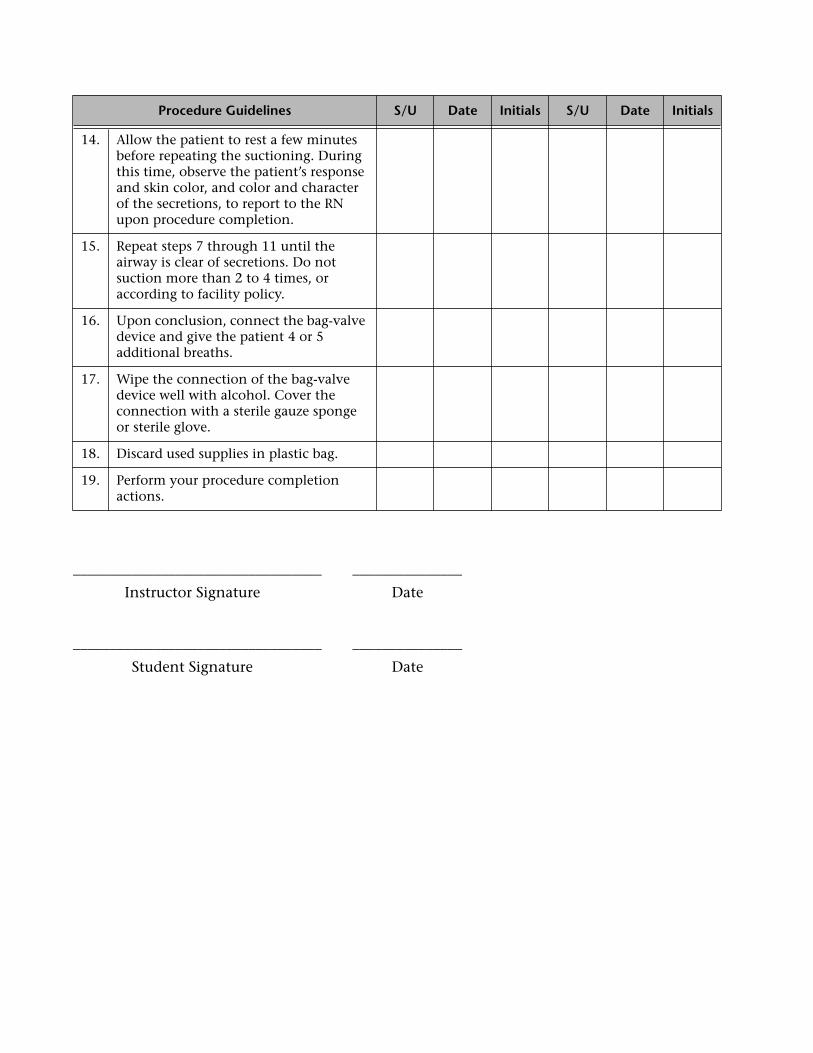
14. Allow the patient to rest a few minutes before repeating the suctioning. During this time, observe the patient’s response and skin color, and color and character of the secretions, to report to the RN upon procedure completion.
15. Repeat steps 7 through 11 until the airway is clear of secretions. Do not suction more than 2 to 4 times, or according to facility policy.
16. Upon conclusion, connect the bag-valve device and give the patient 4 or 5 additional breaths.
17. Wipe the connection of the bag-valve device well with alcohol. Cover the connection with a sterile gauze sponge or sterile glove.
18. Discard used supplies in plastic bag.
19. Perform your procedure completion actions.
Procedure Guidelines S/U Date Initials S/U Date Initials
PERFORMANCE REVIEW CHECKLIST
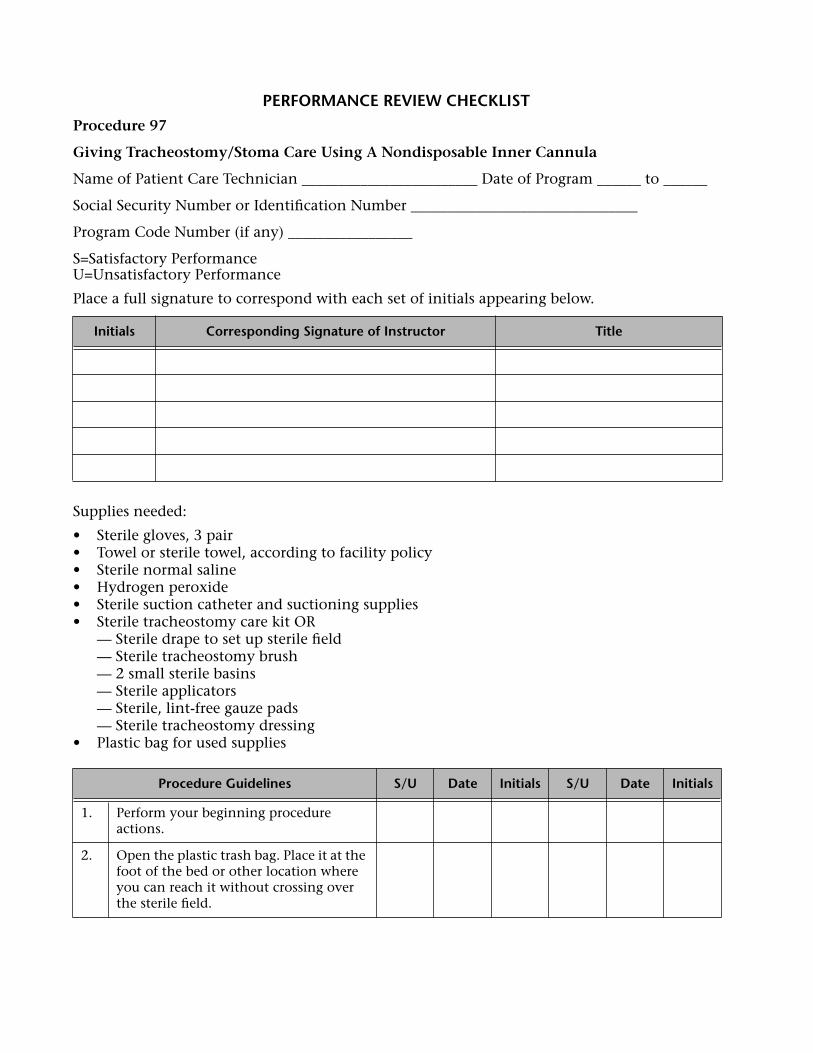
Procedure 97
Giving Tracheostomy/Stoma Care Using A Nondisposable Inner Cannula
Name of Patient Care Technician ________________________ Date of Program ______ to ______
Social Security Number or Identification Number _______________________________
Program Code Number (if any) _________________
S=Satisfactory PerformanceU=Unsatisfactory Performance
Place a full signature to correspond with each set of initials appearing below.
Supplies needed:
• Sterile gloves, 3 pair• Towel or sterile towel, according to facility policy• Sterile normal saline• Hydrogen peroxide• Sterile suction catheter and suctioning supplies• Sterile tracheostomy care kit OR
— Sterile drape to set up sterile field— Sterile tracheostomy brush— 2 small sterile basins— Sterile applicators— Sterile, lint-free gauze pads— Sterile tracheostomy dressing
• Plastic bag for used supplies
Initials Corresponding Signature of Instructor Title
Procedure Guidelines S/U Date Initials S/U Date Initials
1. Perform your beginning procedure actions.
2. Open the plastic trash bag. Place it at the foot of the bed or other location where you can reach it without crossing over the sterile field.
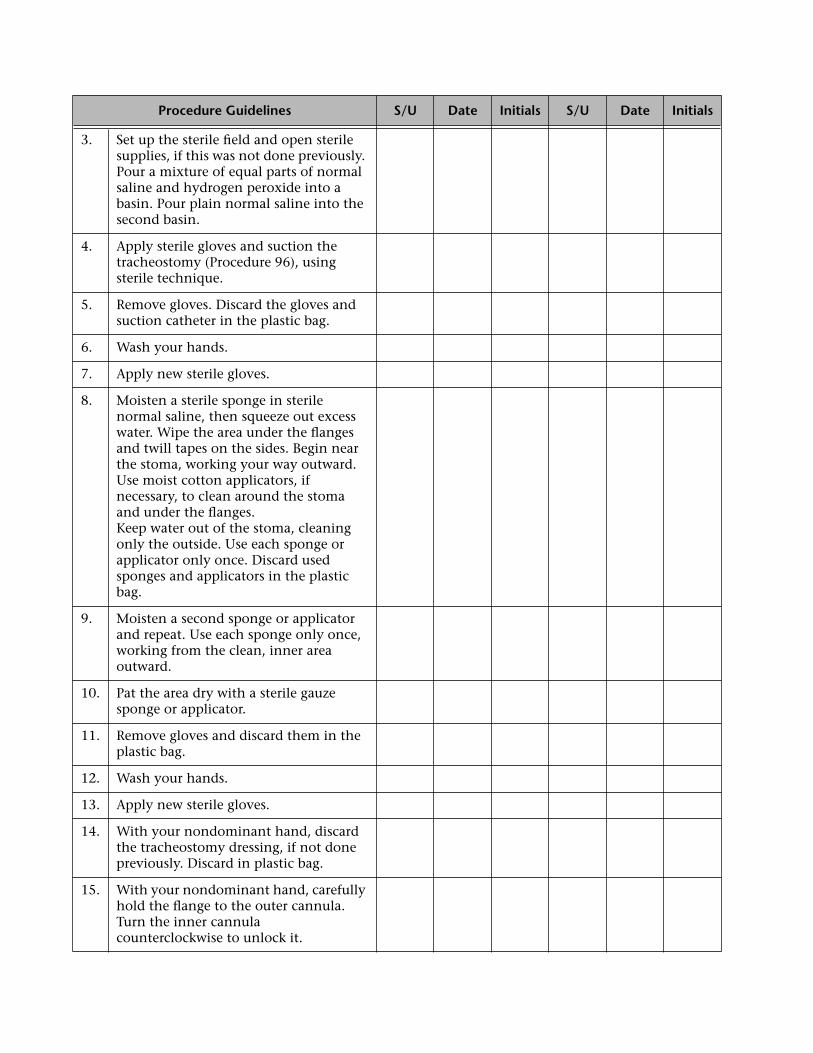
3. Set up the sterile field and open sterile supplies, if this was not done previously. Pour a mixture of equal parts of normal saline and hydrogen peroxide into a basin. Pour plain normal saline into the second basin.
4. Apply sterile gloves and suction the tracheostomy (Procedure 96), using sterile technique.
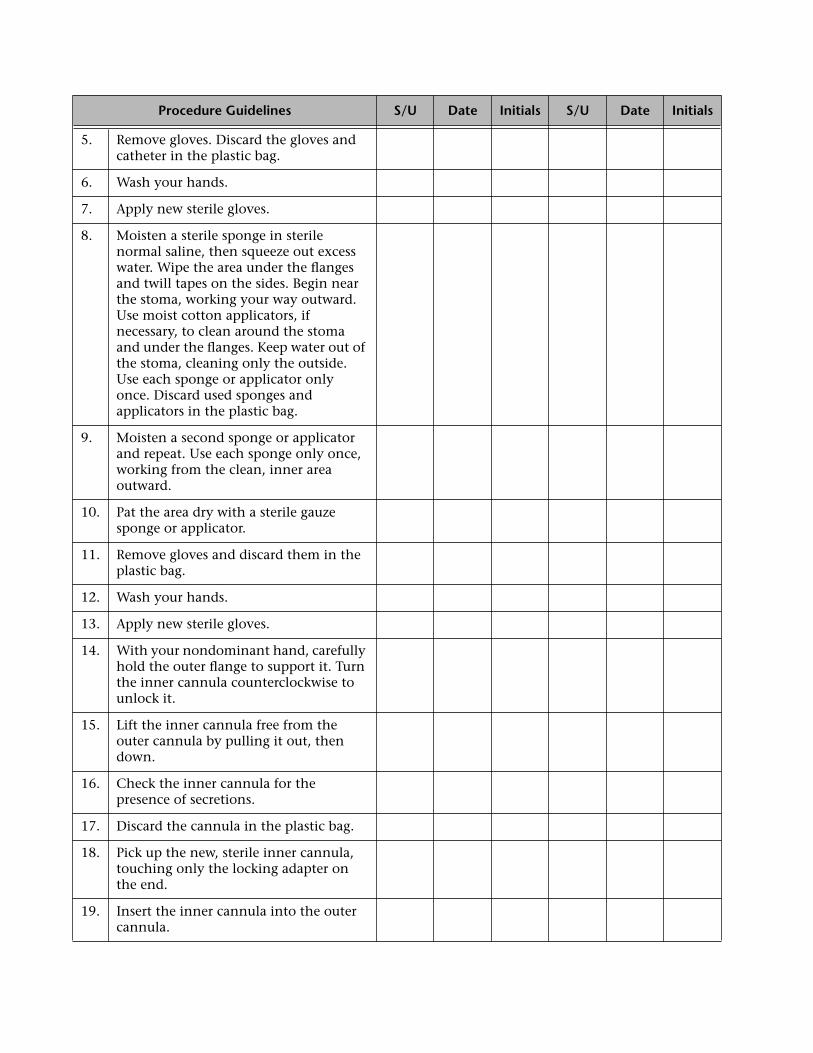
5. Remove gloves. Discard the gloves and suction catheter in the plastic bag.
6. Wash your hands.
7. Apply new sterile gloves.
8. Moisten a sterile sponge in sterile normal saline, then squeeze out excess water. Wipe the area under the flanges and twill tapes on the sides. Begin near the stoma, working your way outward. Use moist cotton applicators, if necessary, to clean around the stoma and under the flanges.Keep water out of the stoma, cleaning only the outside. Use each sponge or applicator only once. Discard used sponges and applicators in the plastic bag.
9. Moisten a second sponge or applicator and repeat. Use each sponge only once, working from the clean, inner area outward.
10. Pat the area dry with a sterile gauze sponge or applicator.
11. Remove gloves and discard them in the plastic bag.
12. Wash your hands.
13. Apply new sterile gloves.
14. With your nondominant hand, discard the tracheostomy dressing, if not done previously. Discard in plastic bag.
15. With your nondominant hand, carefully hold the flange to the outer cannula. Turn the inner cannula counterclockwise to unlock it.
Procedure Guidelines S/U Date Initials S/U Date Initials
__________________________________ _______________
Instructor Signature Date
__________________________________ _______________
Student Signature Date
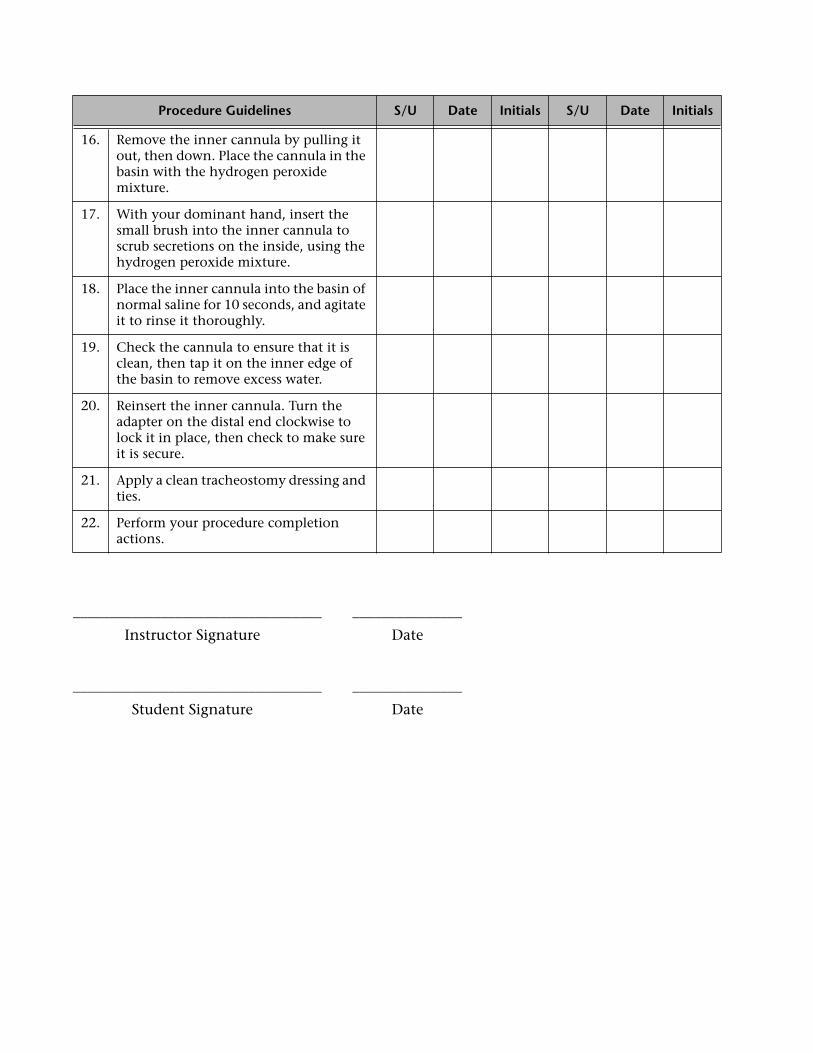
16. Remove the inner cannula by pulling it out, then down. Place the cannula in the basin with the hydrogen peroxide mixture.
17. With your dominant hand, insert the small brush into the inner cannula to scrub secretions on the inside, using the hydrogen peroxide mixture.
18. Place the inner cannula into the basin of normal saline for 10 seconds, and agitate it to rinse it thoroughly.
19. Check the cannula to ensure that it is clean, then tap it on the inner edge of the basin to remove excess water.
20. Reinsert the inner cannula. Turn the adapter on the distal end clockwise to lock it in place, then check to make sure it is secure.
21. Apply a clean tracheostomy dressing and ties.
22. Perform your procedure completion actions.
Procedure Guidelines S/U Date Initials S/U Date Initials
PERFORMANCE REVIEW CHECKLIST
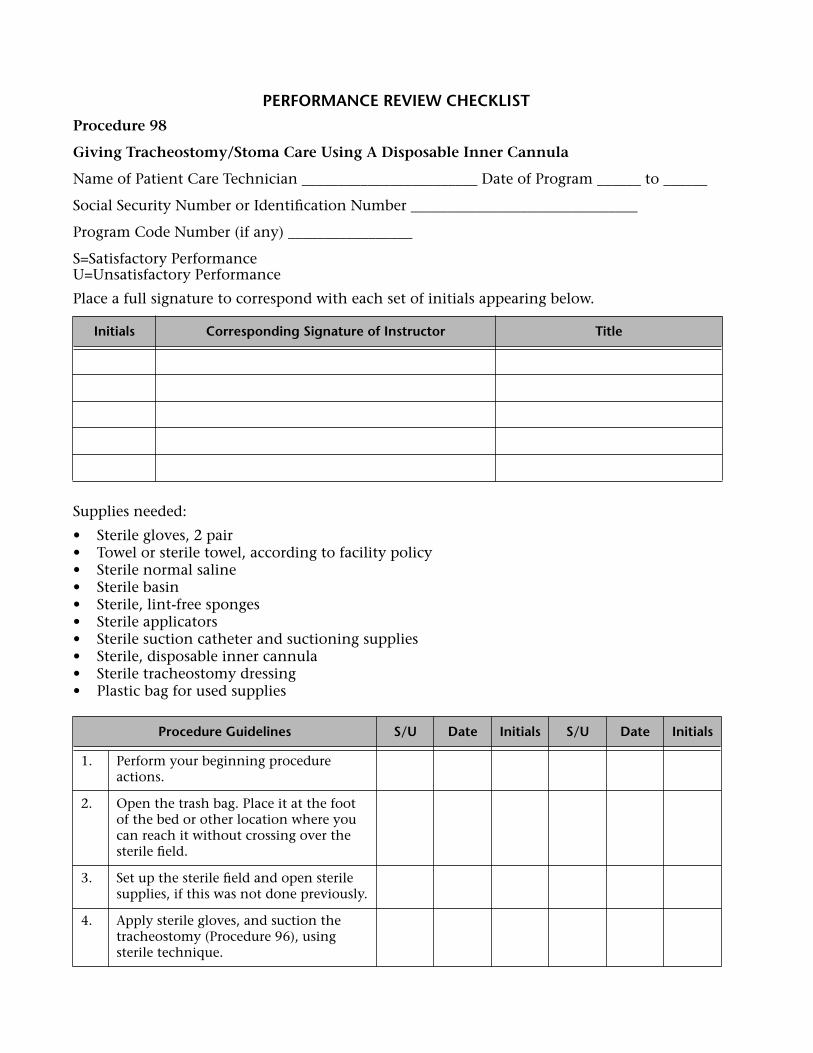
Procedure 98
Giving Tracheostomy/Stoma Care Using A Disposable Inner Cannula
Name of Patient Care Technician ________________________ Date of Program ______ to ______
Social Security Number or Identification Number _______________________________
Program Code Number (if any) _________________
S=Satisfactory PerformanceU=Unsatisfactory Performance
Place a full signature to correspond with each set of initials appearing below.
Supplies needed:
• Sterile gloves, 2 pair• Towel or sterile towel, according to facility policy• Sterile normal saline• Sterile basin• Sterile, lint-free sponges• Sterile applicators• Sterile suction catheter and suctioning supplies• Sterile, disposable inner cannula• Sterile tracheostomy dressing• Plastic bag for used supplies
Initials Corresponding Signature of Instructor Title
Procedure Guidelines S/U Date Initials S/U Date Initials
1. Perform your beginning procedure actions.
2. Open the trash bag. Place it at the foot of the bed or other location where you can reach it without crossing over the sterile field.
3. Set up the sterile field and open sterile supplies, if this was not done previously.
4. Apply sterile gloves, and suction the tracheostomy (Procedure 96), using sterile technique.
5. Remove gloves. Discard the gloves and catheter in the plastic bag.
6. Wash your hands.
7. Apply new sterile gloves.
8. Moisten a sterile sponge in sterile normal saline, then squeeze out excess water. Wipe the area under the flanges and twill tapes on the sides. Begin near the stoma, working your way outward. Use moist cotton applicators, if necessary, to clean around the stoma and under the flanges. Keep water out of the stoma, cleaning only the outside. Use each sponge or applicator only once. Discard used sponges and applicators in the plastic bag.
9. Moisten a second sponge or applicator and repeat. Use each sponge only once, working from the clean, inner area outward.
10. Pat the area dry with a sterile gauze sponge or applicator.
11. Remove gloves and discard them in the plastic bag.
12. Wash your hands.
13. Apply new sterile gloves.
14. With your nondominant hand, carefully hold the outer flange to support it. Turn the inner cannula counterclockwise to unlock it.
15. Lift the inner cannula free from the outer cannula by pulling it out, then down.
16. Check the inner cannula for the presence of secretions.
17. Discard the cannula in the plastic bag.
18. Pick up the new, sterile inner cannula, touching only the locking adapter on the end.
19. Insert the inner cannula into the outer cannula.
Procedure Guidelines S/U Date Initials S/U Date Initials

__________________________________ _______________
Instructor Signature Date
__________________________________ _______________
Student Signature Date
20. Turn the adapter on the distal end of the cannula clockwise to lock it in place. Check the connection to make sure it is secure.
21. Apply a clean tracheostomy dressing and ties.
22. Perform your procedure completion actions.
Procedure Guidelines S/U Date Initials S/U Date Initials
PERFORMANCE REVIEW CHECKLIST
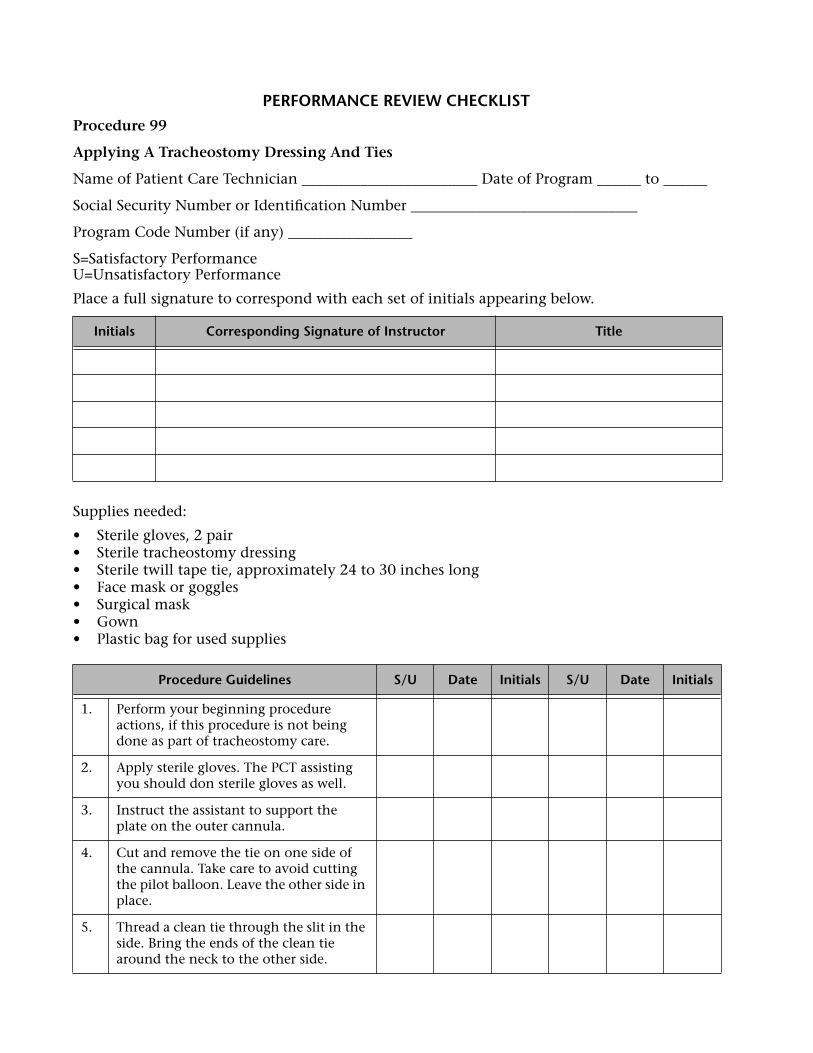
Procedure 99
Applying A Tracheostomy Dressing And Ties
Name of Patient Care Technician ________________________ Date of Program ______ to ______
Social Security Number or Identification Number _______________________________
Program Code Number (if any) _________________
S=Satisfactory PerformanceU=Unsatisfactory Performance
Place a full signature to correspond with each set of initials appearing below.
Supplies needed:
• Sterile gloves, 2 pair• Sterile tracheostomy dressing• Sterile twill tape tie, approximately 24 to 30 inches long• Face mask or goggles• Surgical mask• Gown• Plastic bag for used supplies
Initials Corresponding Signature of Instructor Title
Procedure Guidelines S/U Date Initials S/U Date Initials
1. Perform your beginning procedure actions, if this procedure is not being done as part of tracheostomy care.
2. Apply sterile gloves. The PCT assisting you should don sterile gloves as well.
3. Instruct the assistant to support the plate on the outer cannula.
4. Cut and remove the tie on one side of the cannula. Take care to avoid cutting the pilot balloon. Leave the other side in place.
5. Thread a clean tie through the slit in the side. Bring the ends of the clean tie around the neck to the other side.
__________________________________ _______________
Instructor Signature Date
__________________________________ _______________
Student Signature Date
6. Insert one end of the tie through the slit in the flange. Cut and remove the old tie. Discard it in the plastic bag.
7. Pull the ends of the tie so that the tape is snug, but not tight. One or two fingers should fit between the ties and the neck.
8. Tie the ties in a double knot on the side of the neck. To do this, cross the right tie over the left tie, then under. Next, slip the left tie over the right tie, then cross under. Pull tightly.
9. Tie a second double knot on top of the first. The next time the ties are changed, tie the knot on the opposite side of the neck.
10. Trim the ends of the tie with scissors.
11. Instruct your assistant to release pressure on the flange.
12. Inspect the sterile tracheostomy dressing for lint and gauze. If noted, replace the dressings.
13. Separate the sides of the split tracheostomy dressing slightly. Slide the dressing up from the bottom of the outer cannula so the open ends face the head.
14. Perform your procedure completion actions.
NOTE: This is a two-person procedure. If you are performing the procedure alone, do not remove the old ties until the new ties are securely in place.
Procedure Guidelines S/U Date Initials S/U Date Initials