cannulated tibial interlocking nail - arzzt.com file approved by intramedullary locked nailing with...
TRANSCRIPT
www.arzzt.com
Approved by
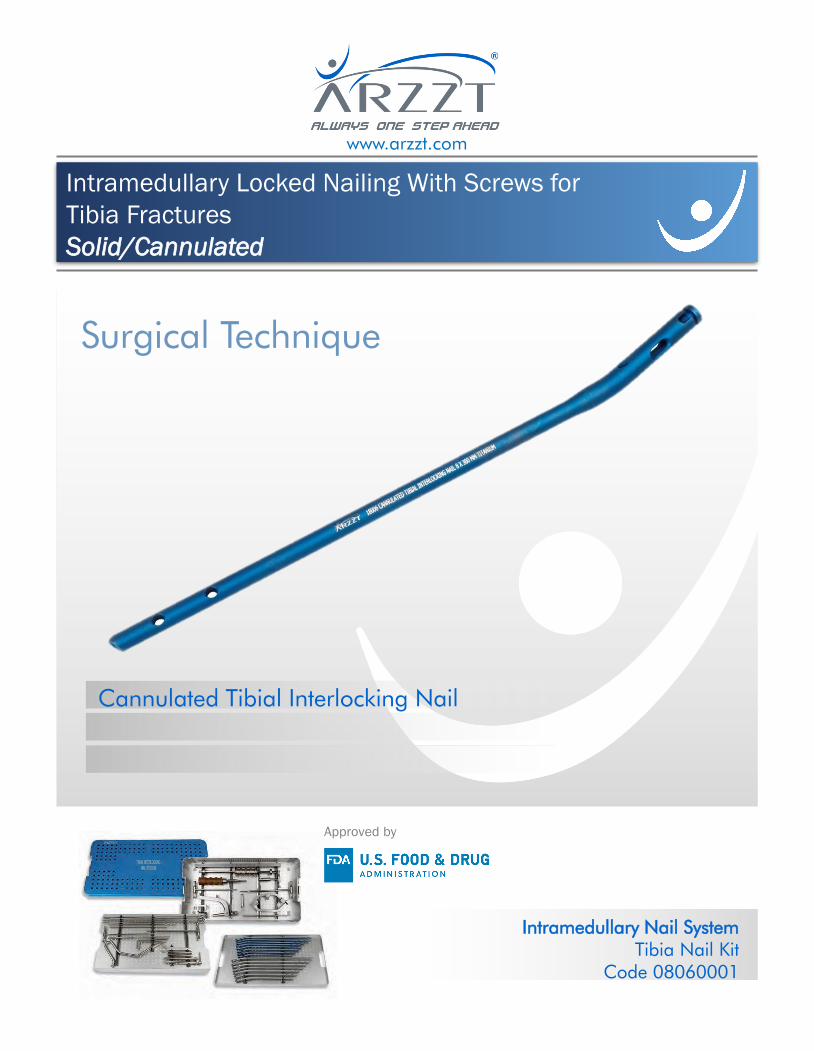
Intramedullary Locked Nailing With Screws for
Tibia Fractures
Solid/Cannulated
Intramedullary Nail SystemTibia Nail Kit
Code 08060001
Cannulated Tibial Interlocking Nail
Surgical Technique
Intramedullary locked Nailing With
Screws for Tibia Fractures
Solid/Cannulated
► Introduction
► Indications and Contraindications
► Implant design
► Set of Instruments
► Surgical Planning
► System Calibration
► Surgical Technique
► Nail Insertion
► Implant Extraction
► Bibliography
www.arzzt.com
Contents
4
5
6
8
9
10
13
16
20
21
Intramedullary Nail System2
The purpose of this guide is to demonstrate the
technique and recommended indications for the use
of ARZZT Intramedullary Nails in the treatment of
diaphyseal tibia fractures.
The recommendations for their use do not presume
to interfere with the surgeon’s experience, nor the
particular needs of each patient, and follow the basic
norms for the treatment of diaphyseal fractures
through fixation with locked intramedullary nails.
www.arzzt.com
Intramedullary Nail System
Intramedullary locked Nailing With
Screws for Tibia Fractures
Solid/Cannulated
3
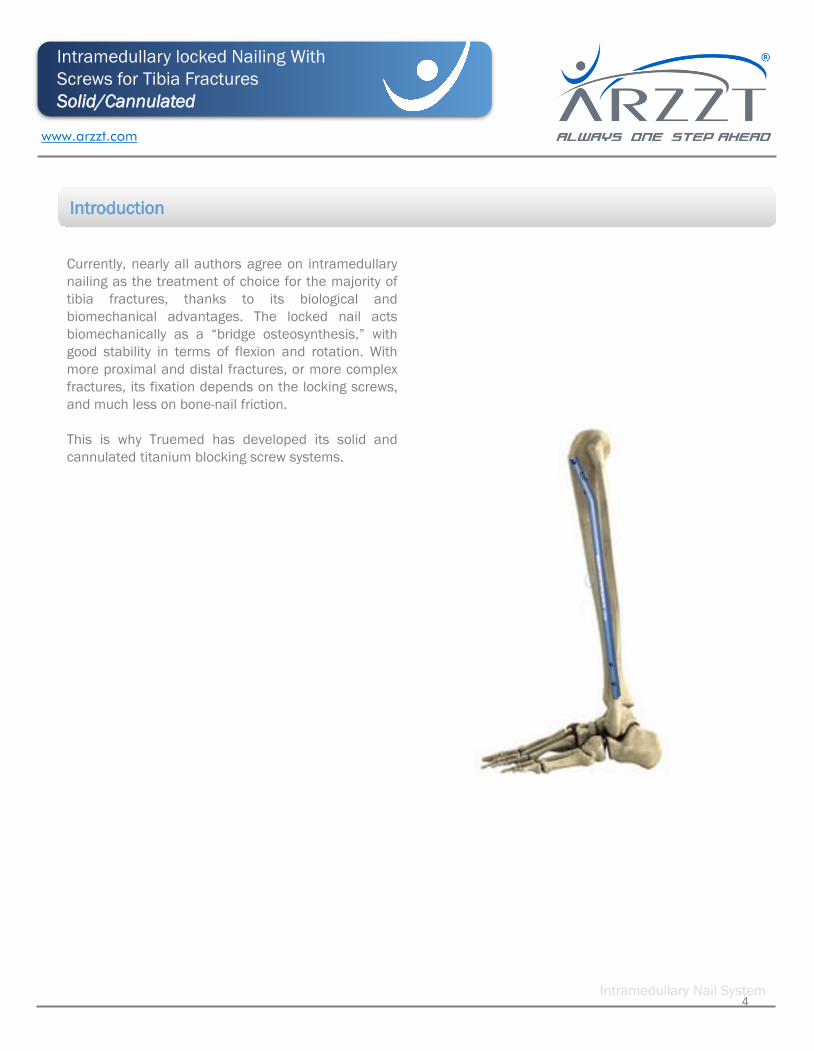
Currently, nearly all authors agree on intramedullary
nailing as the treatment of choice for the majority of
tibia fractures, thanks to its biological and
biomechanical advantages. The locked nail acts
biomechanically as a “bridge osteosynthesis,” with
good stability in terms of flexion and rotation. With
more proximal and distal fractures, or more complex
fractures, its fixation depends on the locking screws,
and much less on bone-nail friction.
This is why Truemed has developed its solid and
cannulated titanium blocking screw systems.
www.arzzt.com
Introduction
Intramedullary Nail System
Intramedullary locked Nailing With
Screws for Tibia Fractures
Solid/Cannulated
4
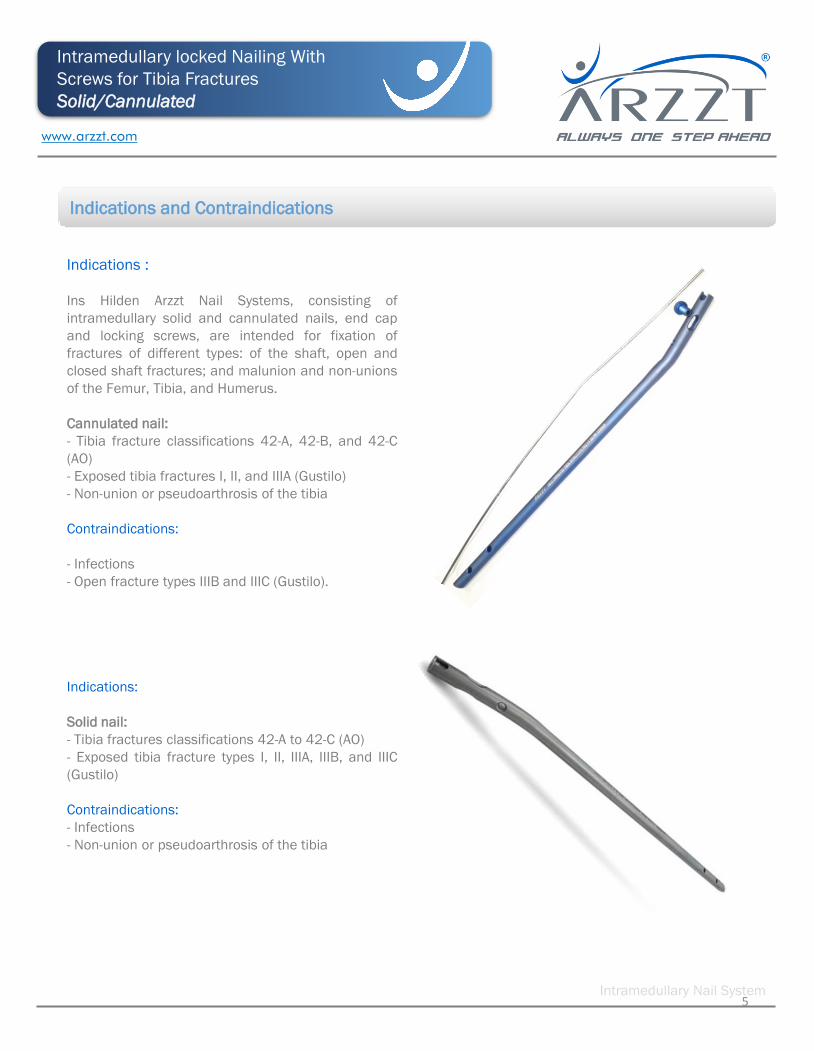
Indications :
Ins Hilden Arzzt Nail Systems, consisting of
intramedullary solid and cannulated nails, end cap
and locking screws, are intended for fixation of
fractures of different types: of the shaft, open and
closed shaft fractures; and malunion and non-unions
of the Femur, Tibia, and Humerus.
Cannulated nail:
- Tibia fracture classifications 42-A, 42-B, and 42-C
(AO)
- Exposed tibia fractures I, II, and IIIA (Gustilo)
- Non-union or pseudoarthrosis of the tibia
Contraindications:
- Infections
- Open fracture types IIIB and IIIC (Gustilo).
Indications:
Solid nail:
- Tibia fractures classifications 42-A to 42-C (AO)
- Exposed tibia fracture types I, II, IIIA, IIIB, and IIIC
(Gustilo)
Contraindications:
- Infections
- Non-union or pseudoarthrosis of the tibia
www.arzzt.com
Indications and Contraindications
Intramedullary Nail System
Intramedullary locked Nailing With
Screws for Tibia Fractures
Solid/Cannulated
5
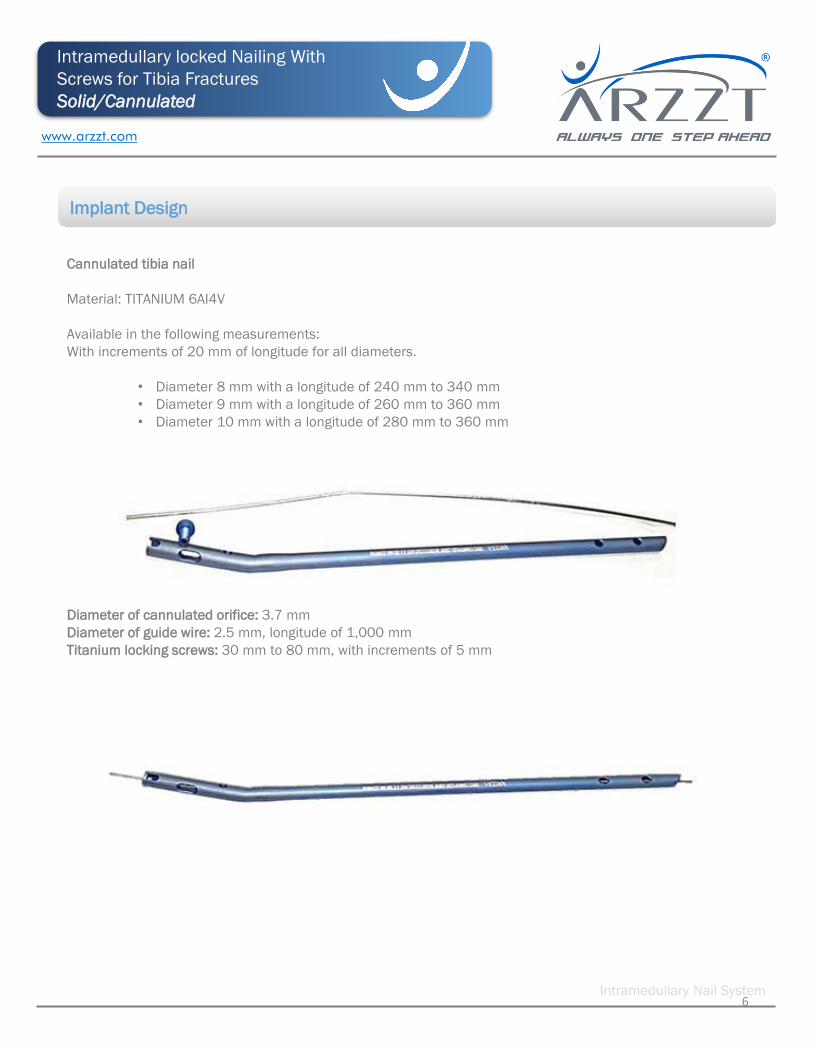
Cannulated tibia nail
Material: TITANIUM 6AI4V
Available in the following measurements:
With increments of 20 mm of longitude for all diameters.
• Diameter 8 mm with a longitude of 240 mm to 340 mm
• Diameter 9 mm with a longitude of 260 mm to 360 mm
• Diameter 10 mm with a longitude of 280 mm to 360 mm
Diameter of cannulated orifice: 3.7 mm
Diameter of guide wire: 2.5 mm, longitude of 1,000 mm
Titanium locking screws: 30 mm to 80 mm, with increments of 5 mm
www.arzzt.com
Implant Design
Intramedullary Nail System
Intramedullary locked Nailing With
Screws for Tibia Fractures
Solid/Cannulated
6
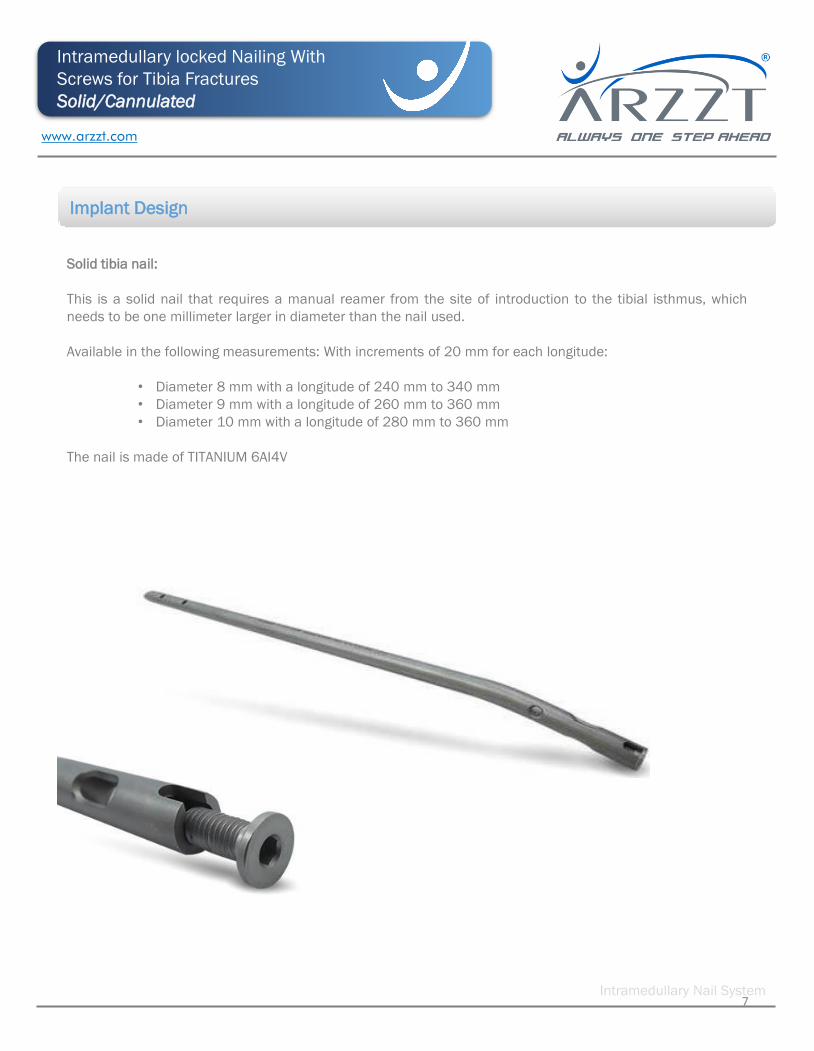
Solid tibia nail:
This is a solid nail that requires a manual reamer from the site of introduction to the tibial isthmus, which
needs to be one millimeter larger in diameter than the nail used.
Available in the following measurements: With increments of 20 mm for each longitude:
• Diameter 8 mm with a longitude of 240 mm to 340 mm
• Diameter 9 mm with a longitude of 260 mm to 360 mm
• Diameter 10 mm with a longitude of 280 mm to 360 mm
The nail is made of TITANIUM 6AI4V
www.arzzt.com
Implant Design
Intramedullary Nail System
Intramedullary locked Nailing With
Screws for Tibia Fractures
Solid/Cannulated
7
www.arzzt.com
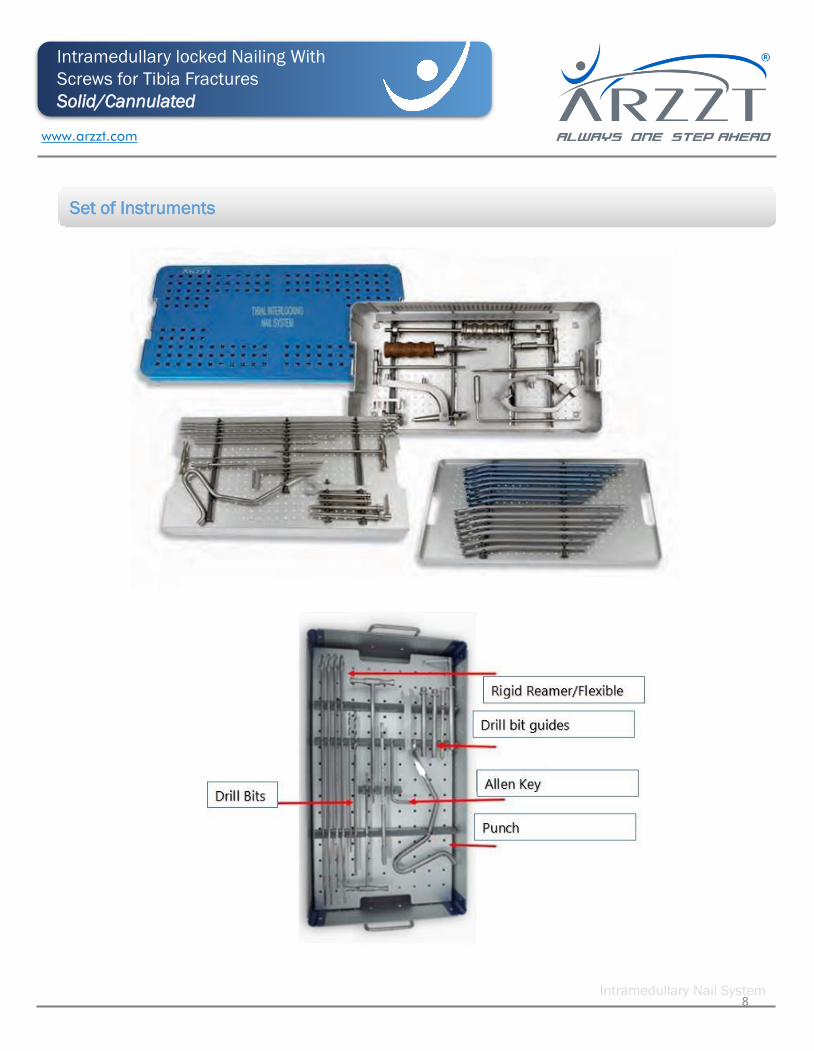
Set of Instruments
Intramedullary Nail System
Intramedullary locked Nailing With
Screws for Tibia Fractures
Solid/Cannulated
8
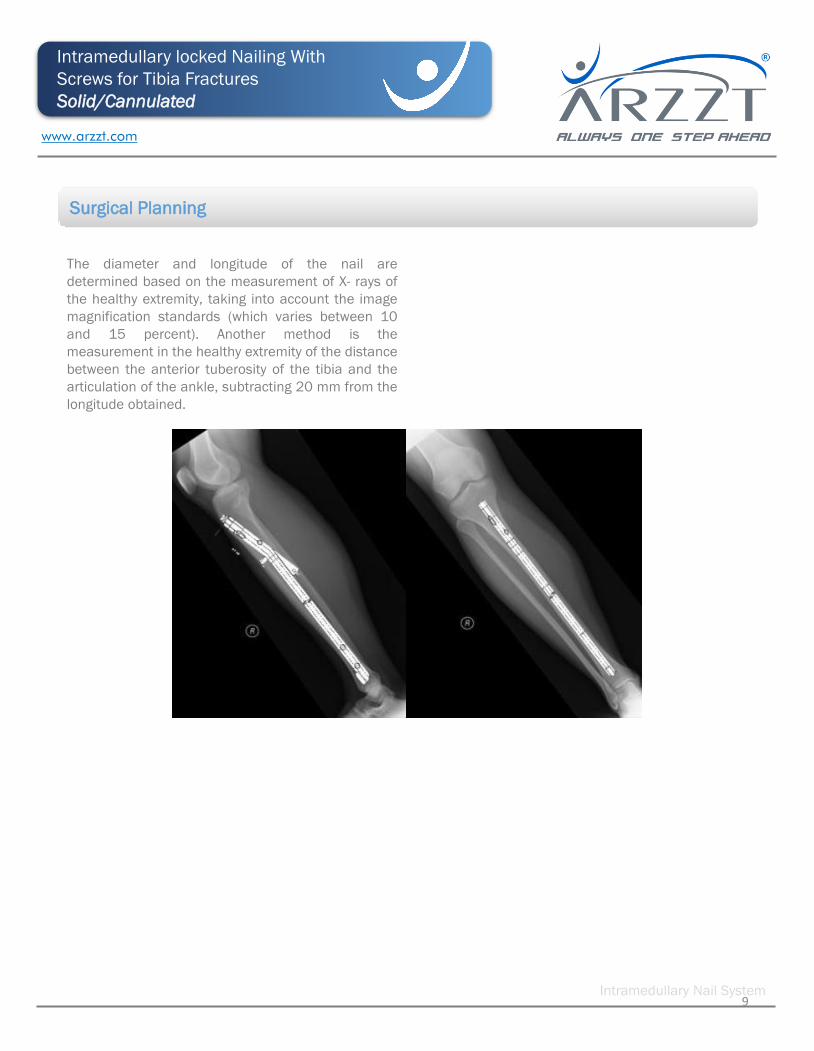
The diameter and longitude of the nail are
determined based on the measurement of X- rays of
the healthy extremity, taking into account the image
magnification standards (which varies between 10
and 15 percent). Another method is the
measurement in the healthy extremity of the distance
between the anterior tuberosity of the tibia and the
articulation of the ankle, subtracting 20 mm from the
longitude obtained.
www.arzzt.com
Surgical Planning
Intramedullary Nail System
Intramedullary locked Nailing With
Screws for Tibia Fractures
Solid/Cannulated
9
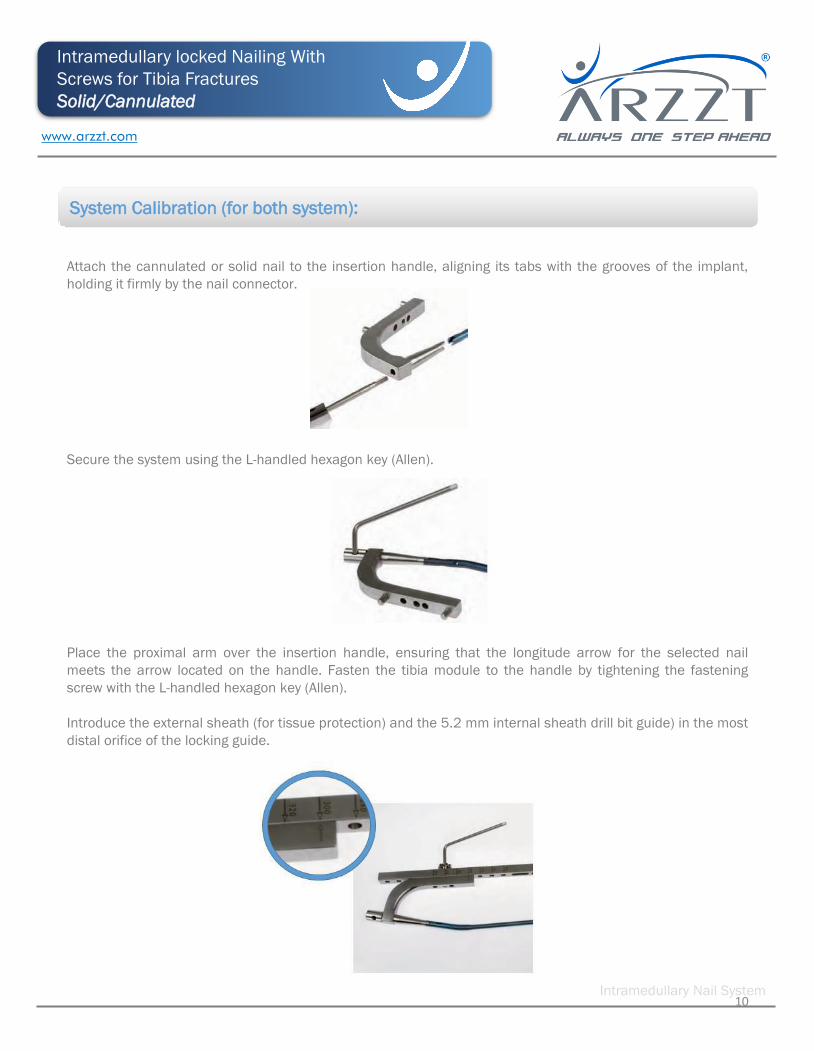
Attach the cannulated or solid nail to the insertion handle, aligning its tabs with the grooves of the implant,
holding it firmly by the nail connector.
Secure the system using the L-handled hexagon key (Allen).
Place the proximal arm over the insertion handle, ensuring that the longitude arrow for the selected nail
meets the arrow located on the handle. Fasten the tibia module to the handle by tightening the fastening
screw with the L-handled hexagon key (Allen).
Introduce the external sheath (for tissue protection) and the 5.2 mm internal sheath drill bit guide) in the most
distal orifice of the locking guide.
www.arzzt.com
System Calibration (for both system):
Intramedullary Nail System
Intramedullary locked Nailing With
Screws for Tibia Fractures
Solid/Cannulated
10
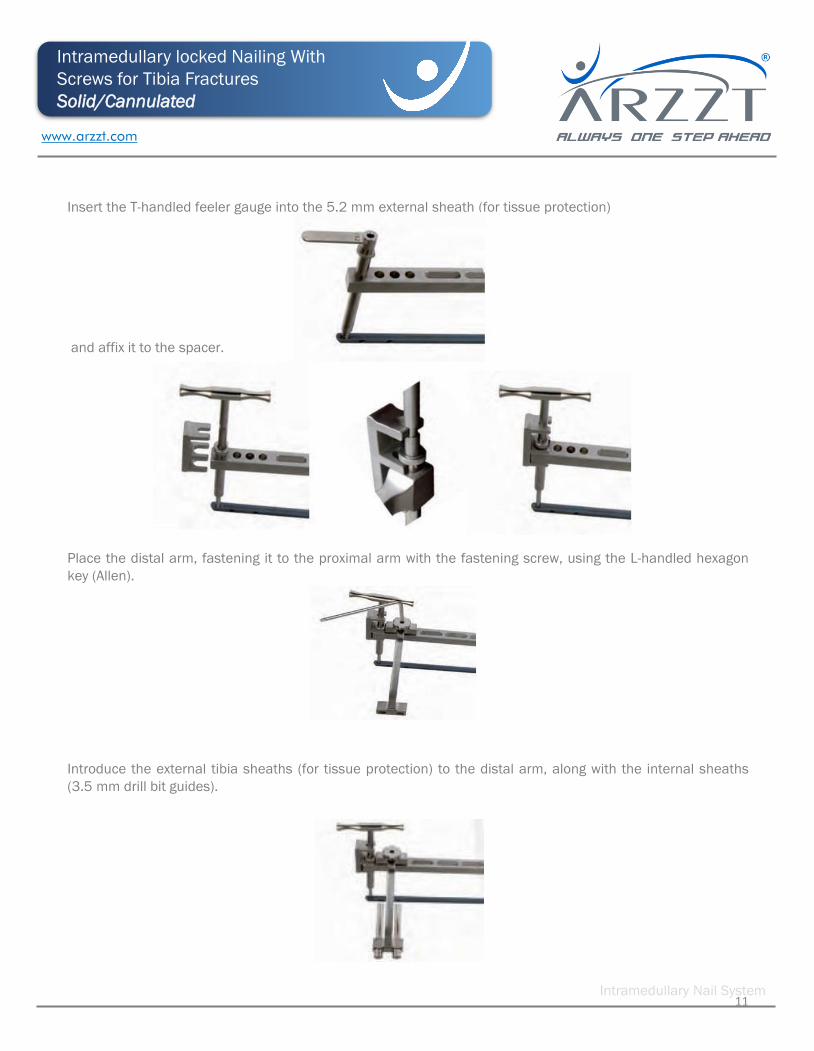
Insert the T-handled feeler gauge into the 5.2 mm external sheath (for tissue protection)
and affix it to the spacer.
Place the distal arm, fastening it to the proximal arm with the fastening screw, using the L-handled hexagon
key (Allen).
Introduce the external tibia sheaths (for tissue protection) to the distal arm, along with the internal sheaths
(3.5 mm drill bit guides).
www.arzzt.com
Intramedullary Nail System
Intramedullary locked Nailing With
Screws for Tibia Fractures
Solid/Cannulated
11
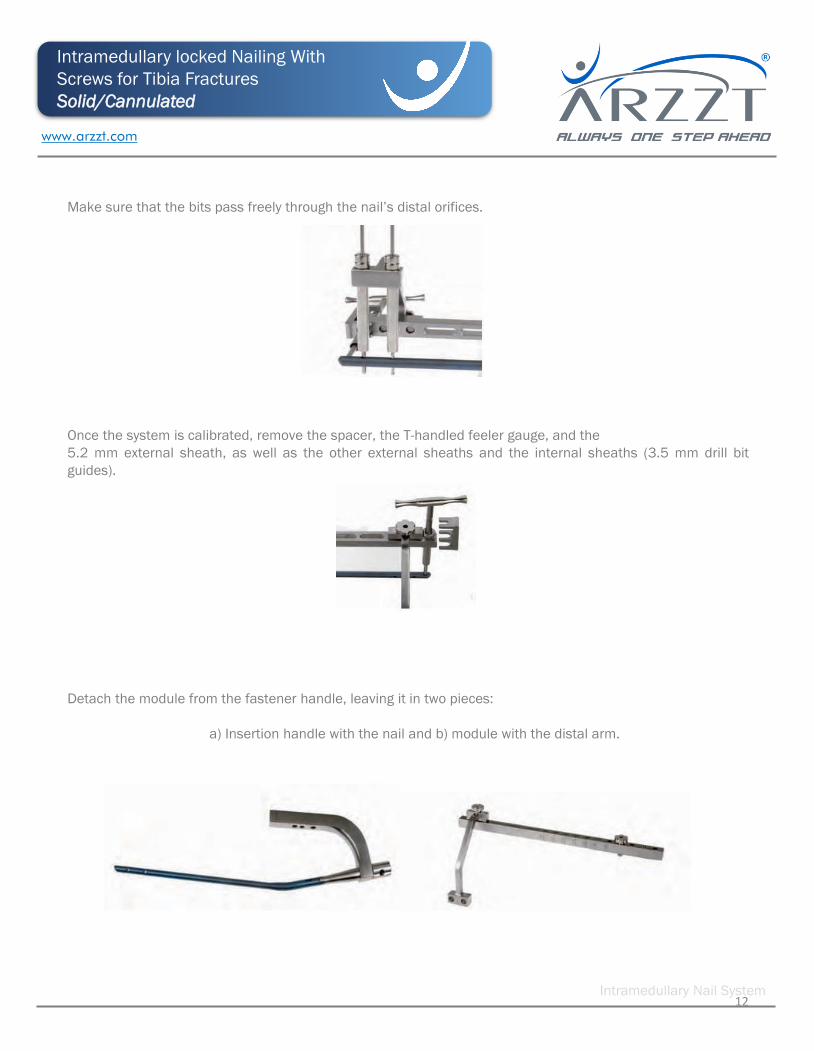
Make sure that the bits pass freely through the nail’s distal orifices.
Once the system is calibrated, remove the spacer, the T-handled feeler gauge, and the
5.2 mm external sheath, as well as the other external sheaths and the internal sheaths (3.5 mm drill bit
guides).
Detach the module from the fastener handle, leaving it in two pieces:
a) Insertion handle with the nail and b) module with the distal arm.
www.arzzt.com
Intramedullary Nail System
Intramedullary locked Nailing With
Screws for Tibia Fractures
Solid/Cannulated
12
The surgical technique described as follows is used for the placement of both implants, with the variants for
the insertion of each particular nail specified.
www.arzzt.com
Intramedullary Nail System
Intramedullary locked Nailing With
Screws for Tibia Fractures
Solid/Cannulated
Surgical Technique
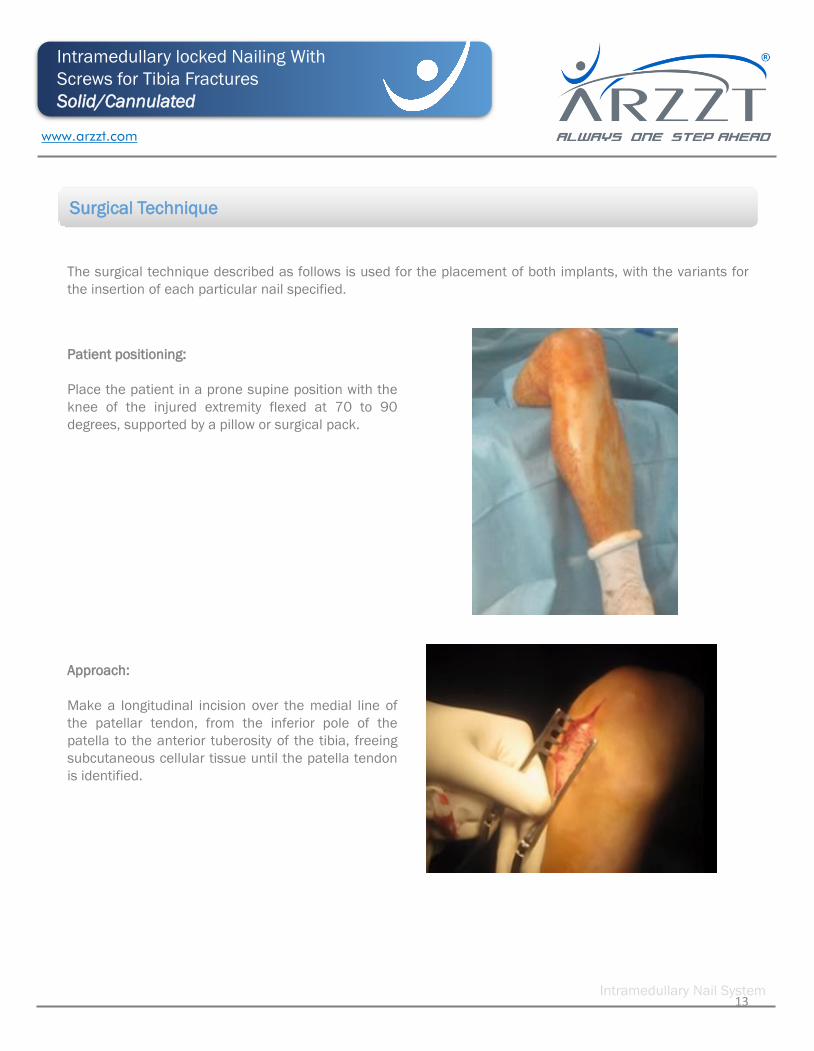
Patient positioning:
Place the patient in a prone supine position with the
knee of the injured extremity flexed at 70 to 90
degrees, supported by a pillow or surgical pack.
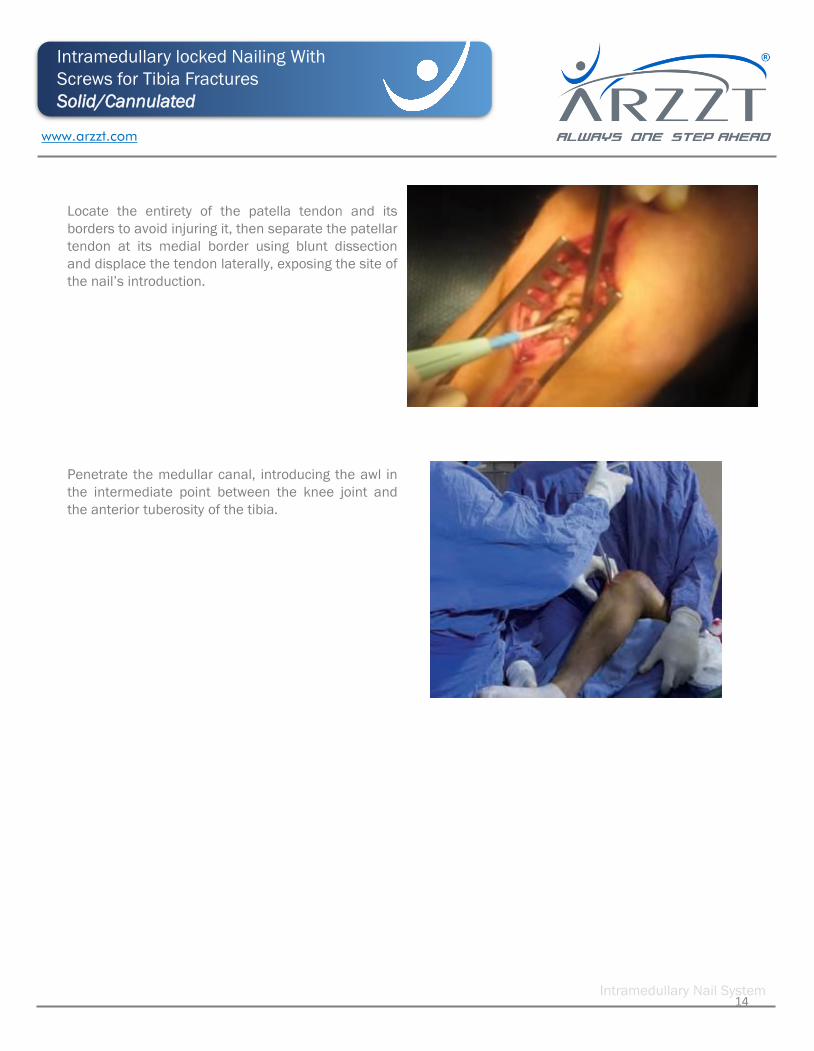
Approach:
Make a longitudinal incision over the medial line of
the patellar tendon, from the inferior pole of the
patella to the anterior tuberosity of the tibia, freeing
subcutaneous cellular tissue until the patella tendon
is identified.
13
www.arzzt.com
Intramedullary Nail System
Intramedullary locked Nailing With
Screws for Tibia Fractures
Solid/Cannulated
Locate the entirety of the patella tendon and its
borders to avoid injuring it, then separate the patellar
tendon at its medial border using blunt dissection
and displace the tendon laterally, exposing the site of
the nail’s introduction.
Penetrate the medullar canal, introducing the awl in
the intermediate point between the knee joint and
the anterior tuberosity of the tibia.
14
www.arzzt.com
Intramedullary Nail System
Intramedullary locked Nailing With
Screws for Tibia Fractures
Solid/Cannulated
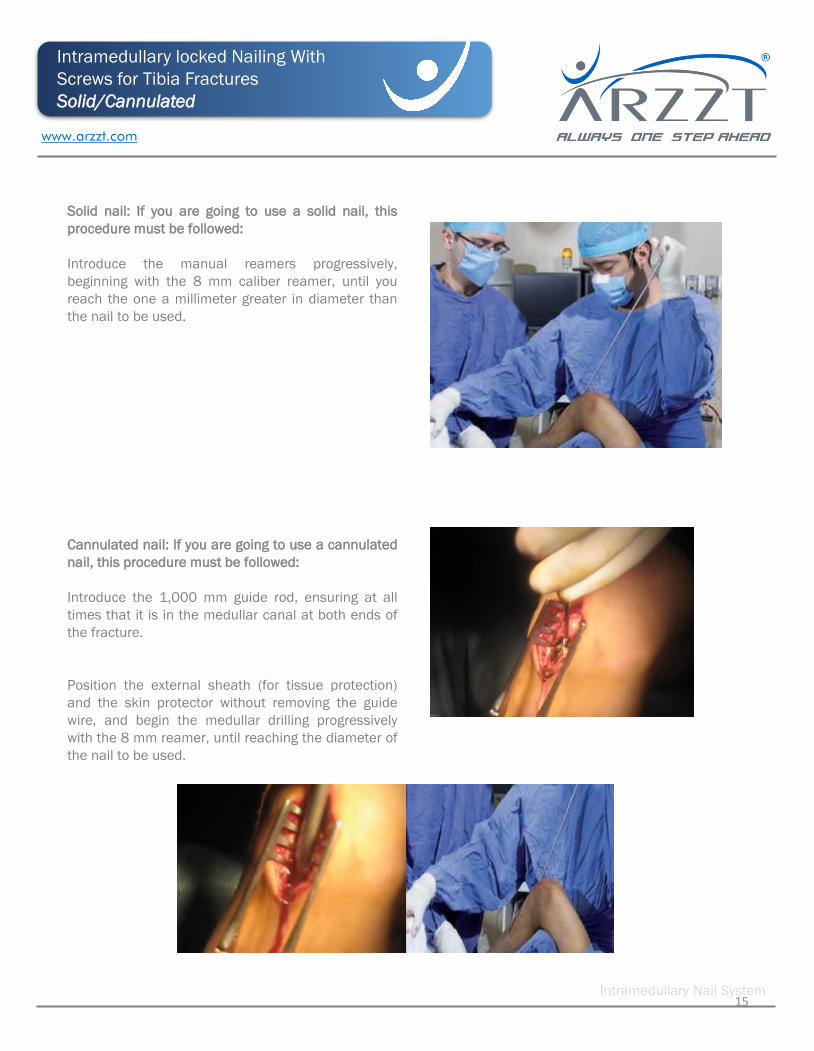
Solid nail: If you are going to use a solid nail, this
procedure must be followed:
Introduce the manual reamers progressively,
beginning with the 8 mm caliber reamer, until you
reach the one a millimeter greater in diameter than
the nail to be used.
Cannulated nail: If you are going to use a cannulated
nail, this procedure must be followed:
Introduce the 1,000 mm guide rod, ensuring at all
times that it is in the medullar canal at both ends of
the fracture.
Position the external sheath (for tissue protection)
and the skin protector without removing the guide
wire, and begin the medullar drilling progressively
with the 8 mm reamer, until reaching the diameter of
the nail to be used.
15
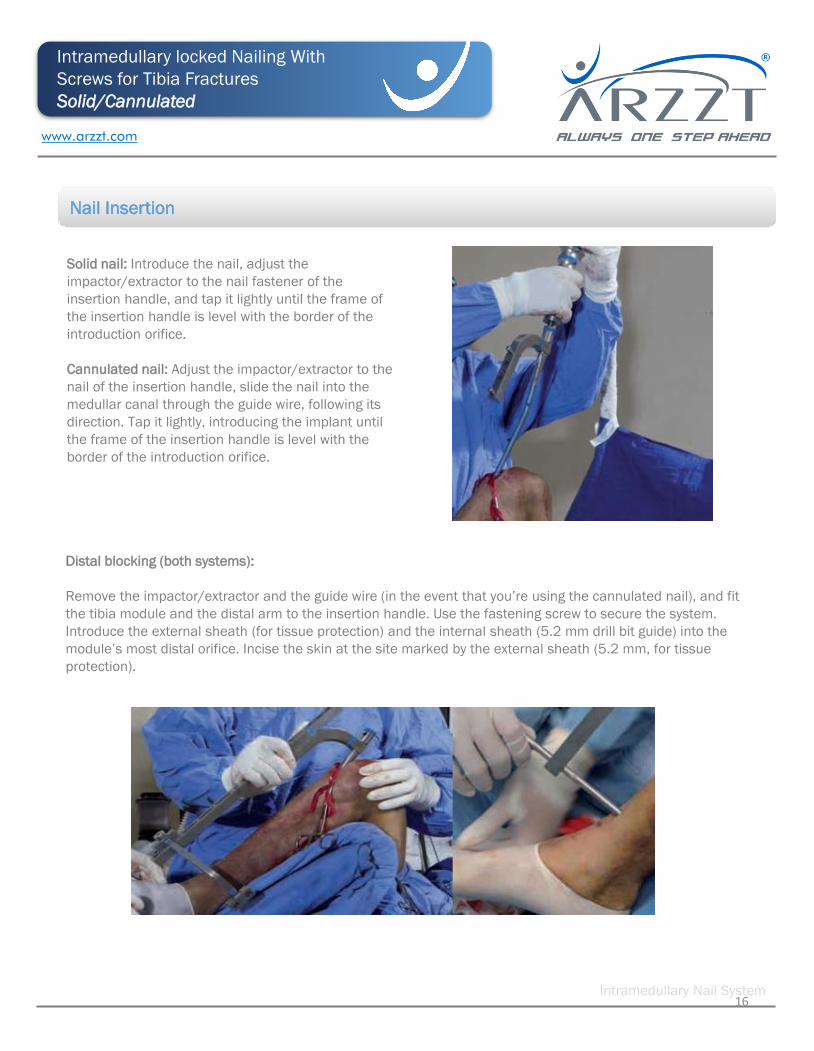
Solid nail: Introduce the nail, adjust the
impactor/extractor to the nail fastener of the
insertion handle, and tap it lightly until the frame of
the insertion handle is level with the border of the
introduction orifice.
Cannulated nail: Adjust the impactor/extractor to the
nail of the insertion handle, slide the nail into the
medullar canal through the guide wire, following its
direction. Tap it lightly, introducing the implant until
the frame of the insertion handle is level with the
border of the introduction orifice.
www.arzzt.com
Nail Insertion
Intramedullary Nail System
Intramedullary locked Nailing With
Screws for Tibia Fractures
Solid/Cannulated
Distal blocking (both systems):
Remove the impactor/extractor and the guide wire (in the event that you’re using the cannulated nail), and fit
the tibia module and the distal arm to the insertion handle. Use the fastening screw to secure the system.
Introduce the external sheath (for tissue protection) and the internal sheath (5.2 mm drill bit guide) into the
module’s most distal orifice. Incise the skin at the site marked by the external sheath (5.2 mm, for tissue
protection).
16
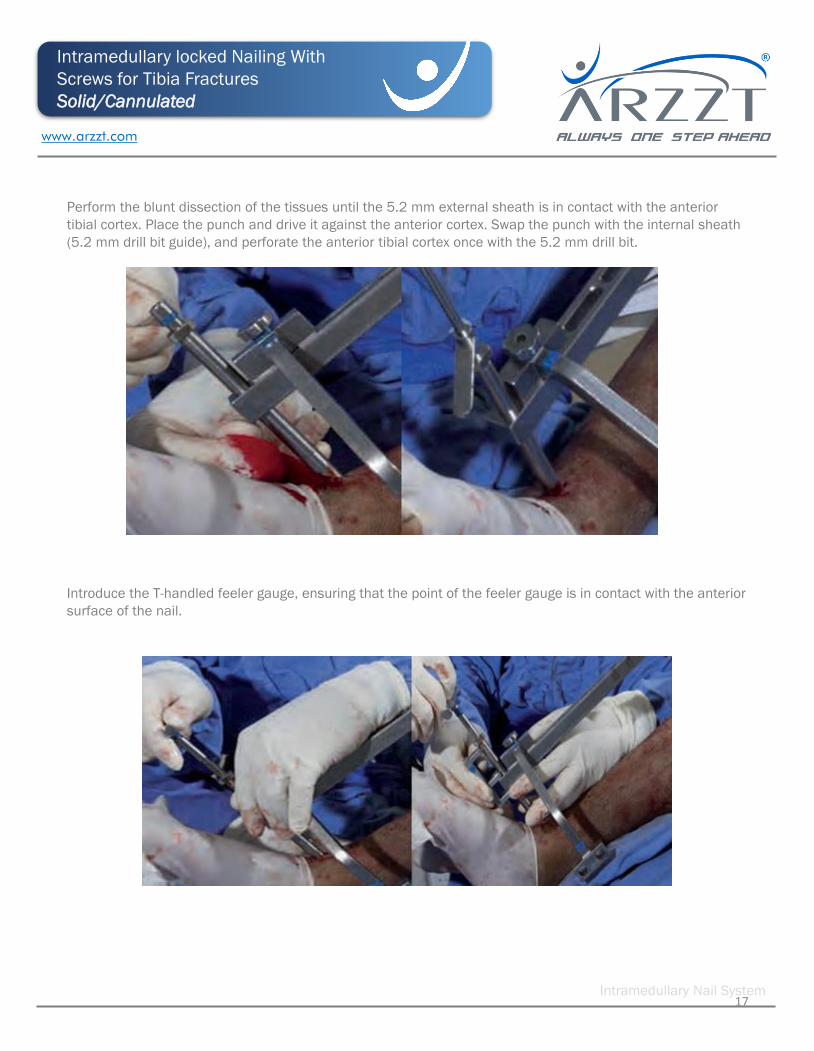
Perform the blunt dissection of the tissues until the 5.2 mm external sheath is in contact with the anterior
tibial cortex. Place the punch and drive it against the anterior cortex. Swap the punch with the internal sheath
(5.2 mm drill bit guide), and perforate the anterior tibial cortex once with the 5.2 mm drill bit.
Introduce the T-handled feeler gauge, ensuring that the point of the feeler gauge is in contact with the anterior
surface of the nail.
www.arzzt.com
Intramedullary Nail System
Intramedullary locked Nailing With
Screws for Tibia Fractures
Solid/Cannulated
17
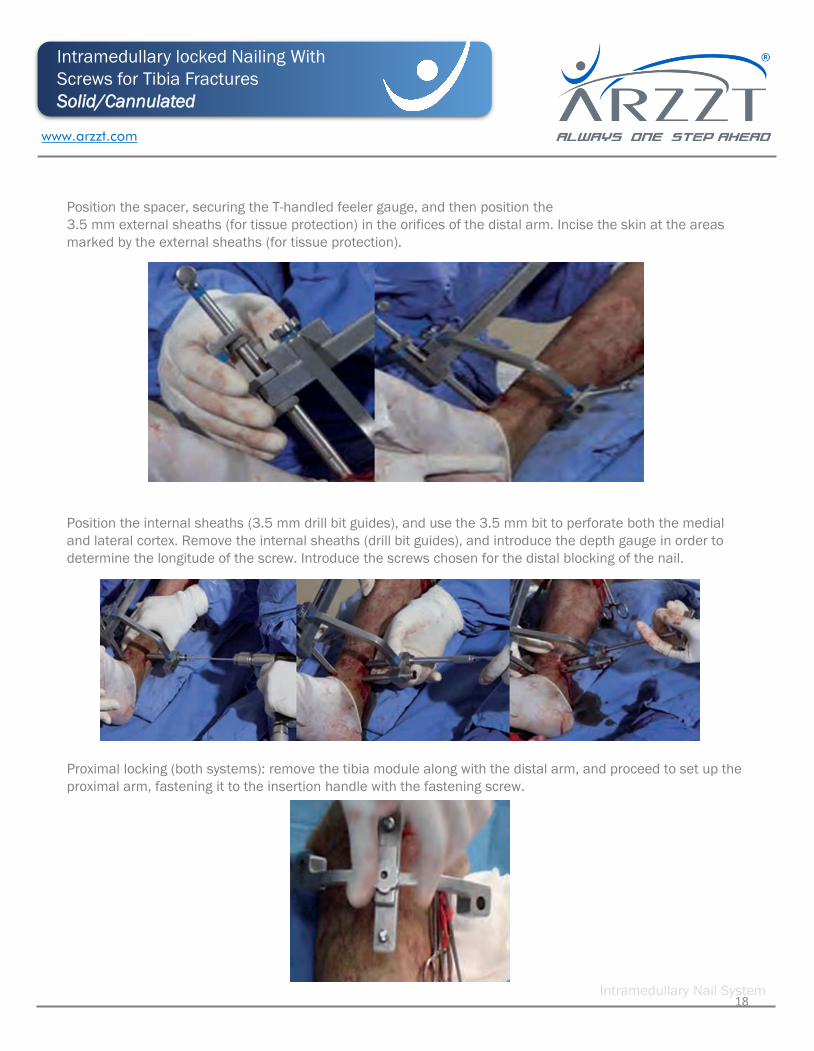
Position the spacer, securing the T-handled feeler gauge, and then position the
3.5 mm external sheaths (for tissue protection) in the orifices of the distal arm. Incise the skin at the areas
marked by the external sheaths (for tissue protection).
Position the internal sheaths (3.5 mm drill bit guides), and use the 3.5 mm bit to perforate both the medial
and lateral cortex. Remove the internal sheaths (drill bit guides), and introduce the depth gauge in order to
determine the longitude of the screw. Introduce the screws chosen for the distal blocking of the nail.
Proximal locking (both systems): remove the tibia module along with the distal arm, and proceed to set up the
proximal arm, fastening it to the insertion handle with the fastening screw.
www.arzzt.com
Intramedullary Nail System
Intramedullary locked Nailing With
Screws for Tibia Fractures
Solid/Cannulated
18
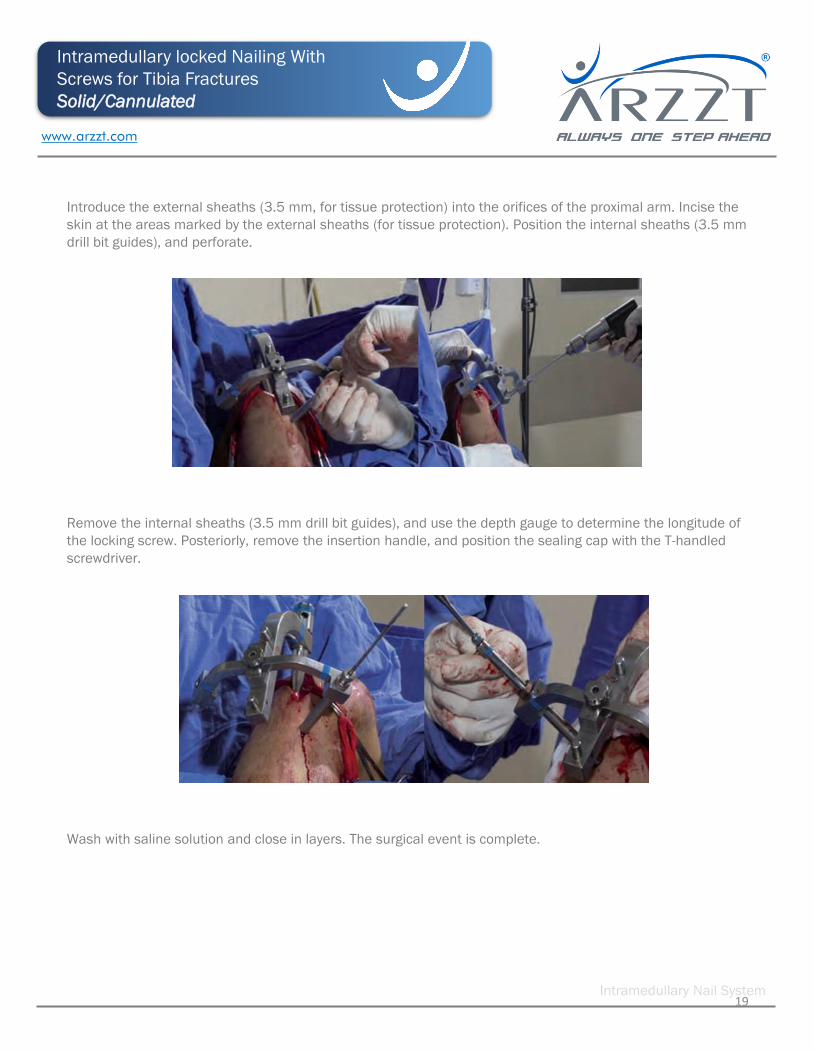
Introduce the external sheaths (3.5 mm, for tissue protection) into the orifices of the proximal arm. Incise the
skin at the areas marked by the external sheaths (for tissue protection). Position the internal sheaths (3.5 mm
drill bit guides), and perforate.
Remove the internal sheaths (3.5 mm drill bit guides), and use the depth gauge to determine the longitude of
the locking screw. Posteriorly, remove the insertion handle, and position the sealing cap with the T-handled
screwdriver.
Wash with saline solution and close in layers. The surgical event is complete.
www.arzzt.com
Intramedullary Nail System
Intramedullary locked Nailing With
Screws for Tibia Fractures
Solid/Cannulated
19
Make a small incision approximately 1 cm above the
head of each distal and proximal locking screw. Via
dissection, locate the blocking screws, remove the
fibrous and bone tissue from the hexagonal recesses
of the screws. Remove the screws with ARZZT
screwdriver, leaving one in order to maintain the
fixation of the nail.
Continue with the patient in a supine prone position,
and with the knee of the injured extremity flexed at
70 to 90 degrees.
Make a longitudinal cutaneous incision of 3–4 cm.
Use the previous surgical approach for the placement
of the nail at the anterior surface of the knee, at the
level of the patellar tendon, separating it
longitudinally at its midpoint until you locate the
sealing cap. Remove the excess fibrous and bone
tissue from the hexagon, and remove the sealing cap
with the ARZZT screwdriver.
Assemble the insertion handle with the nail
connector, tightening them firmly using the L-handled
hexagon key (Allen) in order to avoid the rotation or
displacement of the nail back underneath the tibial
condyle. You must be careful to avoid damaging the
thread of the nail during this procedure. Remove the
remaining blocking screw and extract the nail using
the impactor/extractor.
Suture the proximal wound in layers with vicryl 2.0,
the skin with nylon 3-0, and the wounds from where
the screws were removed with nylon 3-0. Cover the
wounds with sterile dressing and bandage the
extremity.
www.arzzt.com
Implant Extraction
Intramedullary Nail System
Intramedullary locked Nailing With
Screws for Tibia Fractures
Solid/Cannulated
20
1.- Deepak L. Management of fracture tibia with closed
intramedullary interlocking nail. International Journal of
Orthopaedics Sciences 2017; 3(1): 206–208
2.- Hutchinson A. Operative fixation for complex tibial fractures.
Ann R Coll Surg Engl 2012; 94: 34–38.
3.- Deleanu B. Reamed versus unreamed intramedullary locked
nailing in tibial fractures: Eur J Orthop Surg Traumatol. 2014;
(24): 1597–1601.
4.- Duan X. Intramedullary Nailing for tibial shaft fractures in
adults. Cochrane Database Syst Rev. 2012;1 CD008241
5.- Lowe J. Surgical Techniques for Complex Proximal Tibial
Fractures. Instr Course Lect 2012; 61:39–51.
www.arzzt.com
Intramedullary Nail System
Bibliography
Intramedullary locked Nailing With
Screws for Tibia Fractures
Solid/Cannulated
21

Intramedullary Nail System
Femur Nail Kit
Code 08050001
Approved by
www.arzzt.com
Contact
202 Timberloch PI Suite 200
The Woodlands. TX, 77380
22