c64 telnet bbs guide - triad · if you have an rr-net networking card for your c64, you can access...
TRANSCRIPT

C64 TELNET BBS GUIDE
antidote.hopto.org:23Version 2.0
Thanks to Jucke/G*P and Morphfrog/ex.Hitmen,all Antidote supporters and old boardcallers!
Questions and comments can be mailed to [email protected]
Content1.How to connect to a Commodore 64 telnet BBS2.C*Base quick tutorial guide
1.How to connect to a Commodore 64 telnet BBSIf you allready know which programs and solutions to use to be able to connect to a c64 BBS over telnet, skip this section and head for chapter 2. For the rest of you, let's begin...
Connecting from a Commodore 64
There are several ways to connect to a telnet BBS with a real Commodore 64. Here are the methods I know about:
Using RR-NET with GurutermIf you have an RR-NET networking card for your C64, you can access C64 telnet boards instantly from your good old breadbox. Guruterm is a pretty self-explanatory petscii enabled telnet client with DHCP. It does however not support transfers (yet). Rave Guru is known to be a lazy fart, so the more people annoying him with requests to implement punter, the better... ;)You can grab it from: http://noname.c64.org/csdb/release/?id=38908
Using RR-NET with SkytermLike Guruterm, Skyterm is a stand-alone petscii enabled telnet client for RR-NET. However, it does also support single punter uploads and downloads! Since Skyterm is still in beta, it can't be downloaded from the net yet. You can find it on the tools drive on Antidote and download it, or ask the coder himself, Soundemon, for a copy.
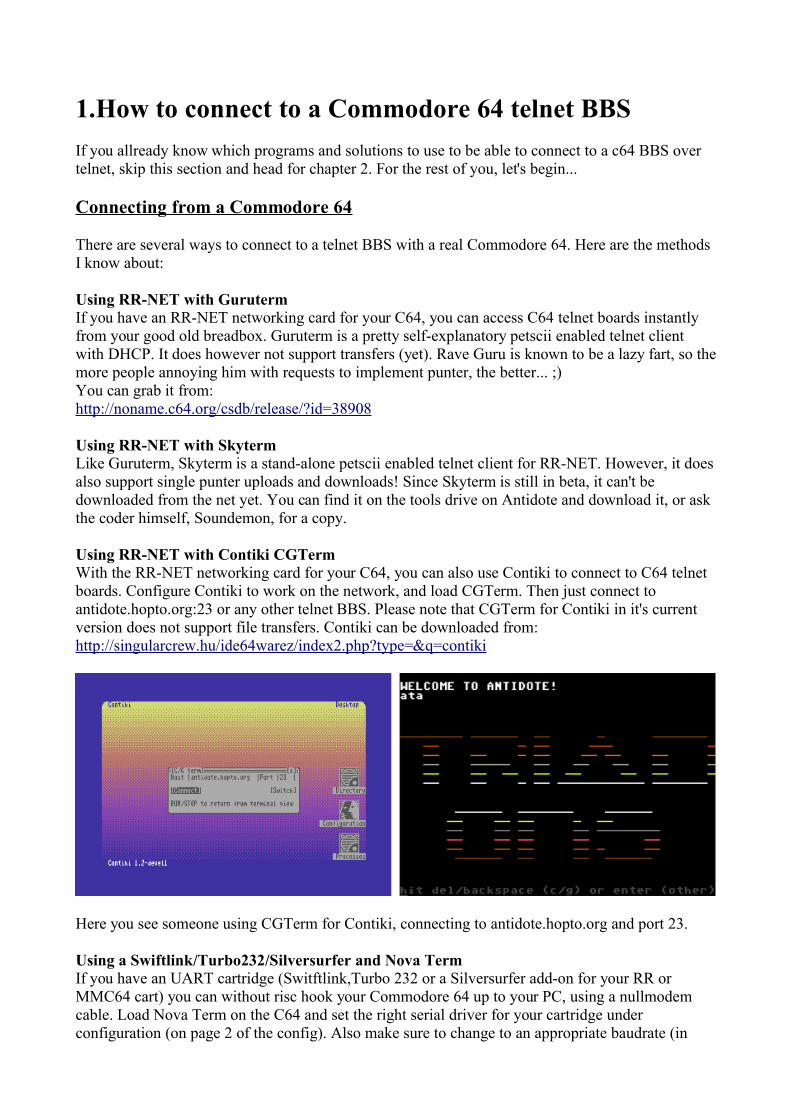
Using RR-NET with Contiki CGTermWith the RR-NET networking card for your C64, you can also use Contiki to connect to C64 telnet boards. Configure Contiki to work on the network, and load CGTerm. Then just connect to antidote.hopto.org:23 or any other telnet BBS. Please note that CGTerm for Contiki in it's current version does not support file transfers. Contiki can be downloaded from: http://singularcrew.hu/ide64warez/index2.php?type=&q=contiki
Here you see someone using CGTerm for Contiki, connecting to antidote.hopto.org and port 23.
Using a Swiftlink/Turbo232/Silversurfer and Nova TermIf you have an UART cartridge (Switftlink,Turbo 232 or a Silversurfer add-on for your RR or MMC64 cart) you can without risc hook your Commodore 64 up to your PC, using a nullmodem cable. Load Nova Term on the C64 and set the right serial driver for your cartridge under configuration (on page 2 of the config). Also make sure to change to an appropriate baudrate (in
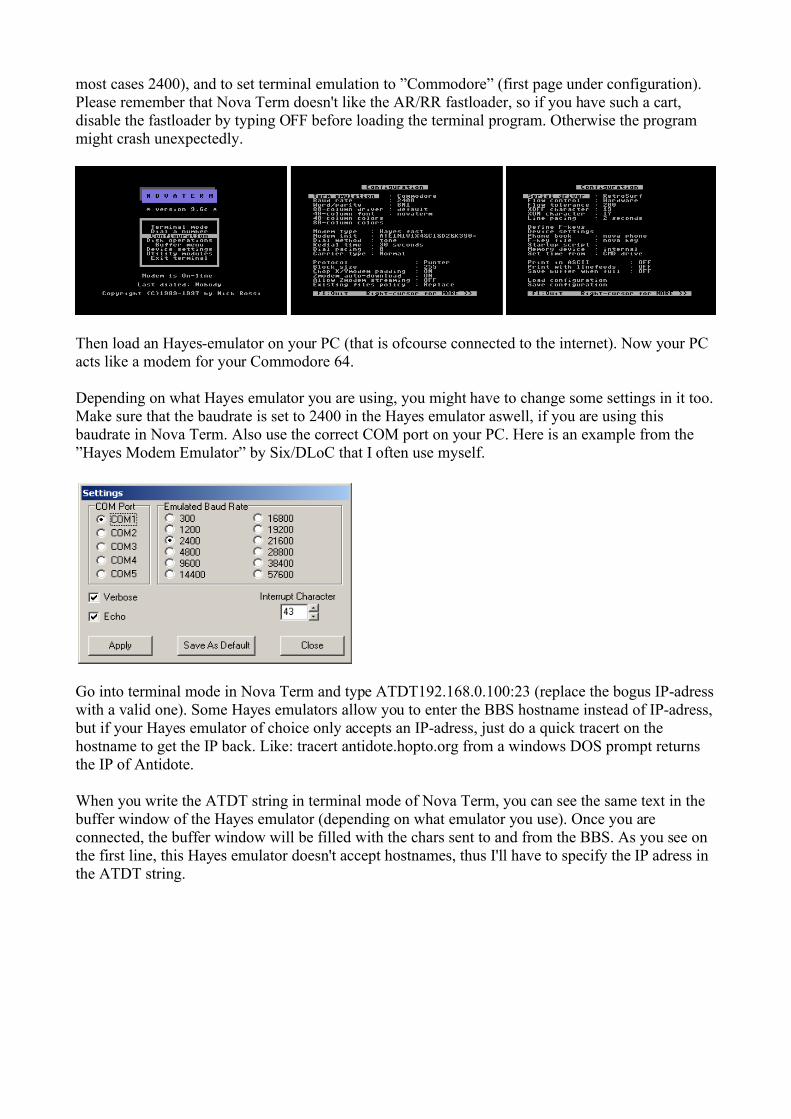
most cases 2400), and to set terminal emulation to ”Commodore” (first page under configuration). Please remember that Nova Term doesn't like the AR/RR fastloader, so if you have such a cart, disable the fastloader by typing OFF before loading the terminal program. Otherwise the program might crash unexpectedly.
Then load an Hayes-emulator on your PC (that is ofcourse connected to the internet). Now your PC acts like a modem for your Commodore 64.
Depending on what Hayes emulator you are using, you might have to change some settings in it too. Make sure that the baudrate is set to 2400 in the Hayes emulator aswell, if you are using this baudrate in Nova Term. Also use the correct COM port on your PC. Here is an example from the ”Hayes Modem Emulator” by Six/DLoC that I often use myself.
Go into terminal mode in Nova Term and type ATDT192.168.0.100:23 (replace the bogus IP-adress with a valid one). Some Hayes emulators allow you to enter the BBS hostname instead of IP-adress, but if your Hayes emulator of choice only accepts an IP-adress, just do a quick tracert on the hostname to get the IP back. Like: tracert antidote.hopto.org from a windows DOS prompt returns the IP of Antidote.
When you write the ATDT string in terminal mode of Nova Term, you can see the same text in the buffer window of the Hayes emulator (depending on what emulator you use). Once you are connected, the buffer window will be filled with the chars sent to and from the BBS. As you see on the first line, this Hayes emulator doesn't accept hostnames, thus I'll have to specify the IP adress in the ATDT string.
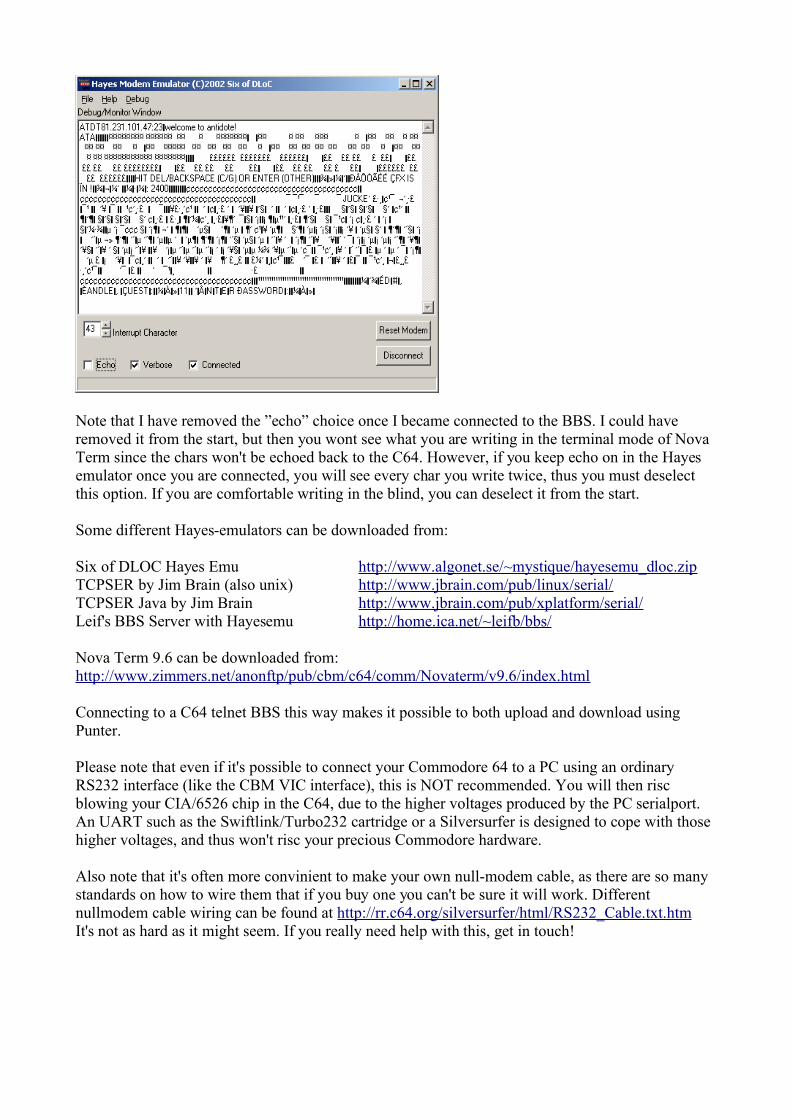
Note that I have removed the ”echo” choice once I became connected to the BBS. I could have removed it from the start, but then you wont see what you are writing in the terminal mode of Nova Term since the chars won't be echoed back to the C64. However, if you keep echo on in the Hayes emulator once you are connected, you will see every char you write twice, thus you must deselect this option. If you are comfortable writing in the blind, you can deselect it from the start.
Some different Hayes-emulators can be downloaded from:
Six of DLOC Hayes Emu http://www.algonet.se/~mystique/hayesemu_dloc.zipTCPSER by Jim Brain (also unix) http://www.jbrain.com/pub/linux/serial/TCPSER Java by Jim Brain http://www.jbrain.com/pub/xplatform/serial/Leif's BBS Server with Hayesemu http://home.ica.net/~leifb/bbs/
Nova Term 9.6 can be downloaded from:http://www.zimmers.net/anonftp/pub/cbm/c64/comm/Novaterm/v9.6/index.html
Connecting to a C64 telnet BBS this way makes it possible to both upload and download using Punter.
Please note that even if it's possible to connect your Commodore 64 to a PC using an ordinary RS232 interface (like the CBM VIC interface), this is NOT recommended. You will then risc blowing your CIA/6526 chip in the C64, due to the higher voltages produced by the PC serialport. An UART such as the Swiftlink/Turbo232 cartridge or a Silversurfer is designed to cope with those higher voltages, and thus won't risc your precious Commodore hardware.
Also note that it's often more convinient to make your own null-modem cable, as there are so many standards on how to wire them that if you buy one you can't be sure it will work. Different nullmodem cable wiring can be found at http://rr.c64.org/silversurfer/html/RS232_Cable.txt.htmIt's not as hard as it might seem. If you really need help with this, get in touch!
Connecting from a PC
If you wish to connect to Antidote (or any other C64 telnet BBS) from a PC, the best way is to use a special telnet client with C/G (Petscii) support. Here is a short description of such clients:
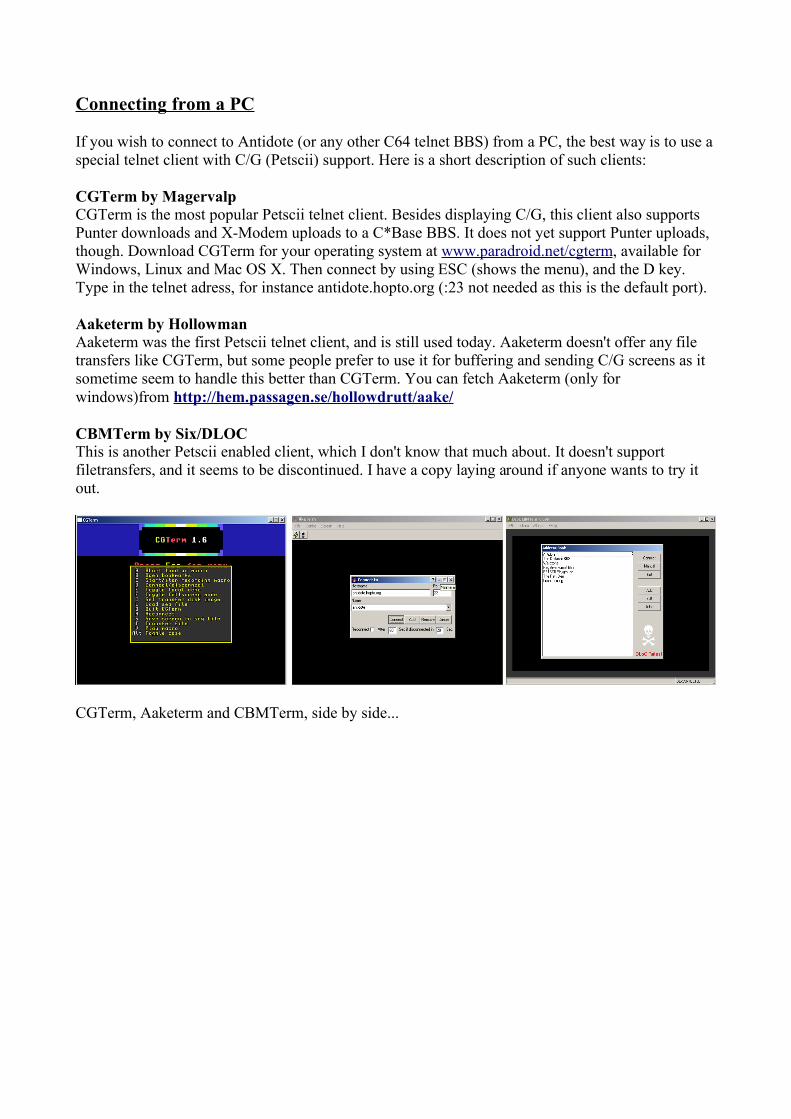
CGTerm by MagervalpCGTerm is the most popular Petscii telnet client. Besides displaying C/G, this client also supports Punter downloads and X-Modem uploads to a C*Base BBS. It does not yet support Punter uploads, though. Download CGTerm for your operating system at www.paradroid.net/cgterm, available for Windows, Linux and Mac OS X. Then connect by using ESC (shows the menu), and the D key. Type in the telnet adress, for instance antidote.hopto.org (:23 not needed as this is the default port).
Aaketerm by HollowmanAaketerm was the first Petscii telnet client, and is still used today. Aaketerm doesn't offer any file transfers like CGTerm, but some people prefer to use it for buffering and sending C/G screens as it sometime seem to handle this better than CGTerm. You can fetch Aaketerm (only for windows)from http://hem.passagen.se/hollowdrutt/aake/
CBMTerm by Six/DLOCThis is another Petscii enabled client, which I don't know that much about. It doesn't support filetransfers, and it seems to be discontinued. I have a copy laying around if anyone wants to try it out.
CGTerm, Aaketerm and CBMTerm, side by side...
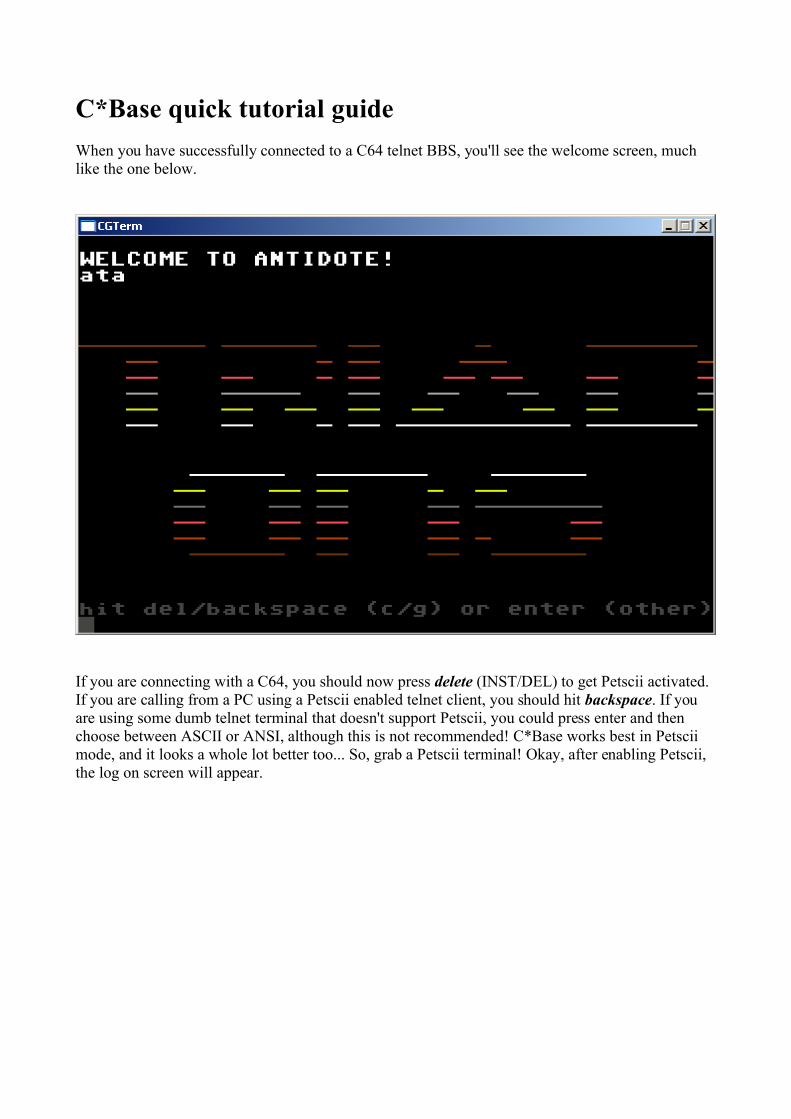
C*Base quick tutorial guideWhen you have successfully connected to a C64 telnet BBS, you'll see the welcome screen, much like the one below.
If you are connecting with a C64, you should now press delete (INST/DEL) to get Petscii activated. If you are calling from a PC using a Petscii enabled telnet client, you should hit backspace. If you are using some dumb telnet terminal that doesn't support Petscii, you could press enter and then choose between ASCII or ANSI, although this is not recommended! C*Base works best in Petscii mode, and it looks a whole lot better too... So, grab a Petscii terminal! Okay, after enabling Petscii, the log on screen will appear.

Log in using your UID# or your handle. If this is the first time you are calling the BBS and you don't have a user yet, you have to apply for an account first. This is done by hitting g at the login prompt, and you will be taken to the application form as a guest user. Fill in the application, log onto the BBS with your new account and send feedback to the Sysop. Then the Sysop will deny or grant your access til next time you connect. For now, let's assume that you allready have an account with access granted.
Then enter your password as seen below.
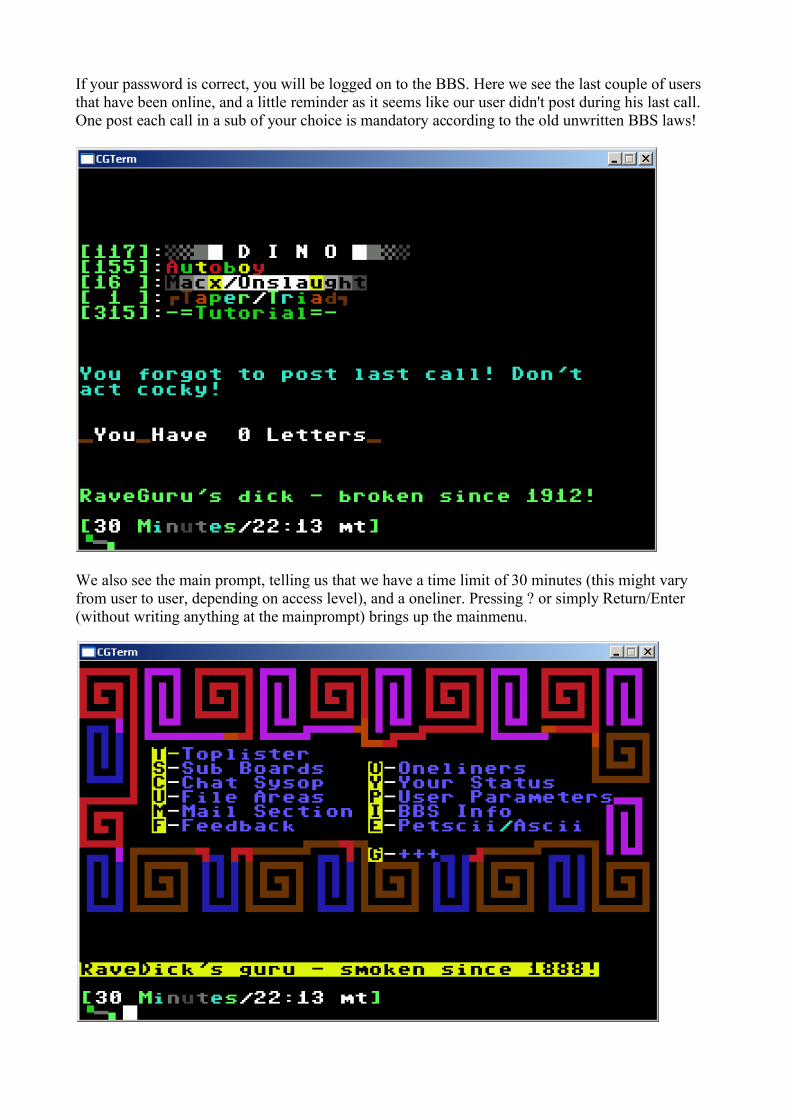
If your password is correct, you will be logged on to the BBS. Here we see the last couple of users that have been online, and a little reminder as it seems like our user didn't post during his last call. One post each call in a sub of your choice is mandatory according to the old unwritten BBS laws!
We also see the main prompt, telling us that we have a time limit of 30 minutes (this might vary from user to user, depending on access level), and a oneliner. Pressing ? or simply Return/Enter (without writing anything at the mainprompt) brings up the mainmenu.
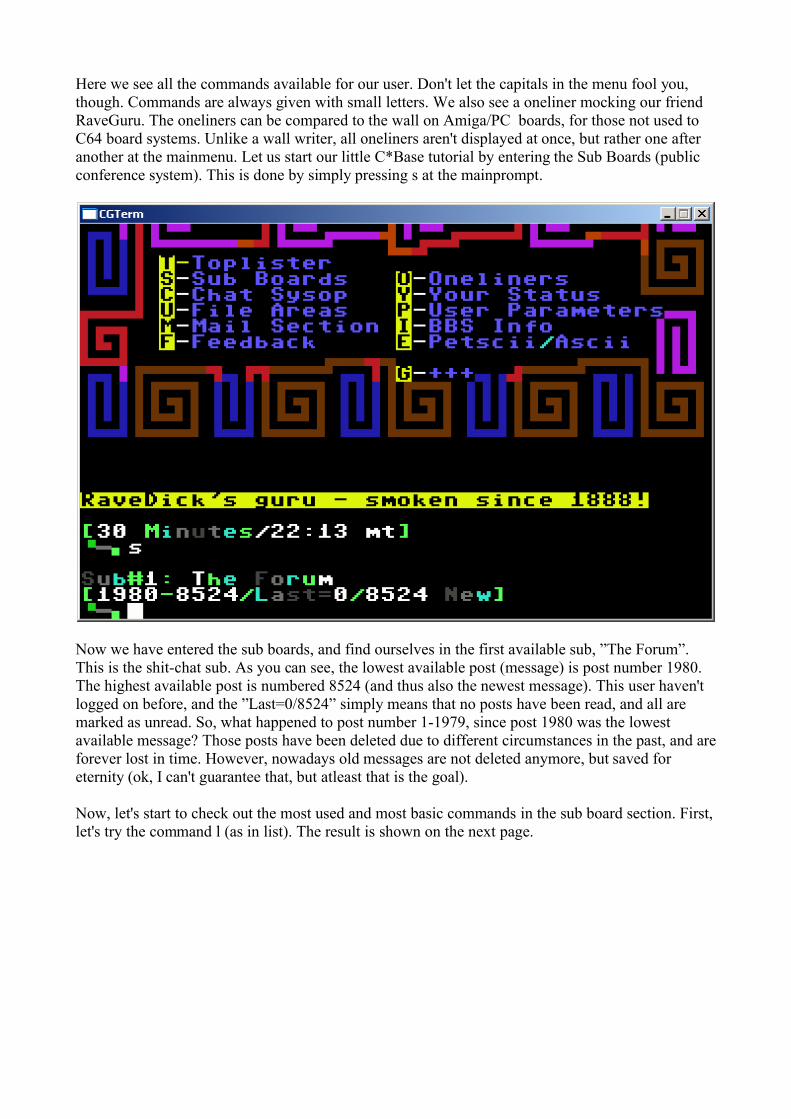
Here we see all the commands available for our user. Don't let the capitals in the menu fool you, though. Commands are always given with small letters. We also see a oneliner mocking our friend RaveGuru. The oneliners can be compared to the wall on Amiga/PC boards, for those not used to C64 board systems. Unlike a wall writer, all oneliners aren't displayed at once, but rather one after another at the mainmenu. Let us start our little C*Base tutorial by entering the Sub Boards (public conference system). This is done by simply pressing s at the mainprompt.
Now we have entered the sub boards, and find ourselves in the first available sub, ”The Forum”. This is the shit-chat sub. As you can see, the lowest available post (message) is post number 1980. The highest available post is numbered 8524 (and thus also the newest message). This user haven't logged on before, and the ”Last=0/8524” simply means that no posts have been read, and all are marked as unread. So, what happened to post number 1-1979, since post 1980 was the lowest available message? Those posts have been deleted due to different circumstances in the past, and are forever lost in time. However, nowadays old messages are not deleted anymore, but saved for eternity (ok, I can't guarantee that, but atleast that is the goal).
Now, let's start to check out the most used and most basic commands in the sub board section. First, let's try the command l (as in list). The result is shown on the next page.
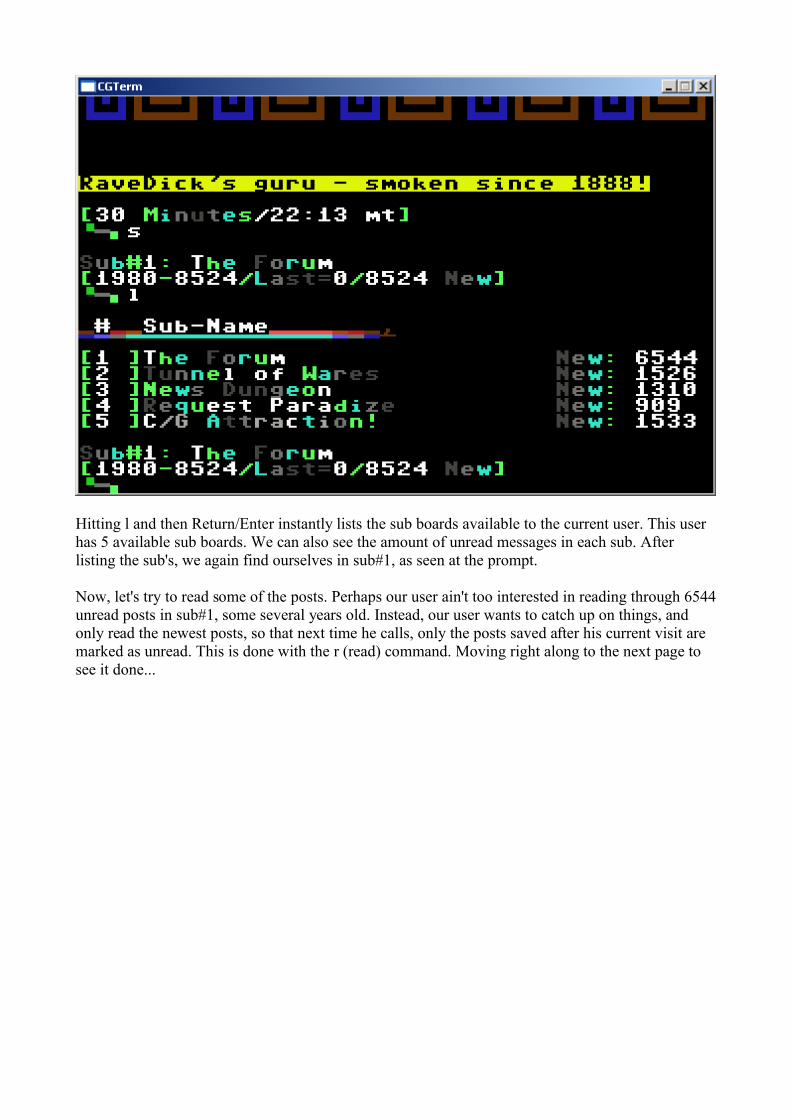
Hitting l and then Return/Enter instantly lists the sub boards available to the current user. This user has 5 available sub boards. We can also see the amount of unread messages in each sub. After listing the sub's, we again find ourselves in sub#1, as seen at the prompt.
Now, let's try to read some of the posts. Perhaps our user ain't too interested in reading through 6544 unread posts in sub#1, some several years old. Instead, our user wants to catch up on things, and only read the newest posts, so that next time he calls, only the posts saved after his current visit are marked as unread. This is done with the r (read) command. Moving right along to the next page to see it done...

r8515 reads post number 8515 in the sub we're currently in (sub#1). Please note that there should be no space between the r and the postnumber we wish to begin to read from. By reading post 8515, we will have 9 more unread posts.

Here we see the desired post. Seems like Hollowman/Fairlight have some neat girlfriends... Now we see on the messageprompt that the last read message is 8515, and that we have 9 more to go before we have marked every message in the sub as read. In C*Base and most C64 BBS systems, posts are made in chronological order. You do not quote posts by others when you want to answer them, but simply create a new post which is put as the last message in the sub, where you do the answering.
Okay, to read the next message in line, all we have to do is press Return/Enter. Everytime you have read a post and want to view the next one, you do that. Now we have reached the last (and thus latest) post in sub#1. Last read message is 8524, and there are 0 new messages to read!
Now, it's time to post a message of our own. As you remember, the unwritten laws says atleast one post each call! To post a message, you simply hit p and Return/Enter at the prompt.
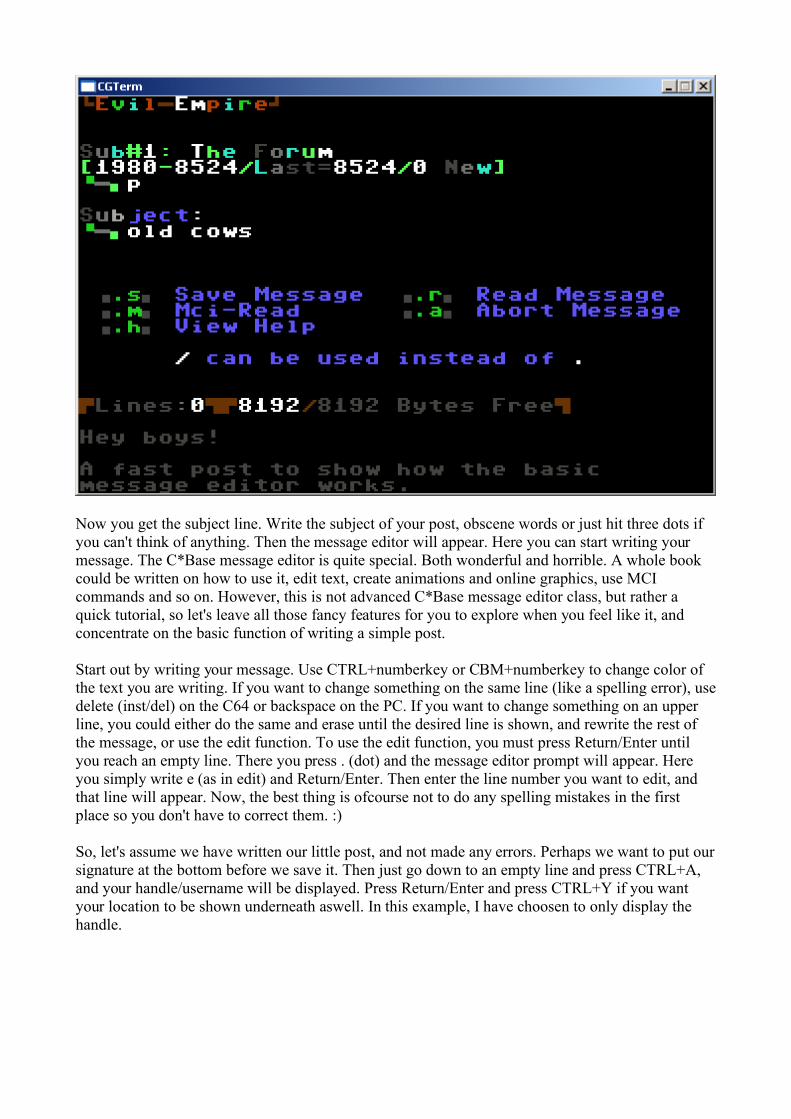
Now you get the subject line. Write the subject of your post, obscene words or just hit three dots if you can't think of anything. Then the message editor will appear. Here you can start writing your message. The C*Base message editor is quite special. Both wonderful and horrible. A whole book could be written on how to use it, edit text, create animations and online graphics, use MCI commands and so on. However, this is not advanced C*Base message editor class, but rather a quick tutorial, so let's leave all those fancy features for you to explore when you feel like it, and concentrate on the basic function of writing a simple post.
Start out by writing your message. Use CTRL+numberkey or CBM+numberkey to change color of the text you are writing. If you want to change something on the same line (like a spelling error), use delete (inst/del) on the C64 or backspace on the PC. If you want to change something on an upper line, you could either do the same and erase until the desired line is shown, and rewrite the rest of the message, or use the edit function. To use the edit function, you must press Return/Enter until you reach an empty line. There you press . (dot) and the message editor prompt will appear. Here you simply write e (as in edit) and Return/Enter. Then enter the line number you want to edit, and that line will appear. Now, the best thing is ofcourse not to do any spelling mistakes in the first place so you don't have to correct them. :)
So, let's assume we have written our little post, and not made any errors. Perhaps we want to put our signature at the bottom before we save it. Then just go down to an empty line and press CTRL+A, and your handle/username will be displayed. Press Return/Enter and press CTRL+Y if you want your location to be shown underneath aswell. In this example, I have choosen to only display the handle.

Now we want to save the post, and that is done by using the message editor prompt again. So, down to an empty line, press . (dot) and the prompt will appear. As the editor help suggests, there are several commands to be given here (and much more than the small selection showed there). If we want to save the post, we hit s at the prompt. If we want to abort the post and throw it away, we hit a for abort. If we want to read the message we just wrote, we use the r command. And, if we want to read the message just as it will appear on the screen when someone else reads it, complete with MCI commands (in case we used any), we use m for MCI Read. If we want to get rid of the message editor prompt and continue writing, simply press Return/Enter without writing anything at the prompt. Anyway, this time we want to save the message, and hit s at the prompt.
Now, we might want to check out the other sub boards that we saw earlier when we listed the available areas. So, to change to sub#2, we just hit 2 and then Return/Enter. Shown on the next page...
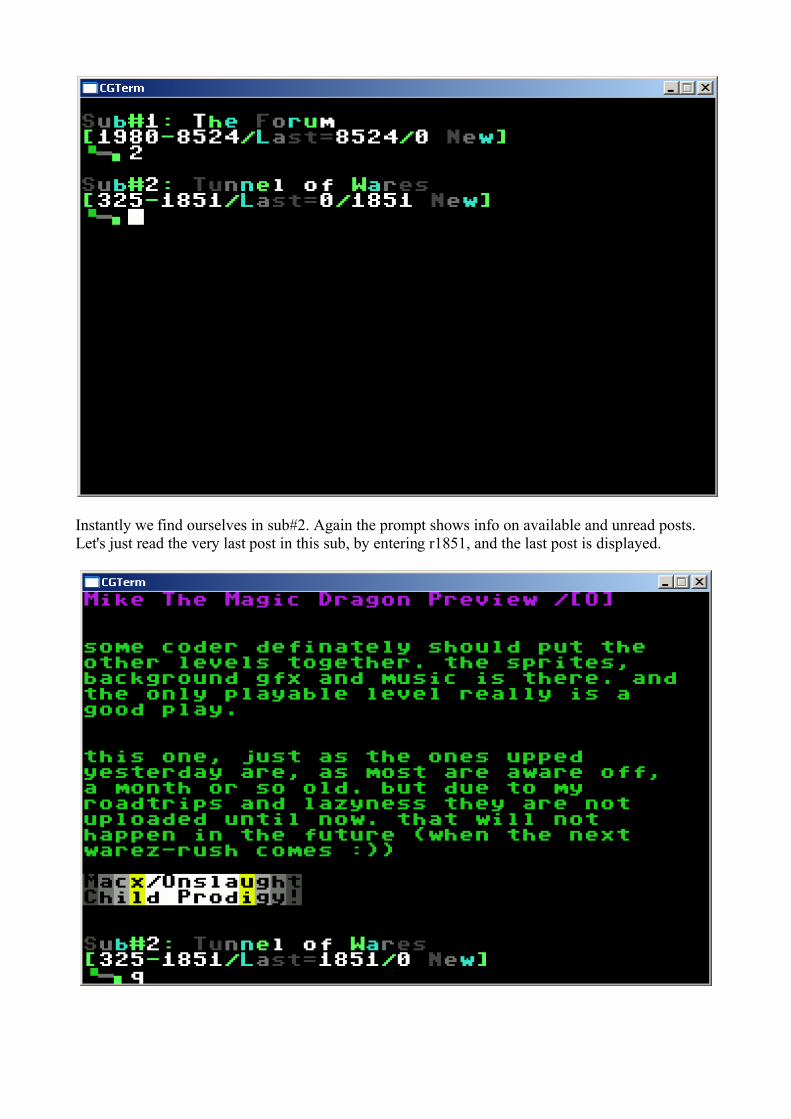
Instantly we find ourselves in sub#2. Again the prompt shows info on available and unread posts. Let's just read the very last post in this sub, by entering r1851, and the last post is displayed.
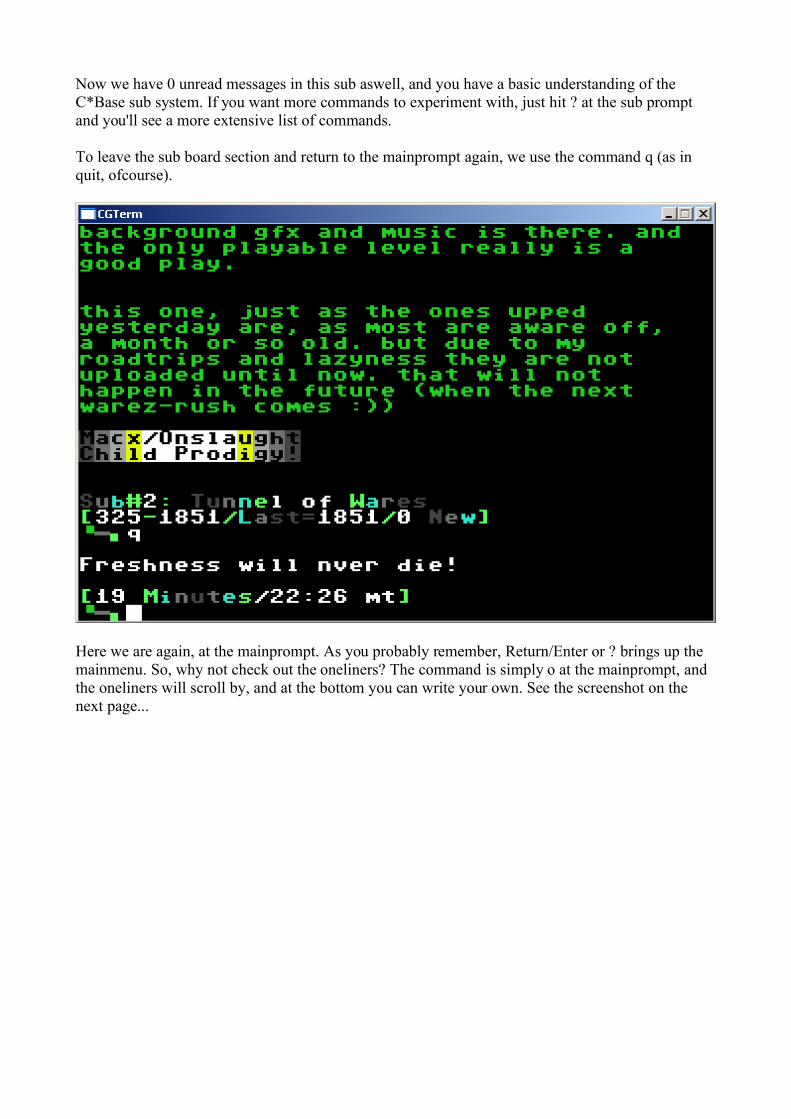
Now we have 0 unread messages in this sub aswell, and you have a basic understanding of the C*Base sub system. If you want more commands to experiment with, just hit ? at the sub prompt and you'll see a more extensive list of commands.
To leave the sub board section and return to the mainprompt again, we use the command q (as in quit, ofcourse).
Here we are again, at the mainprompt. As you probably remember, Return/Enter or ? brings up the mainmenu. So, why not check out the oneliners? The command is simply o at the mainprompt, and the oneliners will scroll by, and at the bottom you can write your own. See the screenshot on the next page...
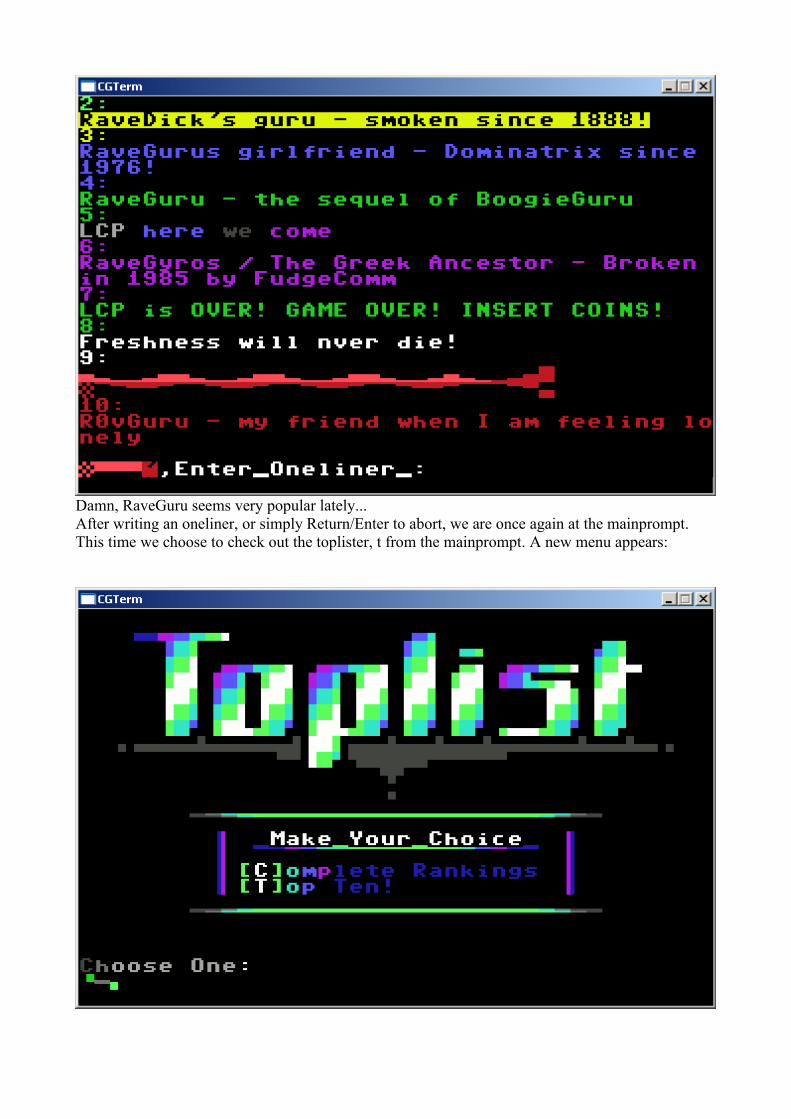
Damn, RaveGuru seems very popular lately... After writing an oneliner, or simply Return/Enter to abort, we are once again at the mainprompt.This time we choose to check out the toplister, t from the mainprompt. A new menu appears:
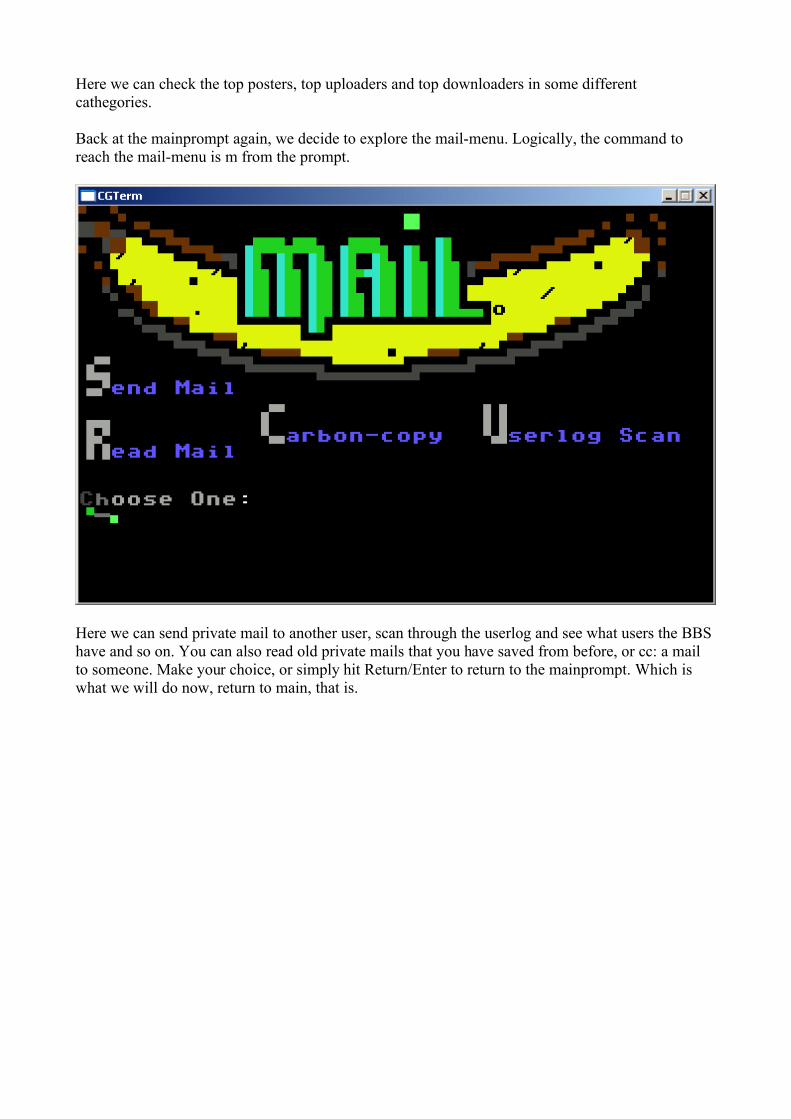
Here we can check the top posters, top uploaders and top downloaders in some different cathegories.
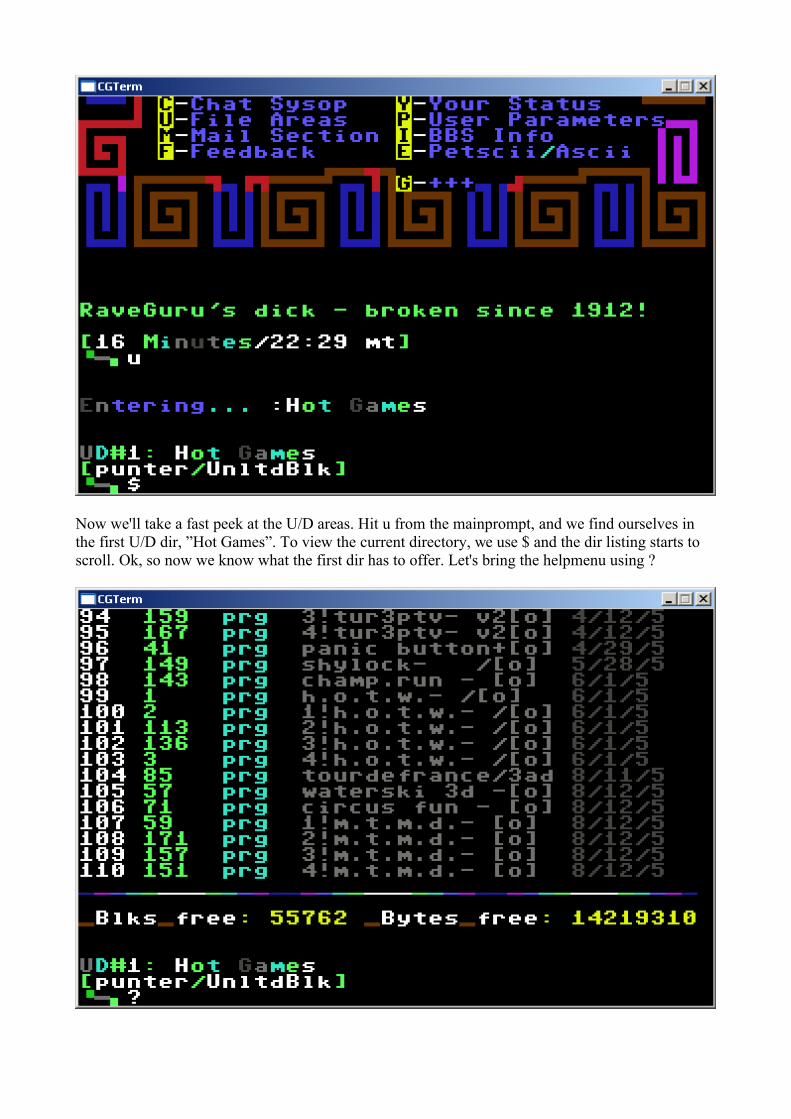
Back at the mainprompt again, we decide to explore the mail-menu. Logically, the command to reach the mail-menu is m from the prompt.
Here we can send private mail to another user, scan through the userlog and see what users the BBS have and so on. You can also read old private mails that you have saved from before, or cc: a mail to someone. Make your choice, or simply hit Return/Enter to return to the mainprompt. Which is what we will do now, return to main, that is.
Now we'll take a fast peek at the U/D areas. Hit u from the mainprompt, and we find ourselves in the first U/D dir, ”Hot Games”. To view the current directory, we use $ and the dir listing starts to scroll. Ok, so now we know what the first dir has to offer. Let's bring the helpmenu using ?
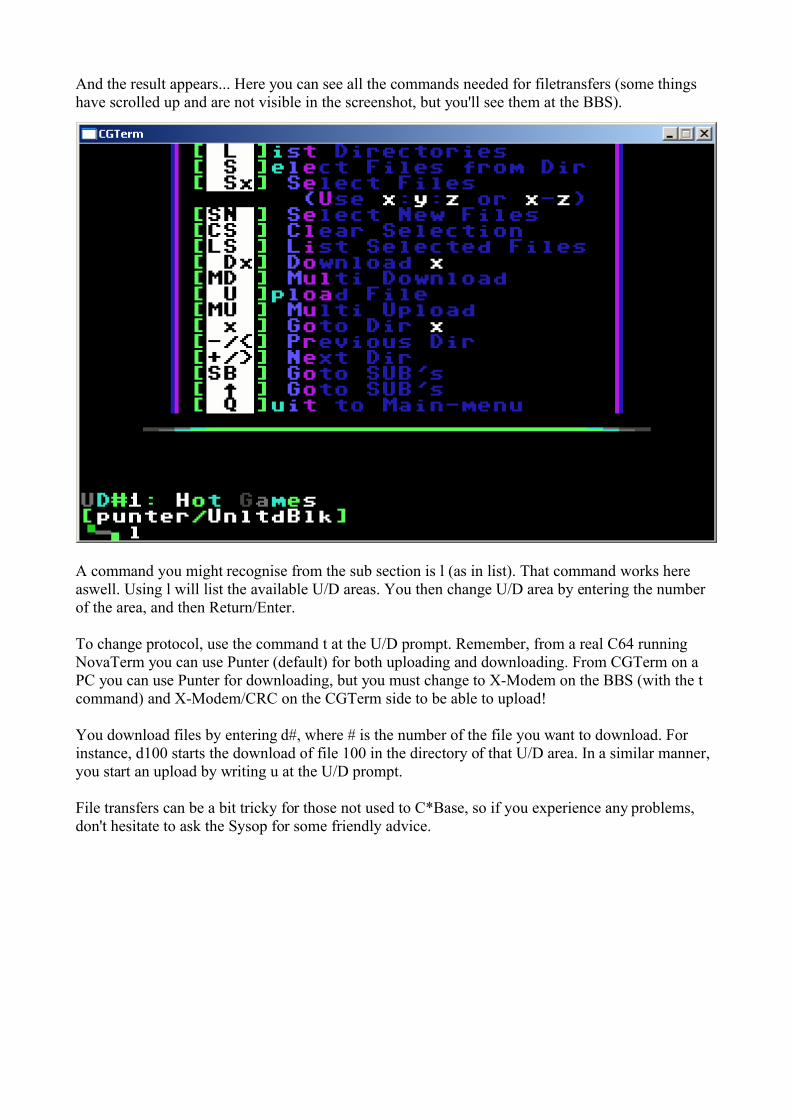
And the result appears... Here you can see all the commands needed for filetransfers (some things have scrolled up and are not visible in the screenshot, but you'll see them at the BBS).
A command you might recognise from the sub section is l (as in list). That command works here aswell. Using l will list the available U/D areas. You then change U/D area by entering the number of the area, and then Return/Enter.
To change protocol, use the command t at the U/D prompt. Remember, from a real C64 running NovaTerm you can use Punter (default) for both uploading and downloading. From CGTerm on a PC you can use Punter for downloading, but you must change to X-Modem on the BBS (with the t command) and X-Modem/CRC on the CGTerm side to be able to upload!
You download files by entering d#, where # is the number of the file you want to download. For instance, d100 starts the download of file 100 in the directory of that U/D area. In a similar manner, you start an upload by writing u at the U/D prompt.
File transfers can be a bit tricky for those not used to C*Base, so if you experience any problems, don't hesitate to ask the Sysop for some friendly advice.
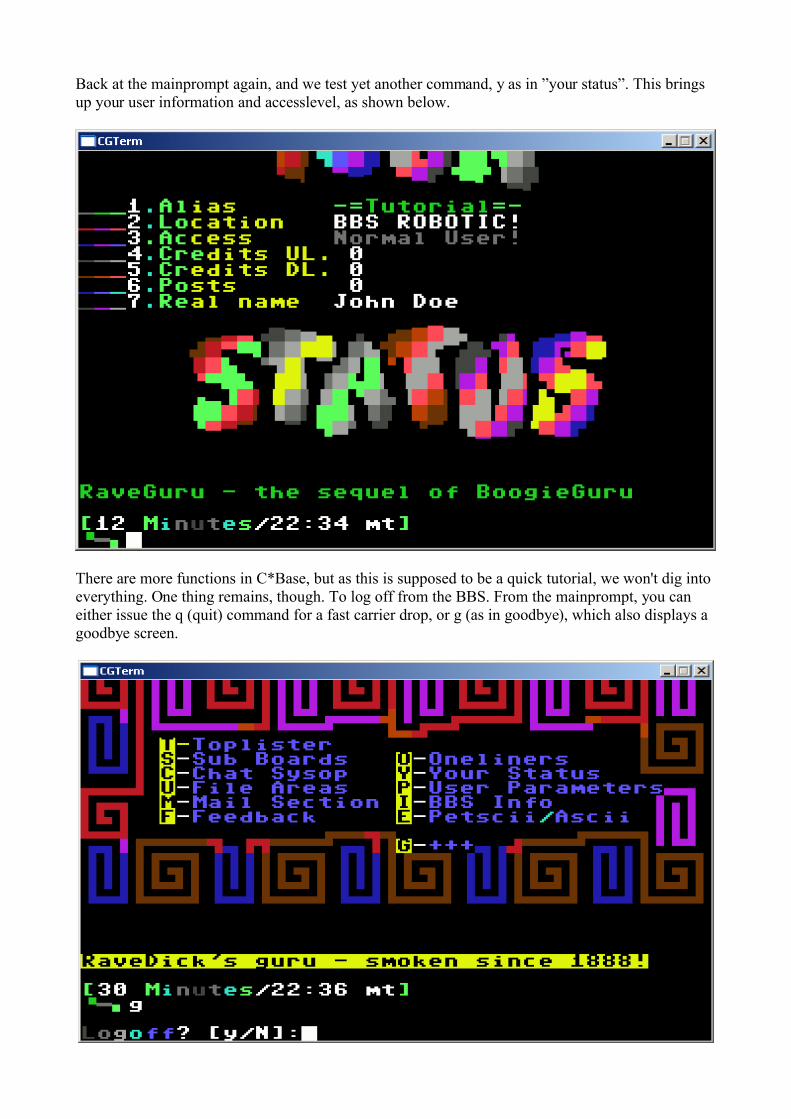
Back at the mainprompt again, and we test yet another command, y as in ”your status”. This brings up your user information and accesslevel, as shown below.
There are more functions in C*Base, but as this is supposed to be a quick tutorial, we won't dig into everything. One thing remains, though. To log off from the BBS. From the mainprompt, you can either issue the q (quit) command for a fast carrier drop, or g (as in goodbye), which also displays a goodbye screen.

And that concludes this little C*Base tutorial. I hope to see you on Antidote soon!
Antidote [TRIAD+Onslaught hq] antidote.hopto.org:23