building a roll-off roof observatory for under $1, · pdf filechoose a roll-off rood over a...
TRANSCRIPT
Building a Roll-Off Roof Observatory for under $1,400 : Chanan Greenberg Page 1
Building a Roll-Off Roof Observatory for under $1,400 By Chanan Greenberg VP San Mateo County Astronomical Society Member of Fremont Peak Observatory Association Special Thanks to Ido Liron (SMCAS member) and Kevin Von Aspern for their hard work and good spirits helping me build the observatory, and to my wife Ayelet for supporting my desire to image the heavens
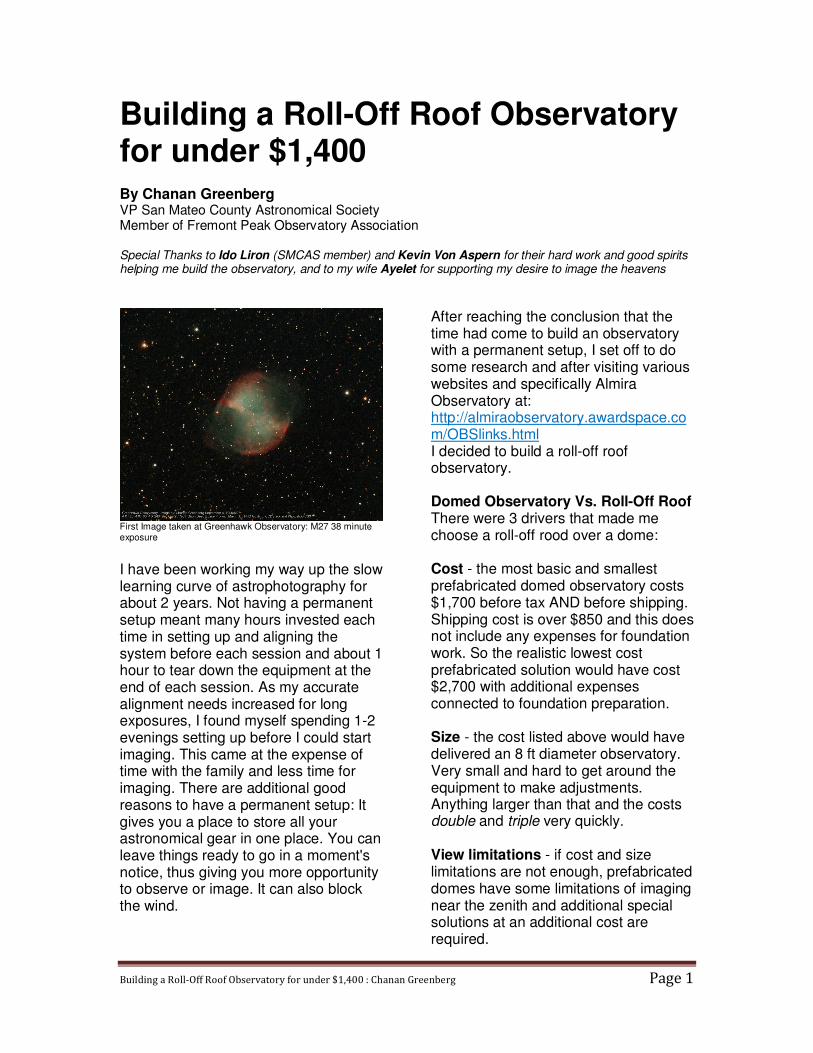
First Image taken at Greenhawk Observatory: M27 38 minute exposure
I have been working my way up the slow learning curve of astrophotography for about 2 years. Not having a permanent setup meant many hours invested each time in setting up and aligning the system before each session and about 1 hour to tear down the equipment at the end of each session. As my accurate alignment needs increased for long exposures, I found myself spending 1-2 evenings setting up before I could start imaging. This came at the expense of time with the family and less time for imaging. There are additional good reasons to have a permanent setup: It gives you a place to store all your astronomical gear in one place. You can leave things ready to go in a moment's notice, thus giving you more opportunity to observe or image. It can also block the wind.
After reaching the conclusion that the time had come to build an observatory with a permanent setup, I set off to do some research and after visiting various websites and specifically Almira Observatory at: http://almiraobservatory.awardspace.com/OBSlinks.html I decided to build a roll-off roof observatory. Domed Observatory Vs. Roll-Off Roof There were 3 drivers that made me choose a roll-off rood over a dome: Cost - the most basic and smallest prefabricated domed observatory costs $1,700 before tax AND before shipping. Shipping cost is over $850 and this does not include any expenses for foundation work. So the realistic lowest cost prefabricated solution would have cost $2,700 with additional expenses connected to foundation preparation. Size - the cost listed above would have delivered an 8 ft diameter observatory. Very small and hard to get around the equipment to make adjustments. Anything larger than that and the costs double and triple very quickly. View limitations - if cost and size limitations are not enough, prefabricated domes have some limitations of imaging near the zenith and additional special solutions at an additional cost are required.

Building a Roll-Off Roof Observatory for under $1,400 : Chanan Greenberg Page 2
Bottom line: UV and protection from the elements considerations were outweighed by less bucks, unobstructed view of the sky and larger space - and so a roll-off roof was my preferred option. Imaging Setup Following is a description of the imaging setup I use: Scope: C-9.25" SCT which I sometimes alternate with an Orion 10" Newtonian Guiding Scope: Orion 80mm APO refractor also used for wide field imaging Mount: Orion Atlas EQ-G Camera: Orion Deep Space Pro Basic Garden Shed I selected the 8 X 10 Arrow vinyl-coated Northfield metal shed (available at Home Depot). The main reason I selected this shed was that it seemed to be the one most commonly used by dozens of other amateurs and it is reasonably priced - $800 which includes tax, foundation frame and delivery to my house. There are Arrow sheds that go for less but they do not have the vinyl coating which means one needs to paint several coats in order to protect the shed from the elements.
A full 8 X 10 shed compactly packaged
Construction Before I go into the details of the construction phases I should point out a few things: 1. I am not an engineer - so careful planning was not top of mind. This meant a lot of on the spot measurements and numerous trips to Home Depot to buy screws, metal angles, aluminum tracks, lumber etc. A little better planning would have probably saved 30% of the time. In spite of the on-the-fly planning the total cost of materials bought to help convert the shed to a roll-off roof observatory were less than $450 in total. The project lasted 7 days with 85% of the work achieved within 4 days over 2 weekends. 2. You can't do it alone - the initial stages of setting up the foundation, shed walls and handling the roof all require a minimum of 2 people. This is an opportunity to again express my deepest gratitude to Ido Liron and Kevin Von Aspern for their kindness and hard work. Construction phases
• Foundation • Corners and Walls • Internal Wooden Frame and Rails • Roof Assembly & Conversion • Final Touches
Foundation We laid down a prefabricated steel foundation that came with the shed, but it seemed rather flimsy and unstable. So we decided to cover it with pea-size gravel and consulted with the pro-desk at Home Depot with regard to how many bags to use. They suggested five bags but they were a little off, 27 bags off! It took 32 bags which weighed 1,440 lbs

Building a Roll-Off Roof Observatory for under $1,400 : Chanan Greenberg Page 3
and pushed my wife's Honda Odyssey to its limits and then some.
Steel foundation
After covering the foundation, we laid down the treated plywood floor to measure where we should attach it to the foundation and also measure where the tripod legs will be.
Measuring the floor
The plan was to make 3 holes in the floor so that the tripod legs can stand on leveled bricks placed within the foundation to make sure that walking on the shed floor will in no way affect and pass on vibrations to the tripod.
Tripod legs on Floor
The stake located in the hole in the floor shows were the bricks should be placed
Once the measurements were done and the bricks were placed into their designated placed the entire foundation was covered with a nylon cover. I saw this idea on a couple of websites to prevent moisture seeping in. I was not sure if it was necessary but when I came the following morning the nylon below seem to be completely wet, on the side facing the ground - I was sold.
Foundation covered with nylon
Corners and Walls This task presented some interesting challenges. The shed walls are perhaps not paper thin but are not much more than that. Which means the slightest bit of wind and they bend. It was impossible to erect one wall and just leave it, all coroners and walls had to go up the same day to assure structural stability.

Building a Roll-Off Roof Observatory for under $1,400 : Chanan Greenberg Page 4
So the two recommendations are: never try this on a windy day and if you can use 3 people. Fortunately Ido and I were joined by Kevin who made it all possible and moved things along faster. Another piece of advice is use a drill for the screws. This shed and its various modifications required close to 1,000 screws, bolts and nuts - doing this manually would not be much fun. Internal Wooden Frame and Rails After completing the corners, walls and doors we built an internal wooden frame and rails. The internal wooden frame created the structure upon which the roll-off roof will rest. The rails, extending 20 ft out of the shed, will hold the roof as it is rolls off. The additional benefit of the internal wooden frame is that it was attached to the floor and walls adding significant stability to the whole structure. All construction used 4X4 wood for posts and 2X4 for all the rest.
Walls & Internal Wooden Frame and part of the rail extending out of the shed
Additionally we placed aluminum angles on the top of the rails to serve as guides for the roof's wheels. Roof Assembly & Conversion After constructing the roof main beams and frame we attached a 2X4 wooden frame to which we attached the wheels.
After attaching the wheels the remainder of the roof was completed and mounted on top of the rails.
Roof assembly with wheels
Roof almost complete
Final Touches While tropical storms do not frequent the south bay area, winds can get strong enough to blow off the roof. So turnbuckles where installed to keep the roof in place. Also, the roof on wheels on top of the internal frame was now elevated about 6 inches above the walls which offered little protection against rain. So a skirt of 1X8 wood was attached to the roof to offer complete protection.

Building a Roll-Off Roof Observatory for under $1,400 : Chanan Greenberg Page 5
Complete shed with the gap between the roof and the walls
Turnbuckles keep the roof in place
Final Structure with the skirt
Scope assembled in the observatory
A look from above
System on at night

Building a Roll-Off Roof Observatory for under $1,400 : Chanan Greenberg Page 6
Observatory Technical Setup After completing the system set-up I ran a PoleAlignMax test to verify polar alignment. Below is the polar plot. While the measurement still shows a 12 arc-minute error (that is 0.2 degrees) my Drift Alignment tests showed no drift after 10 minutes so I deemed the results as good enough.
Optical analysis of the scope collimation with CCD Inspector showed a 2.8 arc-second misalignment which is just slightly above what seeing conditions can cause anyway.
Last but not least, a dedicated laptop controls all the equipment. That laptop is on my wireless network and controlled via TeamView (VNC) so I can control the scope, cameras, focusers and guider all from the comfort of my living room. In fact it can be controlled from any place on the planet via the internet. And so with that, my work was done and the observatory is complete!

Building a Roll-Off Roof Observatory for under $1,400 : Chanan Greenberg Page 7