build-it day vacuum chamber construction - general...
TRANSCRIPT
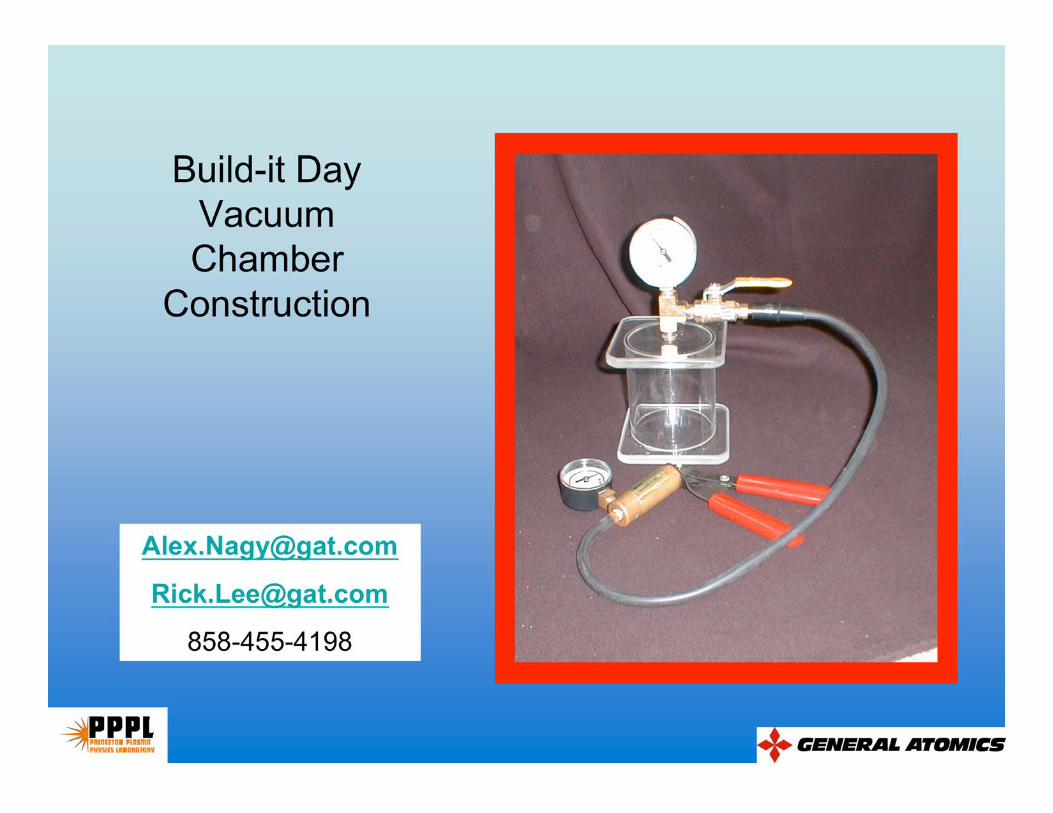

Building a vacuum chamber for you and
your students is a fun and straightforward
task.
You will have materials already cut for you and (almost)
ready to assemble. You will have plastic and brass parts,
and a hand pump of plastic, brass or steel.
You will finish surfaces for proper
sealing and fasten components using
glue or threaded pipe fittings.
Once completed, your vacuum
chamber can be used to illustrate
effects due to differential pressure.
Have fun.
What you will be doing ……
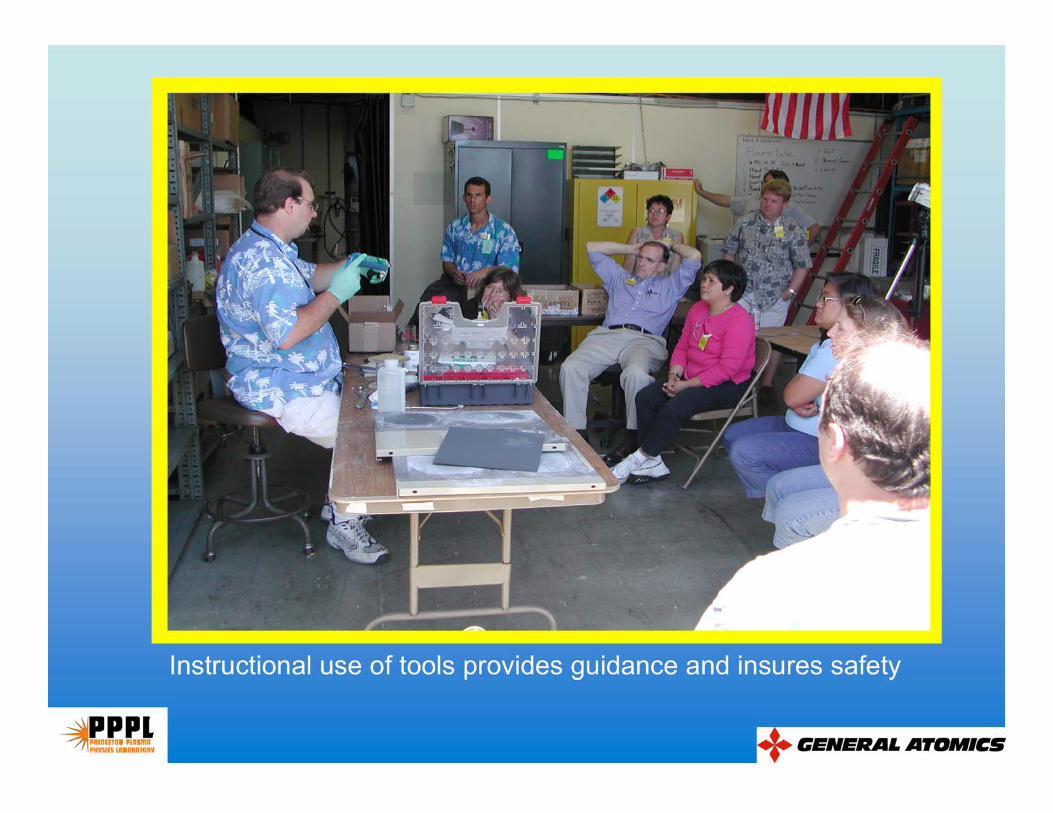
Instructional use of tools provides guidance and insures safety
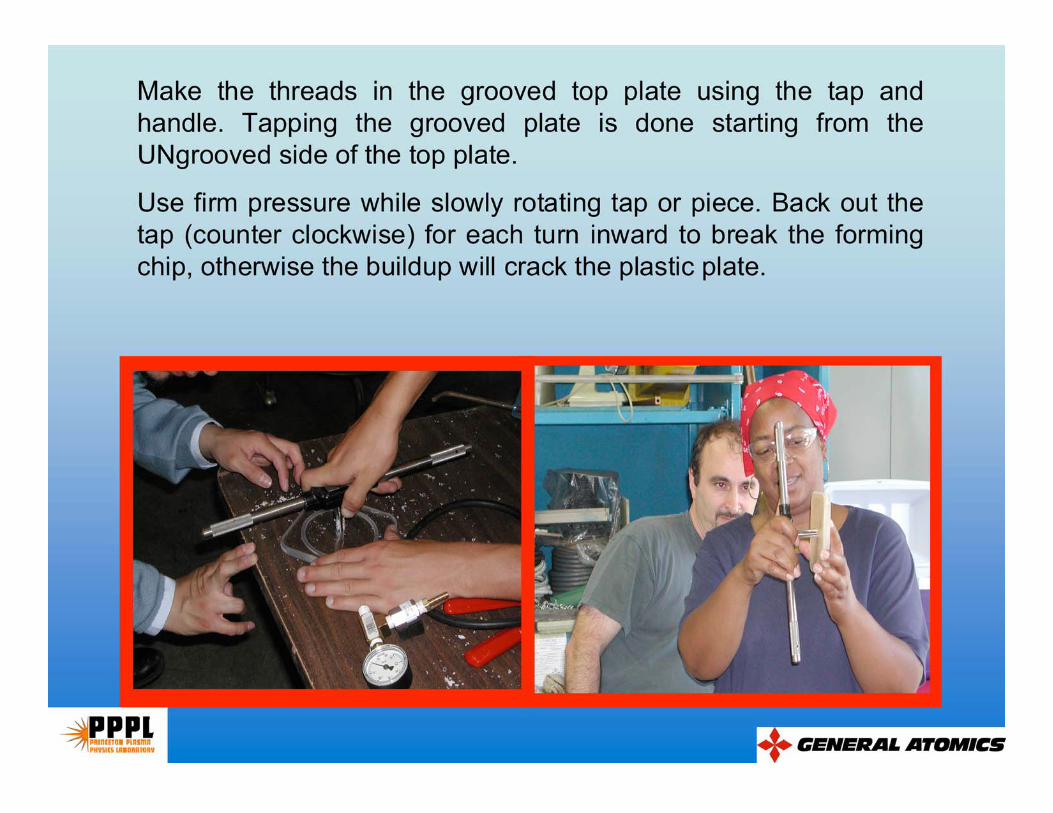
Make the threads in the grooved top plate using the tap and
handle. Tapping the grooved plate is done starting from the
UNgrooved side of the top plate.
Use firm pressure while slowly rotating tap or piece. Back out the
tap (counter clockwise) for each turn inward to break the forming
chip, otherwise the buildup will crack the plastic plate.
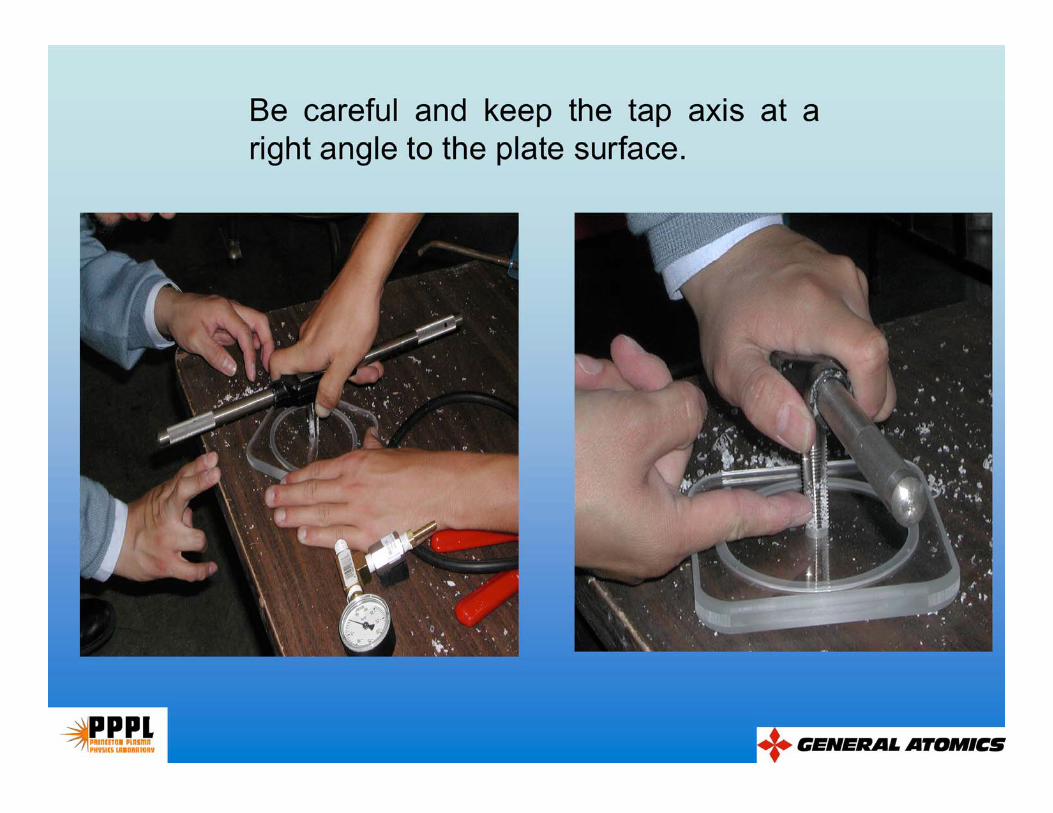
Be careful and keep the tap axis at a
right angle to the plate surface.

The edges of both ends of the cylinder must be smooth. Use
coarse, medium, then fine wet/dry silicon carbide paper fixed to a
flat surface and a circular motion of the cylinder to achieve a
scratch-free surface. There should be no scratches across the wall
surface, this would cause a leak. Using water on the silicon carbide
paper will speed the process.

The smoothed cylinder surface will be glued to the UNgrooved
acrylic plate. Remove the protective paper from one side of
the plate and center the cylinder on this side. Using a glue top
syringe place some acrylic glue #4 at the joint where the
cylinder and plate meet. The glue is thin and will seep into the
interface by capillary action. Do this in several locations
around the cylinder. Allow 15 minutes for the glue to set
adequately.
All of the threaded hardware must have a 3-4 layers of Teflon
tape added to ensure an airtight fit. Wrap the tape, clockwise
looking into the fitting end, so it does not come loose during
fitting assembly.

After the cylinder is
glued to the base and
the hardware is
connected in the top,
place an o-ring into the
groove and place the
top onto the cylinder.
Attach the hand pump,
evacuate, and leak
check. Be sure the
valve is in the open
position for this step.
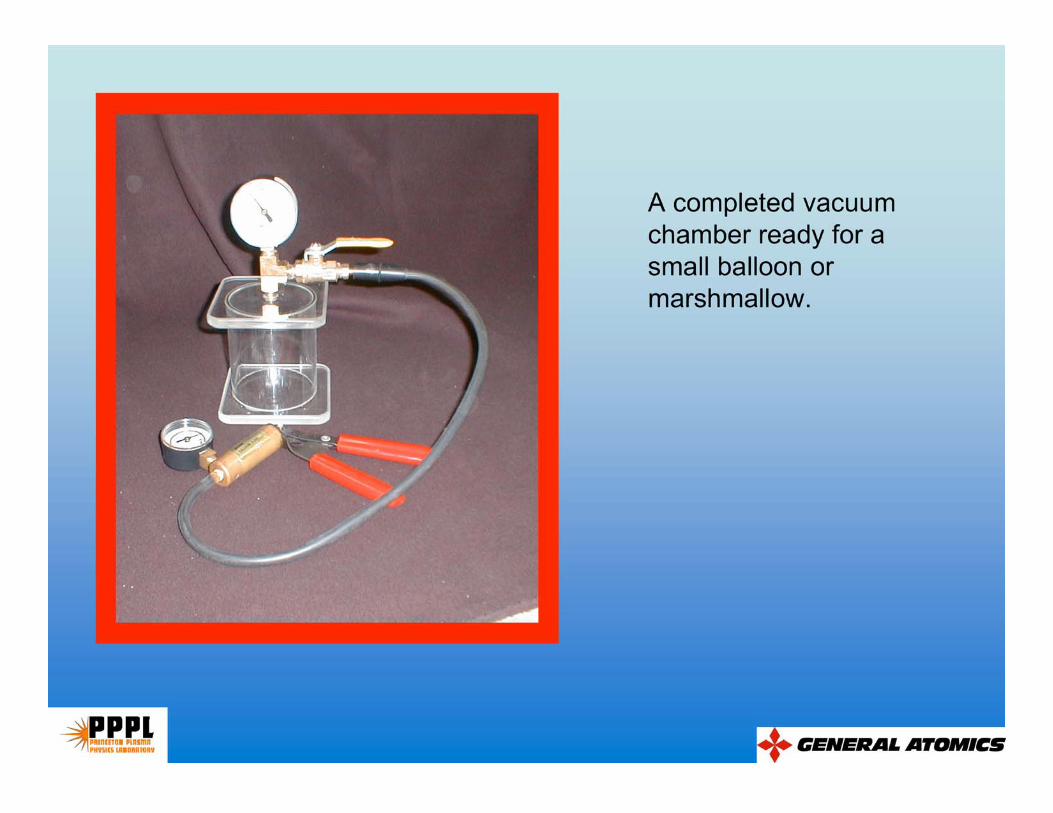
A completed vacuum
chamber ready for a
small balloon or
marshmallow.

A gaggle of chambers pumped down and holding steady.