bryony - dressing - sharon maggott's mini's
TRANSCRIPT
Bryony Dressing Instructions
- By Sharon Maggott
The inspiration for this doll is Susan’s going away gown from “The Chronicles of Narnia – Prince Caspian”. There is a detailed description of this dress at: http://costumes.narniaweb.com/caspiansusanfarewell.asp The doll I used has a beautiful dropped shoulder, which is shown off by the off-the-shoulder collar of her dress. I chose silk brocade in a sage green
colour with an old gold scrolling vine pattern for the overdress. (available from Doll Artists Workshop - www.minidolls.com under “Silks” – “Brocades”.
When I pulled some threads out at the edge, I could see turquoise weft threads. In my “stash”, I found a soft, double edged braid in an old gold colour. Unfortunately I can’t remember where this came from originally! I also used a cream coloured china silk for the strapless under dress.
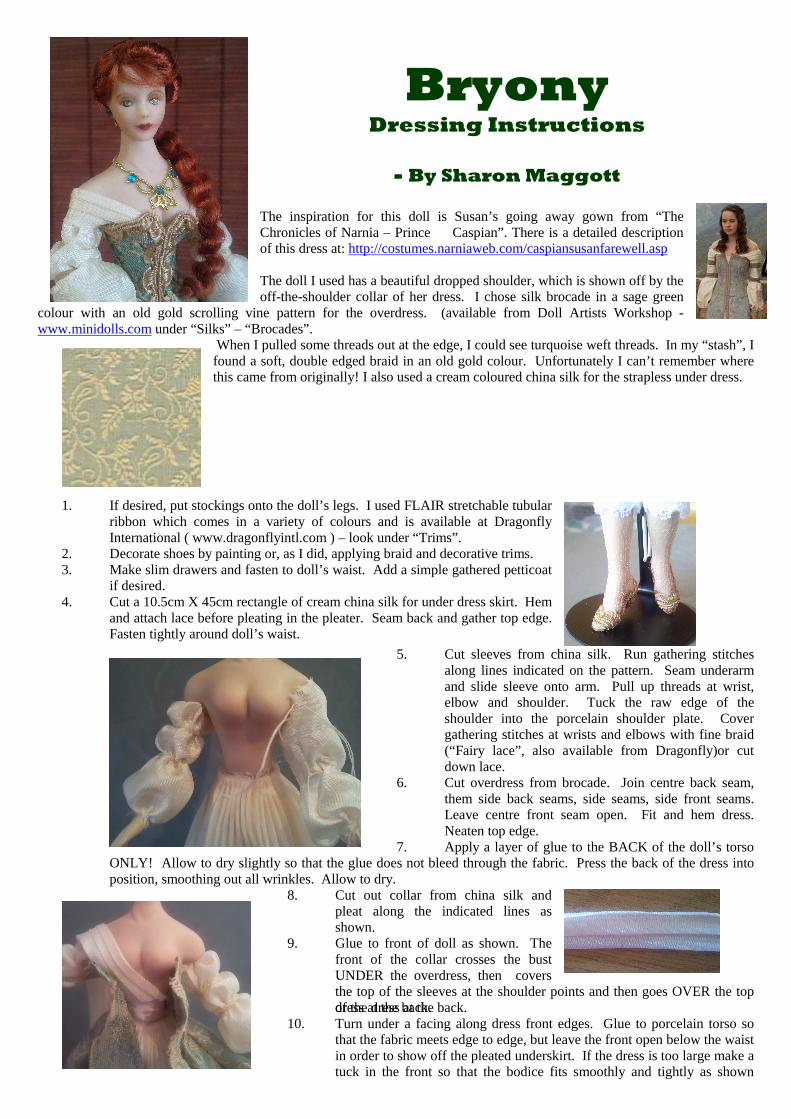
1. If desired, put stockings onto the doll’s legs. I used FLAIR stretchable tubular ribbon which comes in a variety of colours and is available at Dragonfly International ( www.dragonflyintl.com ) – look under “Trims”.
2. Decorate shoes by painting or, as I did, applying braid and decorative trims. 3. Make slim drawers and fasten to doll’s waist. Add a simple gathered petticoat
if desired. 4. Cut a 10.5cm X 45cm rectangle of cream china silk for under dress skirt. Hem
and attach lace before pleating in the pleater. Seam back and gather top edge. Fasten tightly around doll’s waist.
5. Cut sleeves from china silk. Run gathering stitches along lines indicated on the pattern. Seam underarm and slide sleeve onto arm. Pull up threads at wrist, elbow and shoulder. Tuck the raw edge of the shoulder into the porcelain shoulder plate. Cover gathering stitches at wrists and elbows with fine braid (“Fairy lace”, also available from Dragonfly)or cut down lace.
6. Cut overdress from brocade. Join centre back seam, them side back seams, side seams, side front seams. Leave centre front seam open. Fit and hem dress. Neaten top edge.
7. Apply a layer of glue to the BACK of the doll’s torso ONLY! Allow to dry slightly so that the glue does not bleed through the fabric. Press the back of the dress into position, smoothing out all wrinkles. Allow to dry.
8. Cut out collar from china silk and pleat along the indicated lines as shown.
9. Glue to front of doll as shown. The front of the collar crosses the bust UNDER the overdress, then covers the top of the sleeves at the shoulder points and then goes OVER the top of the dress at the back. dress at the back.
10. Turn under a facing along dress front edges. Glue to porcelain torso so that the fabric meets edge to edge, but leave the front open below the waist in order to show off the pleated underskirt. If the dress is too large make a tuck in the front so that the bodice fits smoothly and tightly as shown
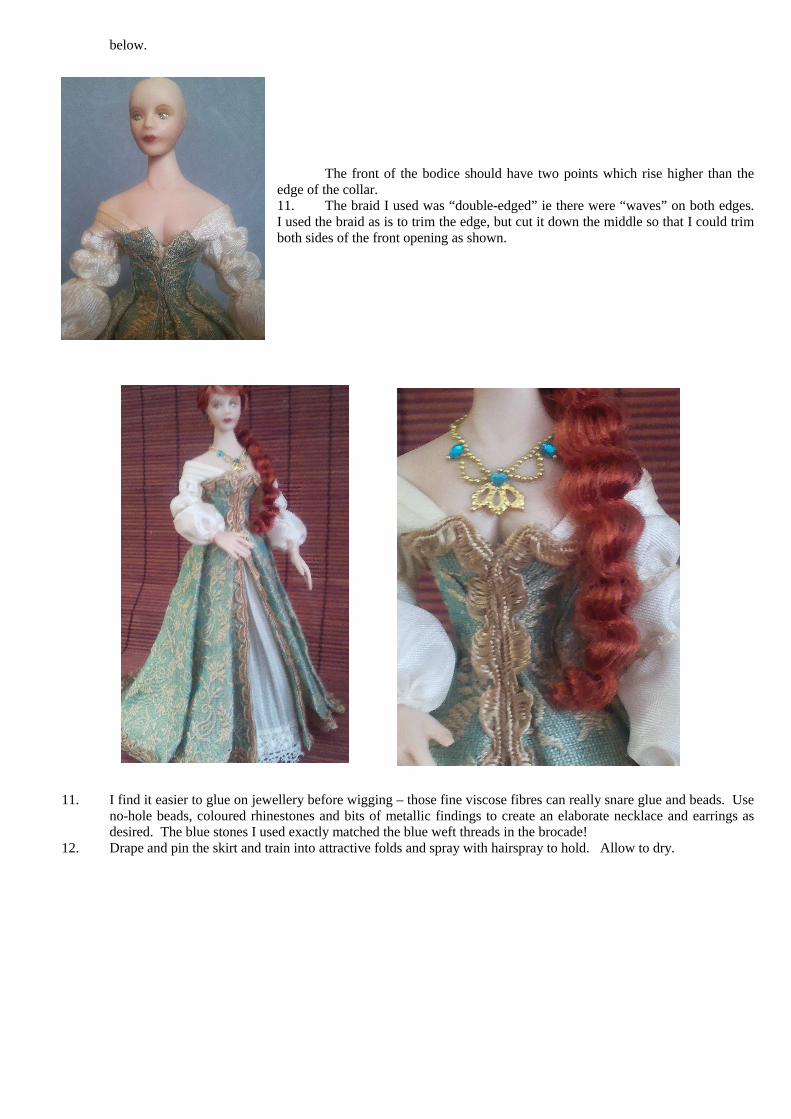
below.
The front of the bodice should have two points which rise higher than the edge of the collar. 11. The braid I used was “double-edged” ie there were “waves” on both edges. I used the braid as is to trim the edge, but cut it down the middle so that I could trim both sides of the front opening as shown.
11. I find it easier to glue on jewellery before wigging – those fine viscose fibres can really snare glue and beads. Use no-hole beads, coloured rhinestones and bits of metallic findings to create an elaborate necklace and earrings as desired. The blue stones I used exactly matched the blue weft threads in the brocade!
12. Drape and pin the skirt and train into attractive folds and spray with hairspray to hold. Allow to dry.
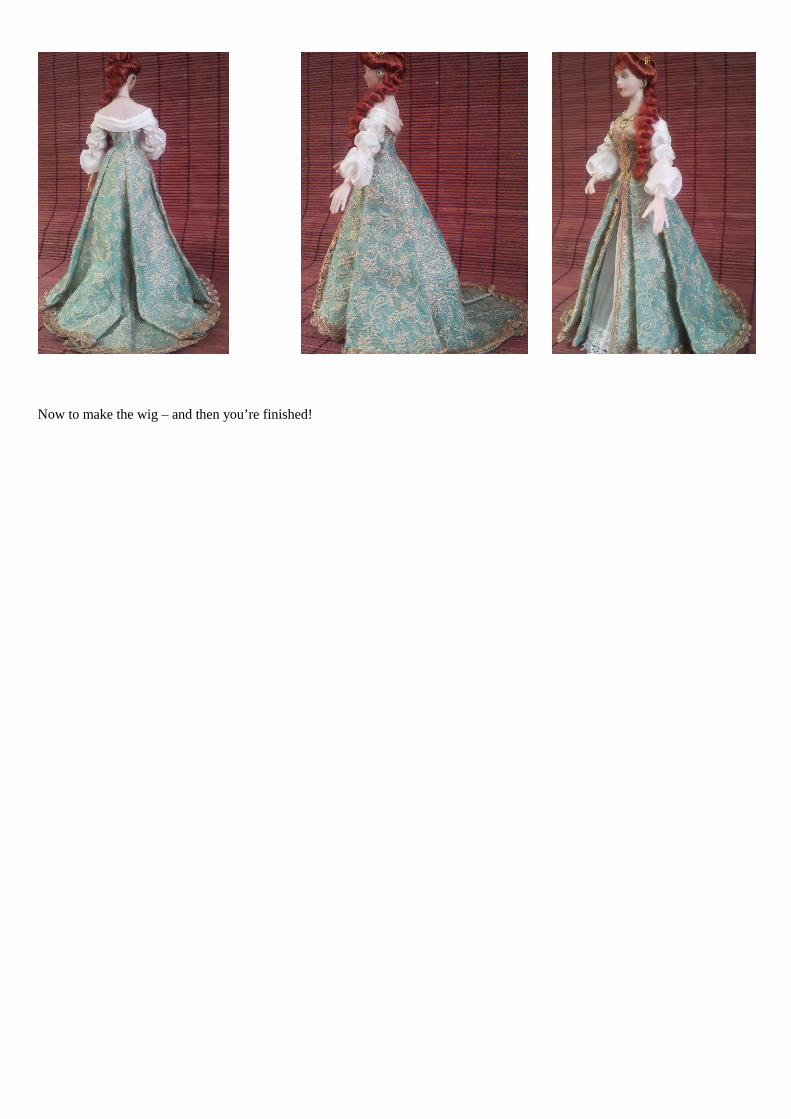
Now to make the wig – and then you’re finished!