bidbuy vendor manual | page public and vendor menu options register allows the public to register as...
TRANSCRIPT

1 | P a g e
State of Illinois How to Register in BidBuy: Vendor Registration Manual

2 | P a g e
Table of Contents Understanding Login Page ........................................................ 3
STEP #1 – BEGIN YOUR REGISTRATION (NON-IPG USERS) ......................... 5
STEP #2 – COMPANY INFORMATION ............................................... 6
Enter Company Information .......................................................................................... 6
STEP #3 – ENTER ADMINISTRATOR INFORMATION .................................. 6
STEP #4 – ADD & UPDATE ADDRESSES ............................................ 7
STEP #5 – COMPLETE TERMS ..................................................... 9
STEP #6 – SELECT CATEGORIES & CERTIFICATIONS ................................ 9
STEP #7 – SELECT COMMODITY/SERVICE CODES ................................. 15
STEP #8 – COMPLETE REGISTRATION ............................................ 16
STEP #9 – LOG OUT ............................................................ 19
To watch the video with this Guide, go to:
http://www.illinois.gov/cpo/PathwayToProcurement/Pages/BidBuy.aspx
Click on “How to Register in BidBuy”

3 | P a g e
Understanding Login Page The Login page provides instruction on how to use BidBuy. The web address to access BidBuy is https://www.bidbuy.illinois.gov/bso/
User Guides
Login
Information

4 | P a g e
Public and Vendor Menu Options
Register Allows the public to register as a vendor for the State of Illinois
Complete Registration Allows user to complete vendor registration, if not fully
completed initially
User ID Request State Use Only: Allows State users to add internal users
Open Bids Allows the public to view all open bids for the State of Illinois
Registered Vendor Search
Allows the public to search for specific vendors who are
registered with the State of Illinois
User Options
Login after Registration

5 | P a g e
Step #1 – Begin Your Registration (non-IPG users) Go to BidBuy at https://www.bidbuy.illinois.gov/bso/ 1. Click Register 2. Enter information by clicking in the field box 3. Click Submit 4.
Information As you go through this guide, look for green tip boxes
All fields with an asterisk * are mandatory fields
For descriptions of text fields, click
Look for the green circles which correspond to the number instructions
An application need not be completed at one time. You can log in later
to complete it without losing your entries.

6 | P a g e
If you select to be an emergency supplier for the State, complete emergency information
Step #2 – Company Information BidBuy enables the public to register with the State of Illinois as a vendor. As a vendor you can bid on potential purchasing opportunities from green beans and paper to the development of highway infrastructures.
Enter Company Information Company information relates to main information for the vendor.
Click Company Information tab, if you are not already on this tab. 1. Enter information by clicking in the field box 2. Click Save & Continue Registration 3.
Step #3 – Enter Administrator Information The Administrator tab identifies the Seller Administrator. The Seller Administrator role focuses on vendor account maintenance in BidBuy. Using the maintenance function, they can maintain organization information along with maintaining, adding and removing users on their vendor account.

7 | P a g e
Click Administrator tab, if you are not already on this tab. 1. Enter information by clicking in the field box 2. Use your email address for the Login ID 3. Click Save & Continue Registration 4.
Step #4 – Add & Update Addresses The Address tab allows for updating addresses and adding new addresses. You can specify the type of
each address for easy identification.
Click Address tab, if you are not already on this tab. 1. To add a new address, click Add Another Address 2.

8 | P a g e
Select Address Type from the drop‐down 3. Enter information into the fields by clicking in the field box 4. Click Save & Continue Registration 5.
To update a current address, click Name of address 6.
Enter information into the fields by clicking in the field box as shown in steps 3 & 4 above, then 7.click Save & Exit

9 | P a g e
Step #5 – Complete Terms Terms tab allows the vendor to add, update and remove shipping and delivery terms for purchases with the State. Remember, the Purchase Order or Contract will always supersede these selections.
Click Terms tab 1. User drop‐downs to select Terms 2. Click Save & Continue Registration 3.
Step #6 – Select Categories & Certifications Categories & Certifications are used to identify business criteria – such as a minority owned businesses, as well as provide a description of vendors – like the number of employees. These criteria are then searchable. Some questions are optional, some are required, and some are auto‐filled, when applicable.
Click Categories & Certifications tab 1.
Complete each Category question. The State auto‐populates certification information.

10 | P a g e
Category: Federal Tax Classification
Select Federal Tax Classification 1. Enter Notes if necessary 2.
Category: Ethnic Origin
Select Ethnic Origin 1. Enter Notes if necessary 2.
C

11 | P a g e
Category: Gender
Select Gender 1. Enter Notes if necessary 2.
Category: Veteran Status
Select Veteran Status 1. Enter Notes if necessary 2.

12 | P a g e
Category: Type of Firm
Select Type of Firm 1. Enter Notes if necessary 2.
Category: Annual Gross Sales
Select Annual Gross Sales 1. Enter Notes if necessary 2.

13 | P a g e
Category: Number of Employees
Select Number of Employees 1. Enter Notes if necessary 2.
Category: BEP Certified
BEP Certified is automatically populate depending on your BEP status with the State.
Category: Veteran Owned Business
Veteran Owned Business is automatically populate depending on your Veteran status with the State.
Category: State Use Vendor
14 | P a g e
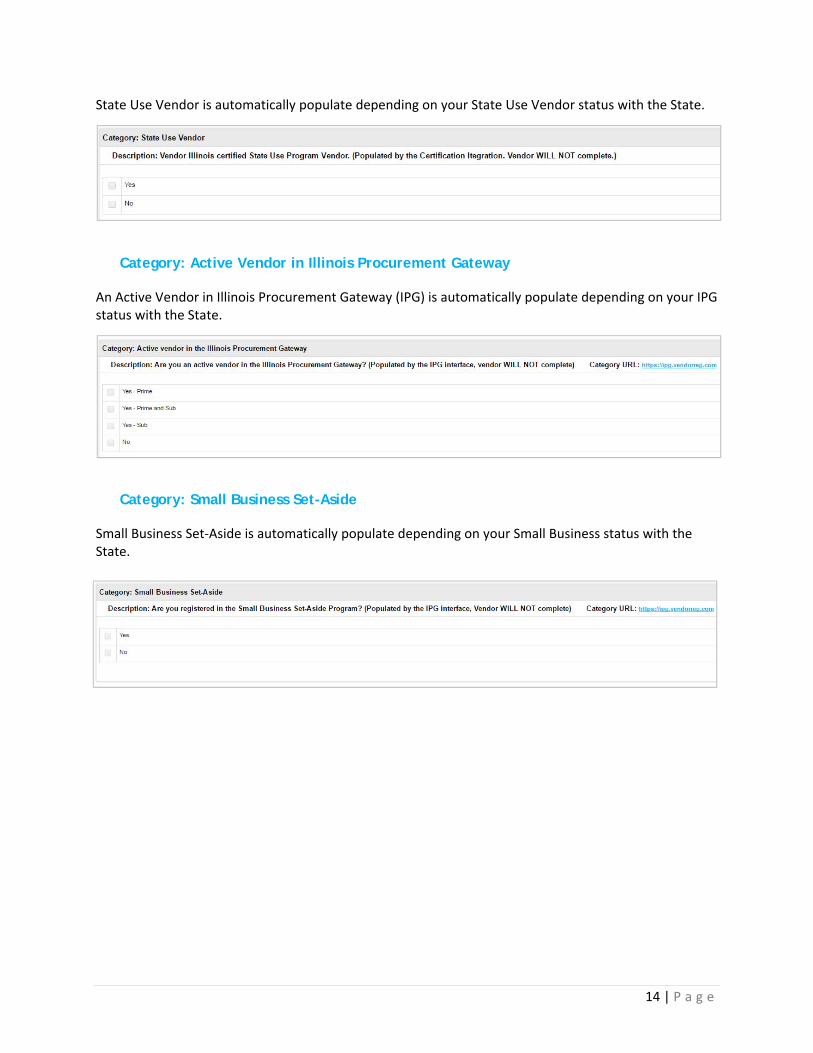
State Use Vendor is automatically populate depending on your State Use Vendor status with the State.
Category: Active Vendor in Illinois Procurement Gateway
An Active Vendor in Illinois Procurement Gateway (IPG) is automatically populate depending on your IPG status with the State.
Category: Small Business Set-Aside
Small Business Set‐Aside is automatically populate depending on your Small Business status with the State.

15 | P a g e
Category: Information Certification
Select Information Certification 1. Enter Notes if necessary 2.
When complete, click Save & Continue to complete registration 3.
Step #7 – Select Commodity/Service Codes BidBuy supports the National Institute of Governmental Purchasing (NIGP) code as the baseline commodity coding structure. NIGP Codes are used by the State to identify Offerors and Bidders to solicit the goods or services to be procured.
Click Commodity/Service Codes tab, if you are not already on this tab. 1. To add codes, select from the NIGP Class and NIGP Class Item drop‐downs. You can also 2.search by entering a Keyword
Click Search 3.

16 | P a g e
Select the applicable codes by clicking on the box to the left 4. Click Save and Add More or Save and Continue Registration 5.
Step #8 – Complete Registration
1. If you exited before completing registration, enter https://bidbuy.illinois.gov/bso/ into your
browser
2. Click Complete Registration from Login Page
3. From the initial registration email, enter the Vendor # and Email Address

17 | P a g e
Using the final Summary tab you can review the options selected and complete your registration. When complete, you will get an email verifying your registration.
Click Summary tab 1. Any items required to complete your registration will be highlighted in red at top of the page. 2.Return to the tab identified in the alert to correct the error.
Once all required responses are made, review the information on the Summary tab. Revisions 3.can be made by revisiting that tab.

18 | P a g e
When your review is complete and the information is accurate, click Continue Registration at 4.the bottom of the page
Click OK and your registration is complete 5.
Congratulations, you have completed your registration in BidBuy! You will receive an email confirming
your completed registration.
You are now registered in BidBuy. For more information about Seller Administrator functions, please review the Seller
Administrator Manual.

19 | P a g e
Step #9 – Log Out Once you have completed all update, exit BidBuy. Also, BidBuy automatically logs users off of the system after 15 minutes of inactivity.
1. Click Log Out Icon

20 | P a g e
211 East 7th Street Suite 1100
Austin, TX 78701