better sugar beans -...
TRANSCRIPT

1
For farmers in Zimbabwe
through good agricultural practices
Better sugar beans

2
3
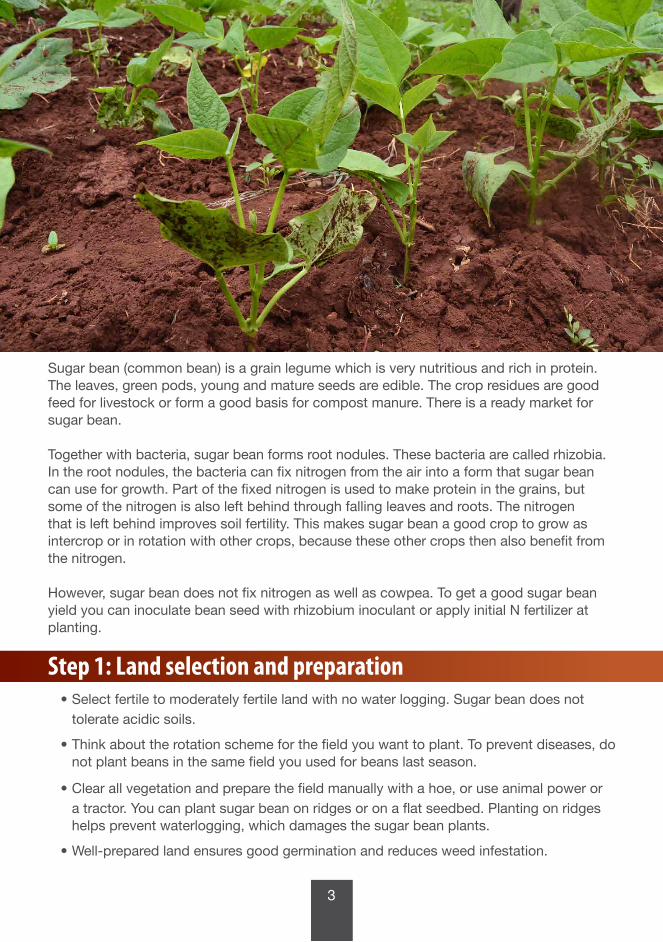
Sugar bean (common bean) is a grain legume which is very nutritious and rich in protein. The leaves, green pods, young and mature seeds are edible. The crop residues are good feed for livestock or form a good basis for compost manure. There is a ready market for sugar bean.
Together with bacteria, sugar bean forms root nodules. These bacteria are called rhizobia. In the root nodules, the bacteria can fix nitrogen from the air into a form that sugar bean can use for growth. Part of the fixed nitrogen is used to make protein in the grains, but some of the nitrogen is also left behind through falling leaves and roots. The nitrogen that is left behind improves soil fertility. This makes sugar bean a good crop to grow as intercrop or in rotation with other crops, because these other crops then also benefit from the nitrogen.
However, sugar bean does not fix nitrogen as well as cowpea. To get a good sugar bean yield you can inoculate bean seed with rhizobium inoculant or apply initial N fertilizer at planting.
Step 1: Land selection and preparation• Select fertile to moderately fertile land with no water logging. Sugar bean does not
tolerate acidic soils.
• Think about the rotation scheme for the field you want to plant. To prevent diseases, do not plant beans in the same field you used for beans last season.
• Clear all vegetation and prepare the field manually with a hoe, or use animal power or a tractor. You can plant sugar bean on ridges or on a flat seedbed. Planting on ridges helps prevent waterlogging, which damages the sugar bean plants.
• Well-prepared land ensures good germination and reduces weed infestation.
4
Step 2: Variety and seed selection
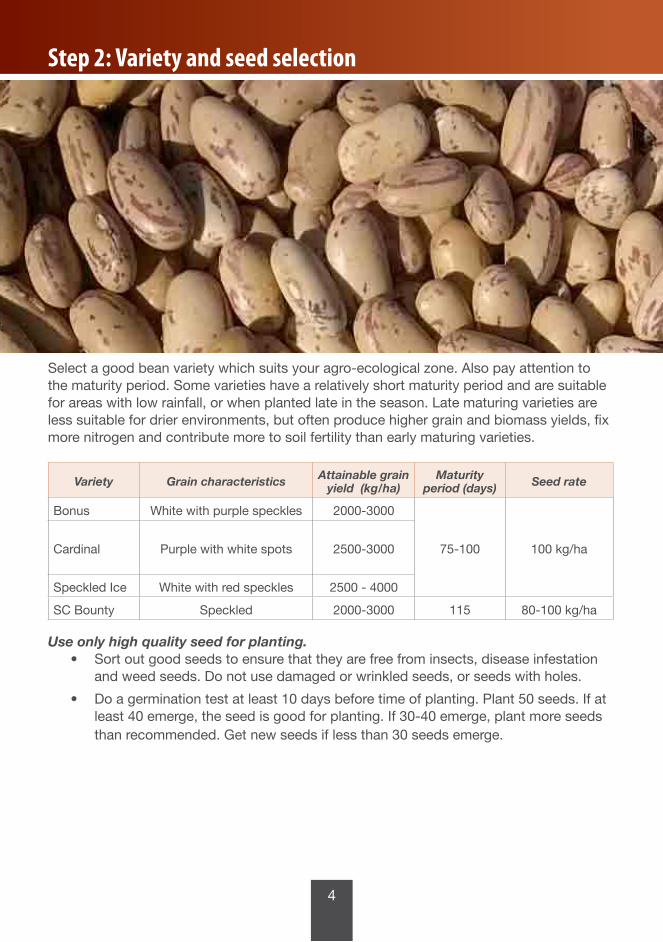
Select a good bean variety which suits your agro-ecological zone. Also pay attention to the maturity period. Some varieties have a relatively short maturity period and are suitable for areas with low rainfall, or when planted late in the season. Late maturing varieties are less suitable for drier environments, but often produce higher grain and biomass yields, fix more nitrogen and contribute more to soil fertility than early maturing varieties.
Variety Grain characteristics Attainable grain yield (kg/ha)
Maturityperiod (days) Seed rate
Bonus White with purple speckles 2000-3000
75-100 100 kg/haCardinal Purple with white spots 2500-3000
Speckled Ice White with red speckles 2500 - 4000
SC Bounty Speckled 2000-3000 115 80-100 kg/ha
Use only high quality seed for planting. • Sort out good seeds to ensure that they are free from insects, disease infestation
and weed seeds. Do not use damaged or wrinkled seeds, or seeds with holes.
• Do a germination test at least 10 days before time of planting. Plant 50 seeds. If at least 40 emerge, the seed is good for planting. If 30-40 emerge, plant more seeds than recommended. Get new seeds if less than 30 seeds emerge.
5
Step 3: Inoculation
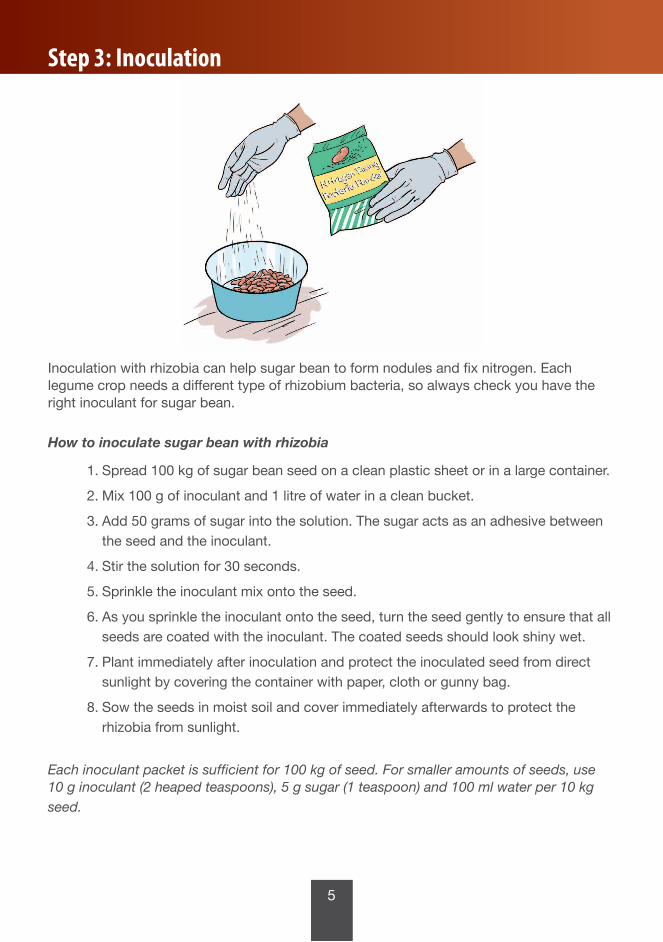
Inoculation with rhizobia can help sugar bean to form nodules and fix nitrogen. Each legume crop needs a different type of rhizobium bacteria, so always check you have the right inoculant for sugar bean.
How to inoculate sugar bean with rhizobia
1. Spread 100 kg of sugar bean seed on a clean plastic sheet or in a large container.
2. Mix 100 g of inoculant and 1 litre of water in a clean bucket.
3. Add 50 grams of sugar into the solution. The sugar acts as an adhesive between the seed and the inoculant.
4. Stir the solution for 30 seconds.
5. Sprinkle the inoculant mix onto the seed.
6. As you sprinkle the inoculant onto the seed, turn the seed gently to ensure that all seeds are coated with the inoculant. The coated seeds should look shiny wet.
7. Plant immediately after inoculation and protect the inoculated seed from direct sunlight by covering the container with paper, cloth or gunny bag.
8. Sow the seeds in moist soil and cover immediately afterwards to protect the rhizobia from sunlight.
Each inoculant packet is sufficient for 100 kg of seed. For smaller amounts of seeds, use 10 g inoculant (2 heaped teaspoons), 5 g sugar (1 teaspoon) and 100 ml water per 10 kg seed.
6
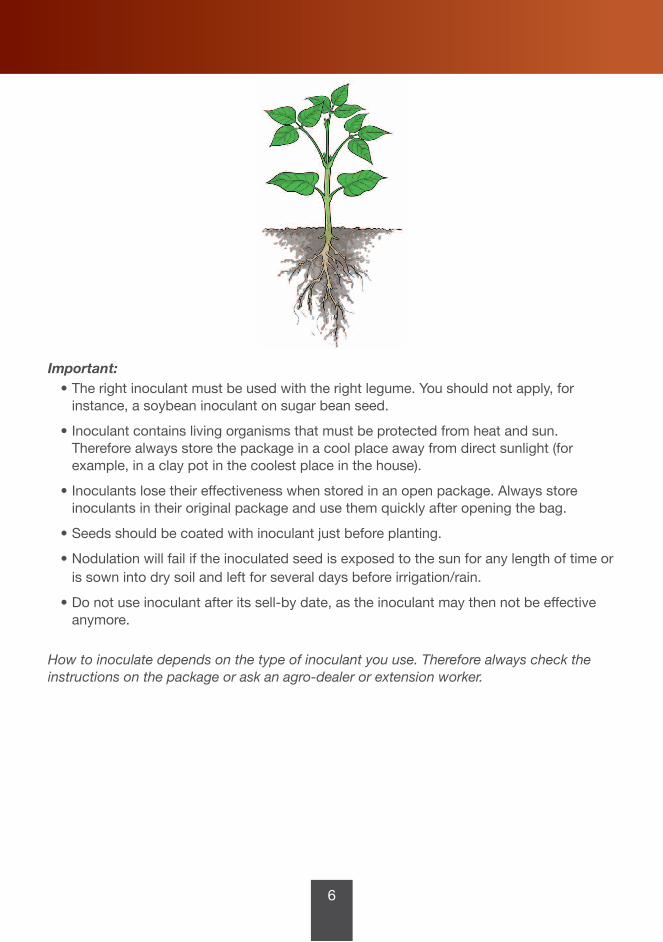
Important: • The right inoculant must be used with the right legume. You should not apply, for
instance, a soybean inoculant on sugar bean seed.
• Inoculant contains living organisms that must be protected from heat and sun. Therefore always store the package in a cool place away from direct sunlight (for example, in a clay pot in the coolest place in the house).
• Inoculants lose their effectiveness when stored in an open package. Always store inoculants in their original package and use them quickly after opening the bag.
• Seeds should be coated with inoculant just before planting.
• Nodulation will fail if the inoculated seed is exposed to the sun for any length of time or is sown into dry soil and left for several days before irrigation/rain.
• Do not use inoculant after its sell-by date, as the inoculant may then not be effective anymore.
How to inoculate depends on the type of inoculant you use. Therefore always check the instructions on the package or ask an agro-dealer or extension worker.
7
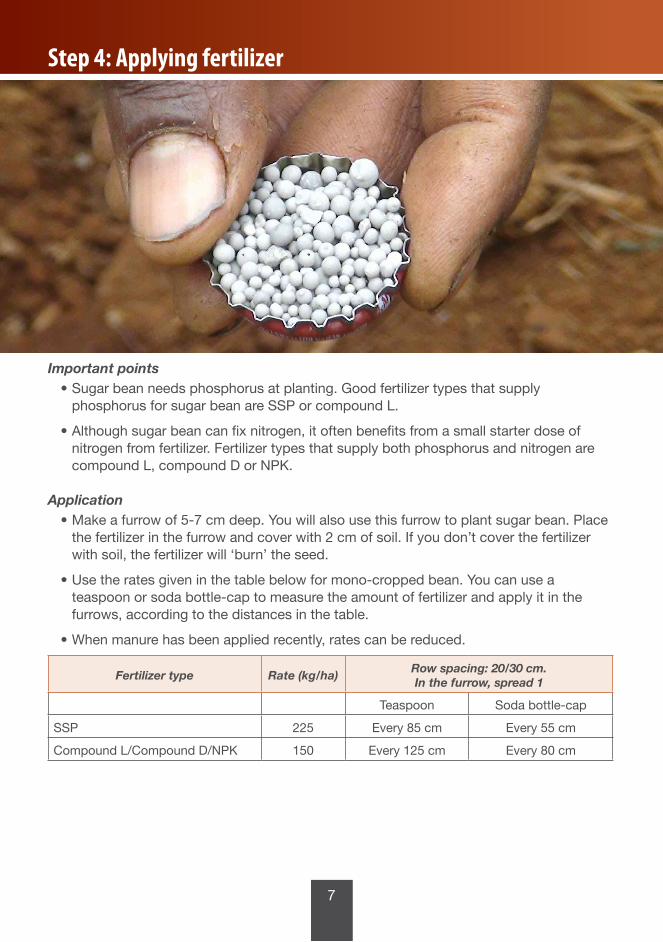
Step 4: Applying fertilizer
Important points• Sugar bean needs phosphorus at planting. Good fertilizer types that supply
phosphorus for sugar bean are SSP or compound L.
• Although sugar bean can fix nitrogen, it often benefits from a small starter dose of nitrogen from fertilizer. Fertilizer types that supply both phosphorus and nitrogen are compound L, compound D or NPK.
Application• Make a furrow of 5-7 cm deep. You will also use this furrow to plant sugar bean. Place
the fertilizer in the furrow and cover with 2 cm of soil. If you don’t cover the fertilizer with soil, the fertilizer will ‘burn’ the seed.
• Use the rates given in the table below for mono-cropped bean. You can use a teaspoon or soda bottle-cap to measure the amount of fertilizer and apply it in the furrows, according to the distances in the table.
• When manure has been applied recently, rates can be reduced.
Fertilizer type Rate (kg/ha)Row spacing: 20/30 cm.In the furrow, spread 1
Teaspoon Soda bottle-cap
SSP 225 Every 85 cm Every 55 cm
Compound L/Compound D/NPK 150 Every 125 cm Every 80 cm
8
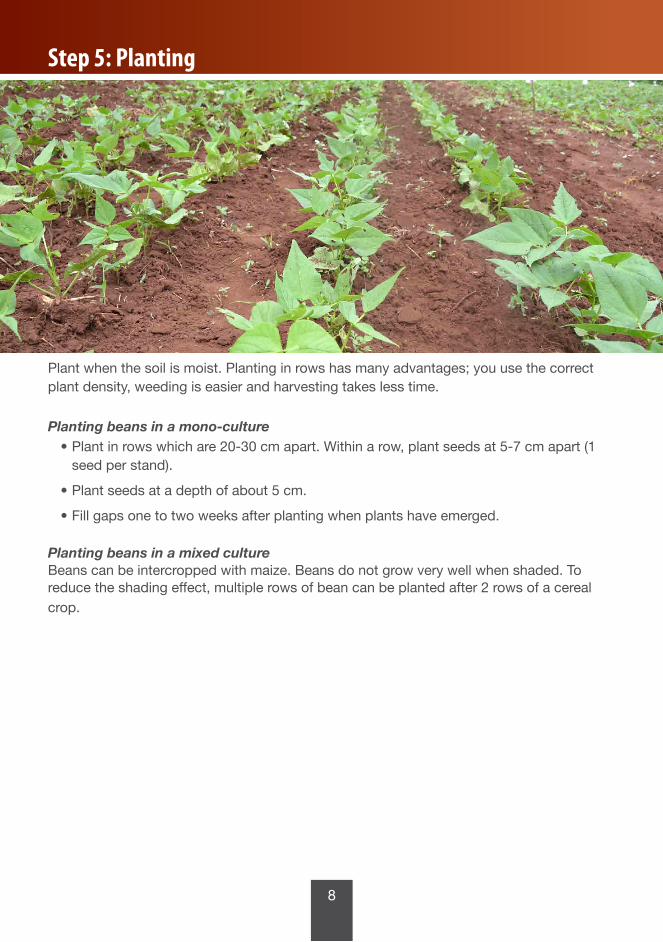
Step 5: Planting
Plant when the soil is moist. Planting in rows has many advantages; you use the correct plant density, weeding is easier and harvesting takes less time.
Planting beans in a mono-culture• Plant in rows which are 20-30 cm apart. Within a row, plant seeds at 5-7 cm apart (1
seed per stand).
• Plant seeds at a depth of about 5 cm.
• Fill gaps one to two weeks after planting when plants have emerged.
Planting beans in a mixed cultureBeans can be intercropped with maize. Beans do not grow very well when shaded. To reduce the shading effect, multiple rows of bean can be planted after 2 rows of a cereal crop.
9
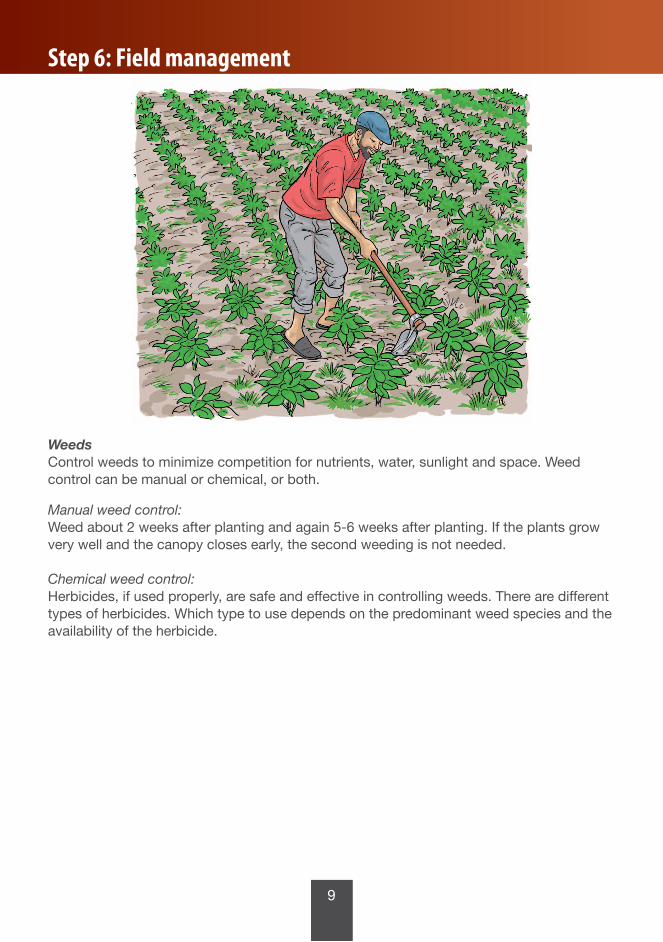
Step 6: Field management
WeedsControl weeds to minimize competition for nutrients, water, sunlight and space. Weed control can be manual or chemical, or both.
Manual weed control: Weed about 2 weeks after planting and again 5-6 weeks after planting. If the plants grow very well and the canopy closes early, the second weeding is not needed.
Chemical weed control: Herbicides, if used properly, are safe and effective in controlling weeds. There are different types of herbicides. Which type to use depends on the predominant weed species and the availability of the herbicide.
10
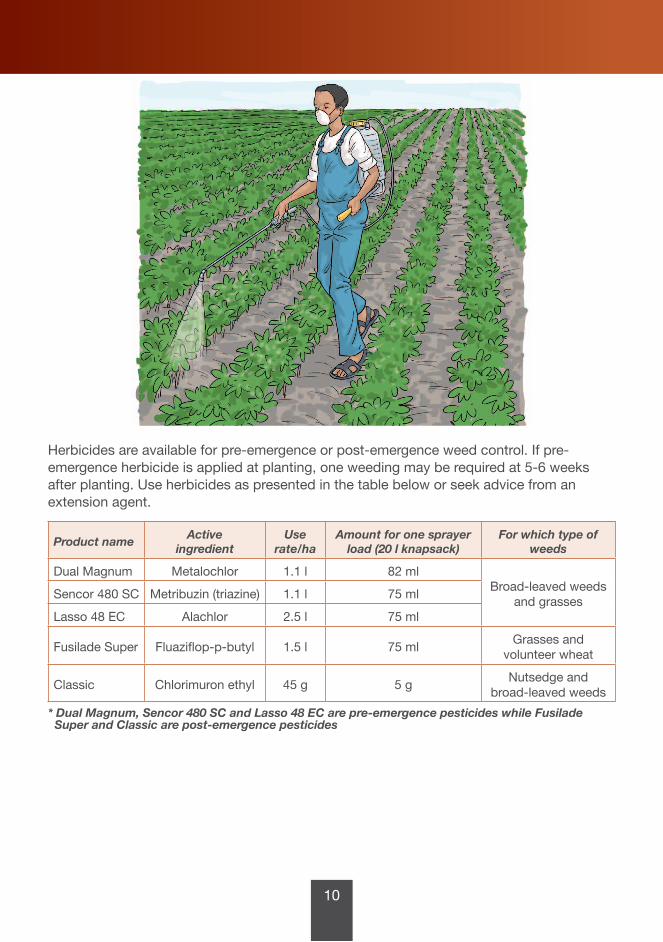
Herbicides are available for pre-emergence or post-emergence weed control. If pre-emergence herbicide is applied at planting, one weeding may be required at 5-6 weeks after planting. Use herbicides as presented in the table below or seek advice from an extension agent.
Product nameActive
ingredientUse
rate/haAmount for one sprayer
load (20 l knapsack)For which type of
weeds
Dual Magnum Metalochlor 1.1 l 82 mlBroad-leaved weeds
and grassesSencor 480 SC Metribuzin (triazine) 1.1 l 75 ml
Lasso 48 EC Alachlor 2.5 l 75 ml
Fusilade Super Fluaziflop-p-butyl 1.5 l 75 mlGrasses and
volunteer wheat
Classic Chlorimuron ethyl 45 g 5 gNutsedge and
broad-leaved weeds
* Dual Magnum, Sencor 480 SC and Lasso 48 EC are pre-emergence pesticides while Fusilade Super and Classic are post-emergence pesticides
11
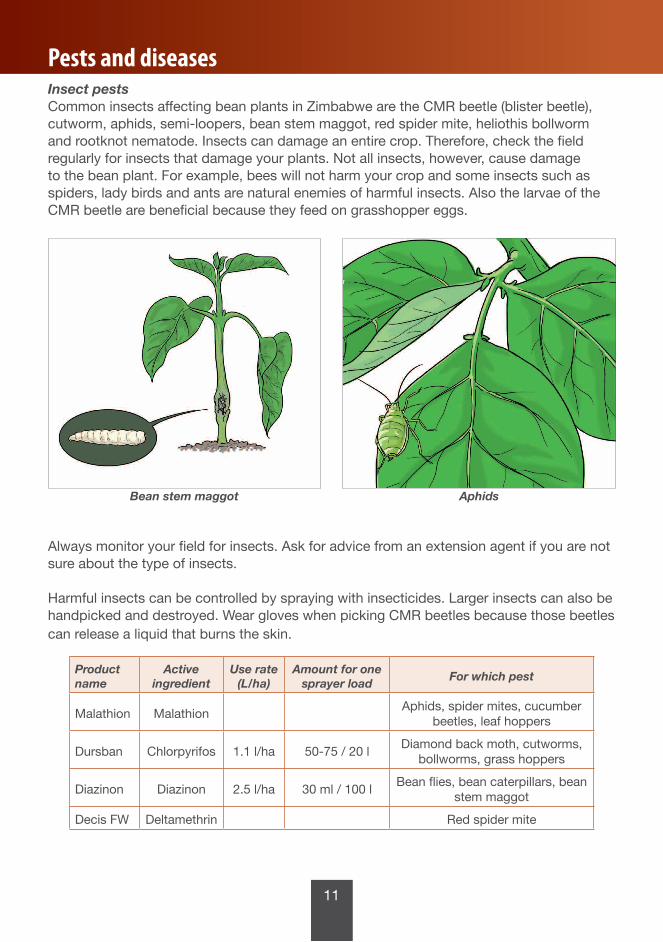
Pests and diseasesInsect pestsCommon insects affecting bean plants in Zimbabwe are the CMR beetle (blister beetle), cutworm, aphids, semi-loopers, bean stem maggot, red spider mite, heliothis bollworm and rootknot nematode. Insects can damage an entire crop. Therefore, check the field regularly for insects that damage your plants. Not all insects, however, cause damage to the bean plant. For example, bees will not harm your crop and some insects such as spiders, lady birds and ants are natural enemies of harmful insects. Also the larvae of the CMR beetle are beneficial because they feed on grasshopper eggs.
AphidsBean stem maggot
Always monitor your field for insects. Ask for advice from an extension agent if you are not sure about the type of insects.
Harmful insects can be controlled by spraying with insecticides. Larger insects can also be handpicked and destroyed. Wear gloves when picking CMR beetles because those beetles can release a liquid that burns the skin.
Product name
Activeingredient
Use rate (L/ha)
Amount for one sprayer load
For which pest
Malathion MalathionAphids, spider mites, cucumber
beetles, leaf hoppers
Dursban Chlorpyrifos 1.1 l/ha 50-75 / 20 lDiamond back moth, cutworms,
bollworms, grass hoppers
Diazinon Diazinon 2.5 l/ha 30 ml / 100 lBean flies, bean caterpillars, bean
stem maggot
Decis FW Deltamethrin Red spider mite

12
DiseasesAnthracnose is a fungal disease where dark red to black lesions develop on the whole plant, including the pods. On stems and pods, lesions are sunken. In moist weather the centres of lesions can become covered with pink spores. Do not work in the field when plants are wet.
Angular leaf spot is a fungal disease which is usually observed at flowering. Primary leaves have round lesions and are usually larger than the lesions on trifoliolate leaves. Lesions are first grey, and then become dark brown in colour. The spots may increase in size and join together.
Rhizoctonia root rot is a fungal disease that can cause seedling death, root and stem rot, stem cankers, and pod rot. Initial symptoms include linear or circular reddish/brown sunken lesions. With age, the lesions increase in size and encircle the stems, retarding normal plant growth.
Anthracnose
Angular leaf spot
Rhizoctonia root rot
13
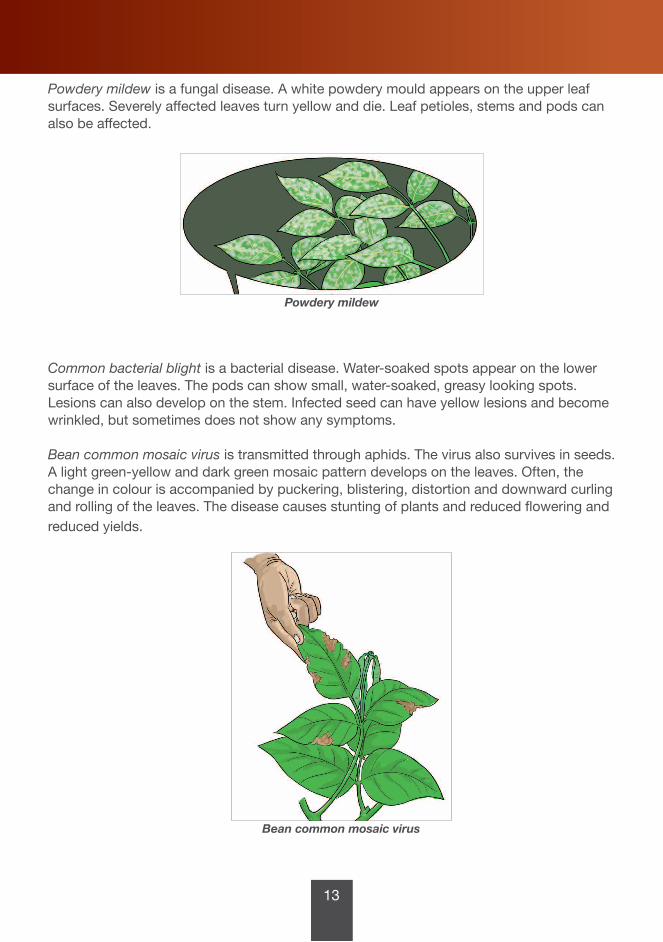
Powdery mildew is a fungal disease. A white powdery mould appears on the upper leaf surfaces. Severely affected leaves turn yellow and die. Leaf petioles, stems and pods can also be affected.
Powdery mildew
Common bacterial blight is a bacterial disease. Water-soaked spots appear on the lower surface of the leaves. The pods can show small, water-soaked, greasy looking spots. Lesions can also develop on the stem. Infected seed can have yellow lesions and become wrinkled, but sometimes does not show any symptoms.
Bean common mosaic virus is transmitted through aphids. The virus also survives in seeds. A light green-yellow and dark green mosaic pattern develops on the leaves. Often, the change in colour is accompanied by puckering, blistering, distortion and downward curling and rolling of the leaves. The disease causes stunting of plants and reduced flowering and reduced yields.
Bean common mosaic virus
14
Controlling diseases• Fungal and bacterial diseases survive in seed or in plant residues. The use of clean
seed, crop rotation and proper weeding helps to control the diseases. Do not use seed from diseased plants because these seeds are also infected.
• Fungal diseases can also survive in the soil. Shallow sowing, deep ploughing, use of raised beds, and rotation can help prevent this disease spreading through infected soil.
• When fungal diseases are common, seed can be treated with fungicides before planting (e.g. Quintozene).
• The bean common mosaic virus can be controlled by controlling the aphids which spread the disease and by using clean seed.
Safe use of chemicals• Use only herbicides, pesticides and fungicides that are recommended to sugar bean to
avoid damage to the plant.
• Chemicals can be toxic, so always follow instructions on the product package or from the agro-dealer for safe use. Also follow the instructions about the time needed between spraying and safe consumption of fresh pods.
• Wear protective clothing when this is recommended.
• Do not store chemicals in the same place as food.
• Do not eat from the same spoon you used to measure chemicals.
Step 7: Harvesting1. Start harvesting when the leaves and pods are dry and yellow-brown.
2. Harvest by handpicking dry pods or by cutting the plants at ground level using a sickle. Leave the roots on farm to improve soil fertility.
3. Dry the pods or the plants with pods in the sun on a clean surface like a mat, plastic sheet or tarpaulin, or on a raised platform. Dry for about one day. Do not dry the pods on the soil.
4. Thresh the pods or plants with pods on a clean surface.
5. Dry the threshed grains on a clean surface for two sunny days; protect from rain and animals. Test the grain to see if it is dry enough by biting or pinching grain with your finger nails - grain should break or crack, not bend or stick between your teeth or fingernails.
6. Clean the grains. Winnow to remove chaff, dust and other rubbish. Also remove shrivelled, diseased, broken grains and grains of other varieties.
15
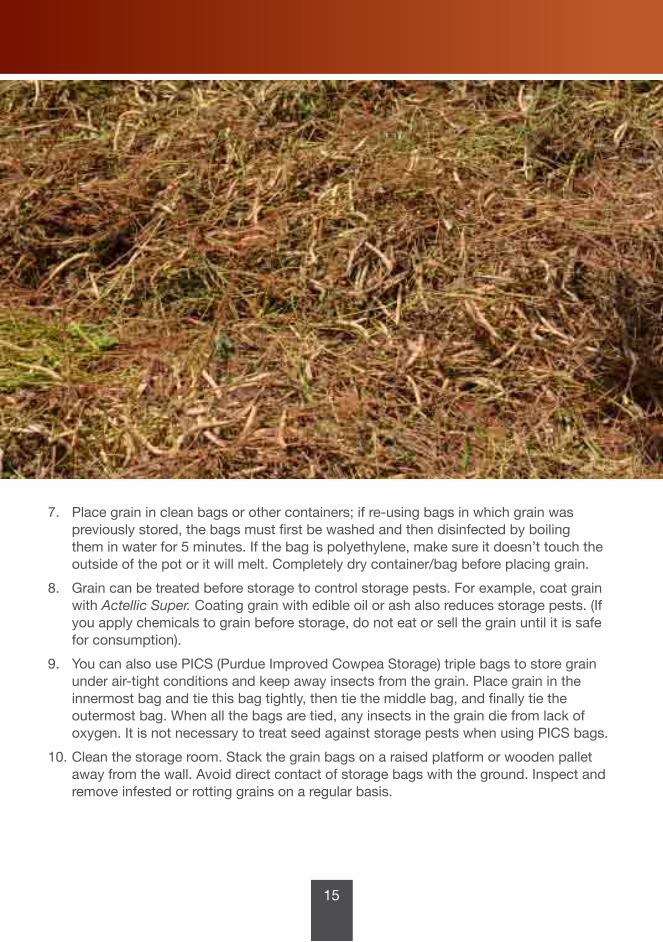
7. Place grain in clean bags or other containers; if re-using bags in which grain was previously stored, the bags must first be washed and then disinfected by boiling them in water for 5 minutes. If the bag is polyethylene, make sure it doesn’t touch the outside of the pot or it will melt. Completely dry container/bag before placing grain.
8. Grain can be treated before storage to control storage pests. For example, coat grain with Actellic Super. Coating grain with edible oil or ash also reduces storage pests. (If you apply chemicals to grain before storage, do not eat or sell the grain until it is safe for consumption).
9. You can also use PICS (Purdue Improved Cowpea Storage) triple bags to store grain under air-tight conditions and keep away insects from the grain. Place grain in the innermost bag and tie this bag tightly, then tie the middle bag, and finally tie the outermost bag. When all the bags are tied, any insects in the grain die from lack of oxygen. It is not necessary to treat seed against storage pests when using PICS bags.
10. Clean the storage room. Stack the grain bags on a raised platform or wooden pallet away from the wall. Avoid direct contact of storage bags with the ground. Inspect and remove infested or rotting grains on a regular basis.
16
Working in partnership to create down-to-earth messages on integrated soil fertility management
This leaflet was produced by N2Africa in October 2014 for farmers in Zimbabwe. It is available on the website of N2Africa and the Africa Soil Health Consortium (ASHC) - (www.cabi.org/ashc) as Creative Commons material which can be reproduced and re-used without permission - provided N2Africa and ASHC are credited. The content was developed by N2Africa. Photographs are courtesy of N2Africa, ASHC and International Plant Nutrition Institute (IPNI).
For more information, contact your extension officer or:see www.N2Africa.org (email: [email protected])