barista tutorial 1: build a simple form - documentation · barista tutorial 1: build a simple form...
TRANSCRIPT
Barista Tutorial 1: Build a Simple Form
In this tutorial, you will build a simple data driven form using Barista. We'll build on this form in the followup tutorials. For complete Barista documentation go to Barista Resources. See also the Getting Started guide.
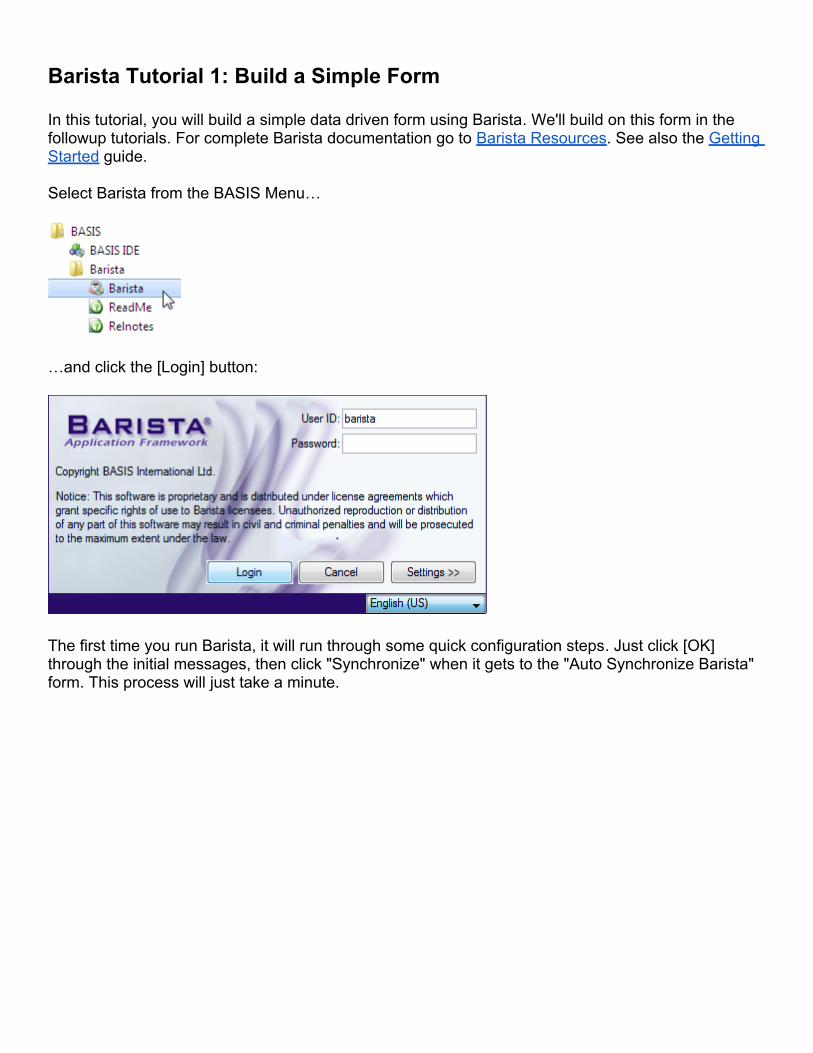
Select Barista from the BASIS Menu…
…and click the [Login] button:
The first time you run Barista, it will run through some quick configuration steps. Just click [OK] through the initial messages, then click "Synchronize" when it gets to the "Auto Synchronize Barista" form. This process will just take a minute.

Our goal is to build this simple file maintenance form:
To get to that form, we'll work through these three steps:1. Define data elements. 2. Define table.3. Build form.
Define Data Elements
Select the "Barista Development" Menu option, then select the "Element Types" node in the menu tree to bring up the Element Types maintenance form.

A complete rundown of the fields in Data Elements is available in Getting Started, but we’ll cover some of the more important fields here briefly.
In the Header:Element Type ID: A unique 16 character identifier used throughout to reference this element.
In the Definition Tab:Data Type: Determines how the data will be stored in a file.
Data SubType: Can be used to impose a semantic meaning on a field, for example as a YYYYMMDD date string.
Data Field Length: The length of the field on disk.
Control Type: Specifies what type of user interface control will be generated to handle data entry.
Window Label: Specifies label for field on form.
Input Mask: Data entry mask. See the Mask Reference section in Getting Started.
In the Validation Tab:Check Box Data: Values corresponding to Checked and Unchecked, formatted as Y;N.
Validate Data Table/Data Column: Data is validated against another table.
Min/Max Length: Imposes minimum and maximum input length.

Pad Character/Justification: Specifies how the user's input will be padded before being saved to the file.
We'll define 5 elements, then add them to a table.
Our first element, and the key to the file, is User ID. We will define it as a Sequence Counter. This is useful to automatically generate a unique ID for a record entry.
Add Element Type: TUT_USER_ID
Fill in the following fields of the Element Types form with the following data. All other fields can be left as their default values.
Location Field ValueHeader Data Element Name TUT_USER_ID
Description Tutorial User IDDefinition Tab Data SubType Sequence Counter
Data Field Length 6Window Label User IDInput Mask 000000Output Mask 000000Alignment Right (R)Pad Character Zero (0)
Click or press [Ctrl]+S to save this data element.

Add Element Type: TUT_USER_NAME
Click or press [Ctrl]+N to begin entering a new data element.
Location Field ValueHeader Data Element Name TUT_USER_NAME
Description Tutorial User NameDefinition Tab Data Field Length 30
Window Label User NameColumn Header User Name
Click or press [Ctrl]+S to save this data element.
Add Element Type: TUT_USER_PHONE
Click or press [Ctrl]+N to begin entering a new data element.
Location Field ValueHeader Data Element Name TUT_USER_PHONE
Description Tutorial User’s PhoneDefinition Tab Data Field Length 10
Window Label PhoneColumn Header PhoneInput Mask (000)000-0000Output Mask (000)000-0000

Validation Tab Minimum Length 10Maximum Length 10
● To demonstrate masking and input length validation, this example assumes North American phone numbers. This would not be appropriate in a real-world application.

Click or press [Ctrl]+S to save this data element.
Next, we’ll add a CheckBox.
Add Element Type: TUT_WANTS_SPAM
Click or press [Ctrl]+N to begin entering a new data element.
Location Field ValueHeader Data Element Name TUT_WANTS_SPAM
Description Tutorial User Wants SpamDefinition Tab Data Field Length 1
Control Type CheckBoxWindow Label Wants SpamColumn Header Spam

Click or press [Ctrl]+S to save this data element.
Add Element Type: TUT_USER_EMAIL
Click or press [Ctrl]+N to begin entering a new data element.
Location Field ValueHeader Data Element Name TUT_USER_EMAIL
Description Tutorial User’s EmailDefinition Tab Data Field Length 30
Window Label EmailColumn Header Email
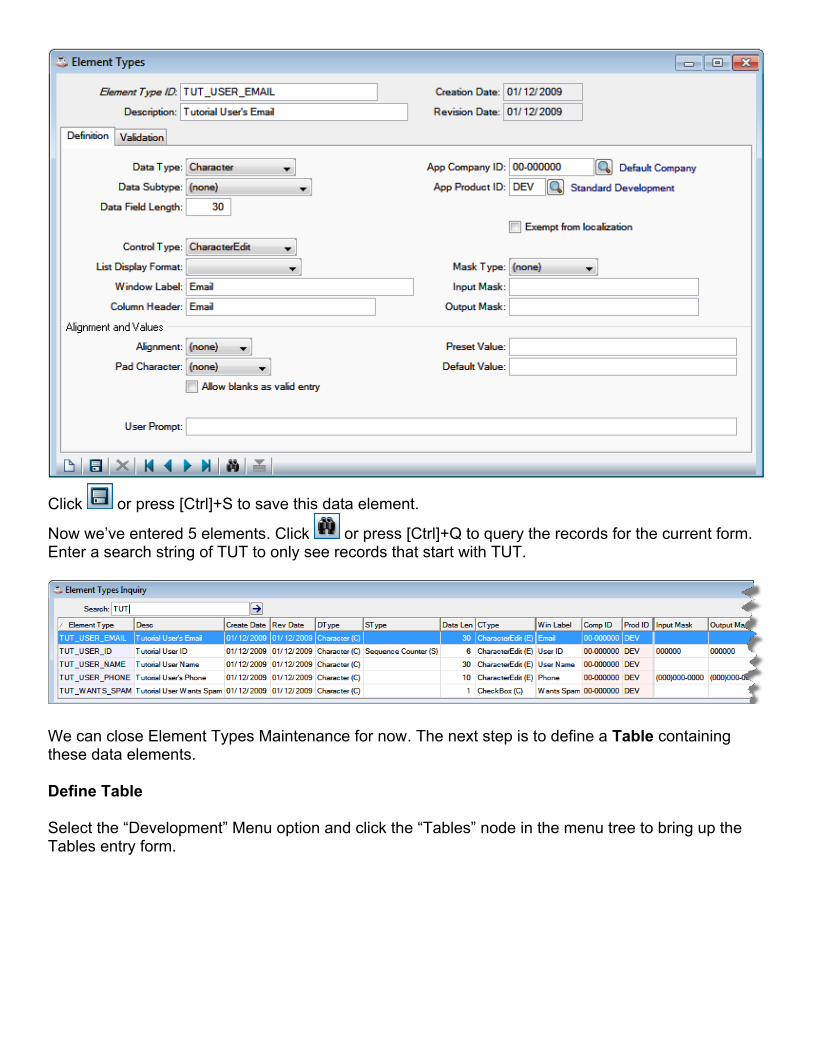
Click or press [Ctrl]+S to save this data element.
Now we’ve entered 5 elements. Click or press [Ctrl]+Q to query the records for the current form. Enter a search string of TUT to only see records that start with TUT.
We can close Element Types Maintenance for now. The next step is to define a Table containing these data elements.
Define Table
Select the “Development” Menu option and click the “Tables” node in the menu tree to bring up the Tables entry form.

Using the Tables Form
A complete rundown of the fields in Tables is available in Getting Started, but we’ll cover some of the more important fields here briefly.
In the Header:Table Alias: A unique 16 character identifier used throughout to reference the table. If the field is disabled, you are editing an existing table.
Window Title: Since each table has a corresponding form, this defines what appears in the title bar of the form.
In the Alias Definition:Alias Type: Specifies the specific type of file. In some cases, the alias will define view of a set of data, as opposed to a disk file. The default file type is BBj XKEYED. For a file that will contain data that varies significantly in size (for example a file that contains BLOBs), the VKEYED data type would be a better choice.
Disk File Name: Defaults to the Table Alias, converted to lowercase, + ".dat".
Table Path: The data directory. It defaults to [+DEFAULT], which resolves to ../apps/default/data/.
The detail grid at the bottom of the screen is the list of data elements in the table.
Add Table: TUT_MAIN_FORM
Locatio Field Value

nHeader Table Alias TUT_MAIN_FORM
Description Main FormDetail Element Type Data Element
TUT_USER_ID TUT_USER_IDTUT_USER_NAME TUT_USER_NAMETUT_USER_PHONE
TUT_USER_PHONE
TUT_WANTS_SPAM
TUT_WANTS_SPAM
TUT_USER_EMAIL TUT_USER_EMAIL
Press F7 to switch back to the Header from the detail grid. The status bar will display HDR.
Click or press [Ctrl]+S to save this record.
A table must have at least one key, the primary key. We must define a primary key for our new table.
Define Keys for TUT_MAIN_FORM
Click or press [Ctrl]+O, then select Key Definitions from the dropdown Options menu.

Set the Key Name and Key Description to be PRIMARY, and add TUT_USER_ID to the Grid.
Click or press [Ctrl]+S to save the key definition, then close the Key Definitions dialog by clicking the close box.
Create the Table
Click or press [Ctrl]+O, then select Create/Update Table from the dropdown Options menu.
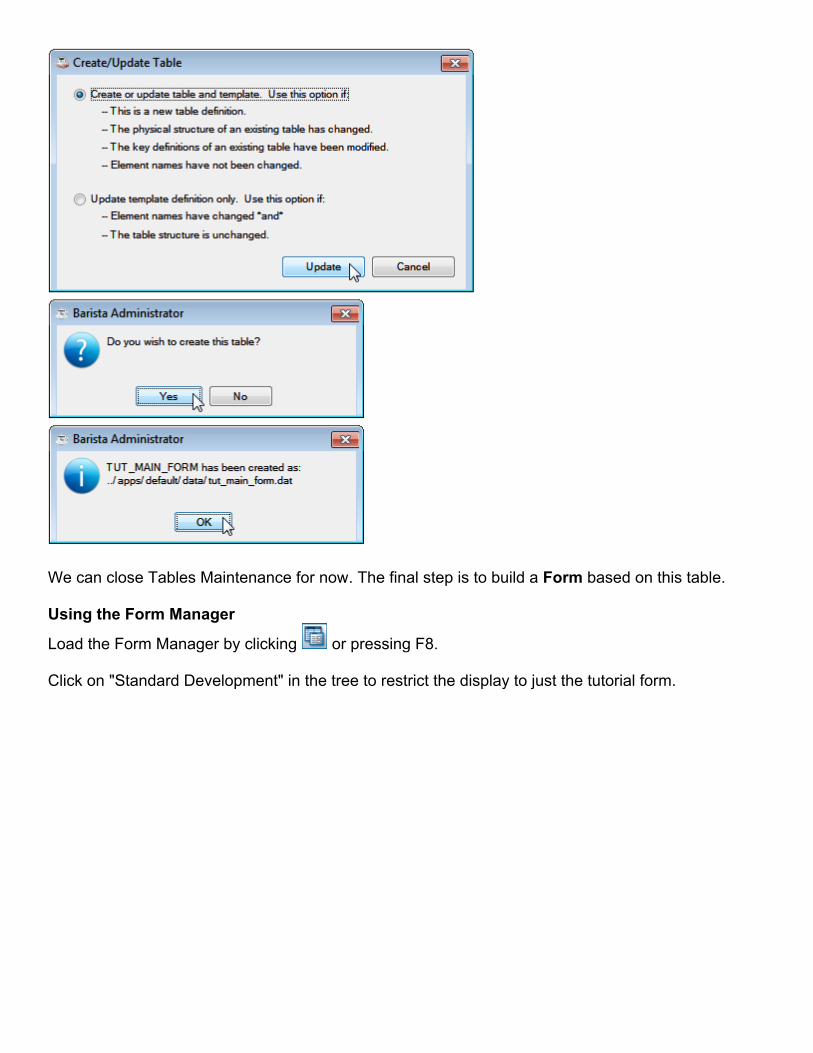
We can close Tables Maintenance for now. The final step is to build a Form based on this table.
Using the Form Manager
Load the Form Manager by clicking or pressing F8.
Click on "Standard Development" in the tree to restrict the display to just the tutorial form.

Build the Form
Select TUT_MAIN_FORM and click or press [Ctrl]+B to build the form.
Run the Form
Click or press F5 to run your form.
Experiment with using the form to enter/view data in your table.
In addition to entering data into the fields of the form, the user of a Barista-developed application will use the supplied toolbar to navigate, save, create, and search the records of our table.
The following tool buttons are used most often:
New Record ([Ctrl]+N)
Delete Record ([Ctrl]+D)

Save Record ([Ctrl]+S)
Refresh Data (ALT+F5)
First Record (ALT+PGUP)Previous Record (PGUP)Next Record (PGDN)
Last Record (ALT+PGDN)Record Query ([Ctrl]+Q)
Once you have entered some records, click or press [Ctrl]+Q:
That's it! You've built and tested your first Barista form. The remaining tutorials all build on this form.