advanced programming c# lecture 5...
TRANSCRIPT

Advanced ProgrammingAdvanced ProgrammingC#C#
Lecture 5
dr inż. Małgorzata [email protected]
Winter Semester 2016/2017
2 / 26C# 2016/2017, Wykład 5
Classes #6 – Projects I● 10 min presentation / project
● Presentation must iclude:
– Idea, description & specification of the project● used technologies
– Screenshots of the prototype of the application
– Interesting knowledge /skills obtained during the realization of the project (at least 1 example)
● Should be presented in such a way that it would be interesting for other students
● Presentation must be sent to [email protected] latest next Monday, 8:00
● Prototype of the project should avaliable for further checks and discussion

ADO .NETADO .NET(Databases)(Databases)
SQL ServerSQL ServerCreate DatabaseCreate Database
Create TableCreate Table
5 / 26C# 2016/2017, Wykład 5
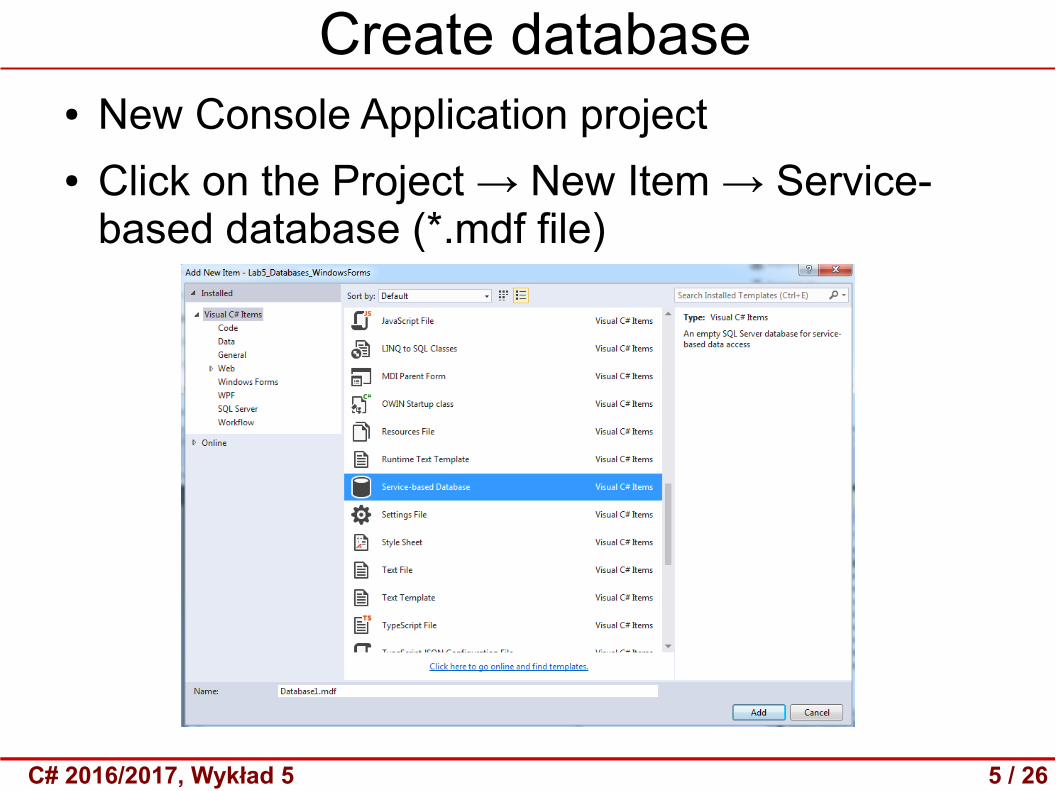
Create database● New Console Application project● Click on the Project → New Item → Service-
based database (*.mdf file)
6 / 26C# 2016/2017, Wykład 5
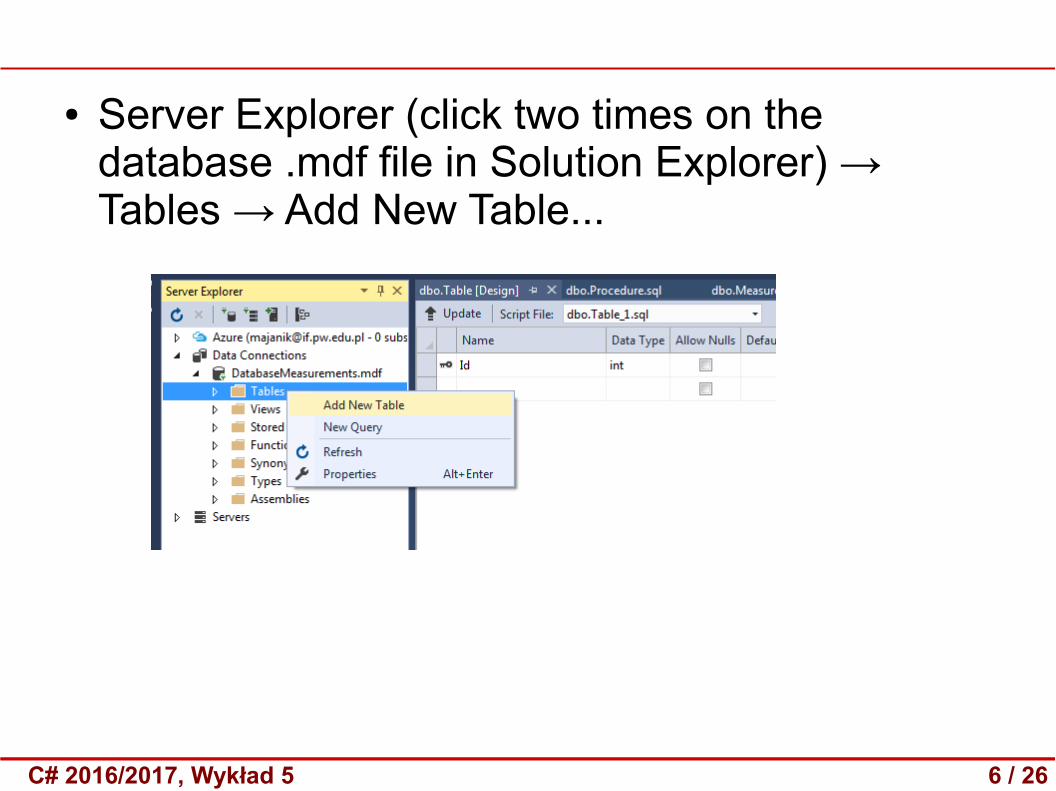
● Server Explorer (click two times on the database .mdf file in Solution Explorer) → Tables → Add New Table...
7 / 26C# 2016/2017, Wykład 5
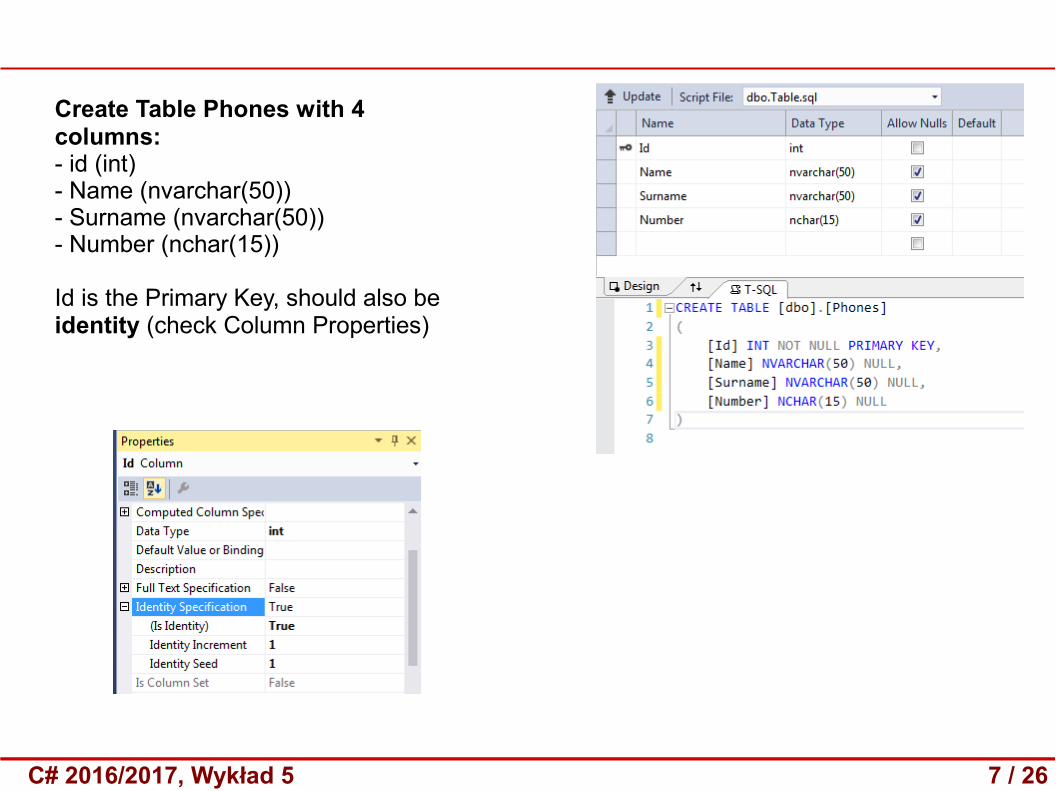
Create Table Phones with 4 columns:- id (int)- Name (nvarchar(50))- Surname (nvarchar(50))- Number (nchar(15))
Id is the Primary Key, should also be identity (check Column Properties)
8 / 26C# 2016/2017, Wykład 5
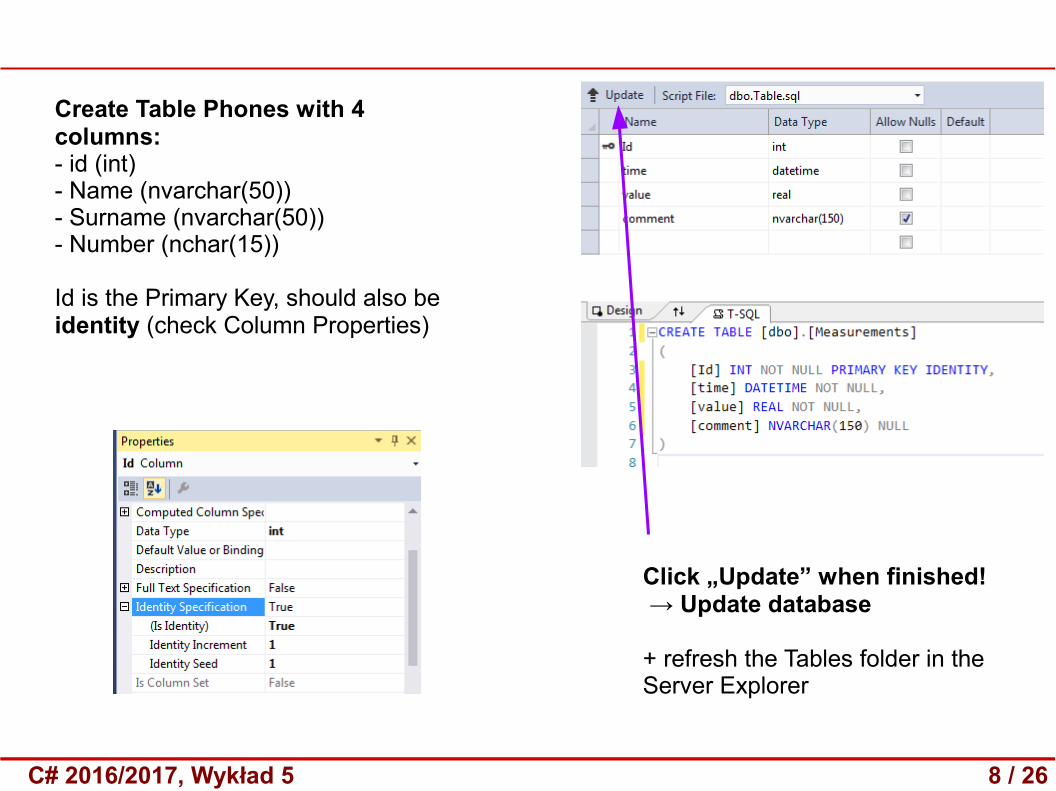
Create Table Phones with 4 columns:- id (int)- Name (nvarchar(50))- Surname (nvarchar(50))- Number (nchar(15))
Id is the Primary Key, should also be identity (check Column Properties)
Click „Update” when finished! → Update database
+ refresh the Tables folder in the Server Explorer
9 / 26C# 2016/2017, Wykład 5
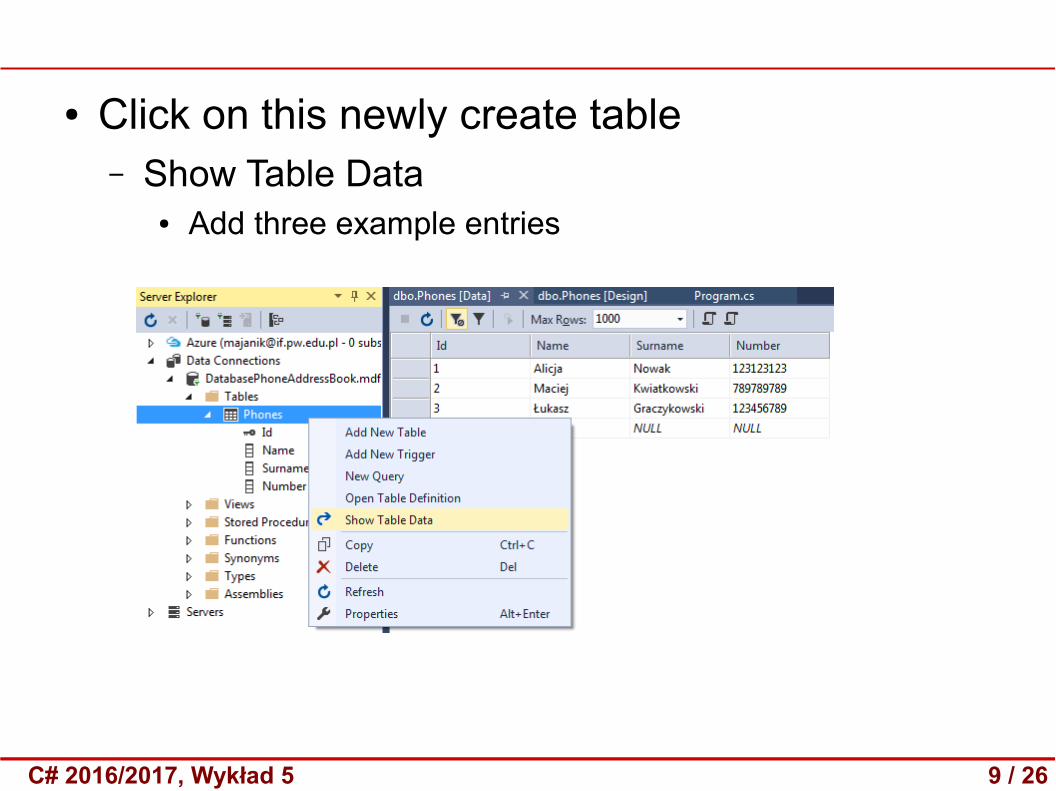
● Click on this newly create table– Show Table Data
● Add three example entries

Show tableShow table(Console Application)(Console Application)
11 / 26C# 2016/2017, Wykład 5
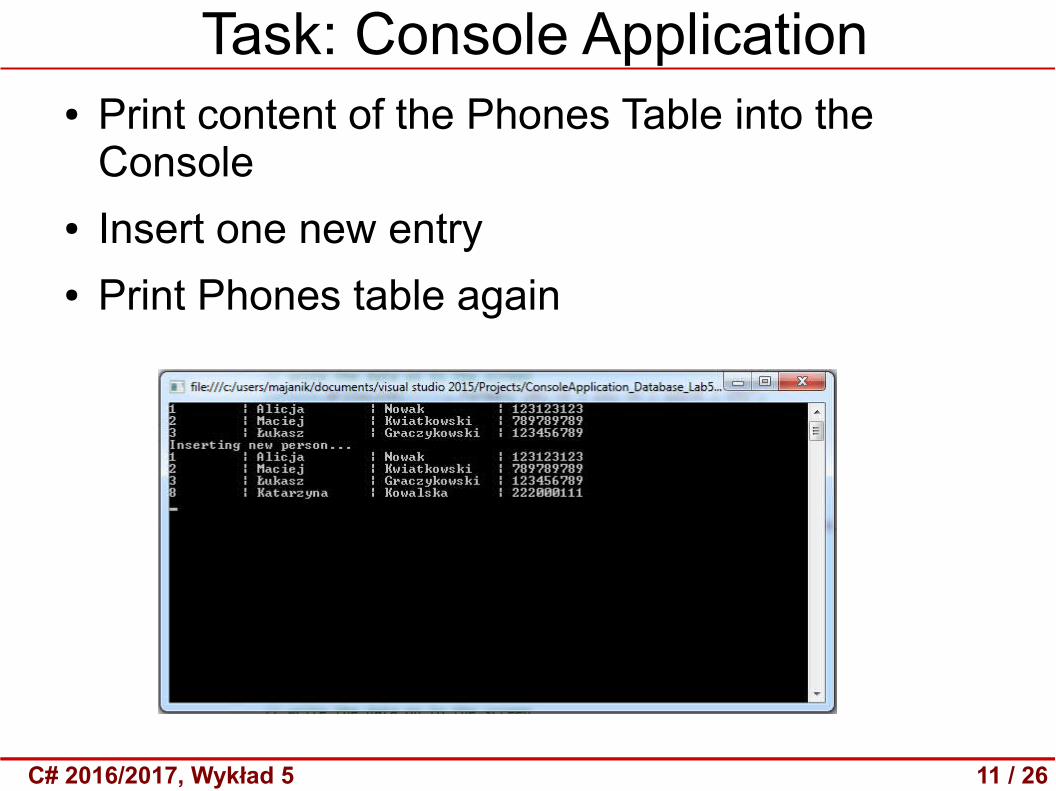
Task: Console Application● Print content of the Phones Table into the
Console● Insert one new entry● Print Phones table again

12 / 26C# 2016/2017, Wykład 5
Click two times
Copy this text („Connection String” property)
static void Main(string[] args){ string connString = "Data Source=(LocalDB)\\MSSQLLocalDB;AttachDbFilename=c:\\users\\majanik\\documents\\visual studio 2015\\Projects\\ConsoleApplication_Database_Lab5\\ConsoleApplication_Database_Lab5\\DatabasePhoneAddressBook.mdf;Integrated Security=True"; }
Create connection string in the Main function. Copy the „Connection String” property from the database (delete all ” characters, see example below).
13 / 26C# 2016/2017, Wykład 5
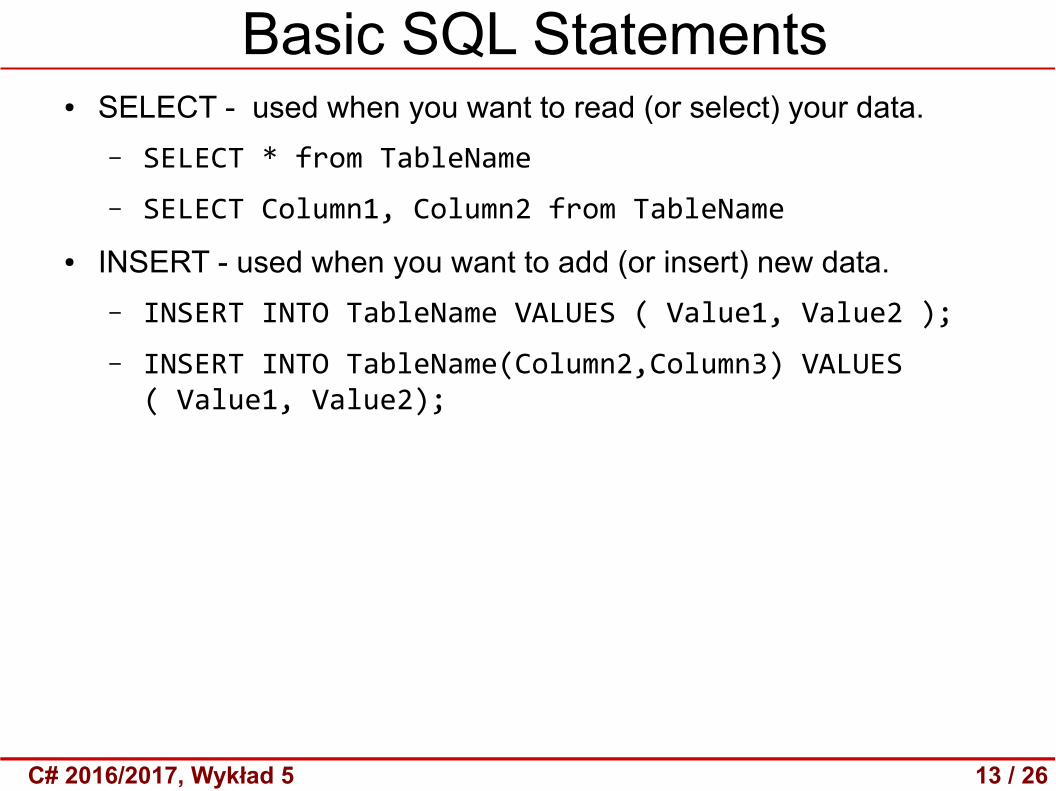
Basic SQL Statements● SELECT - used when you want to read (or select) your data.
– SELECT * from TableName
– SELECT Column1, Column2 from TableName
● INSERT - used when you want to add (or insert) new data.
– INSERT INTO TableName VALUES ( Value1, Value2 );
– INSERT INTO TableName(Column2,Column3) VALUES ( Value1, Value2);

14 / 26C# 2016/2017, Wykład 5
● Create connection:SqlConnection conn = new SqlConnection()conn.ConnectionString = connString;
● Open connection:conn.Open();
● Create SQL command:SqlCommand command = new SqlCommand("SELECT * FROM Phones", conn);
SqlCommand command2 = new SqlCommand("INSERT INTO Phones(Name,Surname,Number) VALUES ('Katarzyna','Kowalska', 222000111)", conn);
● Execute command:
command.ExecuteNonQuery();
Command Connection
15 / 26C# 2016/2017, Wykład 5
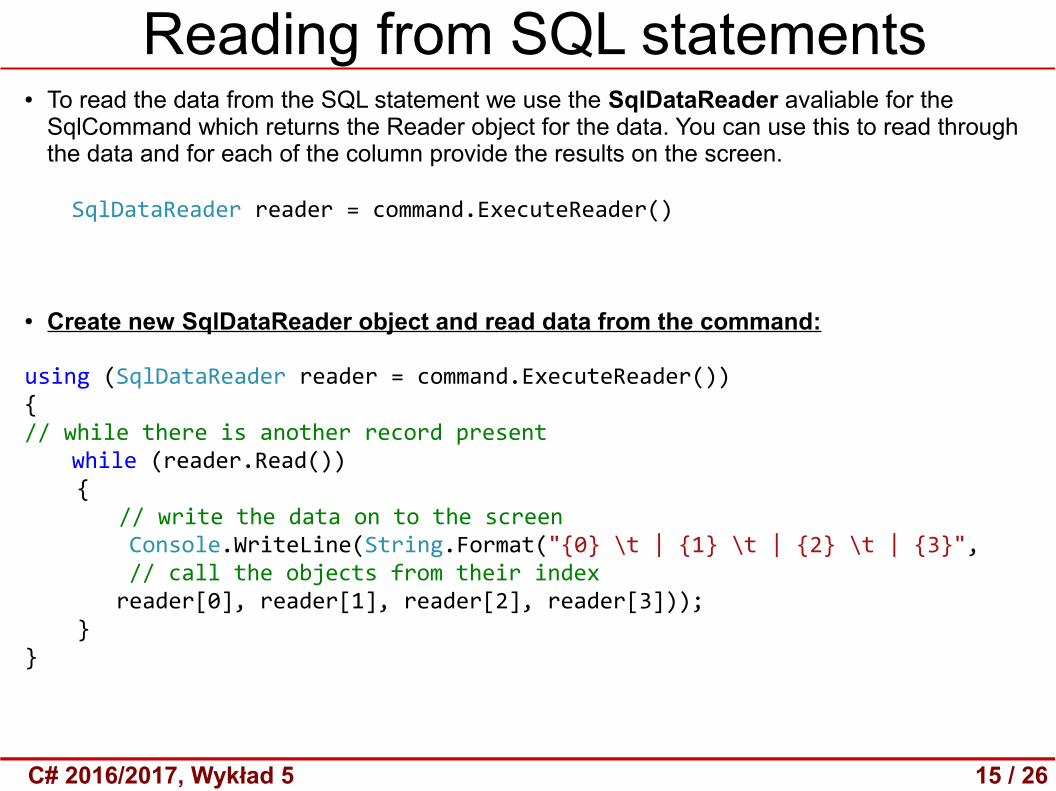
● To read the data from the SQL statement we use the SqlDataReader avaliable for the SqlCommand which returns the Reader object for the data. You can use this to read through the data and for each of the column provide the results on the screen.
SqlDataReader reader = command.ExecuteReader()
● Create new SqlDataReader object and read data from the command:
using (SqlDataReader reader = command.ExecuteReader()){// while there is another record present while (reader.Read()) { // write the data on to the screen Console.WriteLine(String.Format("{0} \t | {1} \t | {2} \t | {3}", // call the objects from their index reader[0], reader[1], reader[2], reader[3])); }}
Reading from SQL statements
16 / 26C# 2016/2017, Wykład 5
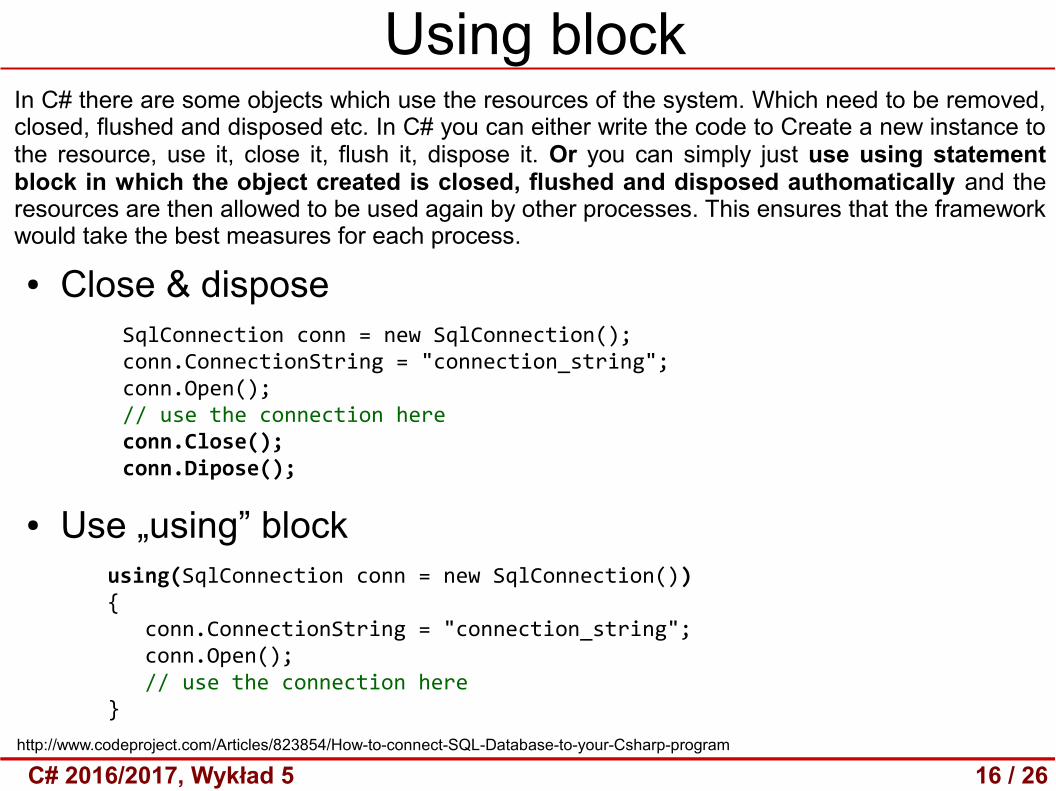
In C# there are some objects which use the resources of the system. Which need to be removed, closed, flushed and disposed etc. In C# you can either write the code to Create a new instance to the resource, use it, close it, flush it, dispose it. Or you can simply just use using statement block in which the object created is closed, flushed and disposed authomatically and the resources are then allowed to be used again by other processes. This ensures that the framework would take the best measures for each process.
Using block
http://www.codeproject.com/Articles/823854/How-to-connect-SQL-Database-to-your-Csharp-program
SqlConnection conn = new SqlConnection();conn.ConnectionString = "connection_string";conn.Open();// use the connection hereconn.Close();conn.Dipose();
using(SqlConnection conn = new SqlConnection()) { conn.ConnectionString = "connection_string"; conn.Open(); // use the connection here}
● Close & dispose
● Use „using” block
SQL ServerSQL Server++
Windows FormsWindows Forms
Create new Windows Forms project...

18 / 26C# 2016/2017, Wykład 5
Create Table Measurements with 4 columns:- id (int)- time (datetime)- value (real)- comment (nvarchar(150))
Only „comment” can be NULL.Id is the Primary Key, should also be identity (check Column Properties)
First task: prepare new database/table

19 / 26C# 2016/2017, Wykład 5
Create Table Measurements with 4 columns:- id (int)- time (datetime)- value (real)- comment (nvarchar(150))
Only „comment” can be NULL.Id is the Primary Key, should also be identity (check Column Properties)
REMEMBER TOClick „Update” when finished! → Update database
First task: prepare new database/table

Insert, Delete, Update
21 / 26C# 2016/2017, Wykład 5
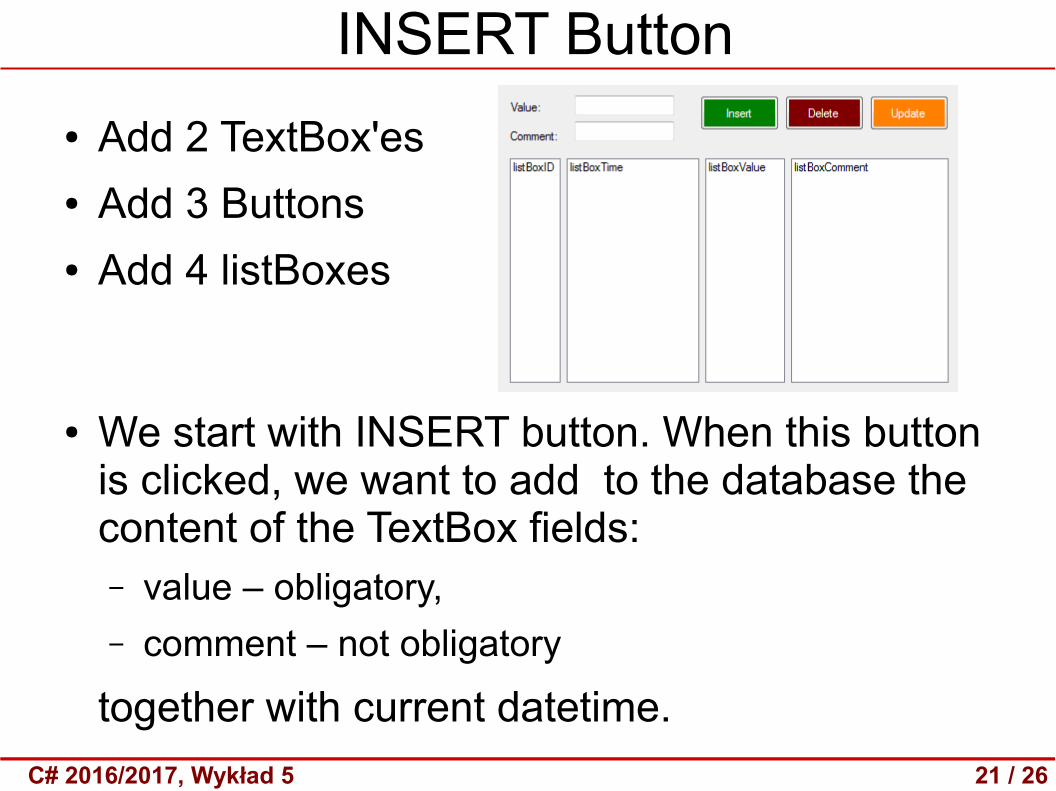
INSERT Button
● Add 2 TextBox'es● Add 3 Buttons● Add 4 listBoxes
● We start with INSERT button. When this button is clicked, we want to add to the database the content of the TextBox fields: – value – obligatory,
– comment – not obligatory
together with current datetime.

22 / 26C# 2016/2017, Wykład 5
● Good practice: use try-catch close
● Show results in the ListBoxes– create „private void loadlist()” function that performs
this task
– Execute SELECT command and use SqlDataReader
– Add new items to the ListBoxes
try { //All commands } catch (Exception ex) {
MessageBox.Show(ex.Message, "Error"); }
listBoxID.Items.Add(datareader[0].ToString());
INSERT Button

23 / 26C# 2016/2017, Wykład 5
● Advanced SQL commands:SqlCommand sqlCmd = new SqlCommand();
//set command text and parameters
sqlCmd.CommandText = "INSERT INTO TableName (value, comment, time) VALUES (" + a + ", (@druga), (@time) )";
DateTime dateTimeVariable = DateTime.Now;
sqlCmd.Parameters.AddWithValue("@time", dateTimeVariable);
sqlCmd.Parameters.AddWithValue("@druga", "jakis tekst");
sqlCmd.Connection = sqlCon; //set connection
sqlCmd.ExecuteNonQuery(); //execute query
● In case of succsess:MessageBox.Show("Savd succesfully");
INSERT Button
24 / 26C# 2016/2017, Wykład 5
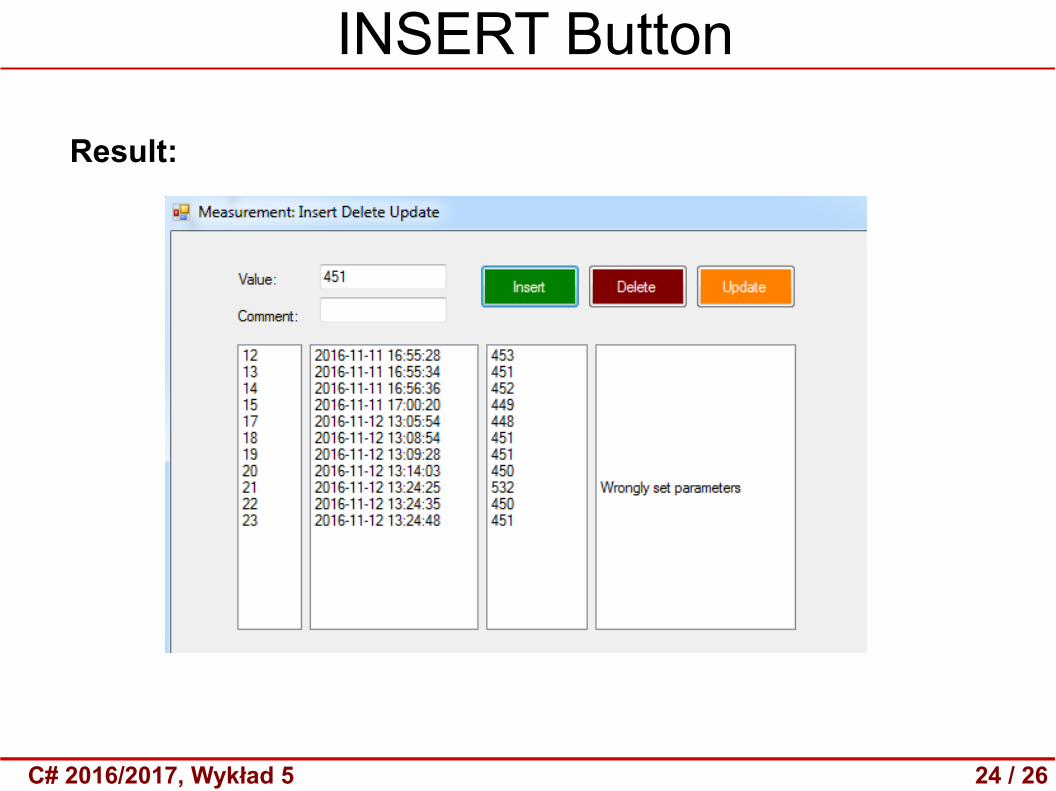
Result:
INSERT Button
25 / 26C# 2016/2017, Wykład 5
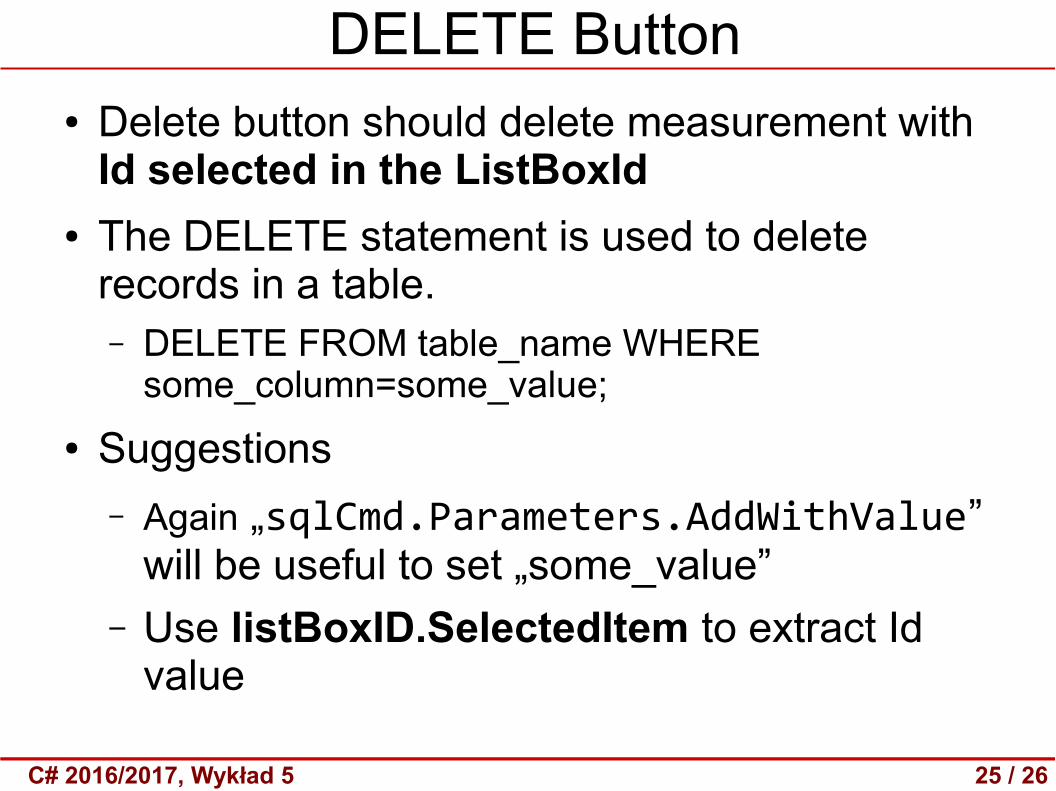
DELETE Button● Delete button should delete measurement with
Id selected in the ListBoxId● The DELETE statement is used to delete
records in a table.– DELETE FROM table_name WHERE
some_column=some_value;
● Suggestions
– Again „sqlCmd.Parameters.AddWithValue” will be useful to set „some_value”
– Use listBoxID.SelectedItem to extract Id value

26 / 26C# 2016/2017, Wykład 5
Update Button● Update button should update measurement
with Id selected in the ListBoxId using values from the TextBoxes
● The UPDATE statement is used to update existing records in a table.– UPDATE table_name
SET column1=value1,column2=value2,... WHERE some_column=some_value;

Create Data Source & Connect to GridView
28 / 26C# 2016/2017, Wykład 5
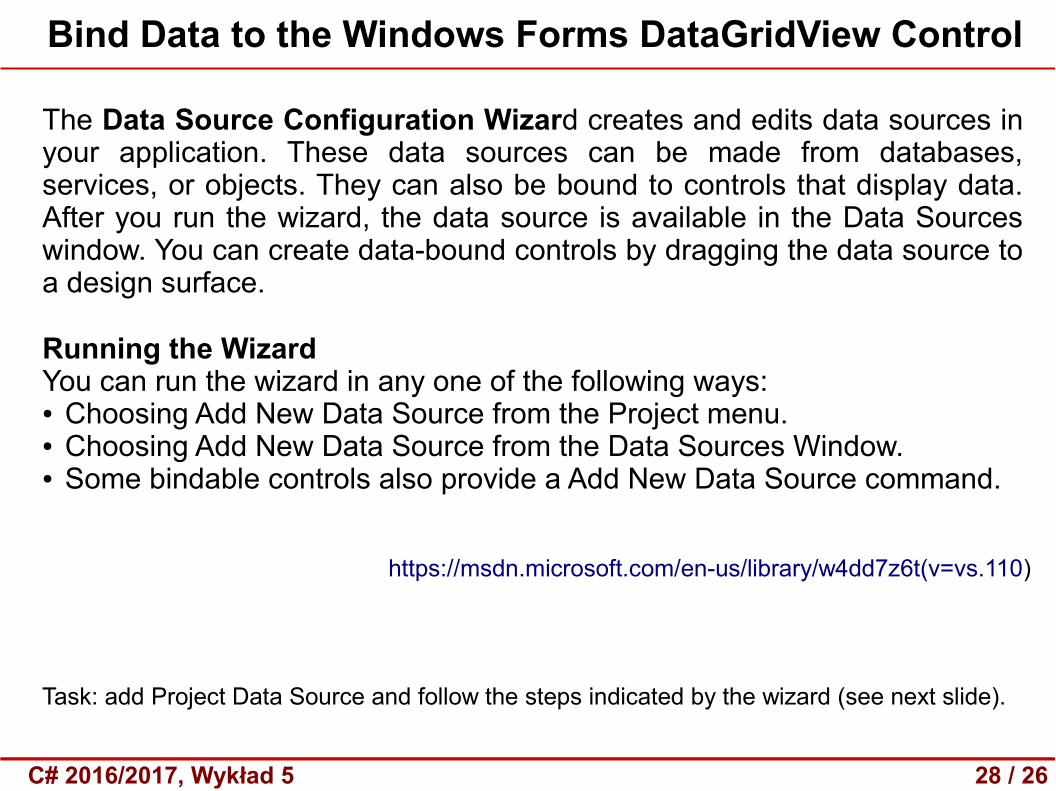
Bind Data to the Windows Forms DataGridView Control
Task: add Project Data Source and follow the steps indicated by the wizard (see next slide).
The Data Source Configuration Wizard creates and edits data sources in your application. These data sources can be made from databases, services, or objects. They can also be bound to controls that display data. After you run the wizard, the data source is available in the Data Sources window. You can create data-bound controls by dragging the data source to a design surface.
Running the WizardYou can run the wizard in any one of the following ways:● Choosing Add New Data Source from the Project menu.● Choosing Add New Data Source from the Data Sources Window.● Some bindable controls also provide a Add New Data Source command.
https://msdn.microsoft.com/en-us/library/w4dd7z6t(v=vs.110)

29 / 26C# 2016/2017, Wykład 5
Data Source Configuration Wizard

30 / 26C# 2016/2017, Wykład 5
Data Source Configuration Wizard● Toolbox → add DataGridView to the Form
● Bind to the Measurements table
More info:https://msdn.microsoft.com/library/33w255ac(v=vs.110)
31 / 26C# 2016/2017, Wykład 5
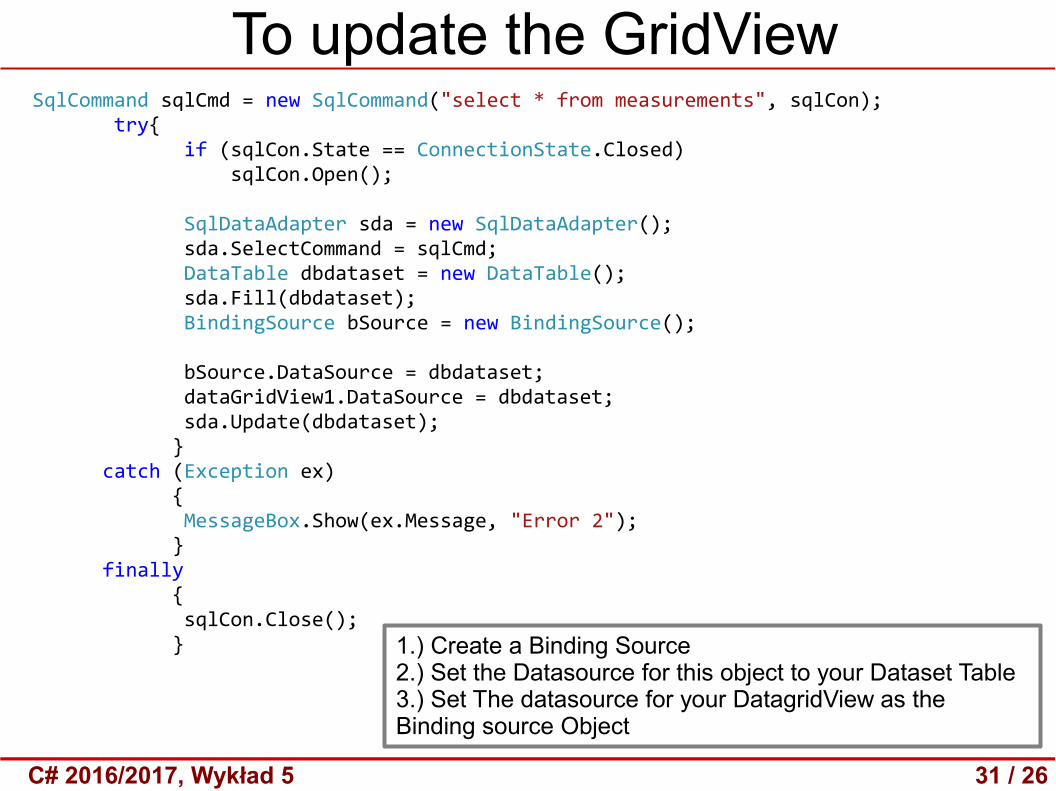
To update the GridViewSqlCommand sqlCmd = new SqlCommand("select * from measurements", sqlCon); try{ if (sqlCon.State == ConnectionState.Closed) sqlCon.Open();
SqlDataAdapter sda = new SqlDataAdapter(); sda.SelectCommand = sqlCmd; DataTable dbdataset = new DataTable(); sda.Fill(dbdataset); BindingSource bSource = new BindingSource();
bSource.DataSource = dbdataset; dataGridView1.DataSource = dbdataset; sda.Update(dbdataset); } catch (Exception ex) { MessageBox.Show(ex.Message, "Error 2"); } finally { sqlCon.Close(); } 1.) Create a Binding Source
2.) Set the Datasource for this object to your Dataset Table3.) Set The datasource for your DatagridView as the Binding source Object

Stored Procedures
33 / 26C# 2016/2017, Wykład 5
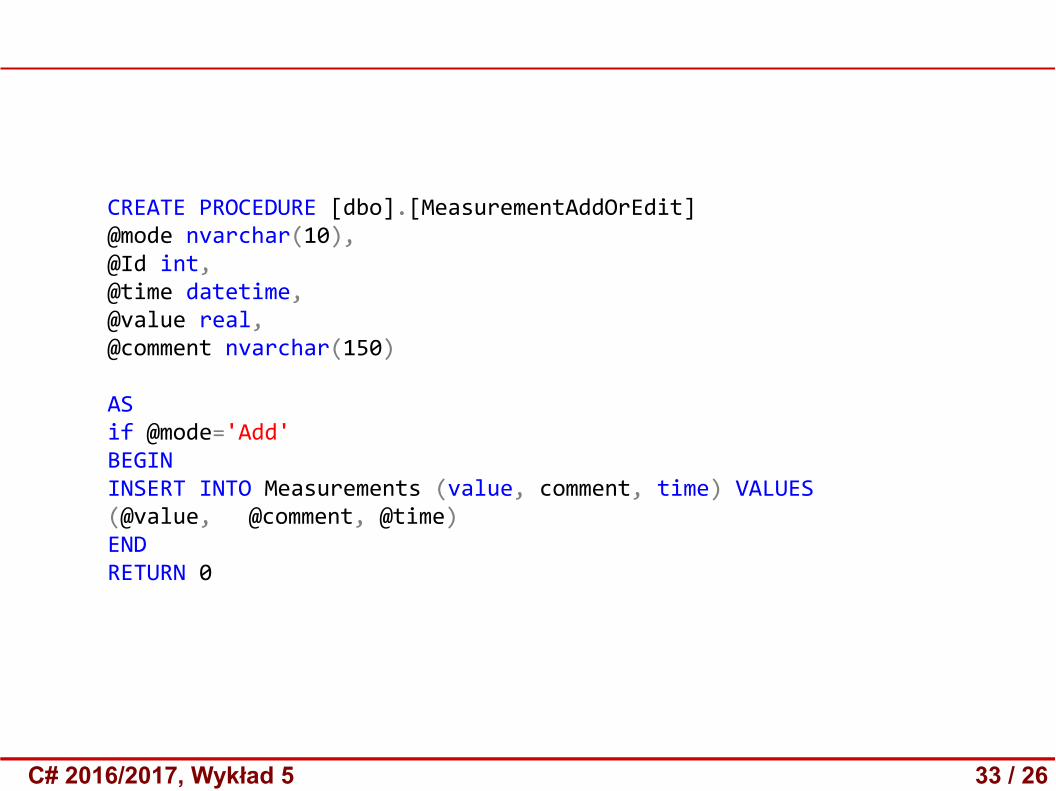
CREATE PROCEDURE [dbo].[MeasurementAddOrEdit]@mode nvarchar(10),@Id int,@time datetime,@value real,@comment nvarchar(150)
ASif @mode='Add'BEGININSERT INTO Measurements (value, comment, time) VALUES (@value, @comment, @time)ENDRETURN 0