3. building and deploying the sample cics project for ... · building and deploying the sample cics...
TRANSCRIPT

3. Building and deploying the sample CICS project forHeirloom PaaSThese steps assume you have an open, working Eclipse and a configured applicationinstance.If you do not then follow the steps in section '1, Configuring Heirloom PaaS and EBP for asimple demo'
Download Sample Source bundle fromhere: http://www.elasticcobol.com/downloads/PaaSDemo.zipBuilding the ETP project
Right click the Project Explorer and choose ‘New->Project’:
Choose ‘COBOL Project’ and click Next:

Name the project online demo, expand the ‘Compatibility’ option under ‘Project type’ andchoose ‘Elastic Transaction Platform WAR Template’.Click Finish and click Yes to open the Elastic COBOL perspective:

Expand the onlinedemo project:
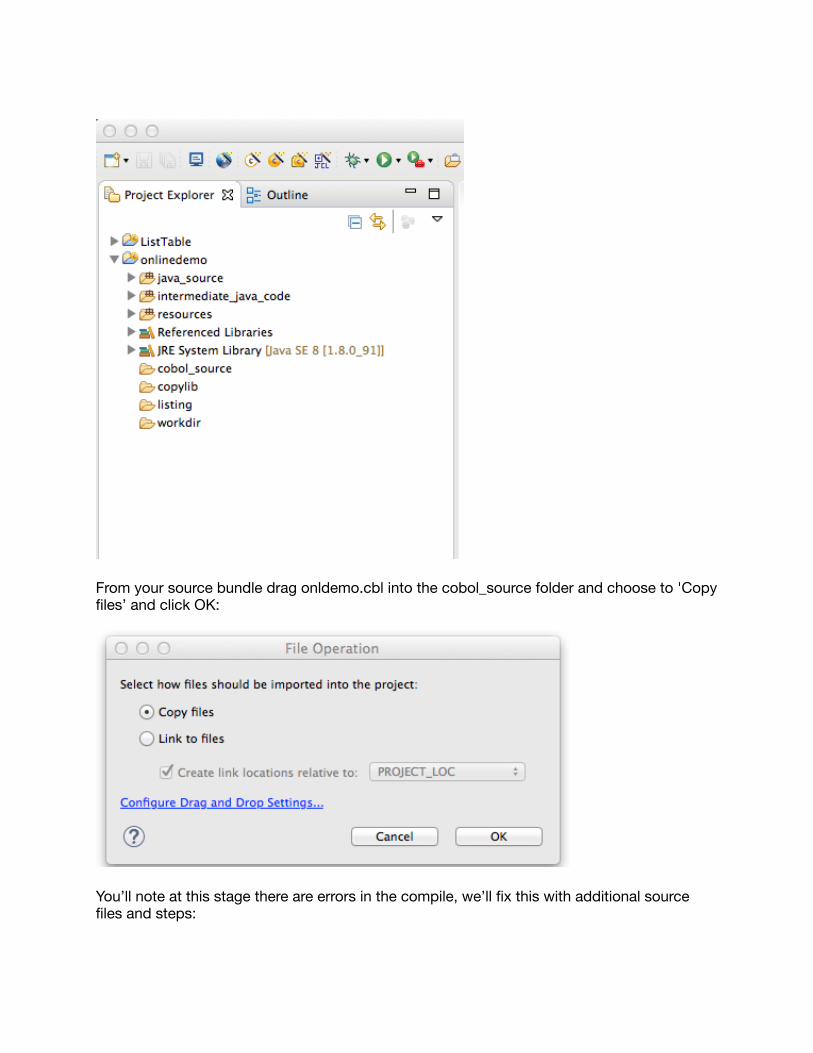
From your source bundle drag onldemo.cbl into the cobol_source folder and choose to 'Copyfiles’ and click OK:
You’ll note at this stage there are errors in the compile, we’ll fix this with additional sourcefiles and steps:

Drag the dclgenf.cpy file into the copy lib folder, choosing ‘Copy files’ again.Right click the resources folder and ‘New->Other’ :

Select General->File and click Next:

Name the file ecobol.dir and click Finish.
Drag the ecobol.dir from your source bundle into the resources folder. Choose to ‘Copy files’and confirm ‘yes’ for the file replacement:
Click Yes to perform a project rebuild.

Close the ecobol.dir window.
Drag the onldemo.bms file into the resources folder and choose to ‘Copy files’.
Right click the onldemo.bms file and select ‘Elastic COBOL BMS->Generate Copyfile’ :

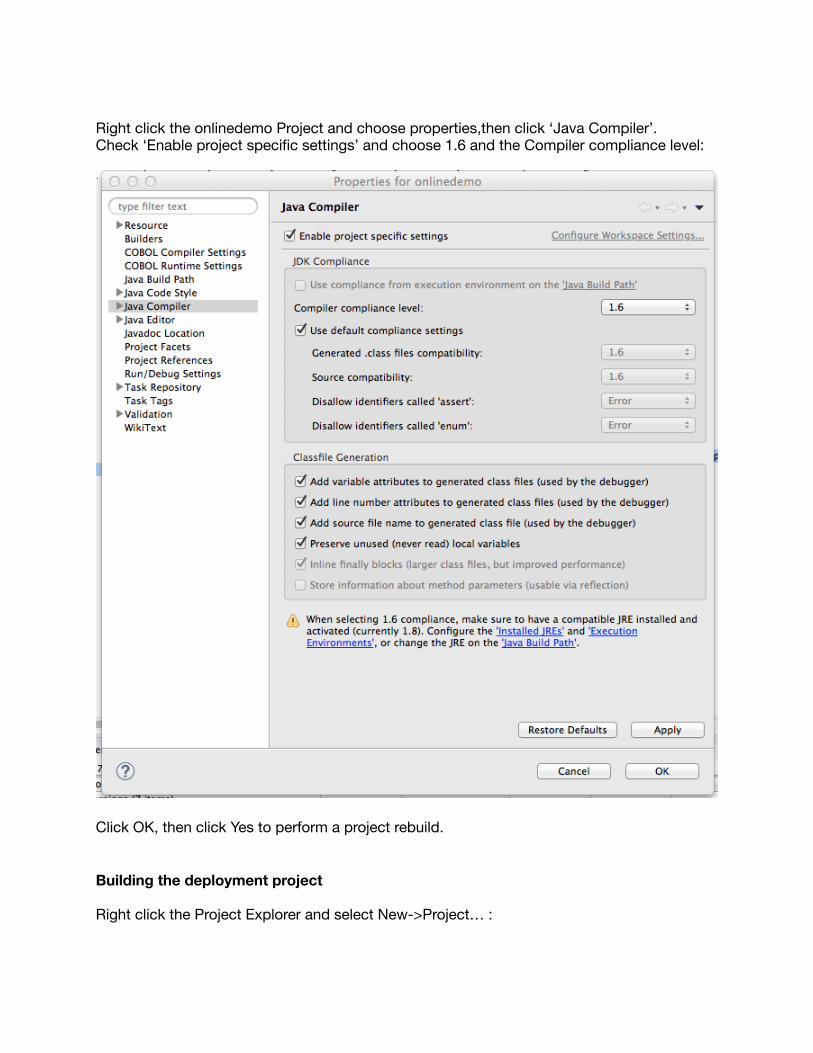
Right click the onlinedemo Project and choose properties,then click ‘Java Compiler’.Check ‘Enable project specific settings’ and choose 1.6 and the Compiler compliance level:
Click OK, then click Yes to perform a project rebuild.
Building the deployment project
Right click the Project Explorer and select New->Project… :
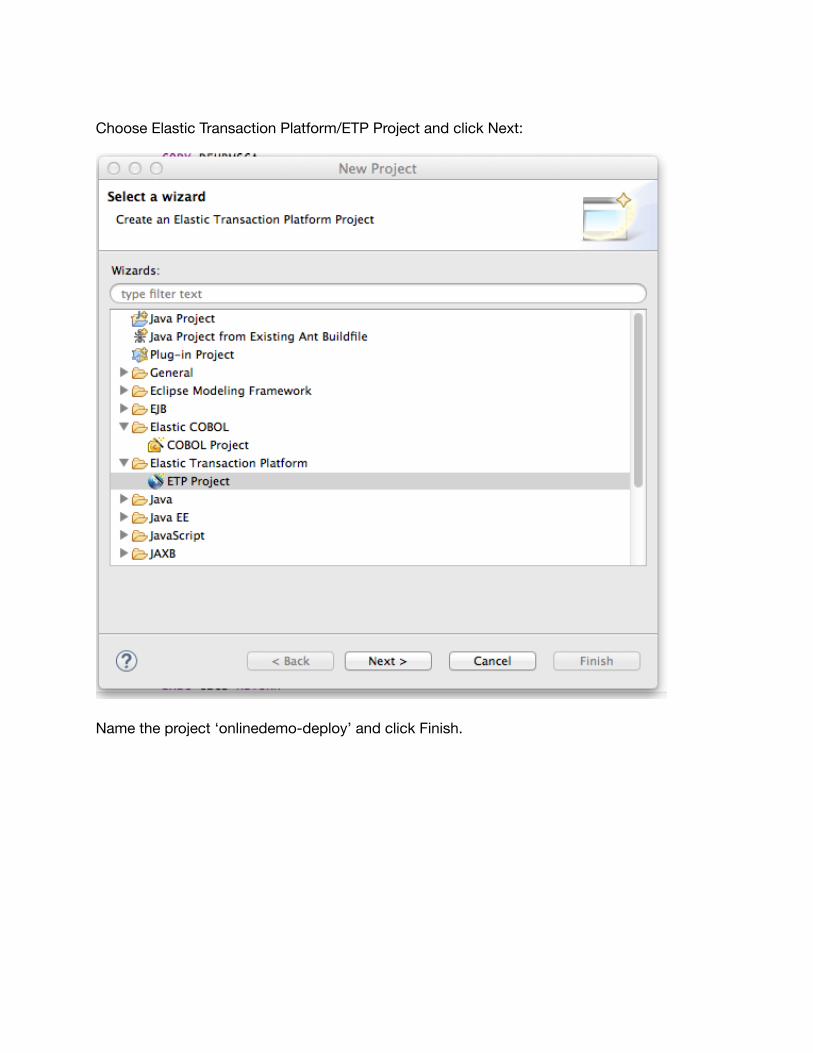
Choose Elastic Transaction Platform/ETP Project and click Next:
Name the project ‘onlinedemo-deploy’ and click Finish.
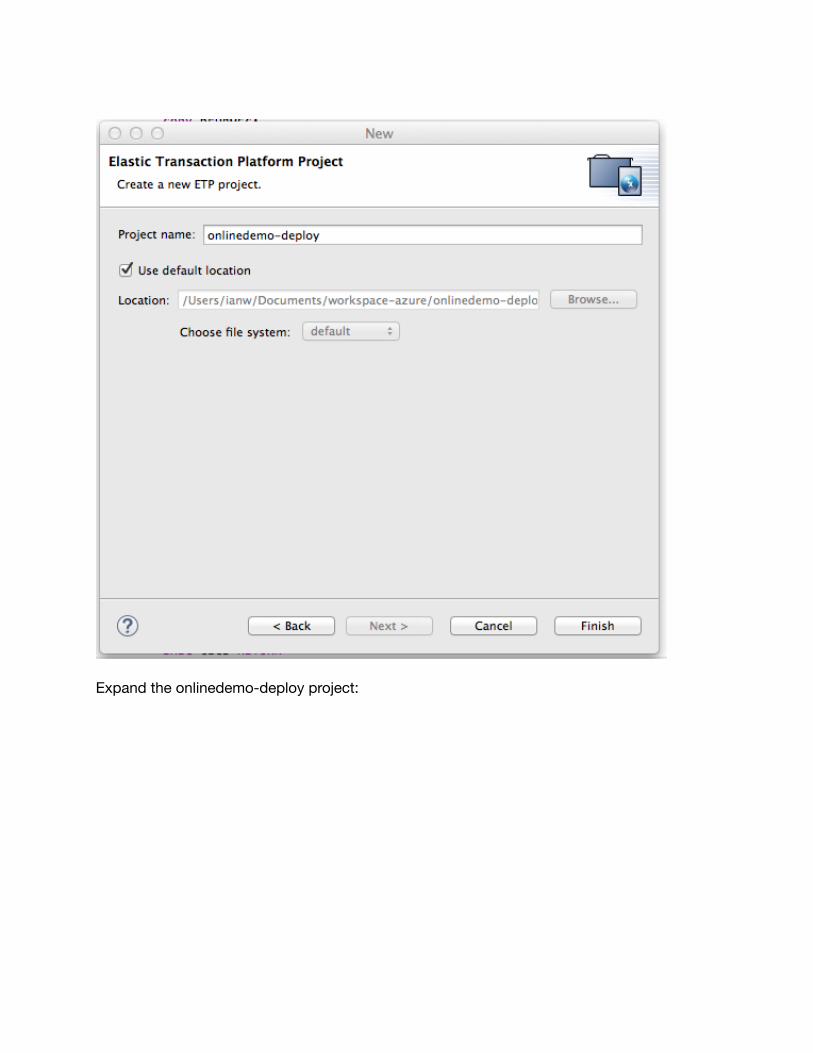
Expand the onlinedemo-deploy project:
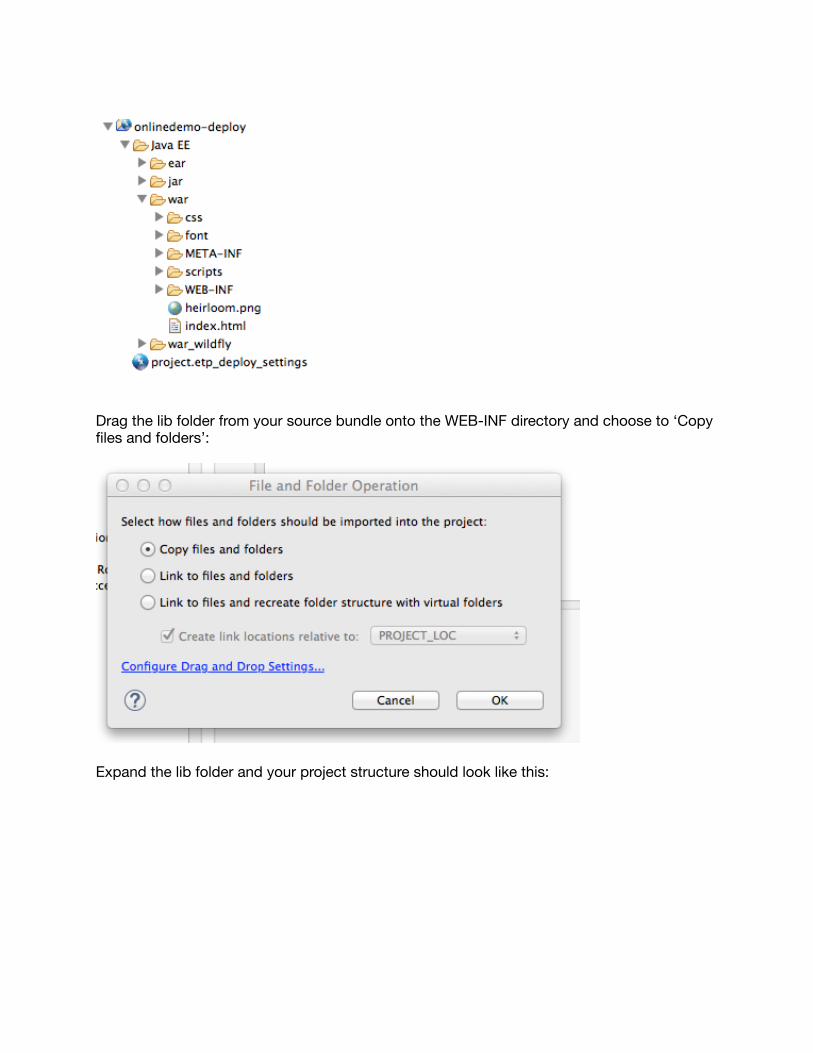
Drag the lib folder from your source bundle onto the WEB-INF directory and choose to ‘Copyfiles and folders’:
Expand the lib folder and your project structure should look like this:

In the Elastic Transaction Platform Deploy settings Editor set the SYSID to ONLD and checkthe onlinedemo project:

Click Apply.Click the Transactions category and add two transactions, ONLD and INIT both pointing tothe program onlinedemo:
Click the SQL category and click Add…:
Fill in username,password, the connection URL (the same URL you used for the ListTable.cbl
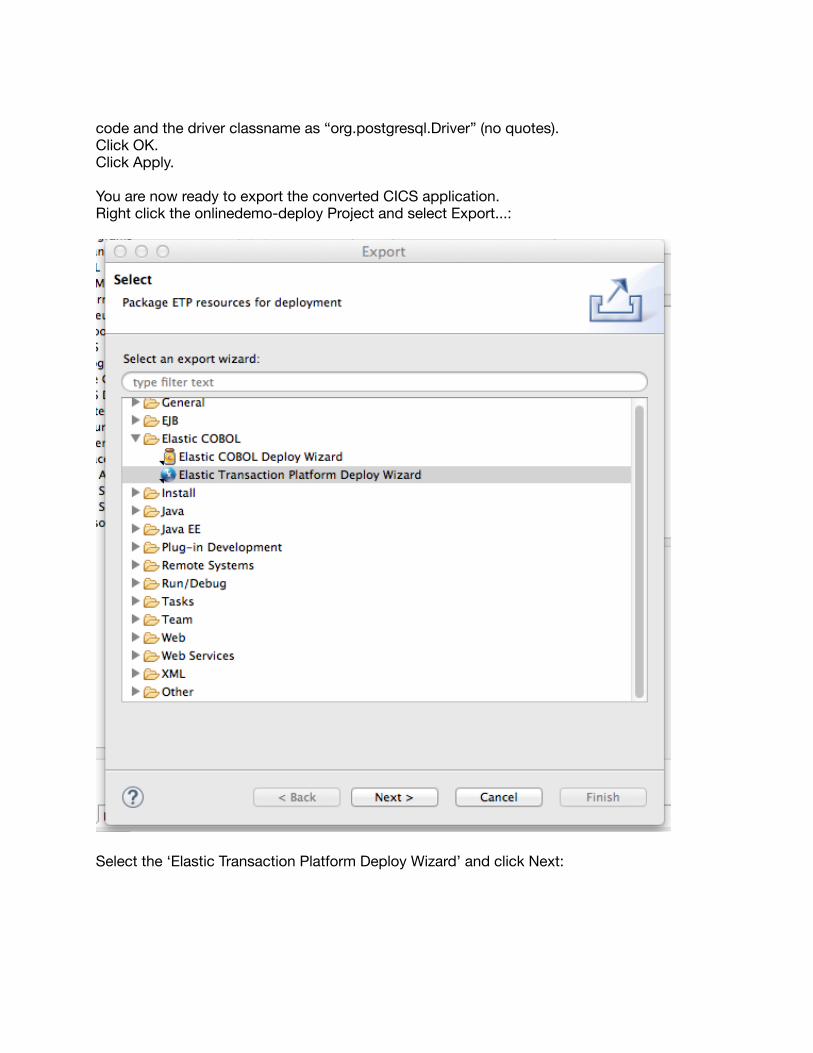
code and the driver classname as “org.postgresql.Driver” (no quotes).Click OK.Click Apply.
You are now ready to export the converted CICS application.Right click the onlinedemo-deploy Project and select Export...:
Select the ‘Elastic Transaction Platform Deploy Wizard’ and click Next:

Click the ‘Cloud’ radio button:
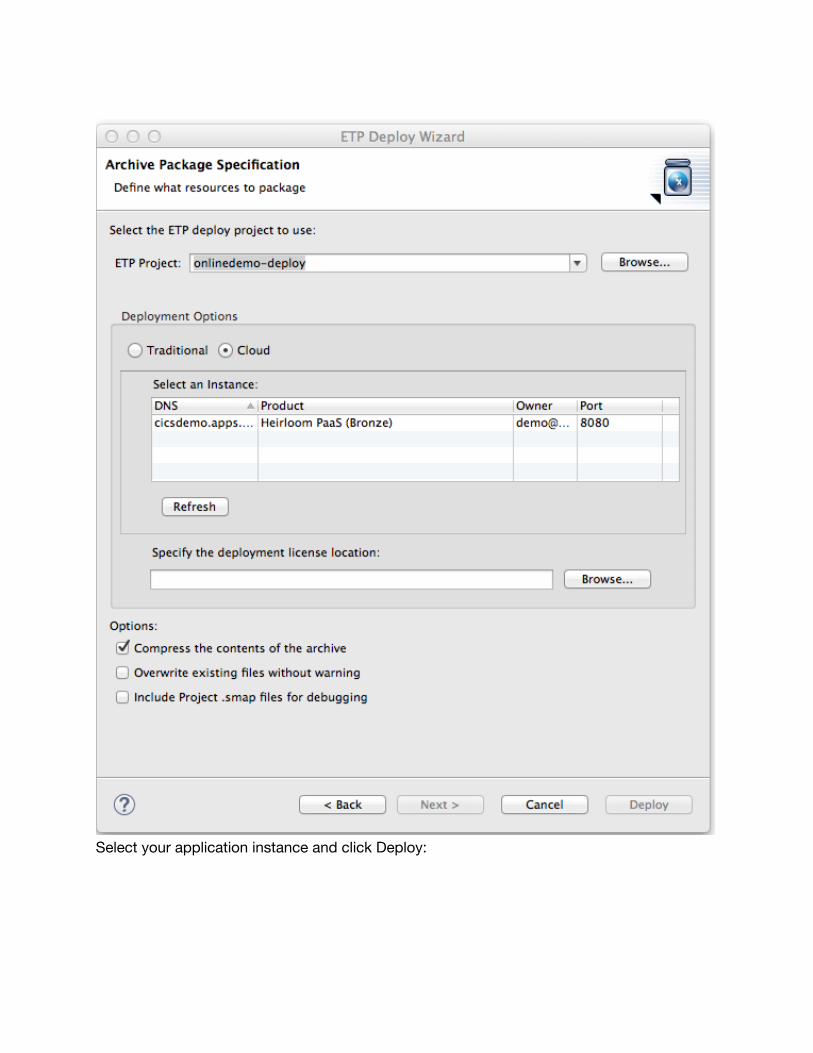
Select your application instance and click Deploy:

Click ‘OK’ to clear the info messages dialog.The deploy wizard will deploy the application to your PaaS instance, this may take severalseconds.
Once it is done you will see this dialog:
Click the ‘Launch’ button:
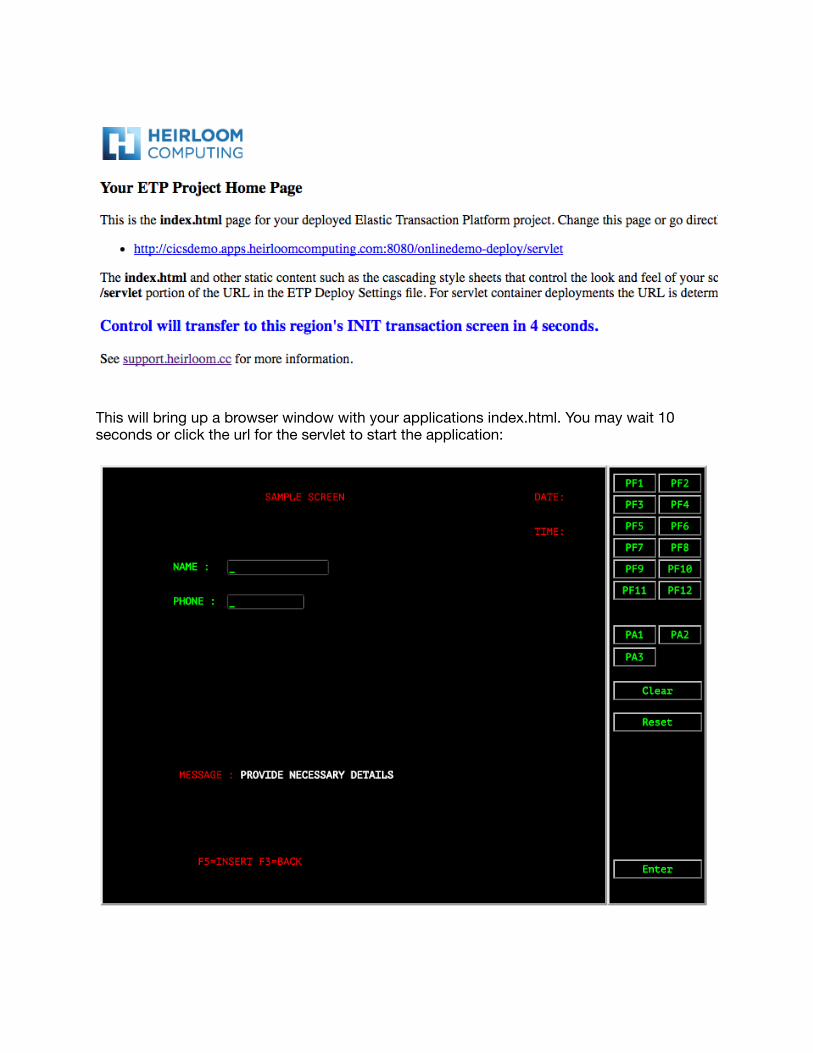
This will bring up a browser window with your applications index.html. You may wait 10seconds or click the url for the servlet to start the application:
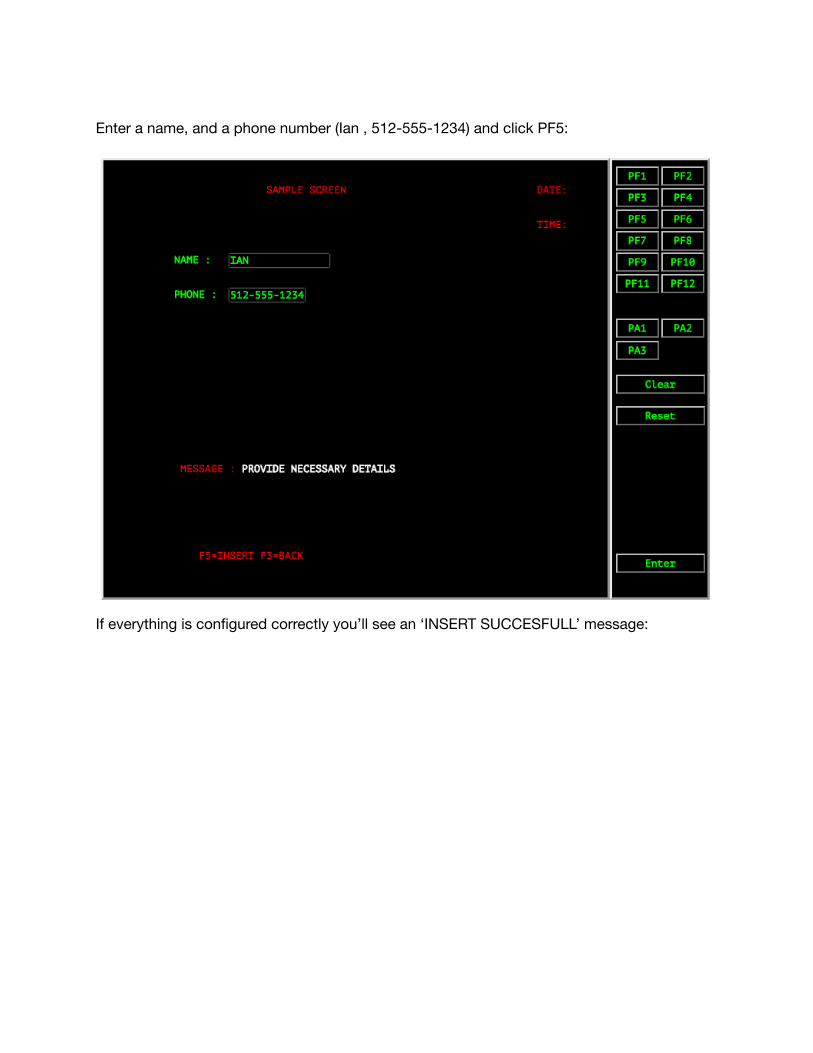
Enter a name, and a phone number (Ian , 512-555-1234) and click PF5:
If everything is configured correctly you’ll see an ‘INSERT SUCCESFULL’ message:
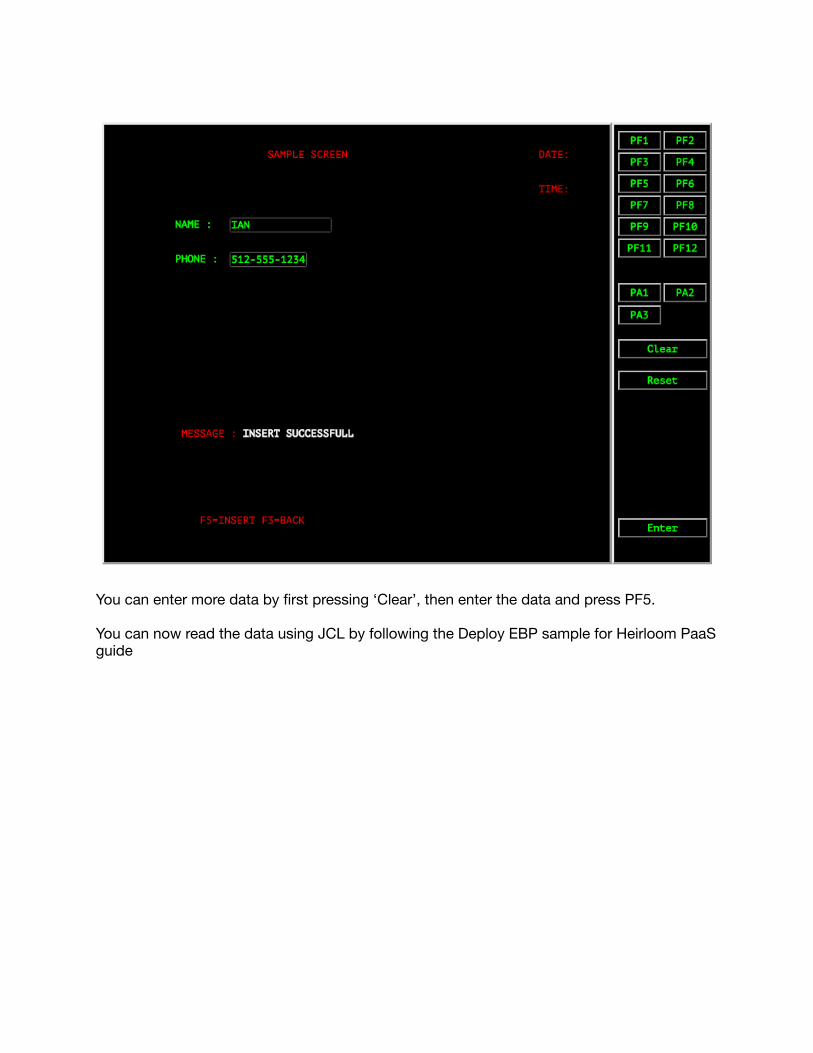
You can enter more data by first pressing ‘Clear’, then enter the data and press PF5.
You can now read the data using JCL by following the Deploy EBP sample for Heirloom PaaSguide