1999.5-2003 ford 7.3l powerstroke up-pipes · 99.5-03 ford 7.3l up-pipes qty. 1 1 1 2 4 description...
TRANSCRIPT

1999.5-2003
Ford 7.3L Powerstroke
Up-Pipes

1
DISCLAIMER
1) By installing this product onto your vehicle, you assume all risk and liability associated with its use.
2) It is your responsibility to make sure your vehicle complies with all federal, state, and local emissions laws. Federal and many state and local laws prohibit the removal, modi�cation or rendering inoperative of any part of the design a�ecting emissions or safety on motor vehicles used on a public street or highway. Violation may result in a �ne of up to $32,500 per vehicle (or possibly higher depending on changes in the law). All civil penalties and �nes for removing your vehicle’s emissions equipment are the sole responsibility of the end user.
3) Due to its high performance nature, this product may void vehicle manufacturer’s warranty.
4) Sinister Mfg Company, Inc. is not responsible for misuse of its products. By installing this product, you release Sinister Mfg Company, Inc. of any and all liability associated with its use.
5) Depending on where you live, restrictions may apply. Check all applicable laws before installing or using!
6) The purchaser and end user releases, indemni�es, discharges and holds harmless Sinister Mfg Company, Inc. from any and all claims, damages, causes of action, injuries, or expenses resulting from or relating to the use or installation of this product that is in violation of the terms and conditions on this page, the product disclaimer, and/or the product installation instructions. Sinister Mfg Company, Inc. will not be liable for any direct, indirect, consequential, punitive, statutory, or incidental damages or �nes caused by the use or installation of this product.
!
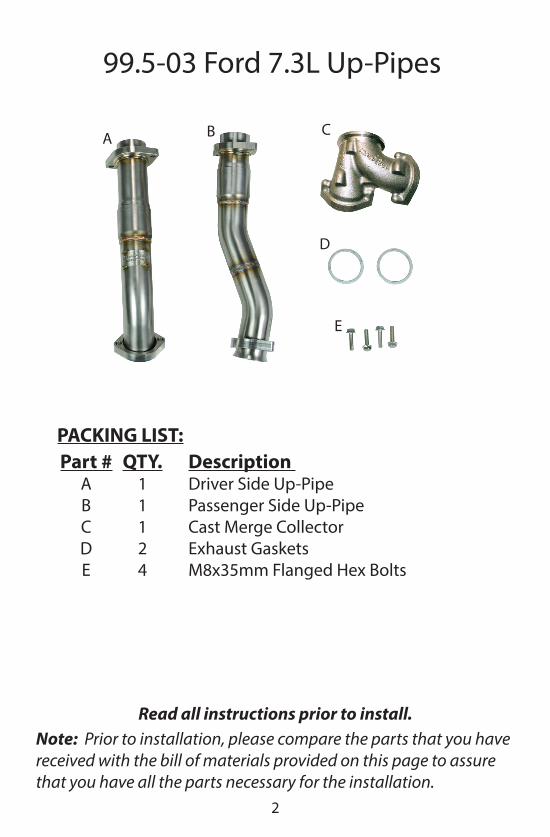
99.5-03 Ford 7.3L Up-Pipes
QTY.11124
Description Driver Side Up-Pipe Passenger Side Up-PipeCast Merge CollectorExhaust Gaskets M8x35mm Flanged Hex Bolts
Note: Prior to installation, please compare the parts that you have received with the bill of materials provided on this page to assure that you have all the parts necessary for the installation.
2
Read all instructions prior to install.
PACKING LIST:
A B C
D
E
Part #ABCDE

3
!CAUTION!!! Never work on a hot vehicle. Serious injury in the form of burns can result if the vehicle has been in use. Allow vehicle to cool prior to installation. Always wear eye protection when working on or under any vehicle.
Note: With a used vehicle, we suggest using a penetrating spray lubricant to be applied liberally to all exhaust fasteners. When doing so, allow a signi�cant amount of time for the chemical to lubricate the threads before attempting to disassemble. Apply to nuts indicated in image 5.
1) Disconnect batteries, remove both of the intercooler charge pipes and intake �lter system. (Image 1)
2) Disconnect vacuum lines and wired connections from the cast intake manifold. Remove the cast manifold as well. (Image 2)
3) Remove the turbo and remove the factory up-pipes and cast merge collector.
4) Assemble the passenger side up-pipe and the cast merge collector using one of the new factory exhaust gaskets. Make sure the slip �tting is oriented correctly. Place the passenger side up-pipe in place and loosely bolt the clamp to the passenger exhaust manifold. (Image 3,4 & 5)
Image 2.5 x 1.6376
Image 1
Image 2
Image 3

4
5) Check the slip joint orientation on the driver side up-pipe, and install the other exhaust gasket in place. Pass the driver side up-pipe in place from underneath the vehicle. The up-pipe will slide into the cast merge piece �rst then seat onto the driver side exhaust mani-fold. Tighten the bolts securing the �ange to the cast merge piece then again loosely install the clamp bolts. There should be plenty of movement to mate the cast merge piece to the turbo. (Image 5)
6) Replace the turbo pedestal O-ring seals if you have acquired the optional O-ring kit. There is a set under and on top of the pedes-tal. It is recommended to lubricate the seals with engine oil before installation. (Image 6)
7) Place the V-band clamp on to the cast merge piece. Reinstall the turbo, and connect the back pres-sure valve linkage at the same time as setting the turbo into place. Reinstall all of the removed parts following steps 1 and 2 in reverse order. (Image 7)
Image 4
Image 5
Image 6
Image 7

Sinister Apparel and
Diesel Products
5
AR Exhaust™ Tip
7.3L Powerstroke Cold Air Intake
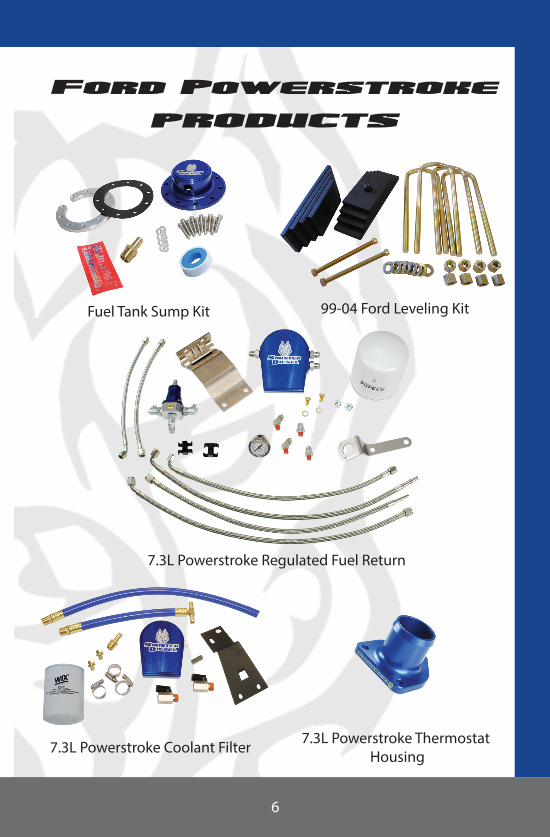
Ford Powerstroke
PRODUCTS
6
Fuel Tank Sump Kit 99-04 Ford Leveling Kit
7.3L Powerstroke Regulated Fuel Return
7.3L Powerstroke Coolant Filter 7.3L Powerstroke Thermostat Housing

2025 Opportunity Dr. Roseville CA, 95678
877-692-4110 - SinisterDiesel.com