1 selecting & planting landscape trees landscape considerations plan first, plant once know the...
TRANSCRIPT

1
Selecting &
Planting Landscape Trees
Landscape Considerations
Plan First, Plant
Once
Know the Site
Know the Tree
Installation
Top-most Root
Planting Depth
Palms
Presented by: Sheila Dunning

Key to SuccessProper planning and plant selection:
Can avoid problems later
Can save energy, effort, water, money, etc.
Makes the landscape more enjoyable

Plan First, Plant Once This is a process, not a
one-time event! Have a plan! Know the plants and what
they require to thrive Utilize regional gardening
books and magazines Consult with your County
Extension Office Ask qualified nursery
professionals for advice

How Do You Currently Use Your Property?
Family Activities? Pets? Outdoor entertainment? Low-maintenance? Do you like wildlife? Is there a view you
want to hide or enhance?

What are the site
characteristics?Soil Sand, silt, clay, Organic materials pH
Light Sun or shade
Drainage Wet or dry Drainage patterns
Structures and obstructions Utility lines (overhead and underground) Sidewalks / driveways

Know Your Plants What is the mature size
of the plant? Does it grow well in sun
or shade? Does it tolerate flooded
conditions? Is it salt tolerant? Is it susceptible to
pests which may be difficult to control?
Helianthus debilis
Beach Daisy

Selecting Plants Be familiar with botanical
namesBinomial nomenclature- a species name has 2 parts:
Genus and specific epithet Buy healthy plants
Look for new growthRoots are white and fibrousAvoid pot bound plantsAvoid diseased or insect infested plants
Jerusalem ThornParkinsonia aculeata
Genus Specific epithet

Seasonal Growth
Different parts of the plant grow at different times of the year
Pattern varies by species and climate

Shallow is Better than Deep
Dig the planting hole as wide as possible The depth of the hole should be less than
the height of the root ball

Find the Top-most Root
The point where the top-most root meets the trunk of the tree should be no more than 2”deep in the root ball

Remove Excess Soil
If the top-most root is too deep, remove soil from the top of the root-ball so the top-most root is within the top 2” of soil
Three inches of soil and media were removed from the top of this ball

Top root at surface
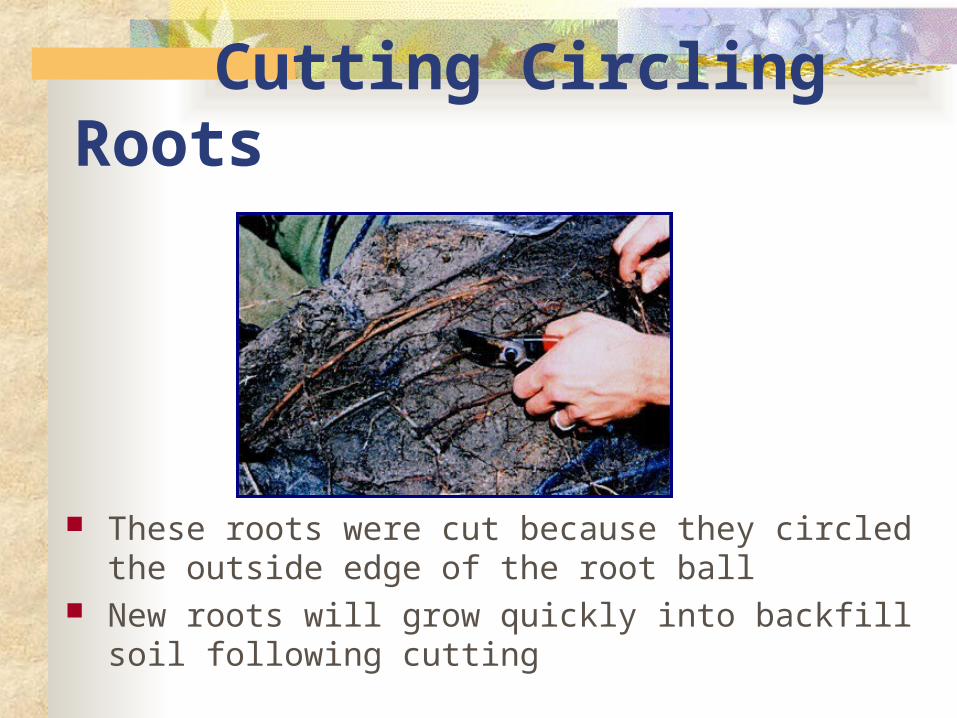
Cutting Circling Roots
These roots were cut because they circled the outside edge of the root ball
New roots will grow quickly into backfill soil following cutting
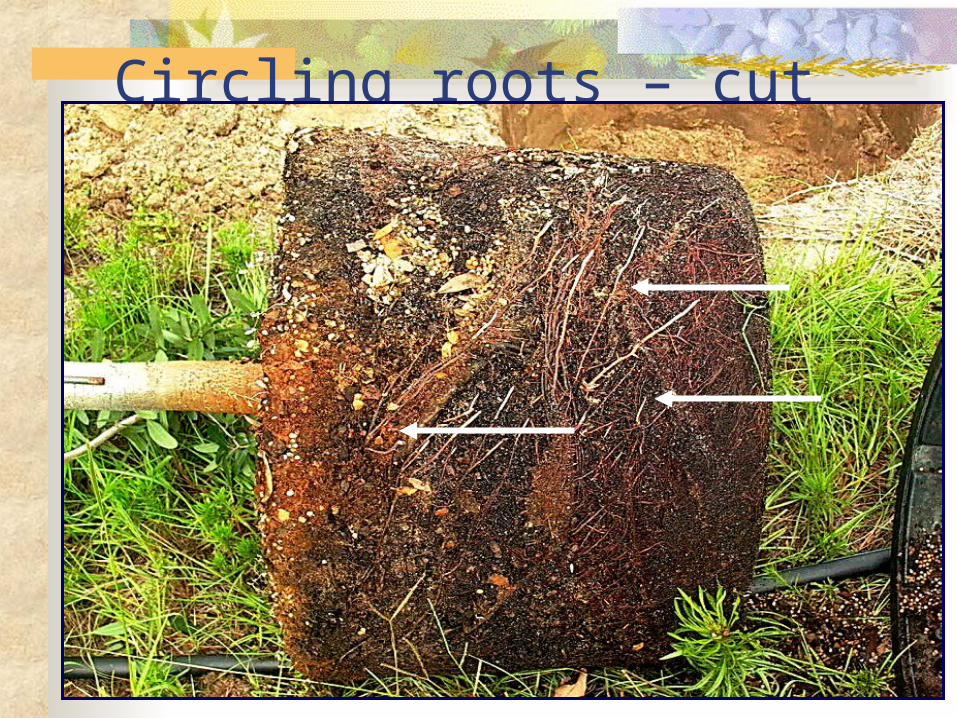
Circling roots – cut them

Shave the Rootball

Measure from Top Root to Bottom of
Container

Set Plant in the Hole
Rootball should be slightly higherthan surrounding grade

Straighten the Tree
Before adding backfill, be sure to check that the tree is straight by looking at it from two perpendicular directions

Enlarge Hole By Loosening Soil

Good Fill

Bad Fill!!

Water the Backfill to Settle

Lifting tree into the planting
hole To avoid damage
when setting the tree in the hole, lift the tree with straps or rope around the root ball, not by the trunk

Wire Baskets
Baskets made from heavy gauge wire are often used to help keep a root ball intact during shipping and handling

Balled and burlapped trees
Under optimal conditions, burlap would be removed from the bottom of the trunk and the top of root ball

Remove All Synthetic Burlap
Synthetic burlap melts into a plastic goo while real burlap flames and turns to ash
If burlap is synthetic, be sure to remove all of it with a pruner, knife or other sharp blade

Natural Burlap Burlap removed from the bottom of the
trunk and the top of root ball only – remainder will decay

Girdled Roots
Each of these roots is very easy to break off at the burlap because there is very little wood that developed through the burlap

Rootball Set Correctly?

Planted Too Deeply B&B
Top of root ball
Top of root system


Finished Creating Loose Soil

Traditional Staking Methods
All these systems require removal within one year of planting
Figure 1 Figure 3Figure 2

Alternative Staking Methods
These inexpensive alternative staking systems do not need to be removed because they simply decay in a few years
Figure 4 Figure 5

Mulching
Apply a 3” thick layer of mulch to at least an eight-foot diameter circle
Apply a thinner layer of mulch over the root ball, but keep it at least 10” from the trunk
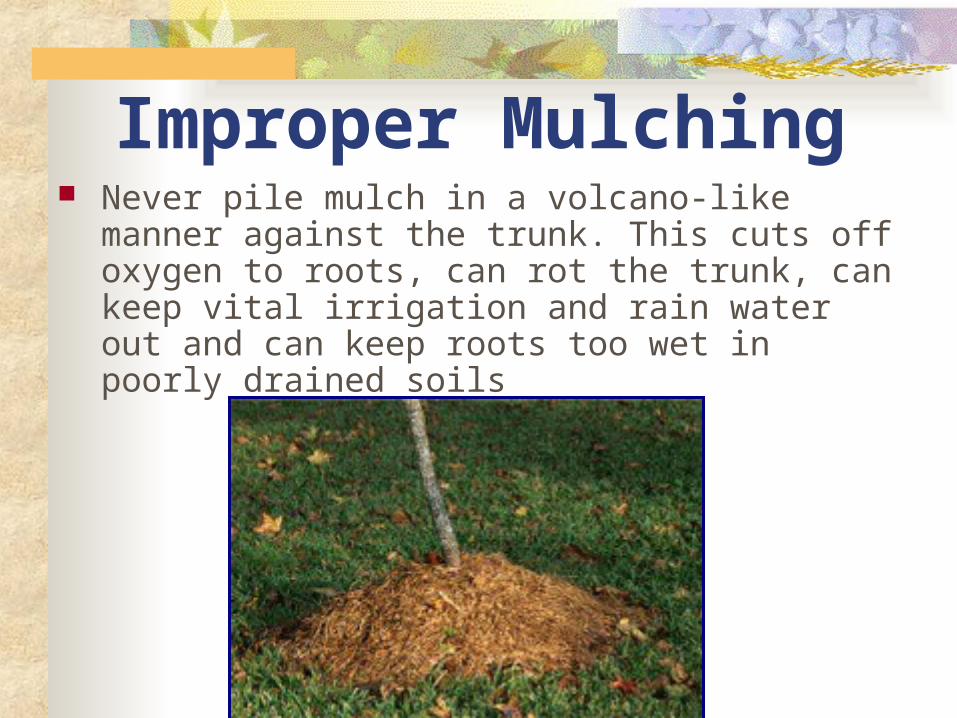
Improper Mulching Never pile mulch in a volcano-like manner
against the trunk. This cuts off oxygen to roots, can rot the trunk, can keep vital irrigation and rain water out and can keep roots too wet in poorly drained soils

Soil Berms
Berms made from soil allow water to soak into the root ball but, unless covered with mulch, rainfall will quickly wash soil from the berm onto the root ball
This could bury the roots too deep

Mulch Your Berm
Prevent soil from being washed over the root ball by constructing the berm entirely from mulch

Irrigation Management After
PlantingTree Size Irrigation
Schedule for Vigor
Irrigation Schedule for
Survival
< 2 inch caliper
Daily for 2 weeks; every other day for 2 months; weekly until established
Twice weekly for 2-3 months
2-4 inch caliper
Daily for 1 month; every other day for 3 months; weekly until established
Twice weekly for 3-4 months
> 4 inch caliper
Daily for 6 weeks; every other day for 5 months; weekly until established
Twice weekly for 4-5 months

Fertilizing New Trees
Avoid fertilizing a tree until it is established
Proper irrigation is important
Fertilize 4-6 weeks after planting
Liriodendron tulipifera
Tulip Poplar

Fertilizing Newly Planted Trees
•Adding slow release fertilizer of any type at planting has never been associated with improved or reduced survival.
• In most cases, it’s not necessary to fertilize after the tree has been in the ground several years.
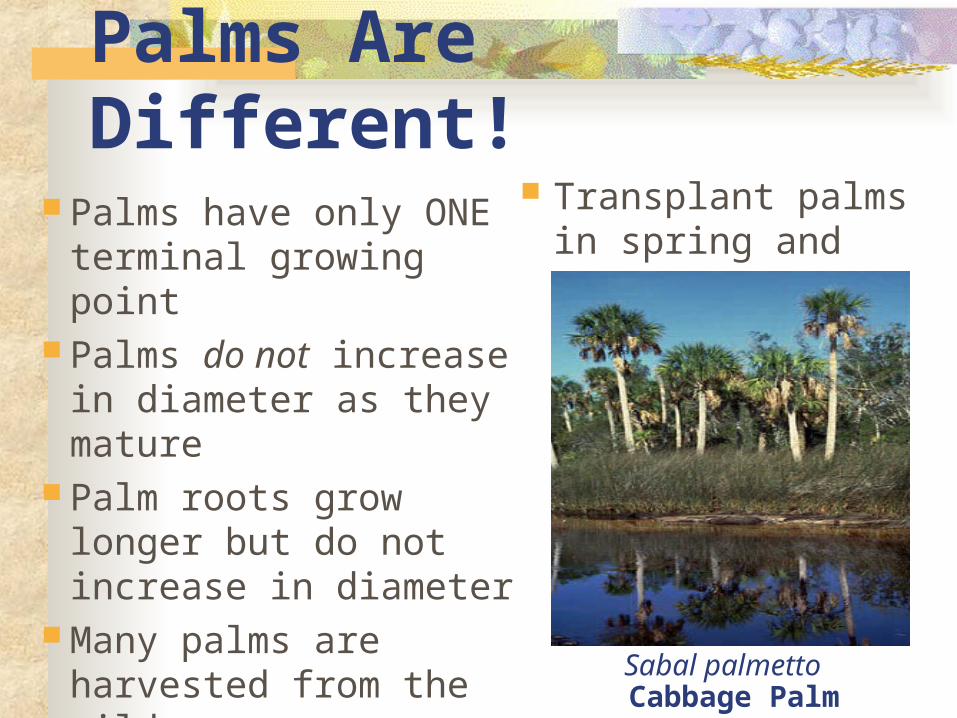
Palms Are Different!
Palms have only ONE terminal growing point
Palms do not increase in diameter as they mature
Palm roots grow longer but do not increase in diameter
Many palms are harvested from the wild
Transplant palms in spring and summer
Sabal palmetto Cabbage Palm

Thanks for your attention!