visualize a square casting a shadow on a floor or wall. 1. can the shadow be nonsquare? 2. can the...
TRANSCRIPT
Visualize a square casting a shadow on a floor or wall.
1. Can the shadow be nonsquare? 2. Can the shadow be nonrectangular?3. Can the measures of the shadow’s angles
be something other than 90°?
Warm-Up: February 17, 2015

Introduction to Geometry
Chapter 7Advanced Integrated Math I

Picturing and DrawingInvestigation 7A
Advanced Integrated Math I
1. Can the shadow of an equilateral triangle be a circle?
2. What kinds of shadows can an equilateral triangle cast?
Think-Pair-Share
When you can fold a figure in half so that the two halves fit exactly on top of each other, the shape is symmetric.
The line that contains the fold is a line of symmetry.
Symmetry
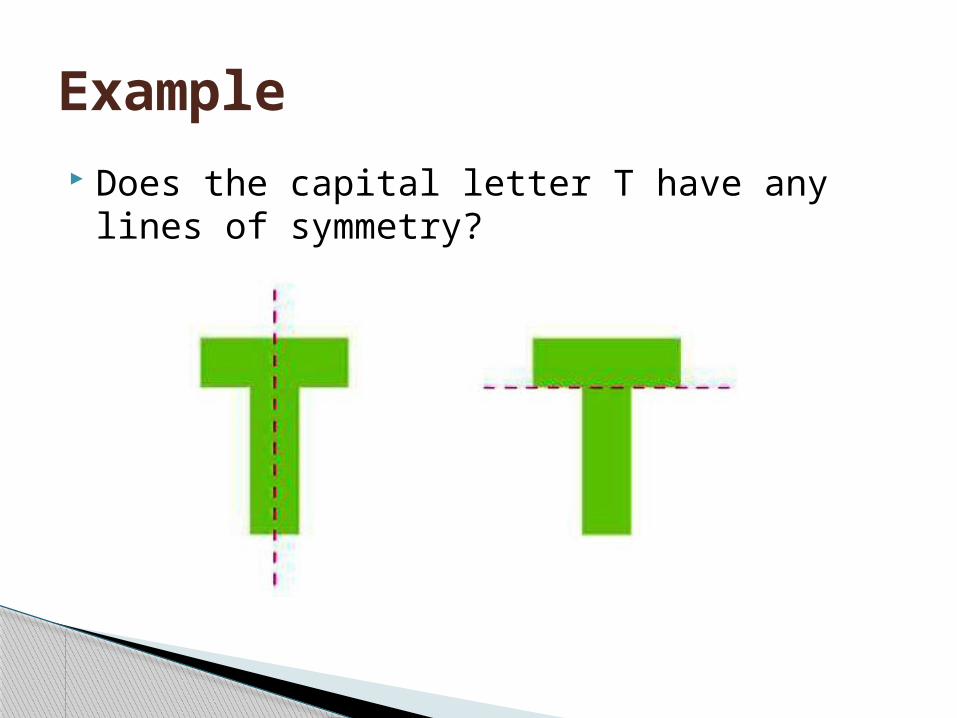
Does the capital letter T have any lines of symmetry?
Example

Which other letters are symmetric? Consider both lower case and upper case letters.
Which letters are both horizontally and vertically symmetric?
You-Try (with partner)
Describe the lines of symmetry of a circle
Think-Pair-Share
Page 560 #5-7
Assignment

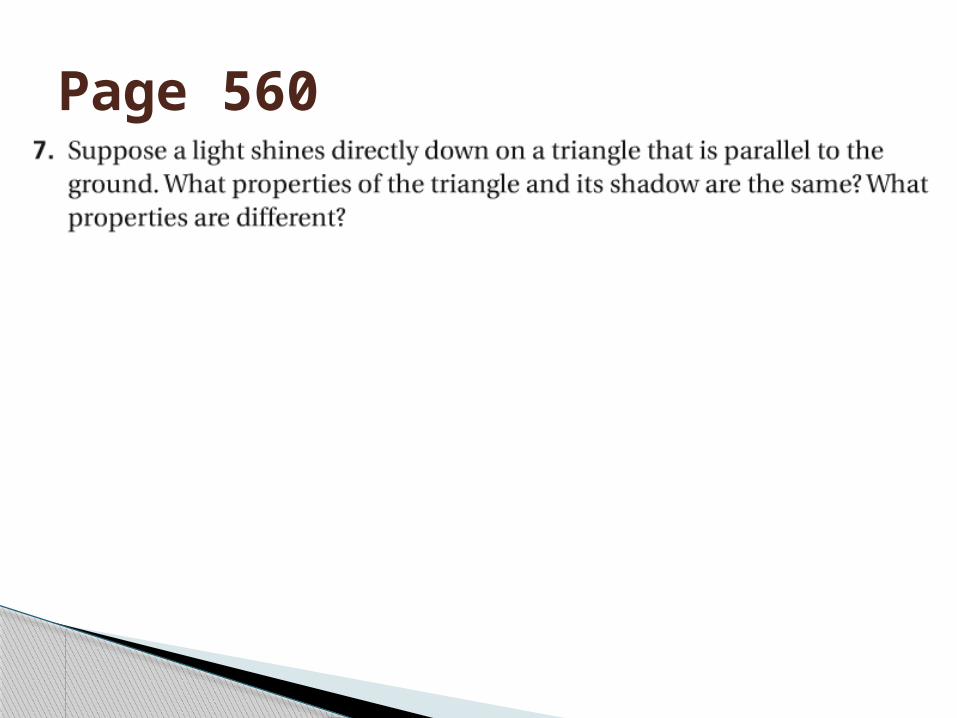
Page 560

Pag
e
56
0
Page 560


Write down a definition for the following terms:
Parallel lines Parallel planes
Warm-Up: February 23, 2015
Project due Friday
Project Questions?
Drawing 3-D ObjectsSection 7.02
Advanced Integrated Math I

A prism is a solid formed by translating a given base shape into the third dimension along a line.
A line segment is a part of a line that contains two endpoints and all the points between the two endpoints.
Parallel lines are lines in the same plane that do not intersect.
Parallel planes are planes in space that do not intersect.
Vocabulary

Choose a letter or other shape. Draw it in your notebook. This shape is the base of the prism you will draw. If you like, you can rotate the base of your prism into the third dimension.
Sample Recipe – Step 1
A prism needs two parallel bases, so draw a copy of your base shape near the first. Take care to make the line segments of the copy parallel to (and the same size as) the corresponding line segments of the first base.
Note that the word base does not necessarily mean the bottom or top of the solid. It can mean the front or the back.
Sample Recipe – Step 2

Connect the corresponding corners of the two bases. The result is called a wire-frame drawing.
Sample Recipe – Step 3

Wire-frame drawings can be visually confusing. Erasing the back lines may help the eye make sense of the picture.
Sample Recipe – Step 4

Shading can also help the eye make sense of the drawing. Shade all the visible parallel faces in your drawing.
In general, you should shade the visible parallel faces in the same way.
Sample Recipe – Step 5
Read Section 7.02 (pages 562-563) Page 564 #5, 6, 8, 9, 10
Assignment


Write down at least three different ways to describe the following shape:
Warm-Up: February 24, 2015
Homework Questions

Drawing and Describing Shapes
Section 7.03Advanced Integrated Math I

Names Features Recipe of how to draw it
Describing Shapes

A solid casts a circular shadow on the floor when lit from above. When lit from the front, it casts a square shadow on the back wall.
What could the shape of the solid be?
Think-Pair-Share
cylinder

A solid casts a circular shadow on the floor when lit from above. When lit from the left, it casts a triangular shadow on the right wall.
What could the shape of the solid be?
Think-Pair-Share
cone

A solid casts a circular shadow on the floor when lit from above. When lit from the left, it casts a triangular shadow on the right wall. When lit from the front, it casts a square shadow on the back wall
What could the shape of the solid be?
Think-Pair-Share
Screwdriver tip

Suppose you follow these directions: Face north. Walk four feet. Turn right. Walk
six feet. Turn right again. Walk four feet. Turn right again and walk six feet. Turn right again.
a) What shape will your path form?b) In what direction will you be facing when
you finish?
Think-Pair-Share

a) Draw two segments that are perpendicular at their midpoints. Connect the four endpoints in order.
b) Does the recipe describe only one shape? Explain.
You-Try

Read Section 7.03 (pages 566-567) Page 568 #4, 5, 6, 13
Assignment

Drawing From a Recipe – Reading and Writing
Directions for DrawingsSection 7.04
Advanced Integrated Math I

Draw a horizontal line segment.
You-Try – Step 1 (of 8)

Above the segment, draw two circles that are the same size and tangent to the segment. Leave some space between the two circles – a space roughly the size of the circles’ diameter.
You-Try – Step 2 (of 8)

Draw a line segment above the two circles and tangent to them. It should extend slightly beyond the two circles. Label this segment’s left endpoint L and its right endpoint R
You-Try – Step 3 (of 8)

From L, draw a segment upward that is perpendicular to LR and about half the length of LR. Label its top endpoint B.
From R, draw another segment in the same way. Label its top endpoint F.
You-Try – Step 4 (of 8)

Draw BF
You-Try – Step 5 (of 8)

Use a pencil to lightly extend BF about two-thirds of its length to the right. Label the endpoint of the new segment X.
You-Try – Step 6 (of 8)

Use a pencil to lightly draw a segment downward from X that is perpendicular to LR. This segment should be roughly the length of FR.
Find the midpoint of this new segment. Label it M.
You-Try – Step 7 (of 8)

Draw MR. Then erase the construction lines from Steps 6 and 7.
What does your picture look like?
You-Try – Step 8 (of 8)

Page 570 #5-9
Page 573 #1-8 (Investigation 7A Reflection)
Bring your textbook with you tomorrow. You will have all of class to work on your assignments.
Assignments