© 2018 falcon heavy 1:100 scale model instruction...
TRANSCRIPT

© 2018
Falcon Heavy 1:100 scale model
Instruction Manual
Introduction
It is important to review and study this manual very carefully before the assembly of the model. Some of the photos used for this presentation are from different prototypes that were initially designed before the final product. The photos of the Tesla Roadster are a combination of the prototype without the seats and the other prototype with seats and the Starman dummy.
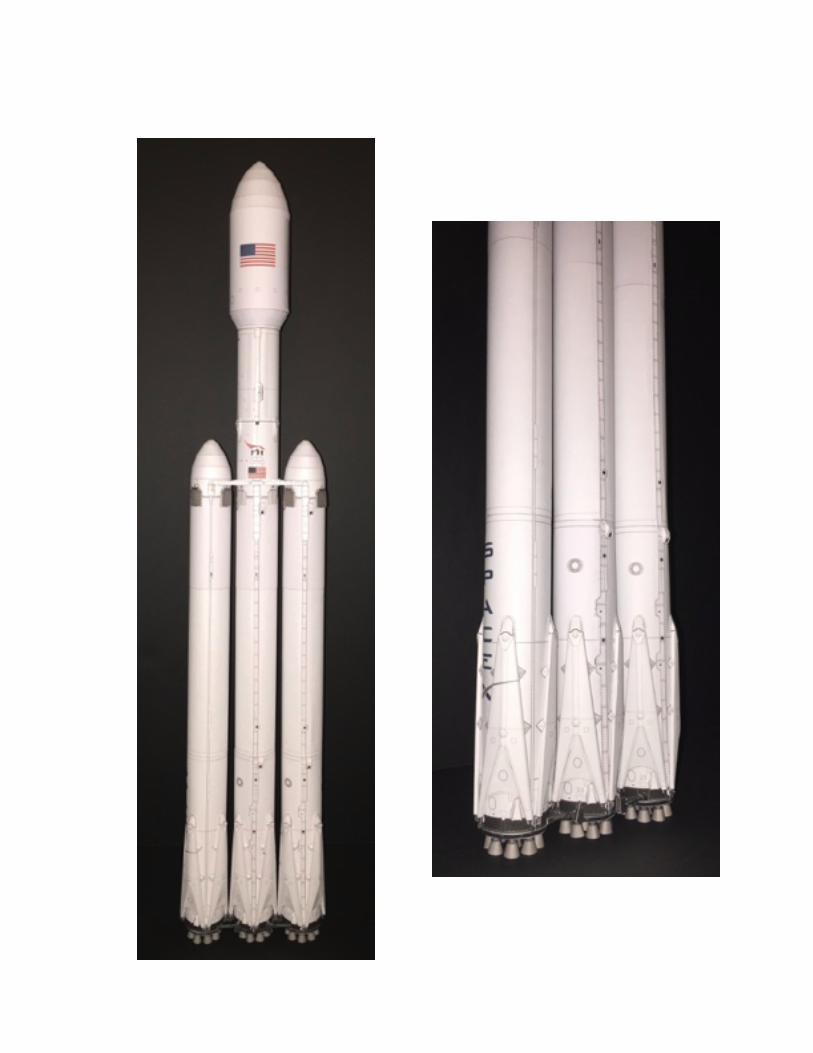
These photos are only to demonstrate the steps that are necessary to assemble the model.This manual does not explain on how to assemble the three boosters of the Falcon Heavy. Essentially, each booster is a separate Falcon 9, for which there is a separate manual to assemble the Falcon 9 located at my website. Check my main Falcon 9 page at my website to obtain the manual for the Falcon 9 v1.1. That manual explains on how to build the Falcon 9 with the Dragon capsule and also with the commercial fairing. It applies for the Falcon Heavy as well.
When I use my prototypes for a manual, these prototypes lack some of the details you see on the final product. One important tip to consider when building the Tesla Roadster is to use markers to color the edge of the paper, that way it will not show the white edges on the car as shown on the photos.
Your model should look much better than my prototypes.
Enjoy!
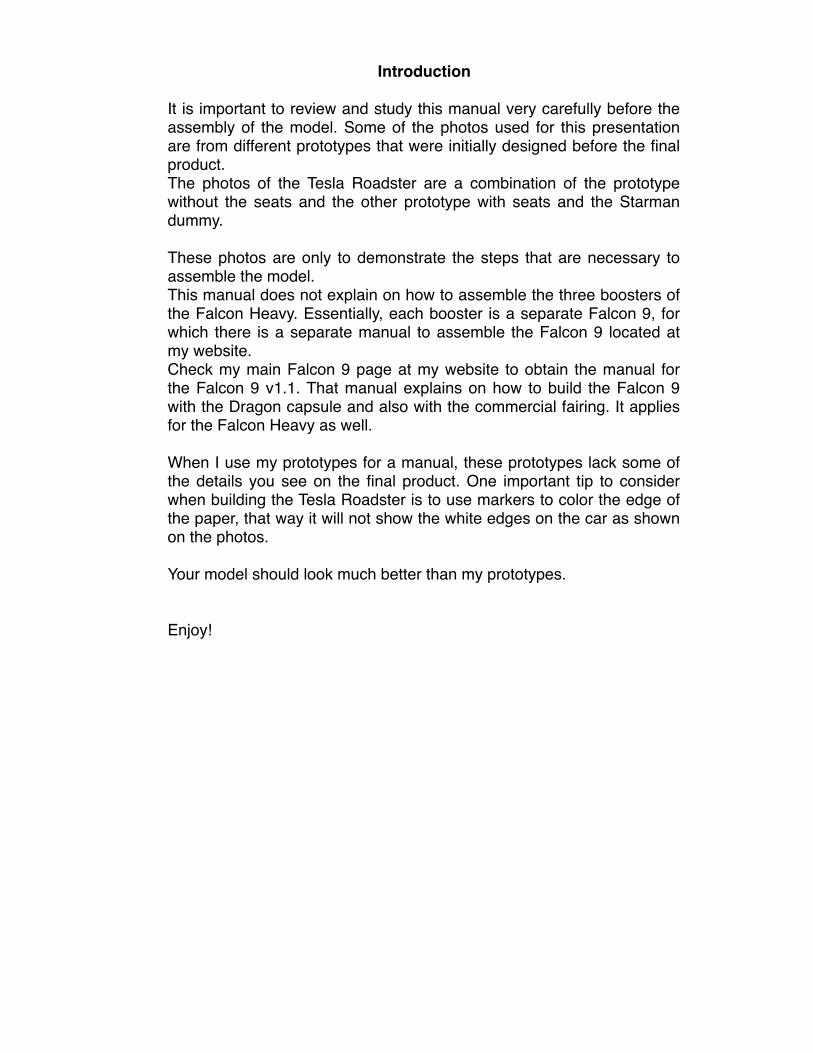
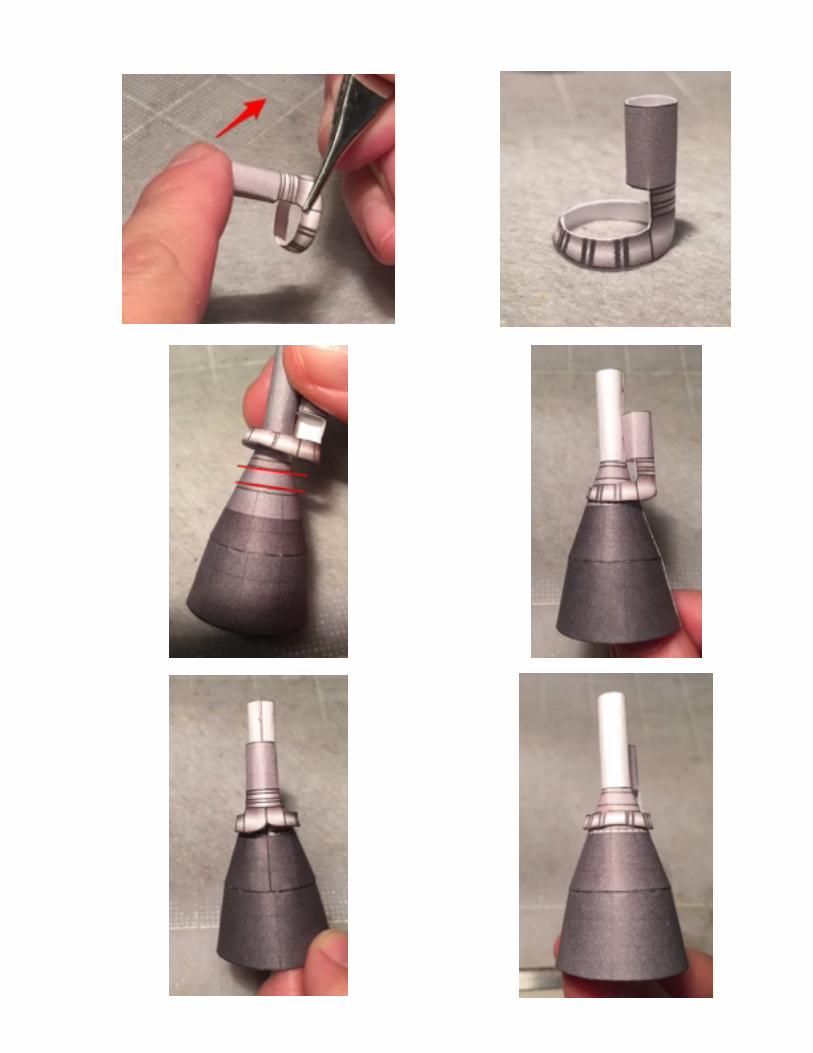
Side booster nosecone
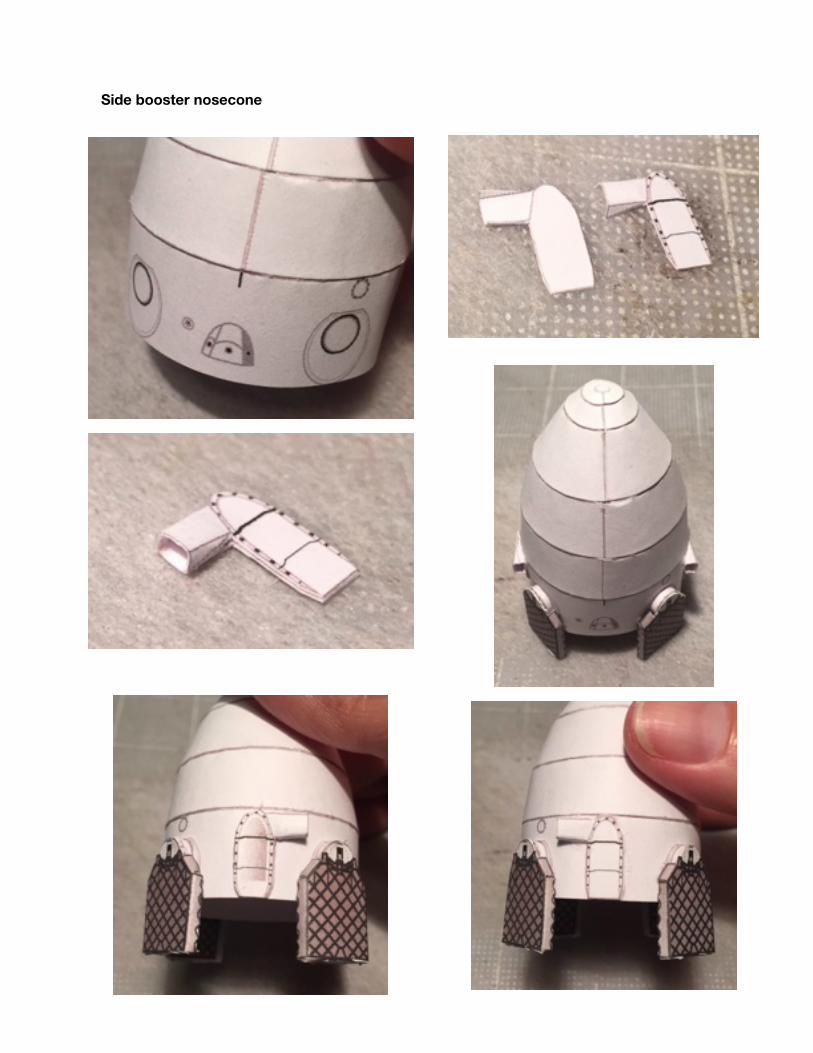
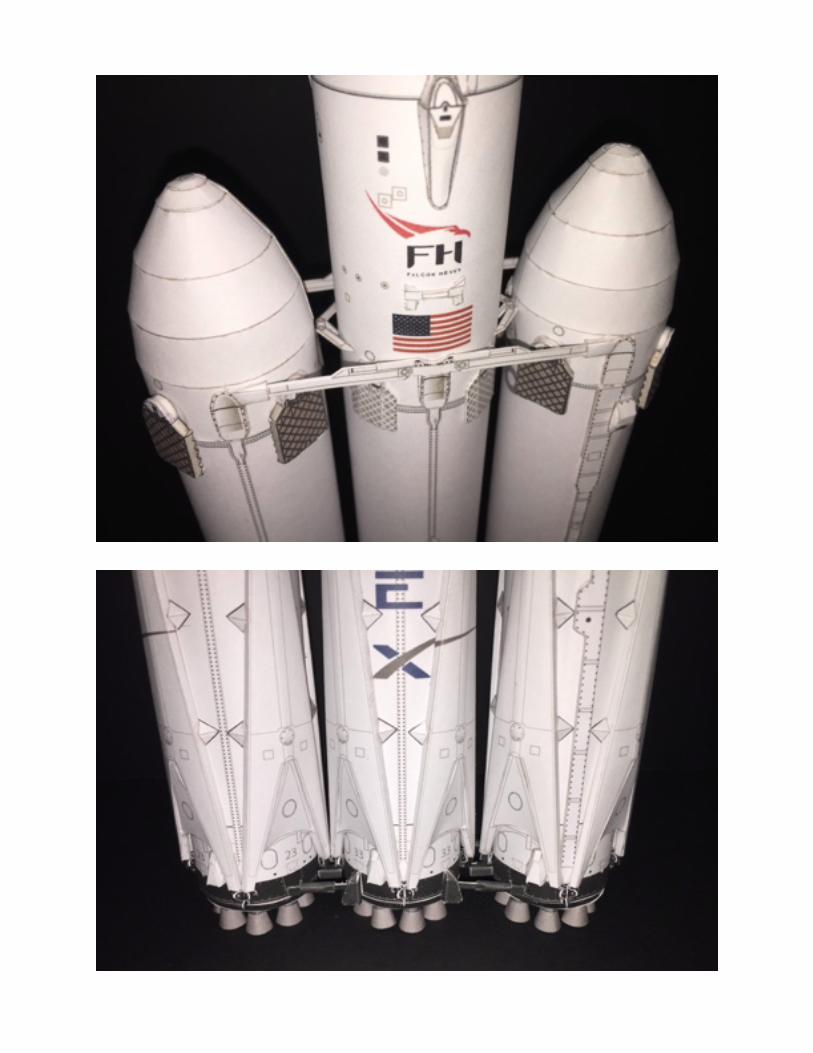
Central Core Upper Attachments


Lower booster attachments (side boosters)


Center Core attachment blocks


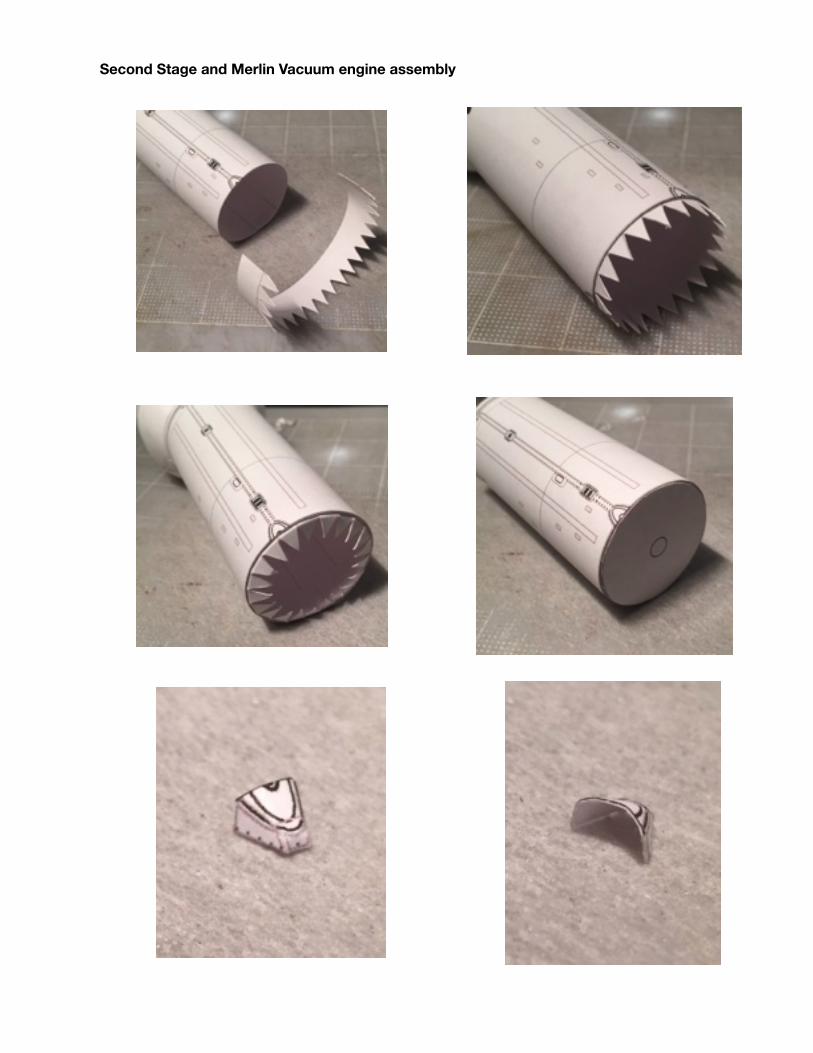
Second Stage and Merlin Vacuum engine assembly


Fairing for payload configuration only

Payload Attach Fitting (PAF)


PAF snaps in place. Do not glue.

Fairing snaps in place. Do not glue.

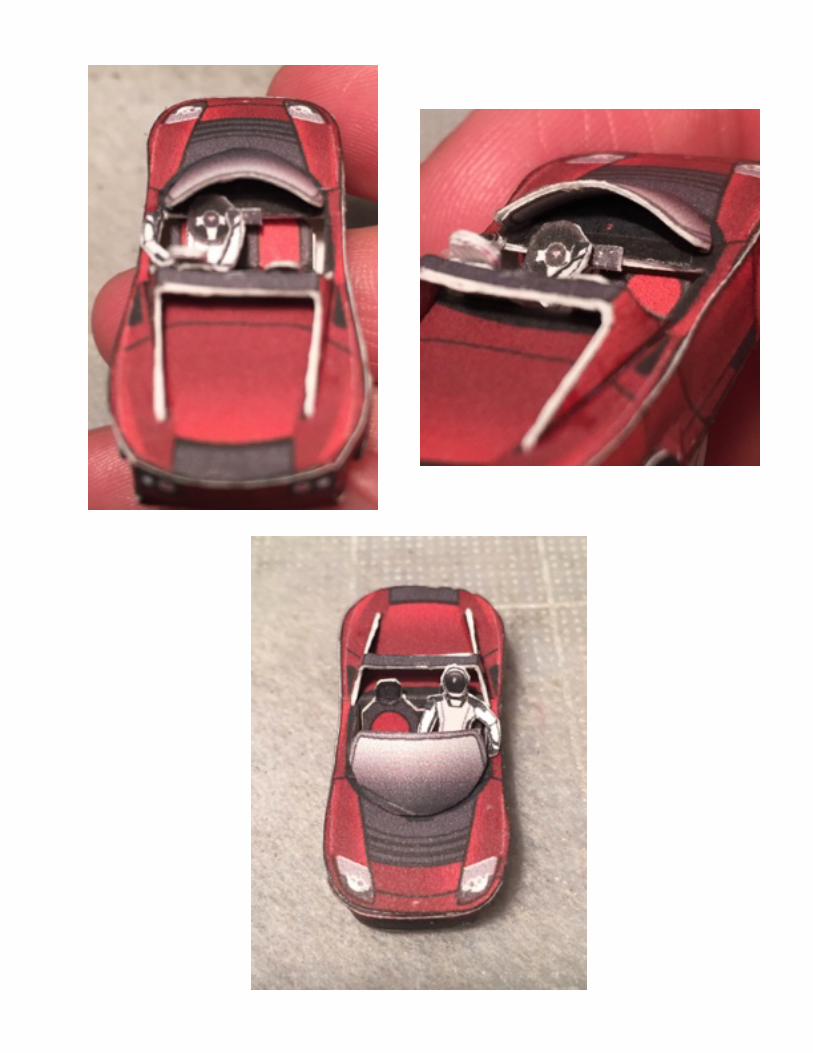
Tesla Roadster Assembly
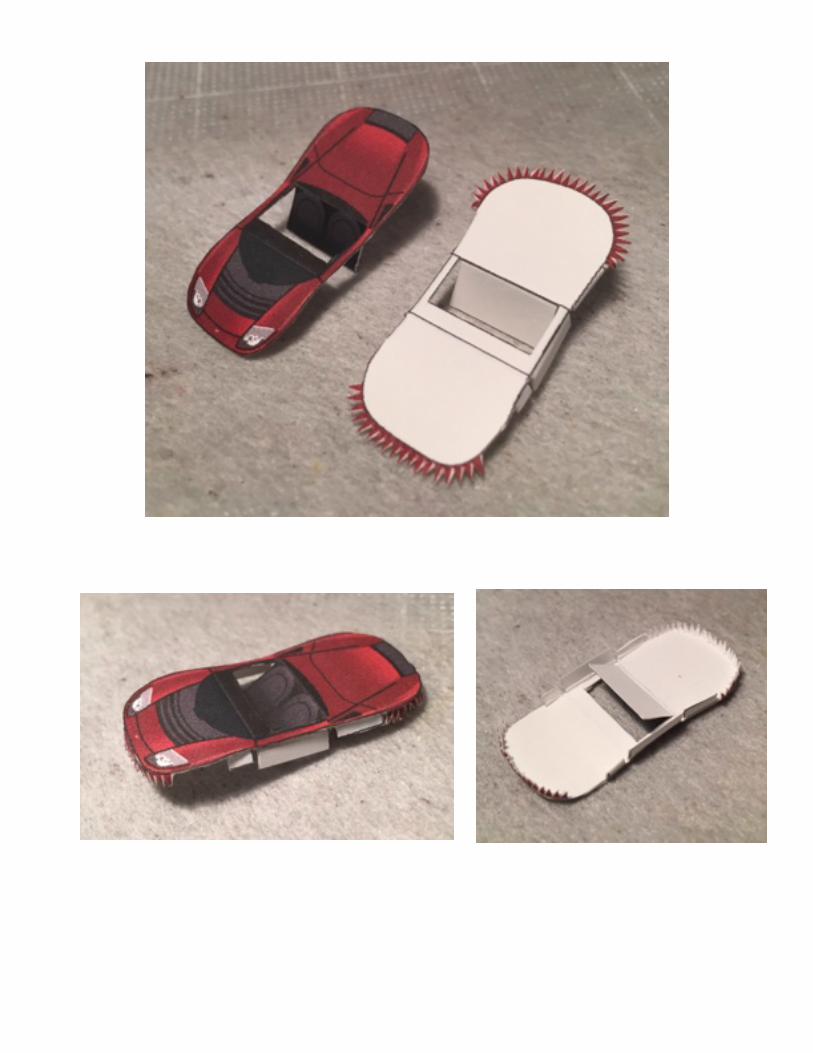

Prototype without seats


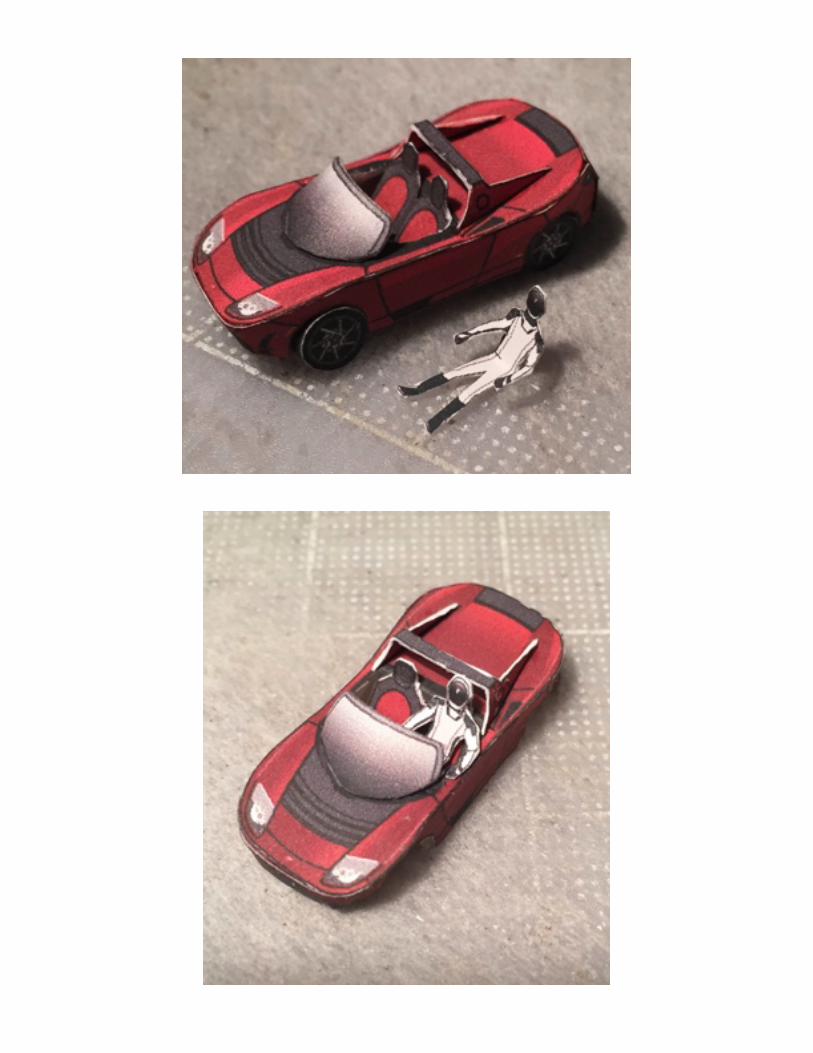


These two photos are for demonstration only. The arrows and the center line indicate where the front of the car has to be centered when is placed on top of the PAF (Payload Attach Fitting) or cone. The three small white dots and the little red handle are part of the real hardware as seen on photos from SpaceX. This is how the car is aligned before the thermal cover is placed. During the design of this cone I was not aware that there would be a cover. Regardless, this makes the model more accurate. Don’t you think?

Placing the camera mounts on the PAF


Use super glue or crazy glue when putting the camera mounts on top of the cone. Do not use water based glue because it will not stick to the tin foil.
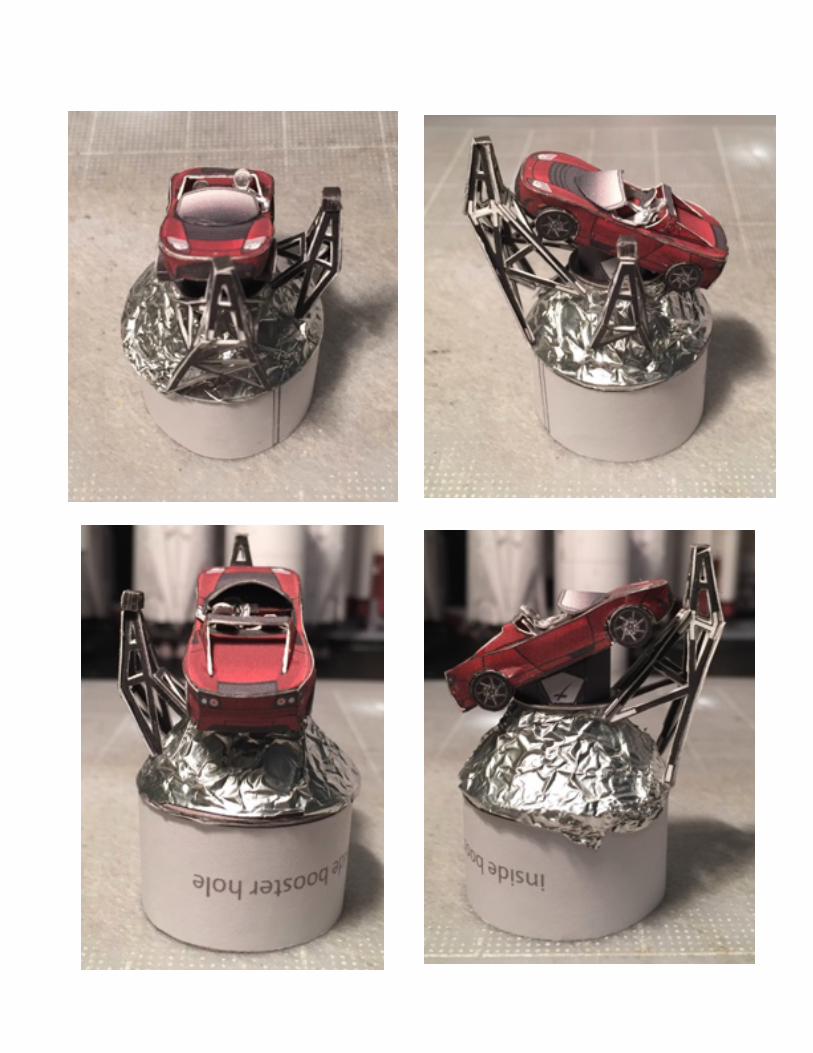

Photo from SpaceX showing the real flight hardware with the Tesla Roadster and camera mounts on top of the PAF.
The camera mounts designed for this model were based only from the photo shown above. They are not an actual replica because of lack of more photos.


Correct placement of car inside the fairing


On top of the standalone Second Stage

Reference photos


www.axmpaperspacescalemodels.com