your step-by-step makeup guide - beauty by nicholas step-by-step makeup guide simple make-up tricks...
TRANSCRIPT
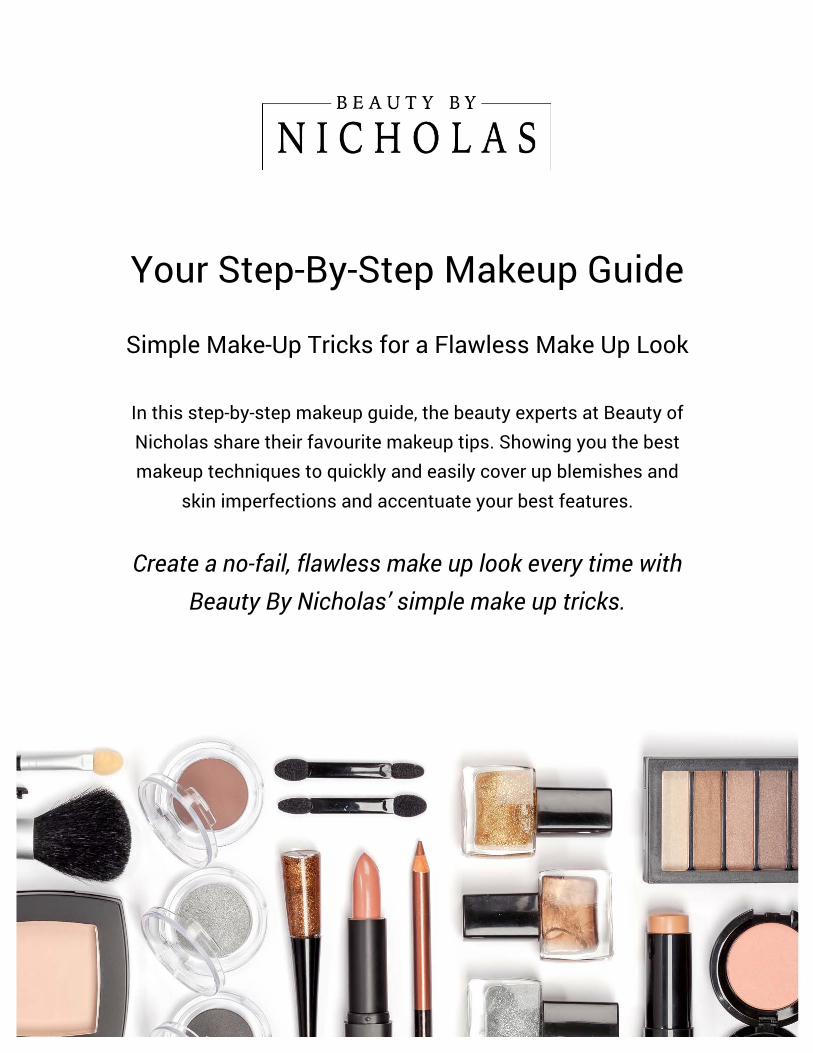
Your Step-By-Step Makeup Guide
Simple Make-Up Tricks for a Flawless Make Up Look
In this step-by-step makeup guide, the beauty experts at Beauty of Nicholas share their favourite makeup tips. Showing you the best makeup techniques to quickly and easily cover up blemishes and
skin imperfections and accentuate your best features.
Create a no-fail, flawless make up look every time with Beauty By Nicholas’ simple make up tricks.
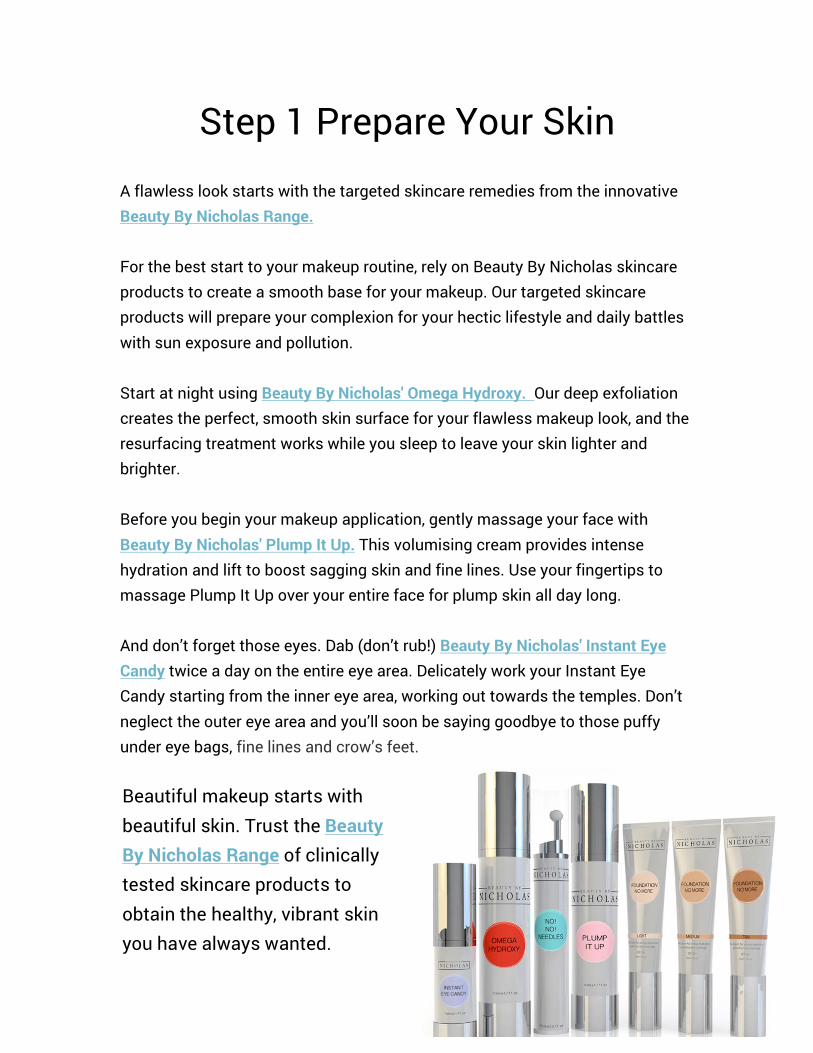
Step 1 Prepare Your Skin A flawless look starts with the targeted skincare remedies from the innovative Beauty By Nicholas Range. For the best start to your makeup routine, rely on Beauty By Nicholas skincare products to create a smooth base for your makeup. Our targeted skincare products will prepare your complexion for your hectic lifestyle and daily battles with sun exposure and pollution. Start at night using Beauty By Nicholas' Omega Hydroxy. Our deep exfoliation creates the perfect, smooth skin surface for your flawless makeup look, and the resurfacing treatment works while you sleep to leave your skin lighter and brighter. Before you begin your makeup application, gently massage your face with Beauty By Nicholas' Plump It Up. This volumising cream provides intense hydration and lift to boost sagging skin and fine lines. Use your fingertips to massage Plump It Up over your entire face for plump skin all day long. And don’t forget those eyes. Dab (don’t rub!) Beauty By Nicholas' Instant Eye Candy twice a day on the entire eye area. Delicately work your Instant Eye Candy starting from the inner eye area, working out towards the temples. Don’t neglect the outer eye area and you’ll soon be saying goodbye to those puffy under eye bags, fine lines and crow’s feet.
Beautiful makeup starts with beautiful skin. Trust the Beauty By Nicholas Range of clinically tested skincare products to obtain the healthy, vibrant skin you have always wanted.

Step 2 Cover Up Grab your Beauty By Nicholas’ Foundation No More for flawless complexion. If you have blemishes, broken capillaries, dark circles under eyes, age spots or acne, try the method professional makeup artists swear by to create an even skin tone. Use a brush and your Foundation No More to draw a deep “V” or triangle pattern under each eye. Create the “V” all the way from the outer corner to the inner corner, with the tip of the “V” resting at the top of your cheekbone. Blend each “V”, starting in the corner of the eye, feathering as you go deeper into the base of the “V” towards your cheekbone, then out to your temples. Now that any trouble spots are covered, use your Foundation No More to complete your flawless complexion look. Start at your T-zone, using gentle circular motions with your fingers, or light strokes with your makeup brush to blend your foundation outward from the center of your face towards your hairline, always working your brush or fingers in a downward motion. Hate the way your makeup accentuates those annoying fine lines and facial wrinkles? Make Beauty By Nicholas’ No No Needles! your go-to wrinkle removal treatment! With just a roll the No No Needles! serum instantly relaxes and smoothes fine lines and wrinkles, without the horrible frozen look.
Avoid obvious lines by blending around the hairline and over your checks past your jawline to your neck.

Step 3 Powder Puff It! Make sure your perfectly blended Foundation No More stays in place all day and is shine-free with a cover of powder. Dip your powder puff or large, fluffy rounded brush into your powder, then tap or shake of the excess and avoid that caked on look.
Again start at your T-zone and dust the powder over your face using delicate long strokes.
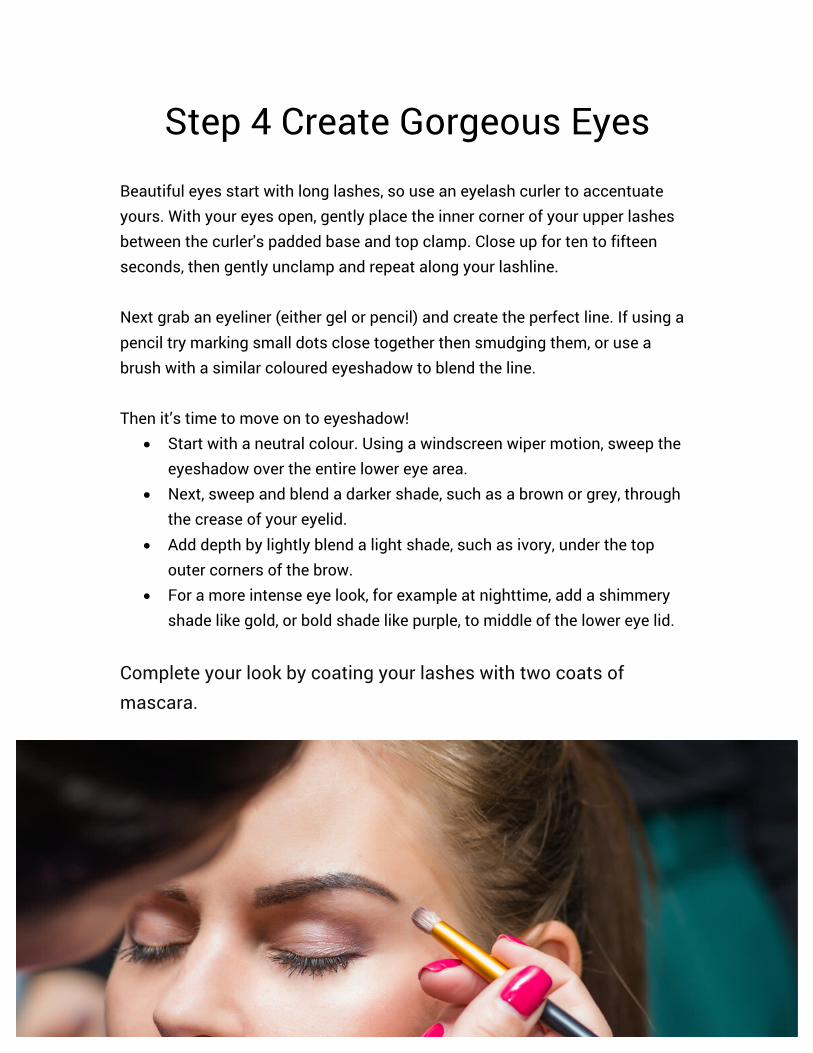
Step 4 Create Gorgeous Eyes Beautiful eyes start with long lashes, so use an eyelash curler to accentuate yours. With your eyes open, gently place the inner corner of your upper lashes between the curler's padded base and top clamp. Close up for ten to fifteen seconds, then gently unclamp and repeat along your lashline. Next grab an eyeliner (either gel or pencil) and create the perfect line. If using a pencil try marking small dots close together then smudging them, or use a brush with a similar coloured eyeshadow to blend the line. Then it’s time to move on to eyeshadow!
• Start with a neutral colour. Using a windscreen wiper motion, sweep the eyeshadow over the entire lower eye area.
• Next, sweep and blend a darker shade, such as a brown or grey, through the crease of your eyelid.
• Add depth by lightly blend a light shade, such as ivory, under the top outer corners of the brow.
• For a more intense eye look, for example at nighttime, add a shimmery shade like gold, or bold shade like purple, to middle of the lower eye lid.
Complete your look by coating your lashes with two coats of mascara.

Step 5 Bronze Up For a sun-kissed look, use a large, soft brush to lightly dust bronzer on your forehead, high on the cheekbones and jawline and nose – all the places our face gets sun.
For best results, start with light and build your bronze.
Step 6 Get Flushed First step is to find those cheeks! Smile and locate the apples of your cheeks, these are the nice round raised sections of your cheek. Sweep small amounts of blush from your apples, blending outwards towards your temples.
Build more colour for a deeper effect.
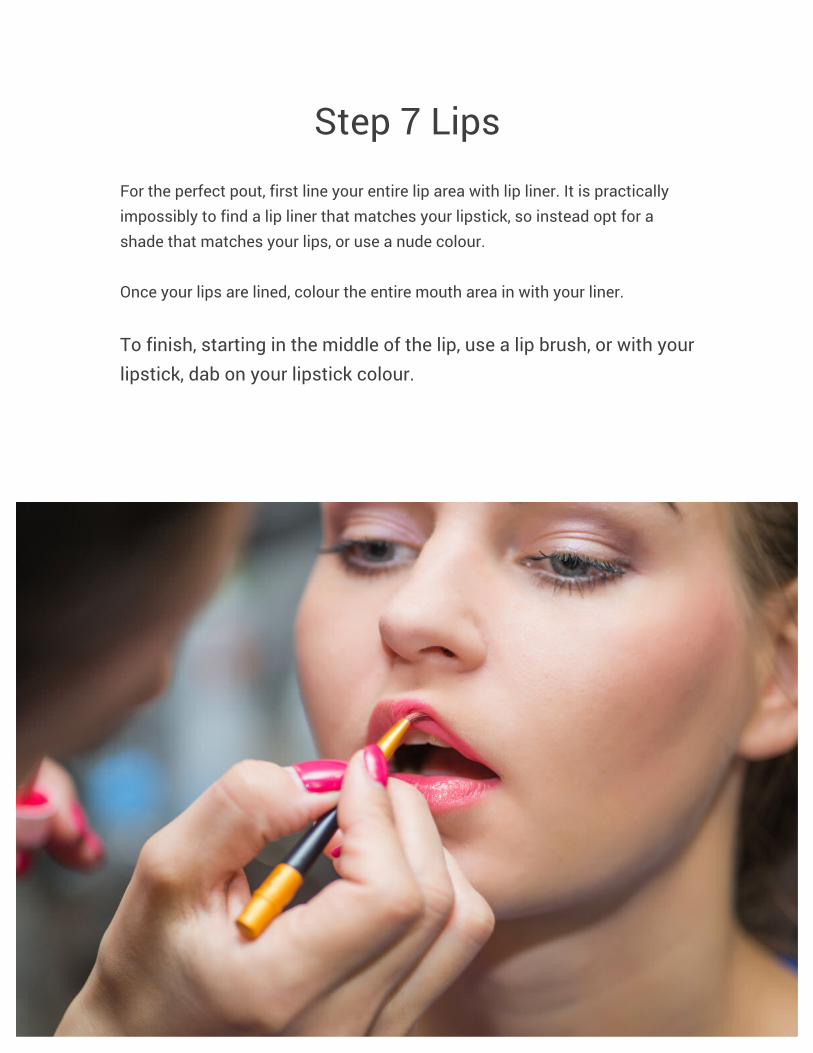
Step 7 Lips For the perfect pout, first line your entire lip area with lip liner. It is practically impossibly to find a lip liner that matches your lipstick, so instead opt for a shade that matches your lips, or use a nude colour. Once your lips are lined, colour the entire mouth area in with your liner.
To finish, starting in the middle of the lip, use a lip brush, or with your lipstick, dab on your lipstick colour.