wifi camera (360eyes) installation manual iphone … camera (360eyes) installation manual iphone ios...
TRANSCRIPT

WiFi Camera (360eyeS)
Installation Manual
iPhone IOS
Android

iPhone IOS
Smart Phone
Installation
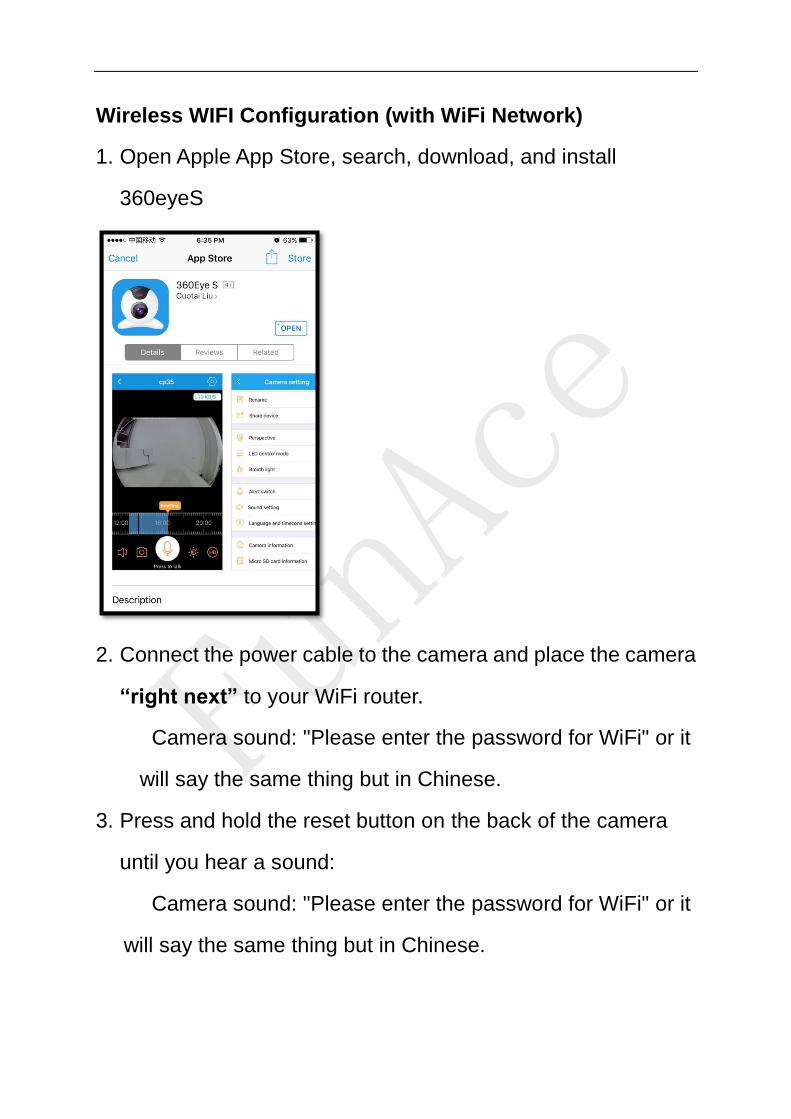
Wireless WIFI Configuration (with WiFi Network)
1. Open Apple App Store, search, download, and install
360eyeS
2. Connect the power cable to the camera and place the camera
“right next” to your WiFi router.
Camera sound: "Please enter the password for WiFi" or it
will say the same thing but in Chinese.
3. Press and hold the reset button on the back of the camera
until you hear a sound:
Camera sound: "Please enter the password for WiFi" or it
will say the same thing but in Chinese.

4. Open the app 360eyeS. Click sign up to create an account.

5. On the following screen, choose your country, enter your
email, and click “Obtain.” You should receive an email with
the verification code in a couple of minutes. If you don’t
receive an email in 2 minutes, click on “Obtain” again. Enter
the code and click “Next.”

6. On the following screen, type and confirm your password and
click “Finish” will bring you back to the sign in page.

7. Sign in with your email and password and click the + icon on
the top right of this screen to add a new camera.

8. The top of the camera should have a red light blinking. If not,
reset the camera again. If so, click “Red light is blinking”
button on the following screen.

9. Your phone has to be connected to your WiFi network. You
should see your network name on the first line. Enter your
WiFi password on the second line and click “Next” on the
following screen

10. Increase the volume on your phone to the max and place
your phone really close to the camera and then click “Next.”

11. You will see the following screen, searching for the
camera through your WiFi connection. Wait for the tone “dong
dong” from the camera. Once you hear this tone, click this
button.

12. When your phone successfully connects to the camera via
your WiFi network, you will see a prompt for you to name your
camera. Give you camera a nick name and click “OK.”

13. Successfully Installed

Android
Smart Phone
Installation

Wireless WIFI Configuration (with WiFi Network)
1. Open Google Play Store, search, download, and install
360eyeS
2. Connect the power cable to the camera and place the camera
“right next” to your WiFi router.
Camera sound: "Please enter the password for WiFi" or it
will say the same thing but in Chinese.
3. Press and hold the reset button on the back of the camera
until you hear a sound:
Camera sound: "Please enter the password for WiFi" or it
will say the same thing but in Chinese.

4. Open the app 360eyeS. Click sign up to create an account.

5. On the following screen, choose your country, enter your
email, and click “Obtain.” You should receive an email with
the verification code in a couple of minutes. If you don’t
receive an email in 2 minutes, click on “Obtain” again. Enter
the code and click “Next.”

6. On the following screen, type and confirm your password and
click “Finish” will bring you back to the sign in page.

7. Sign in with your email and password and click the + icon on
the top right of this screen to add a new camera.

8. The top of the camera should have a red light blinking. If not,
reset the camera again. If so, click “Red light is blinking”
button on the following screen.

9. Your phone has to be connected to your WiFi network. You
should see your network name on the first line. Enter your
WiFi password on the second line and click “Next” on the
following screen

10. Increase the volume on your phone to the max and place
your phone really close to the camera and then click “Next.”

11. You will see the following screen, searching for the
camera through your WiFi connection. Wait for the tone “dong
dong” from the camera. Once you hear this tone, click this
button.

12. When your phone successfully connects to the camera via
your WiFi network, you will see a prompt for you to name your
camera. Give you camera a nick name and click “OK.”

13. Successfully Installed