using iis application request routing to publish lync ... · internet information server. adding...
TRANSCRIPT
Using IIS Application Request Routing to
Publish Lync Server 2013 Web Services
DISCLAIMER
© 2014 Microsoft Corporation. All rights reserved.
Microsoft, Active Directory, Hyper-V, Internet Explorer, Lync, PowerPoint, Silverlight, SQL Server, Windows, Windows
PowerShell, and Windows Server are either registered trademarks or trademarks of Microsoft Corporation in the United
States and/or other countries.
The names of actual companies and products mentioned herein may be the trademarks of their respective owners.
THE CONTENTS OF THIS PACKAGE ARE FOR INFORMATIONAL AND TRAINING PURPOSES ONLY AND ARE PROVIDED "AS IS" WITHOUT WARRANTY OF
ANY KIND, WHETHER EXPRESS OR IMPLIED, INCLUDING BUT NOT LIMITED TO THE IMPLIED WARRANTIES OF MERCHANTABILITY, FITNESS FOR A
PARTICULAR PURPOSE, AND NON-INFRINGEMENT.
No part of the text or software included in this training package may be reproduced or transmitted in any form or by any
means, electronic or mechanical, including photocopying, recording, or any information storage and retrieval system,
without permission from Microsoft. Because Microsoft must respond to changing market conditions, it should not be
interpreted to be a commitment on the part of Microsoft, and Microsoft cannot guarantee the accuracy of any information
presented after the date of publication. The names of actual companies and products mentioned herein may be the
trademarks of their respective owners.
To obtain authorization for uses other than those specified above, please visit the Microsoft Copyright Permissions Web
page at http://www.microsoft.com/about/legal/permissions
This content is proprietary and confidential, and is intended only for users described in the content provided in this
document. This content and information is provided to you under a Non-Disclosure Agreement and cannot be distributed.
Copying, disclosing all or any portion of the content and/or information included in this document is strictly prohibited.
Table of Contents Lab: Using IIS Application Request Routing to Publish Lync Server 2013 Web Services ........................... 1
Exercise 1: Installing the Prerequisites and Components for ARR and NLB ................................................ 3
Exercise 2: Configuring Server Farms for Application Request Routing ........................................................ 8
Exercise 3: Configuring Network Load Balancing for ARR .................................................................................. 14
Exercise 4: Experiencing Application Request Routing and Network Load Balancing ......................... 16


Using IIS Application Request Routing to Publish Lync Server 2013 Web Services
©2014 Microsoft 1
Lab: Using IIS Application Request Routing to
Publish Lync Server 2013 Web Services
During this lab, you will deploy Application Request Routing for Microsoft Lync Server 2013 using
Internet Information Server. Adding the optional Application Request Routing (ARR) 3.0
component to Internet Information Services (IIS) 7.0 or later, allows IIS to handle reverse proxy
requests, URL rewrites, and load balancing. This means it can be used to publish the Lync URLs.
In this lab, you will perform a complete installation of all of the roles, services, and prerequisites
necessary to deploy ARR, as well as see how to configure it and then test it. You will also configure a
network load balancing cluster to provide high availability.
First you will take two virtual machines and install the necessary roles and role services.
Next, you will install the necessary components, which include:
o Web Farm Framework 1.1
o Microsoft Application Request Routing Version 3.0
Then you will configure IIS to have a shared configuration between the two IIS servers. You will
then create three Server Farms and perform the necessary configuration changes. These three
server farms will be for:
redext123.lyncignite.biz
dialin123.lyncignite.biz
meet123.lyncignite.biz
Note: In a real world deployment, you would also create and configure server farms for all of the
external addresses for each site that you would want to publish, such as for Lync Mobility
(lyncdiscover) and Office Web Apps server and all of the rules for the Rome site. For the purposes
of this lab, we will only create these three server farms for Redmond.
This will be followed by configuring a Network Load Balancing cluster with the two IIS servers.
Lastly, you will perform a series of tests to verify the deployment and successful publishing of the
Lync URLS.
Estimated time to complete: 90 minutes
What You Will Learn
After completing the exercises, you will be able to:
Install necessary IIS roles and role services.
Install the Network Load Balancing feature and services.
Using IIS Application Request Routing to Publish Lync Server 2013 Web Services
©2014 Microsoft 2
Install the required prerequisites and components.
Configure the two IIS to have a shared configuration.
Configure two servers in a fault-tolerant ARR pool.
Configure Network Load Balancing cluster.
Test and verify the publishing of the Lync URLs.
Test and verify the high availability of the Lync URLs.
Scenario
Management would like to deploy Application Request Routing using IIS in order to achieve high
availability and scalability enabling users to maintain full functionality in case of a server outage,
they have decided to deploy this using a server farm of IIS servers that will also use network load
balancing to maintain high availability.
Using IIS Application Request Routing to Publish Lync Server 2013 Web Services
©2014 Microsoft 3
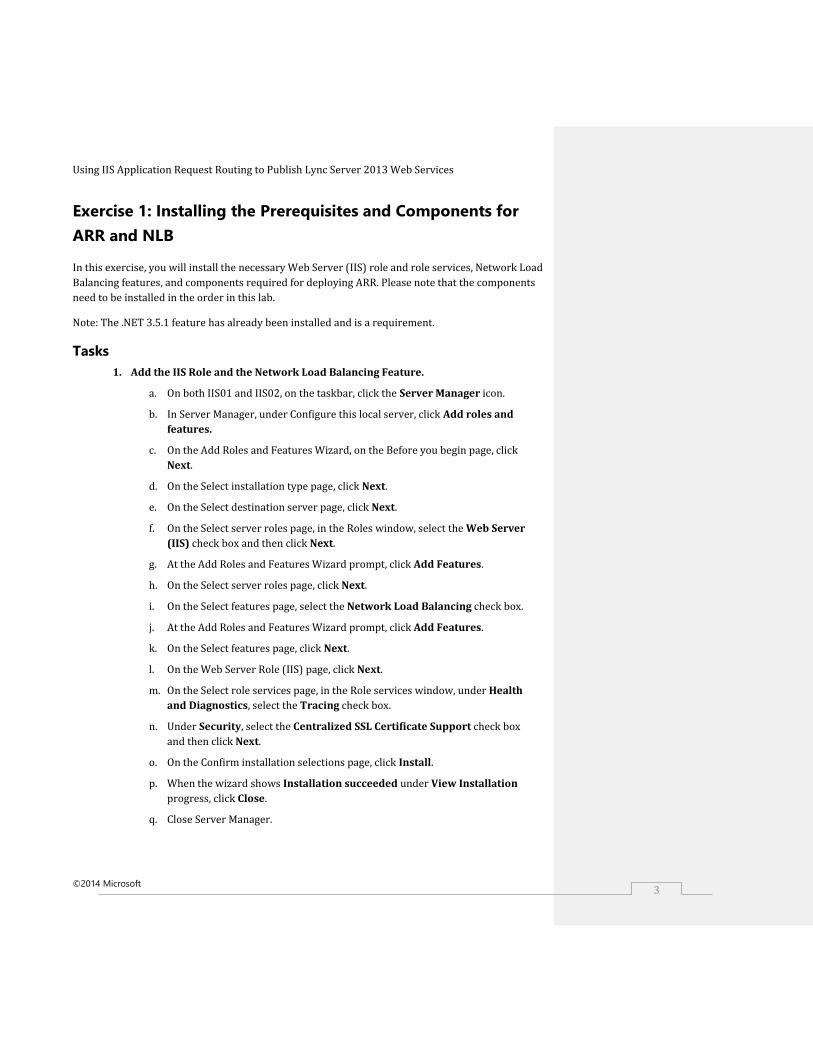
Exercise 1: Installing the Prerequisites and Components for
ARR and NLB
In this exercise, you will install the necessary Web Server (IIS) role and role services, Network Load
Balancing features, and components required for deploying ARR. Please note that the components
need to be installed in the order in this lab.
Note: The .NET 3.5.1 feature has already been installed and is a requirement.
Tasks
1. Add the IIS Role and the Network Load Balancing Feature.
a. On both IIS01 and IIS02, on the taskbar, click the Server Manager icon.
b. In Server Manager, under Configure this local server, click Add roles and
features.
c. On the Add Roles and Features Wizard, on the Before you begin page, click
Next.
d. On the Select installation type page, click Next.
e. On the Select destination server page, click Next.
f. On the Select server roles page, in the Roles window, select the Web Server
(IIS) check box and then click Next.
g. At the Add Roles and Features Wizard prompt, click Add Features.
h. On the Select server roles page, click Next.
i. On the Select features page, select the Network Load Balancing check box.
j. At the Add Roles and Features Wizard prompt, click Add Features.
k. On the Select features page, click Next.
l. On the Web Server Role (IIS) page, click Next.
m. On the Select role services page, in the Role services window, under Health
and Diagnostics, select the Tracing check box.
n. Under Security, select the Centralized SSL Certificate Support check box
and then click Next.
o. On the Confirm installation selections page, click Install.
p. When the wizard shows Installation succeeded under View Installation
progress, click Close.
q. Close Server Manager.
Using IIS Application Request Routing to Publish Lync Server 2013 Web Services
©2014 Microsoft 4
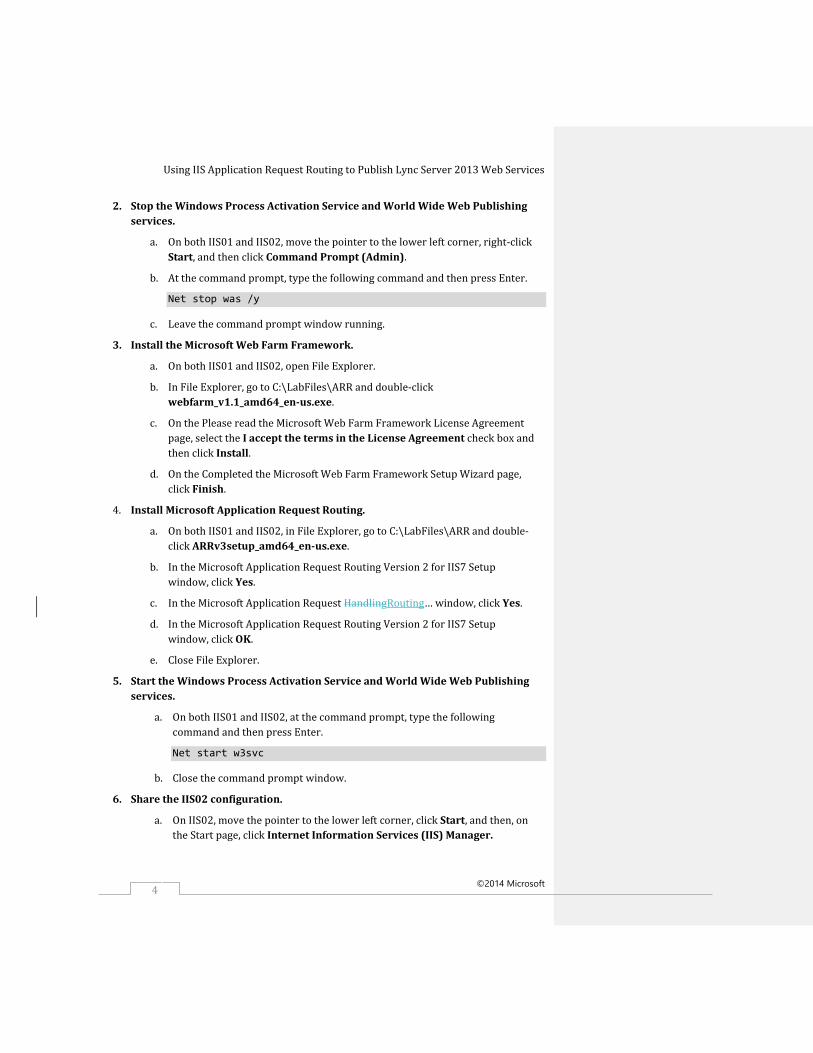
2. Stop the Windows Process Activation Service and World Wide Web Publishing
services.
a. On both IIS01 and IIS02, move the pointer to the lower left corner, right-click
Start, and then click Command Prompt (Admin).
b. At the command prompt, type the following command and then press Enter.
Net stop was /y
c. Leave the command prompt window running.
3. Install the Microsoft Web Farm Framework.
a. On both IIS01 and IIS02, open File Explorer.
b. In File Explorer, go to C:\LabFiles\ARR and double-click
webfarm_v1.1_amd64_en-us.exe.
c. On the Please read the Microsoft Web Farm Framework License Agreement
page, select the I accept the terms in the License Agreement check box and
then click Install.
d. On the Completed the Microsoft Web Farm Framework Setup Wizard page,
click Finish.
4. Install Microsoft Application Request Routing.
a. On both IIS01 and IIS02, in File Explorer, go to C:\LabFiles\ARR and double-
click ARRv3setup_amd64_en-us.exe.
b. In the Microsoft Application Request Routing Version 2 for IIS7 Setup
window, click Yes.
c. In the Microsoft Application Request HandlingRouting… window, click Yes.
d. In the Microsoft Application Request Routing Version 2 for IIS7 Setup
window, click OK.
e. Close File Explorer.
5. Start the Windows Process Activation Service and World Wide Web Publishing
services.
a. On both IIS01 and IIS02, at the command prompt, type the following
command and then press Enter.
Net start w3svc
b. Close the command prompt window.
6. Share the IIS02 configuration.
a. On IIS02, move the pointer to the lower left corner, click Start, and then, on
the Start page, click Internet Information Services (IIS) Manager.
Using IIS Application Request Routing to Publish Lync Server 2013 Web Services
©2014 Microsoft 5
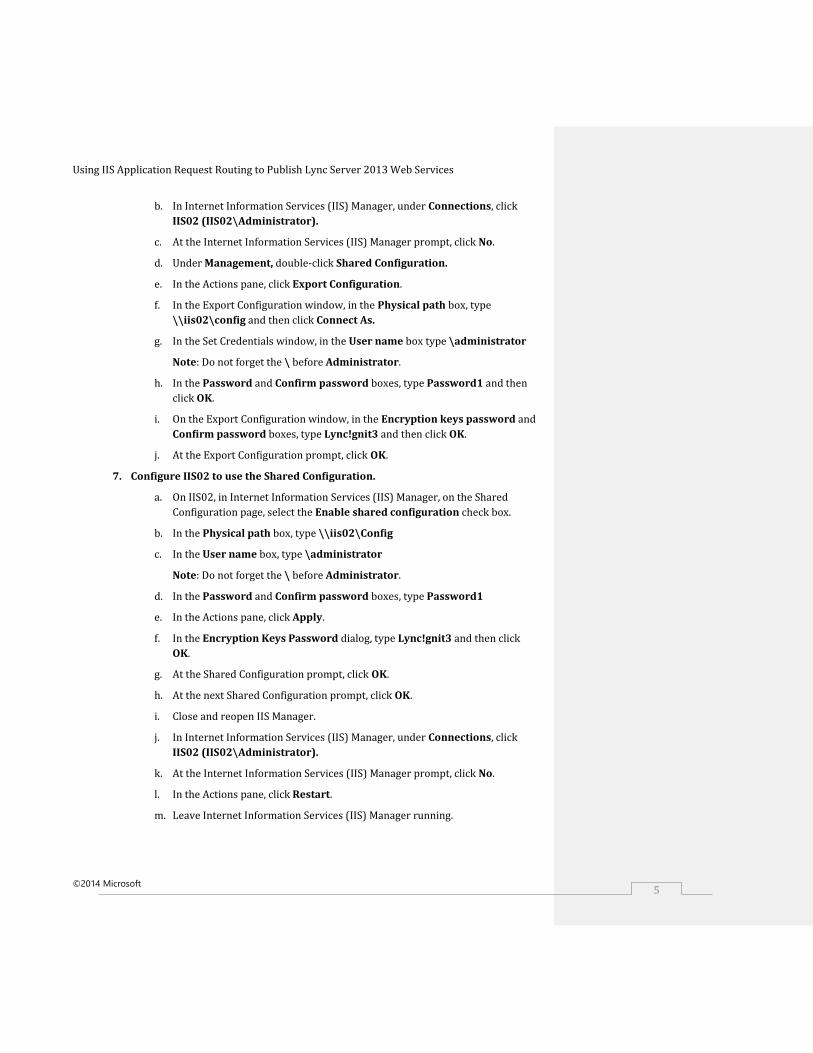
b. In Internet Information Services (IIS) Manager, under Connections, click
IIS02 (IIS02\Administrator).
c. At the Internet Information Services (IIS) Manager prompt, click No.
d. Under Management, double-click Shared Configuration.
e. In the Actions pane, click Export Configuration.
f. In the Export Configuration window, in the Physical path box, type
\\iis02\config and then click Connect As.
g. In the Set Credentials window, in the User name box type \administrator
Note: Do not forget the \ before Administrator.
h. In the Password and Confirm password boxes, type Password1 and then
click OK.
i. On the Export Configuration window, in the Encryption keys password and
Confirm password boxes, type Lync!gnit3 and then click OK.
j. At the Export Configuration prompt, click OK.
7. Configure IIS02 to use the Shared Configuration.
a. On IIS02, in Internet Information Services (IIS) Manager, on the Shared
Configuration page, select the Enable shared configuration check box.
b. In the Physical path box, type \\iis02\Config
c. In the User name box, type \administrator
Note: Do not forget the \ before Administrator.
d. In the Password and Confirm password boxes, type Password1
e. In the Actions pane, click Apply.
f. In the Encryption Keys Password dialog, type Lync!gnit3 and then click
OK.
g. At the Shared Configuration prompt, click OK.
h. At the next Shared Configuration prompt, click OK.
i. Close and reopen IIS Manager.
j. In Internet Information Services (IIS) Manager, under Connections, click
IIS02 (IIS02\Administrator).
k. At the Internet Information Services (IIS) Manager prompt, click No.
l. In the Actions pane, click Restart.
m. Leave Internet Information Services (IIS) Manager running.
Using IIS Application Request Routing to Publish Lync Server 2013 Web Services
©2014 Microsoft 6
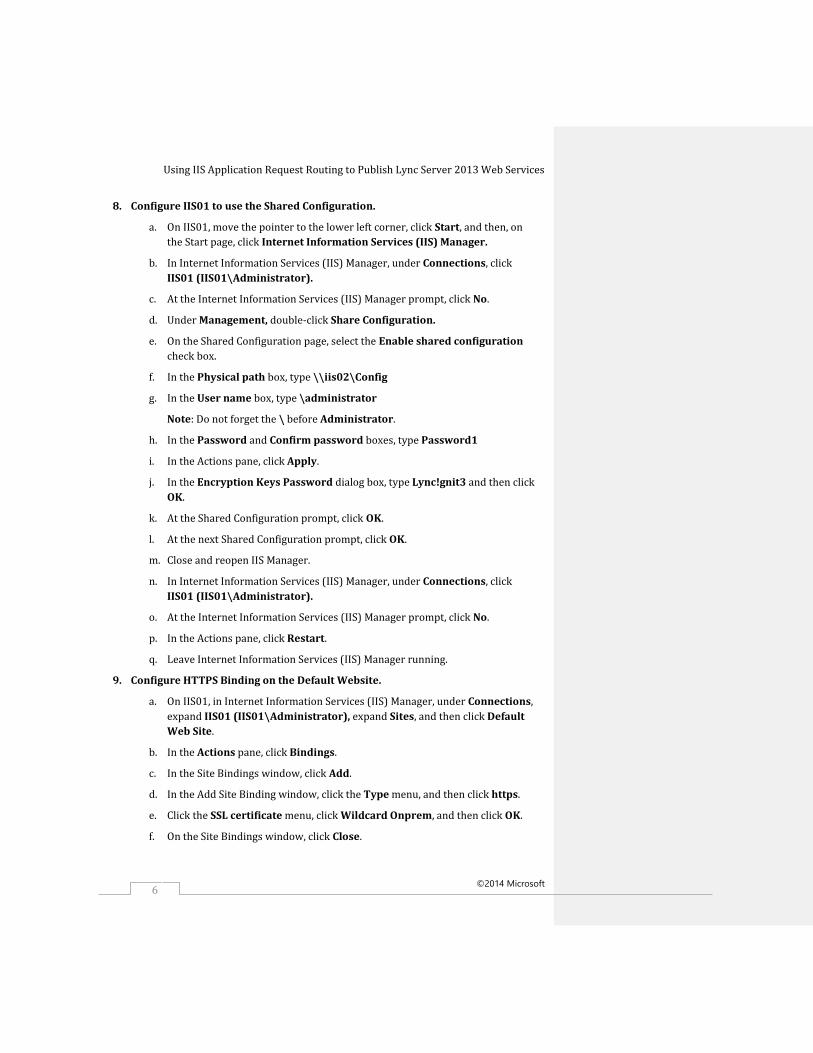
8. Configure IIS01 to use the Shared Configuration.
a. On IIS01, move the pointer to the lower left corner, click Start, and then, on
the Start page, click Internet Information Services (IIS) Manager.
b. In Internet Information Services (IIS) Manager, under Connections, click
IIS01 (IIS01\Administrator).
c. At the Internet Information Services (IIS) Manager prompt, click No.
d. Under Management, double-click Share Configuration.
e. On the Shared Configuration page, select the Enable shared configuration
check box.
f. In the Physical path box, type \\iis02\Config
g. In the User name box, type \administrator
Note: Do not forget the \ before Administrator.
h. In the Password and Confirm password boxes, type Password1
i. In the Actions pane, click Apply.
j. In the Encryption Keys Password dialog box, type Lync!gnit3 and then click
OK.
k. At the Shared Configuration prompt, click OK.
l. At the next Shared Configuration prompt, click OK.
m. Close and reopen IIS Manager.
n. In Internet Information Services (IIS) Manager, under Connections, click
IIS01 (IIS01\Administrator).
o. At the Internet Information Services (IIS) Manager prompt, click No.
p. In the Actions pane, click Restart.
q. Leave Internet Information Services (IIS) Manager running.
9. Configure HTTPS Binding on the Default Website.
a. On IIS01, in Internet Information Services (IIS) Manager, under Connections,
expand IIS01 (IIS01\Administrator), expand Sites, and then click Default
Web Site.
b. In the Actions pane, click Bindings.
c. In the Site Bindings window, click Add.
d. In the Add Site Binding window, click the Type menu, and then click https.
e. Click the SSL certificate menu, click Wildcard Onprem, and then click OK.
f. On the Site Bindings window, click Close.
Using IIS Application Request Routing to Publish Lync Server 2013 Web Services
©2014 Microsoft 7
g. On IIS02, in Internet Information Services (IIS) Manager, under Connections,
expand IIS02 (IIS02\Administrator), expand Sites, and then click Default
Web Site.
h. In the Actions pane, click Bindings.
i. In the Site Bindings window, click https, and then click Edit.
j. In the Edit Site Binding window, click the SSL certificate menu, click
Wildcard Onprem, and then click OK.
k. On the Site Bindings window, click Close.
10. Edit the Application Pool.
a. On IIS01 only, in Internet Information Services (IIS) Manager, under
Connections, click Application Pools.
b. In the Results pane, right-click DefaultAppPool and then click Advanced
Settings.
c. In the Advanced Settings window, under Process Model, in the box next to
Idle Time-out(minutes), type 0 and then click OK.
d. Right-click DefaultAppPool again, and then click Recycling.
Note: Verify you are not clicking Recycle.
e. On the Edit Application Pool Recycling Settings wizard, on the Recycling
Conditions page, under Fixed Intervals, clear the Regular time intervals (in
minutes) check box and then click Next.
f. On the Recycling Events to Log page, click Finish.

Using IIS Application Request Routing to Publish Lync Server 2013 Web Services
©2014 Microsoft 8
Exercise 2: Configuring Server Farms for Application Request
Routing
In this exercise, you will create and configure three Server Farms in IIS. This includes:
One for the external web services: redext123.lyncignite.biz
One for the Meet URL: meet123.lyncignite.biz
One for the Dialin URL: dialin123.lyncignite.biz
You will also make the recommended configuration changes to each and perform a health test when
done.
Note: In a real world deployment, you would also create and configure server farms for all of the
external addresses for each site that you would want to publish, such as for Lync Mobility
(lyncdiscover) and Office Web Apps server and all of the rules for the Rome site. For the purposes
of this lab, we will only create these three server farms for Redmond.
Tasks
1. Create the Redmond External redext123.lyncignite.biz URL Server Farm.
a. On IIS01, in Internet Information Services (IIS) Manager, under Connections,
right-click Server Farms and then click Create Server Farm.
b. In the Create Server Farm wizard, on the Specify Server Farm Name page, in
the Server farm name box, type redext123.lyncignite.biz and then click
Next.
c. On the Add Server page, in the Server address field, type
lsfe01.onprem.local and then click Advanced settings. Do not click Add yet.
d. Under Advanced Settings, expand applicationRequestRouting.
e. In the box next to httpPort, change 80 to 8080
f. In the box next to httpsPort, change 443 to 4443,
f.g. and then cClick Add.
g.h. In the Server address field, type lsfe02.onprem.local. Do not click Add yet.
h.i. Under Advanced Settings, under applicationRequestRouting, in the box
next to httpPort, change 80 to 8080
i.j. In the box next to httpsPort, change 443 to 4443, and then click Add.
j.k. On the Add Server page, after both servers have been added, click Finish.
k.l. At the Rewrite Rules prompt, click Yes.
Using IIS Application Request Routing to Publish Lync Server 2013 Web Services
©2014 Microsoft 9
2. Create the Redmond External meet123.lyncignite.biz URL Server Farm.
a. On IIS01, in Internet Information Services (IIS) Manager, under Connections,
right-click Server Farms and then click Create Server Farm.
b. In the Create Server Farm wizard, on the Specify Server Farm Name page, in
the Server farm name box, type meet123.lyncignite.biz and then click Next.
c. On the Add Server page, in the Server address field, type
lsfe01.onprem.local and then click Advanced settings. Do not click Add yet.
d. Under Advanced Settings, expand applicationRequestRouting.
e. In the box next to httpPort, change 80 to 8080
f. In the box next to httpsPort, change 443 to 4443 and then click Add.
g. In the Server address field, type lsfe02.onprem.local. Do not click Add yet.
h. Under Advanced Settings, expand applicationRequestRouting, in the box
next to httpPort, change 80 to 8080
i. In the box next to httpsPort, change 443 to 4443 and then click Add.
j. On the Add Server page, after both servers have been added, click Finish.
k. At the Rewrite Rules prompt, click Yes.
3. Create the Redmond External dialin123.lyncignite.biz URL Server Farm.
a. On IIS01, in Internet Information Services (IIS) Manager, under Connections,
right-click Server Farms, and then click Create Server Farm.
b. In the Create Server Farm wizard, on the Specify Server Farm Name page, in
the Server farm name box, type dialin123.lyncignite.biz and then click
Next.
c. On the Add Server page, in the Server address field, type
lsfe01.onprem.local and then click Advanced settings. Do not click Add yet.
d. Under Advanced Settings, expand applicationRequestRouting.
e. In the box next to httpPort, change 80 to 8080
f. In the box next to httpsPort, change 443 to 4443 and then click Add.
g. In the Server address field, type lsfe02.onprem.local. Do not click Add yet.
h. Under Advanced Settings, expand applicationRequestRouting, in the box
next to httpPort, change 80 to 8080
i. In the box next to httpsPort, change 443 to 4443 and then click Add.
j. On the Add Server page, after both servers have been added, click Finish.
k. At the Rewrite Rules prompt, click Yes.
Using IIS Application Request Routing to Publish Lync Server 2013 Web Services
©2014 Microsoft 10
4. Edit the redext123.lyncignite.biz Server Farm.
a. On IIS01, in Internet Information Services (IIS) Manager, under Connections,
expand Server Farms, and then click redext123.lyncignite.biz.
b. In the Results pane, double-click Caching.
c. On the Caching page, clear the Enable disk cache check box and then click
Apply.
d. In Internet Information Services (IIS) Manager, under Connections, under
Server Farms, click redext123.lyncignite.biz.
e. In the Results pane, double-click Proxy.
f. On the Proxy page, in the Time-out (seconds) box, type 600 and then click
Apply.
g. In Internet Information Services (IIS) Manager, under Connections, under
Server Farms, click redext123.lyncignite.biz.
h. In the Results pane, double-click Routing Rules.
i. On the Routing Rules page, clear the Enable SSL offloading check box and
then click Apply.
5. Edit the meet123.lyncignite.biz Server Farm.
a. On IIS01, in Internet Information Services (IIS) Manager, under Connections,
under Server Farms, click meet123.lyncignite.biz.
b. In the Results pane, double-click Caching.
c. On the Caching page, clear the Enable disk cache check box, and then click
Apply.
d. In Internet Information Services (IIS) Manager, under Connections, under
Server Farms, click meet123.lyncignite.biz.
e. In the Results pane, double-click Proxy.
f. On the Proxy page, in the Time-out (seconds) box, type 200 and then click
Apply.
g. In Internet Information Services (IIS) Manager, under Connections, under
Server Farms, click meet23.lyncignite.biz.
h. In the Results pane, double-click Routing Rules.
i. On the Routing Rules page, clear the Enable SSL offloading check box and
then click Apply.
6. Edit the dialin123.lyncignite.biz Server Farm.
a. On IIS01, in Internet Information Services (IIS) Manager, under Connections,
under Server Farms, click dialin123.lyncignite.biz.
Using IIS Application Request Routing to Publish Lync Server 2013 Web Services
©2014 Microsoft 11
b. In the Results pane, double-click Caching.
c. On the Caching page, clear the Enable disk cache check box and then click
Apply.
d. In Internet Information Services (IIS) Manager, under Connections, under
Server Farms, click dialin123.lyncignite.biz.
e. In the Results pane, double-click Proxy.
f. On the Proxy page, in the Time-out (seconds) box, type 200 and then click
Apply.
g. In Internet Information Services (IIS) Manager, under Connections, under
Server Farms, click dialin123.lyncignite.biz.
h. In the Results pane, double-click Routing Rules.
i. On the Routing Rules page, clear the Enable SSL offloading check box and
then click Apply.
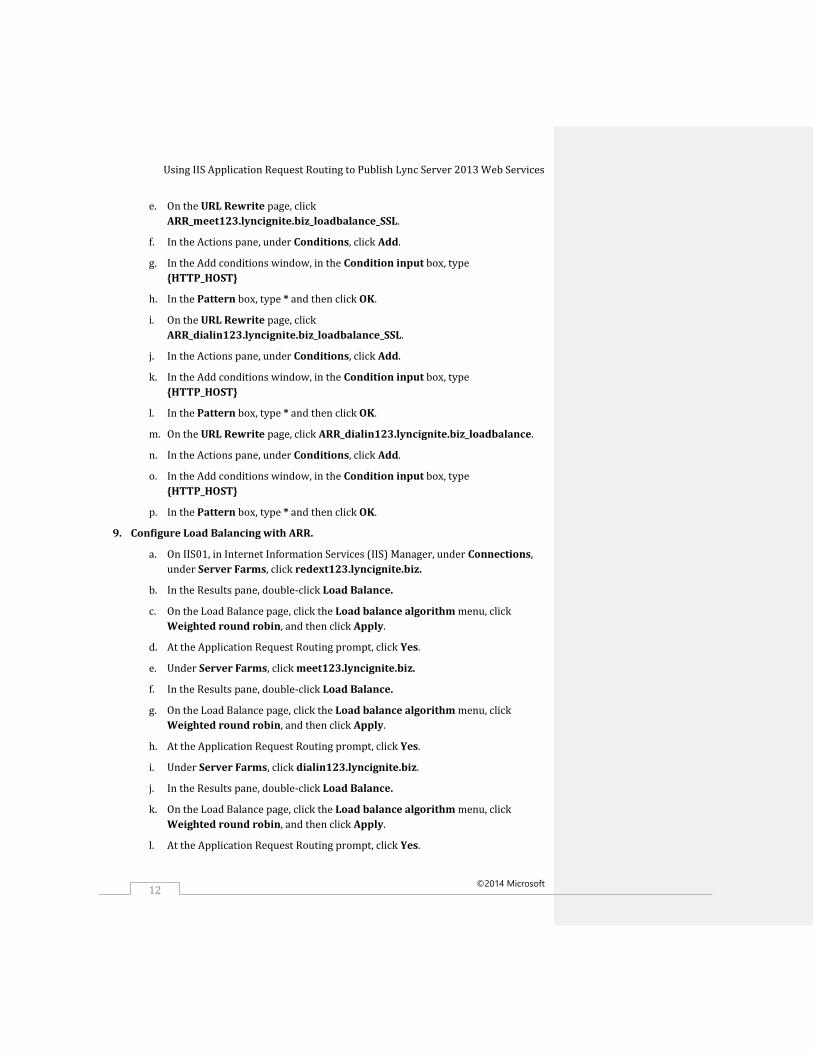
7. Remove the http URL Rewrite rules.
a. On IIS01, in Internet Information Services (IIS) Manager, under Connections,
click IIS (IIS01\Administrator).
b. In the Results pane, under IIS, double-click URL Rewrite.
c. On the URL Rewrite page, click ARR_redext123.lyncignite.biz_loadbalance
and then in the Actions pane, click Remove.
d. At the Confirm Remove prompt, click Yes.
e. On the URL Rewrite page, click ARR_meet123.lyncignite.biz_loadbalance
and then in the Actions pane, click Remove.
f. At the Confirm Remove prompt, click Yes.
When finished you should have 4 rules listed, 3 with _SSL appended to the end
of the Name, and the ARR_dialin123.lyncignite.biz_loadbalance rule.
8. Edit the URL Rewrite rules.
Note: The conditions in these following steps are case sensitive.
a. On IIS01, in Internet Information Services (IIS) Manager, on the URL Rewrite
page, click ARR_redext123.lyncignite.biz_loadbalance_SSL.
b. In the Actions pane, under Conditions, click Add.
c. In the Add conditions window, in the Condition input box, type
{HTTP_HOST}
d. In the Pattern box, type * and then click OK.
Using IIS Application Request Routing to Publish Lync Server 2013 Web Services
©2014 Microsoft 12
e. On the URL Rewrite page, click
ARR_meet123.lyncignite.biz_loadbalance_SSL.
f. In the Actions pane, under Conditions, click Add.
g. In the Add conditions window, in the Condition input box, type
{HTTP_HOST}
h. In the Pattern box, type * and then click OK.
i. On the URL Rewrite page, click
ARR_dialin123.lyncignite.biz_loadbalance_SSL.
j. In the Actions pane, under Conditions, click Add.
k. In the Add conditions window, in the Condition input box, type
{HTTP_HOST}
l. In the Pattern box, type * and then click OK.
m. On the URL Rewrite page, click ARR_dialin123.lyncignite.biz_loadbalance.
n. In the Actions pane, under Conditions, click Add.
o. In the Add conditions window, in the Condition input box, type
{HTTP_HOST}
p. In the Pattern box, type * and then click OK.
9. Configure Load Balancing with ARR.
a. On IIS01, in Internet Information Services (IIS) Manager, under Connections,
under Server Farms, click redext123.lyncignite.biz.
b. In the Results pane, double-click Load Balance.
c. On the Load Balance page, click the Load balance algorithm menu, click
Weighted round robin, and then click Apply.
d. At the Application Request Routing prompt, click Yes.
e. Under Server Farms, click meet123.lyncignite.biz.
f. In the Results pane, double-click Load Balance.
g. On the Load Balance page, click the Load balance algorithm menu, click
Weighted round robin, and then click Apply.
h. At the Application Request Routing prompt, click Yes.
i. Under Server Farms, click dialin123.lyncignite.biz.
j. In the Results pane, double-click Load Balance.
k. On the Load Balance page, click the Load balance algorithm menu, click
Weighted round robin, and then click Apply.
l. At the Application Request Routing prompt, click Yes.
Using IIS Application Request Routing to Publish Lync Server 2013 Web Services
©2014 Microsoft 13
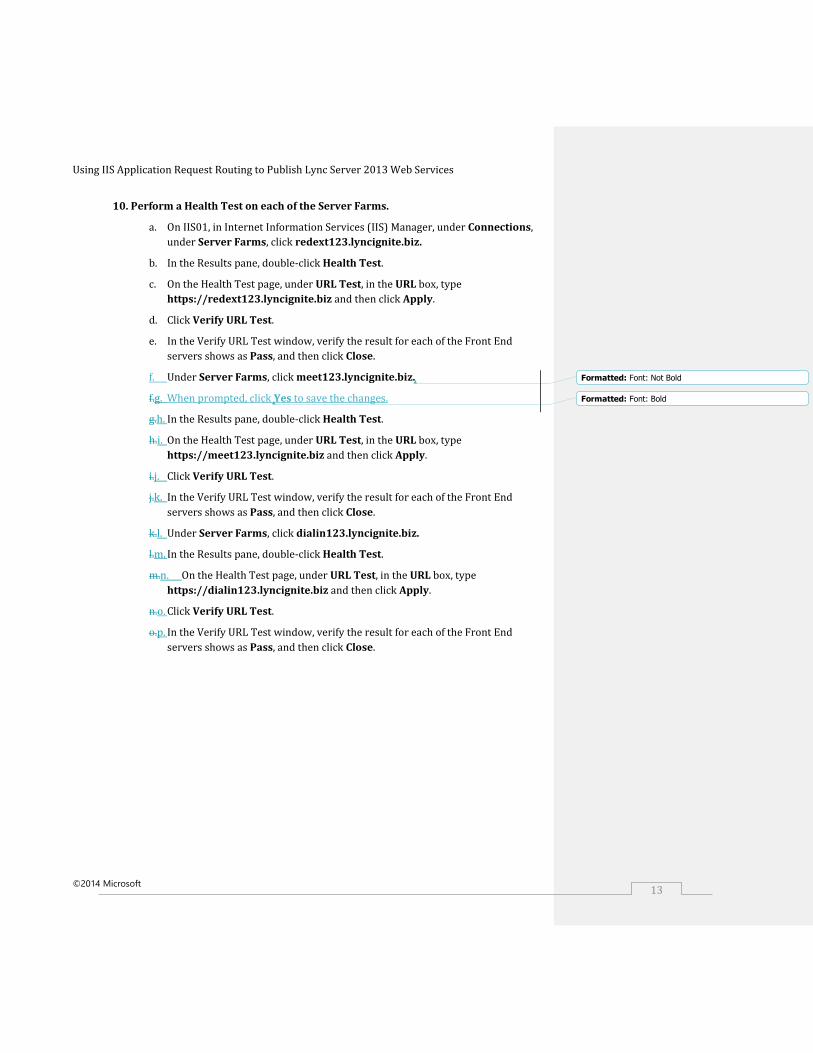
10. Perform a Health Test on each of the Server Farms.
a. On IIS01, in Internet Information Services (IIS) Manager, under Connections,
under Server Farms, click redext123.lyncignite.biz.
b. In the Results pane, double-click Health Test.
c. On the Health Test page, under URL Test, in the URL box, type
https://redext123.lyncignite.biz and then click Apply.
d. Click Verify URL Test.
e. In the Verify URL Test window, verify the result for each of the Front End
servers shows as Pass, and then click Close.
f. Under Server Farms, click meet123.lyncignite.biz.
f.g. When prompted, click Yes to save the changes.
g.h. In the Results pane, double-click Health Test.
h.i. On the Health Test page, under URL Test, in the URL box, type
https://meet123.lyncignite.biz and then click Apply.
i.j. Click Verify URL Test.
j.k. In the Verify URL Test window, verify the result for each of the Front End
servers shows as Pass, and then click Close.
k.l. Under Server Farms, click dialin123.lyncignite.biz.
l.m. In the Results pane, double-click Health Test.
m.n. On the Health Test page, under URL Test, in the URL box, type
https://dialin123.lyncignite.biz and then click Apply.
n.o. Click Verify URL Test.
o.p. In the Verify URL Test window, verify the result for each of the Front End
servers shows as Pass, and then click Close.
Formatted: Font: Not Bold
Formatted: Font: Bold
Using IIS Application Request Routing to Publish Lync Server 2013 Web Services
©2014 Microsoft 14
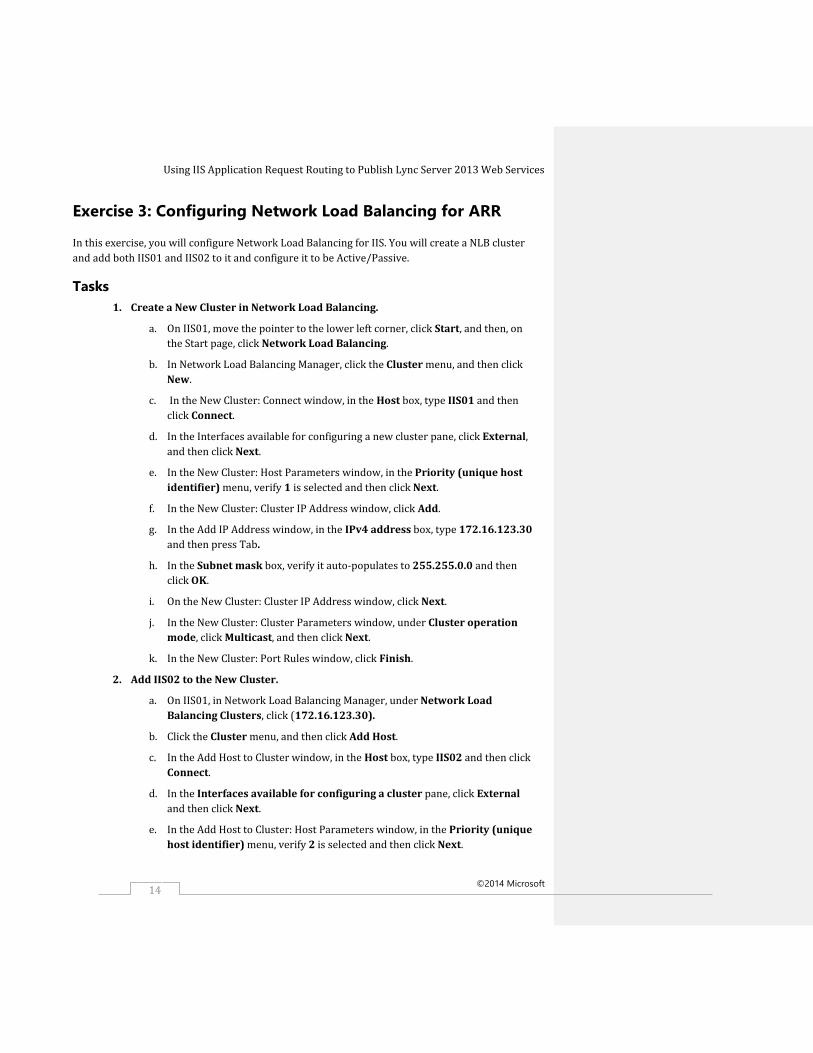
Exercise 3: Configuring Network Load Balancing for ARR
In this exercise, you will configure Network Load Balancing for IIS. You will create a NLB cluster
and add both IIS01 and IIS02 to it and configure it to be Active/Passive.
Tasks
1. Create a New Cluster in Network Load Balancing.
a. On IIS01, move the pointer to the lower left corner, click Start, and then, on
the Start page, click Network Load Balancing.
b. In Network Load Balancing Manager, click the Cluster menu, and then click
New.
c. In the New Cluster: Connect window, in the Host box, type IIS01 and then
click Connect.
d. In the Interfaces available for configuring a new cluster pane, click External,
and then click Next.
e. In the New Cluster: Host Parameters window, in the Priority (unique host
identifier) menu, verify 1 is selected and then click Next.
f. In the New Cluster: Cluster IP Address window, click Add.
g. In the Add IP Address window, in the IPv4 address box, type 172.16.123.30
and then press Tab.
h. In the Subnet mask box, verify it auto-populates to 255.255.0.0 and then
click OK.
i. On the New Cluster: Cluster IP Address window, click Next.
j. In the New Cluster: Cluster Parameters window, under Cluster operation
mode, click Multicast, and then click Next.
k. In the New Cluster: Port Rules window, click Finish.
2. Add IIS02 to the New Cluster.
a. On IIS01, in Network Load Balancing Manager, under Network Load
Balancing Clusters, click (172.16.123.30).
b. Click the Cluster menu, and then click Add Host.
c. In the Add Host to Cluster window, in the Host box, type IIS02 and then click
Connect.
d. In the Interfaces available for configuring a cluster pane, click External
and then click Next.
e. In the Add Host to Cluster: Host Parameters window, in the Priority (unique
host identifier) menu, verify 2 is selected and then click Next.
Using IIS Application Request Routing to Publish Lync Server 2013 Web Services
©2014 Microsoft 15
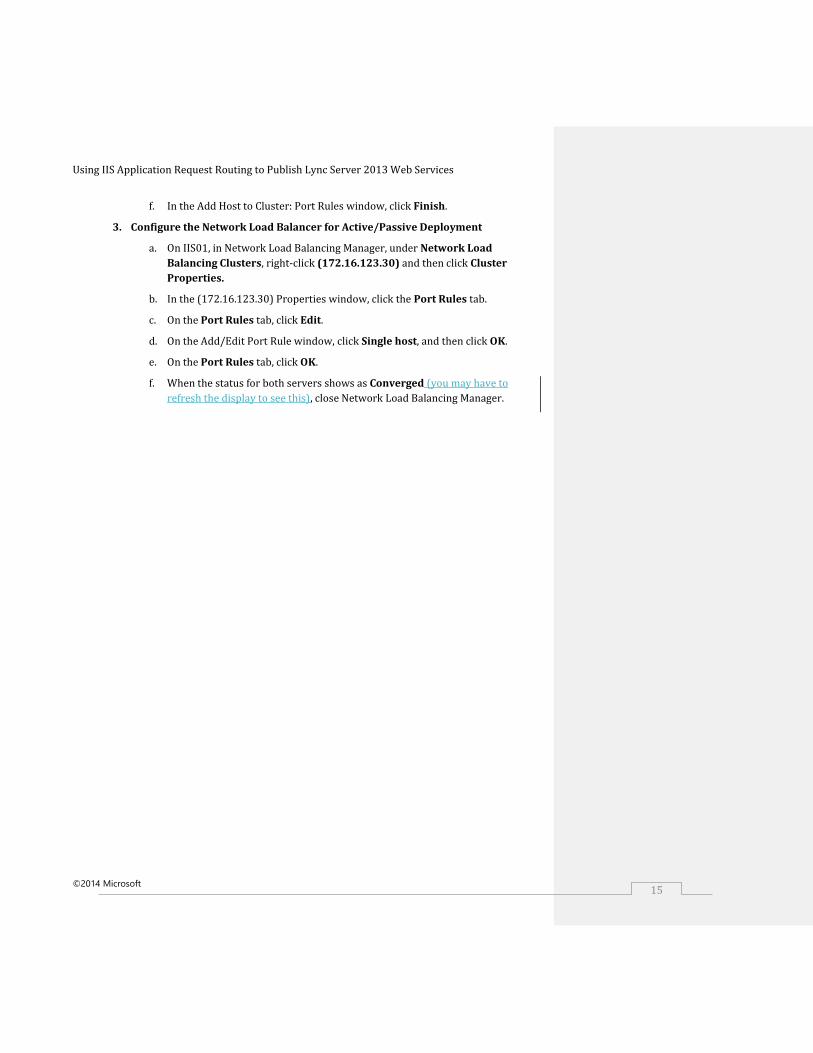
f. In the Add Host to Cluster: Port Rules window, click Finish.
3. Configure the Network Load Balancer for Active/Passive Deployment
a. On IIS01, in Network Load Balancing Manager, under Network Load
Balancing Clusters, right-click (172.16.123.30) and then click Cluster
Properties.
b. In the (172.16.123.30) Properties window, click the Port Rules tab.
c. On the Port Rules tab, click Edit.
d. On the Add/Edit Port Rule window, click Single host, and then click OK.
e. On the Port Rules tab, click OK.
f. When the status for both servers shows as Converged (you may have to
refresh the display to see this), close Network Load Balancing Manager.
Using IIS Application Request Routing to Publish Lync Server 2013 Web Services
©2014 Microsoft 16
Exercise 4: Experiencing Application Request Routing and
Network Load Balancing
In this exercise, you will use an external client to show that the Lync 2013 environment is now
accessible via Application Request Routing. First you will change DNS on the client to point to the
new Virtual IP (VIP) of the cluster and disable the TMG 2010 web publishing rule.
You will then access the Lync Web URLs through the Lync client and through Internet Explorer. You
will also simulate a web server outage and see that the URLs are still available.
Tasks
1. Configure External DNS.
a. On Client03, start Notepad.
b. In Notepad, open C:\Windows\System32\Drivers\Etc\HOSTS
c. In HOSTS, scroll to the bottom of the file, change the
redext123.lyncignite.biz IP address to 172.16.123.30
d. In HOSTS, change the dialin123.lyncignite.biz IP address to 172.16.123.30
e. In HOSTS, change the meet123.lyncignite.biz IP address to 172.16.123.30
f. Close the HOSTS file and save changes.
2. Disable the Redmond Lync Web Services Rule in TMG.
a. On TMG01, on the taskbar, click the Forefront TMG icon.
b. In Forefront TMG, in the navigation pane, expand Forefront TMG (TMG01)
and then click Firewall Policy.
c. Right-click the Redmond Lync Web Services, rule and then click Disable.
d. At the top of the page, click Apply.
e. At the Configuration Change Description prompt, click Apply.
f. At the Saving Configuration Changes prompt, click OK.
3. Verify the External Redmond Lync Web URLs.
a. On Client03, sign in to Lync 2013 as Nuno with a password of Password1
b. In Lync 2013, click the Options arrow, point to Tools, and then click Dial-in
Conferencing Settings.
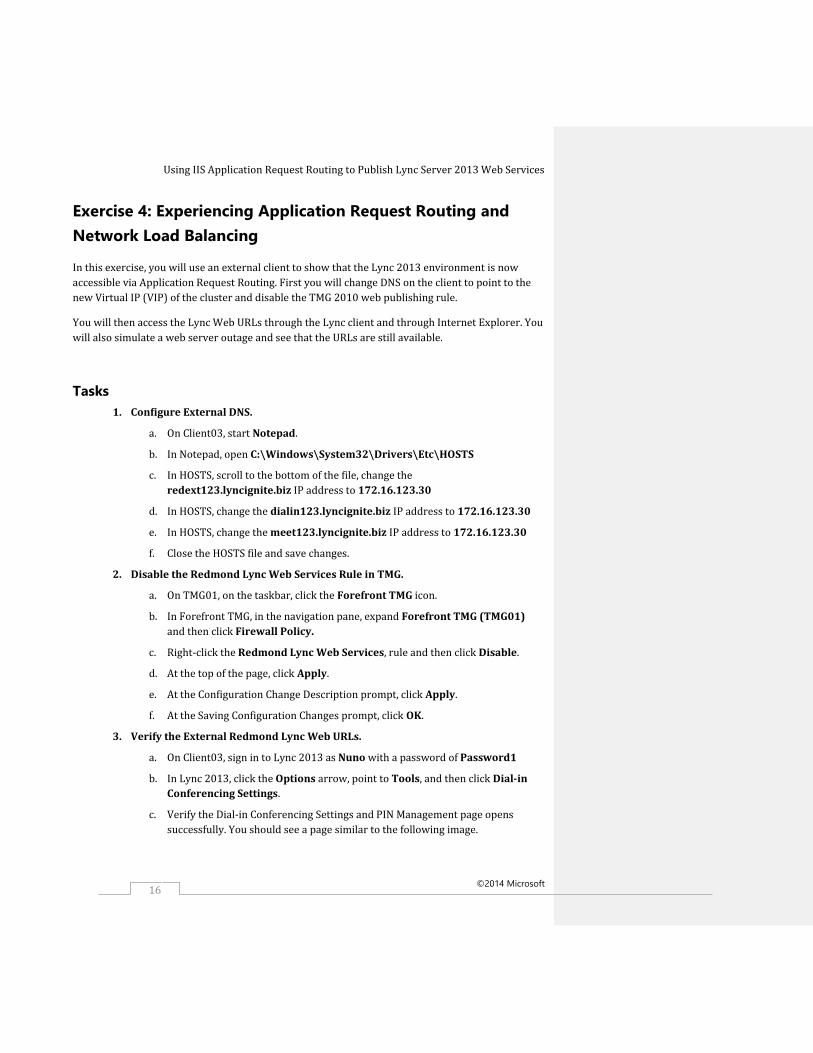
c. Verify the Dial-in Conferencing Settings and PIN Management page opens
successfully. You should see a page similar to the following image.
Using IIS Application Request Routing to Publish Lync Server 2013 Web Services
©2014 Microsoft 17
Figure 1: Dial-in Conferencing Settings and Pin Management page
Note: You may see the following error and it can be ignored.
Figure 2: PIN error
As long as you see a page similar to the above screenshot the page has loaded.
d. Leave Internet Explorer running.
e. In Lync 2013, click the Options arrow, and then click Meet Now.
f. Verify the client is able to start a meet now conference call.
g. In the Conversation window, in the bottom-right corner, click the ellipsis and
then click Meeting Entry Info.
h. On the Meeting Entry Info window, copy the meeting link, and then click
Close.
Note: Do not click Copy All Info, use Ctrl-C to copy the link.
i. End the conference call, and close the Conversation window.
j. In Internet Explorer, in the Address bar, paste the meeting link and append
?SL=1 to the address, and then press Enter.
Using IIS Application Request Routing to Publish Lync Server 2013 Web Services
©2014 Microsoft 18
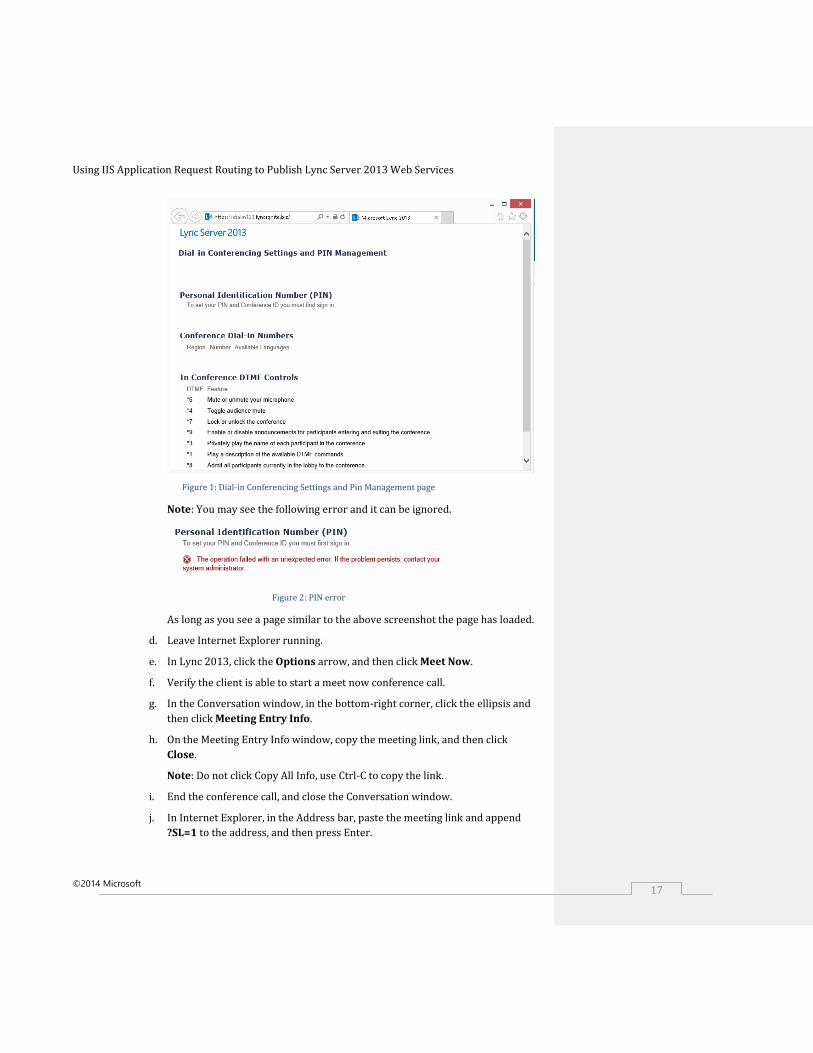
It should look similar to the following image.
Figure 3: Sample meeting link
k. Verify the Lync Web App page opens and then close Internet Explorer.
4. Simulate an ARR server failure.
a. On IIS01, right-click the Network icon on the system trayin the notification
area and then click Open Network and Sharing Center.
b. In Network and Sharing Center, in the task pane, click Change adapter
settings.
c. In Network Connections, right-click the External network adapter and then
click Disable.
5. Verify Network Load Balancing uses second host in cluster.
a. On Client03, in Lync 2013, click the Options arrow, point to Tools, and then
click Dial-in Conferencing Settings.
b. Verify the Dial-in Conferencing Settings and PIN Management page still opens
successfully.
c. In Lync 2013, click the Options arrow, and then click Meet Now.
d. Verify the client is able to start a meet now conference call.
e. In the Conversation window, in the bottom-right corner, click the ellipsis and
then click Meeting Entry Info.
f. On the Meeting Entry Info window, copy the meeting link, and then click
Close.
Note: Do not click Copy All Info, use Ctrl-C to copy the link.
g. End the conference call, and close the Conversation window.
h. In Internet Explorer, in the Address bar, paste the meeting link and then
append ?SL=1 to the address, and then press Enter.
i. Verify the Lync Web App page opens, and then close Internet Explorer.
6. Enable the External network Adapter.
a. On IIS01, in Network Connections, right-click the External network adapter,
and then click Enable.
b. Close all open windows.