using fluid as particle shader
TRANSCRIPT

Using fluid as particle shader Left explosion is fluid attached to particles. Right is the look I achieved using custom particle attributes and particleSamplerInfo. This tutorial requires basic knowledge about particles in Maya like adding custom attributres, writing expressions… Check some of my tutorial about particles and fluids!
First I created particle emitter emitting 10000 particles in first frame, then it stops (than it emits 10000/24 particles, since it lasts for one frame). Emitter is volume sphere emitting radial in all directions.

I added turbulence field to break uniform look.
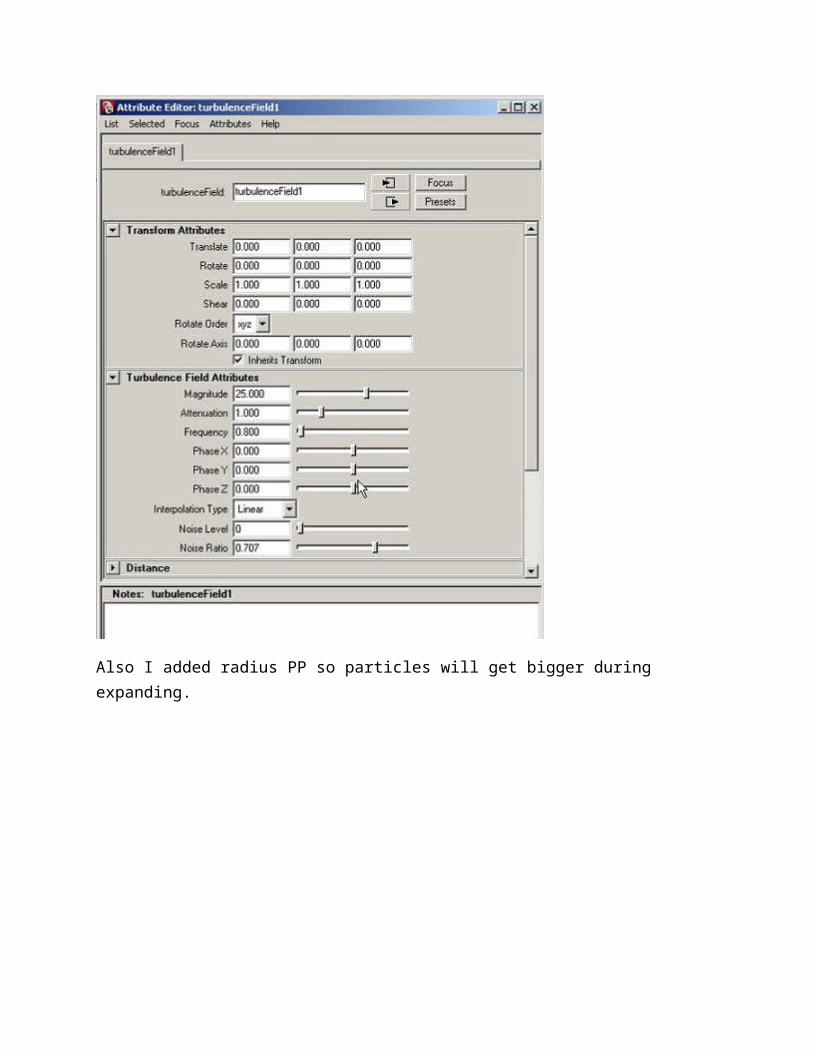
Also I added radius PP so particles will get bigger during expanding.
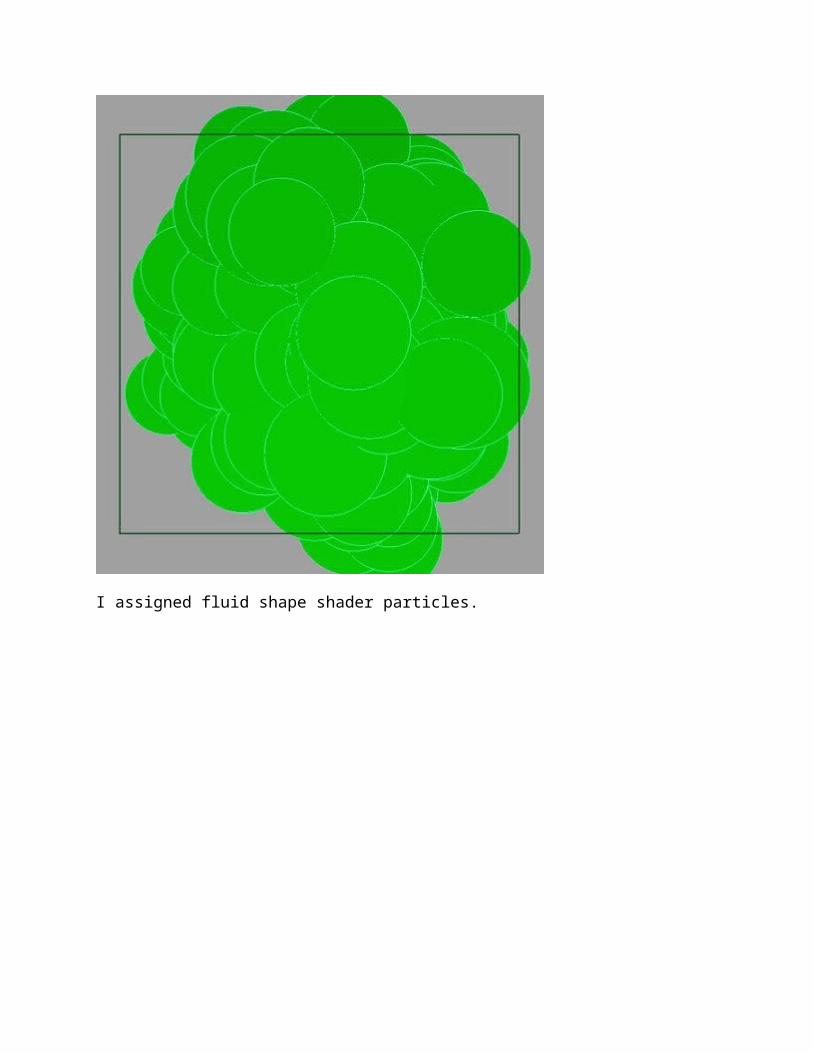
I assigned fluid shape shader particles.

I set resolution 10x10x10. Sometimes 3x3x3 can be enough. If you have noise in renders in quality tab set the quality to 3 and interpolator to smooth. On all grids put off, since texturing is main thing here.
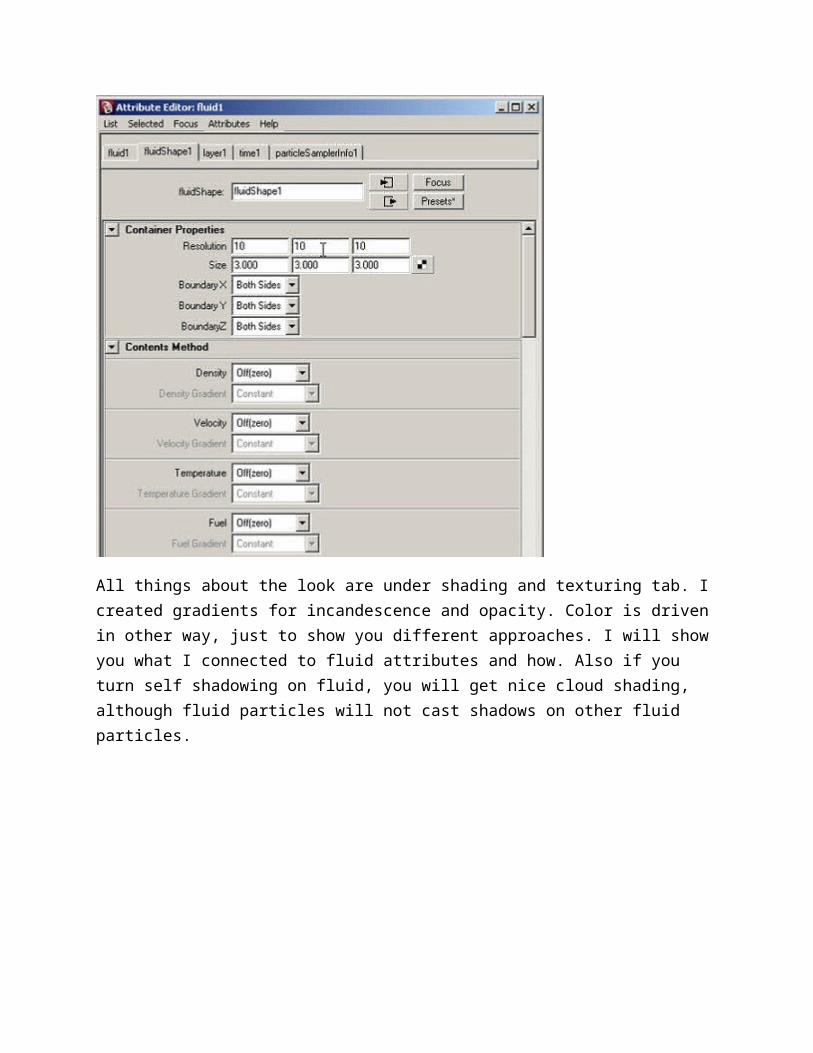
All things about the look are under shading and texturing tab. I created gradients for incandescence and opacity. Color is driven in other way, just to show you different approaches. I will show you what I connected to fluid attributes and how. Also if you turn self shadowing on fluid, you will get nice cloud shading, although fluid particles will not cast shadows on other fluid particles.


In hypershade there’s node called particleSamplerInfo. It contains many particle attributes, so you can use them in shading networks. So if you want some particle attribute connected to fluid connect it from particleSamplerInfo to fluid. It doesn’t support custom attributes. In particleShape there are attributes called userScalar1, userVector1, userScalar2… So first thing is to add those attributes, since they are disabled by default (that’s pretty common stuff, so I will not get into explaining it)
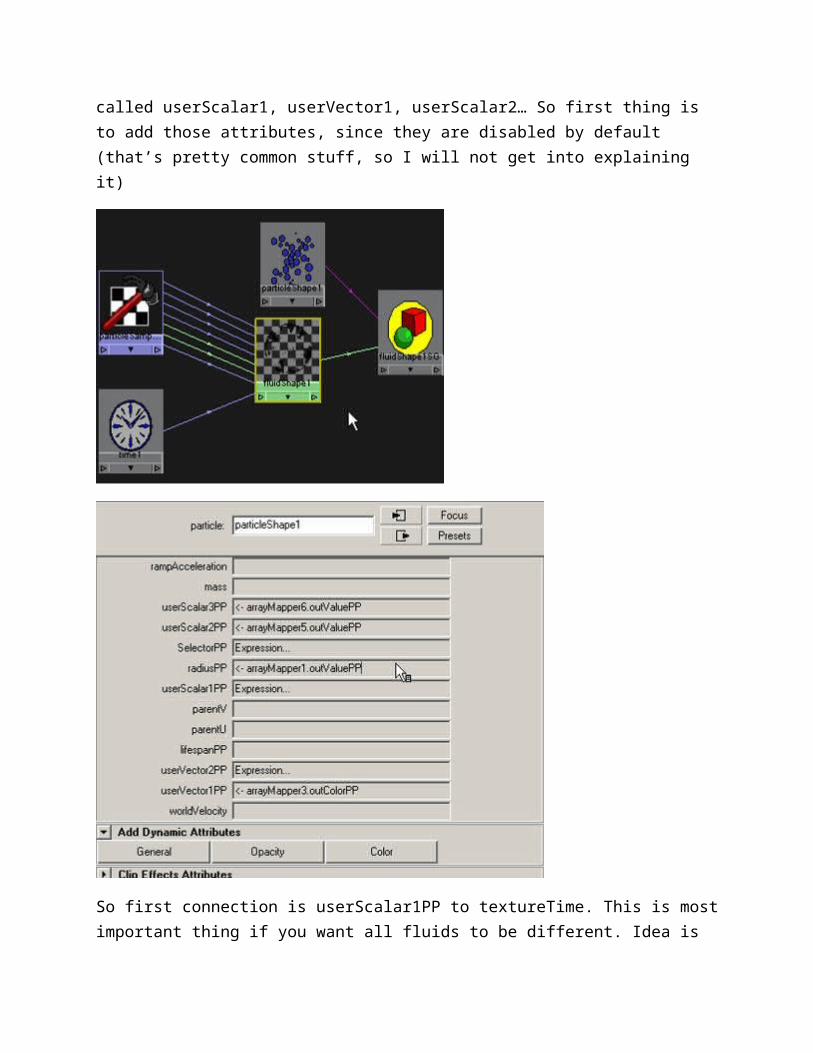
So first connection is userScalar1PP to textureTime. This is most important thing if you want all fluids to be different. Idea is to randomize userScalar1PP on creation, so every particle will get different time. So on creation expression we type:
particleShape1.userScalar1PP=rand(0,100);

Also in runtime after dynamics we add:
particleShape1.userScalar1PP+=0.01;
so time will be animated

Second connection is userVector1PP to color[0].color_Color (the color value of the only point in color ramp)
Since color is rgb I used vector attribute. I made ramp for this.

Shading network for that attribute looks like this
Normally in Maya when you create ramp for attribute (like RgbPP), Input V is mapped to particle Age and Input U to none. I used U to custom attribute SelectorPP to map U component also.

This is ramp I used. So normaly V is mapped according to age (0 birth, 1 death). U is mapped by selectorPP which is random number form (0,1) created on birth of particle. In this way we have particles with same age sampling slightly different colors. We get more randomness, variety which is more natural.

I got that kind of ramp by multiplying two textures.
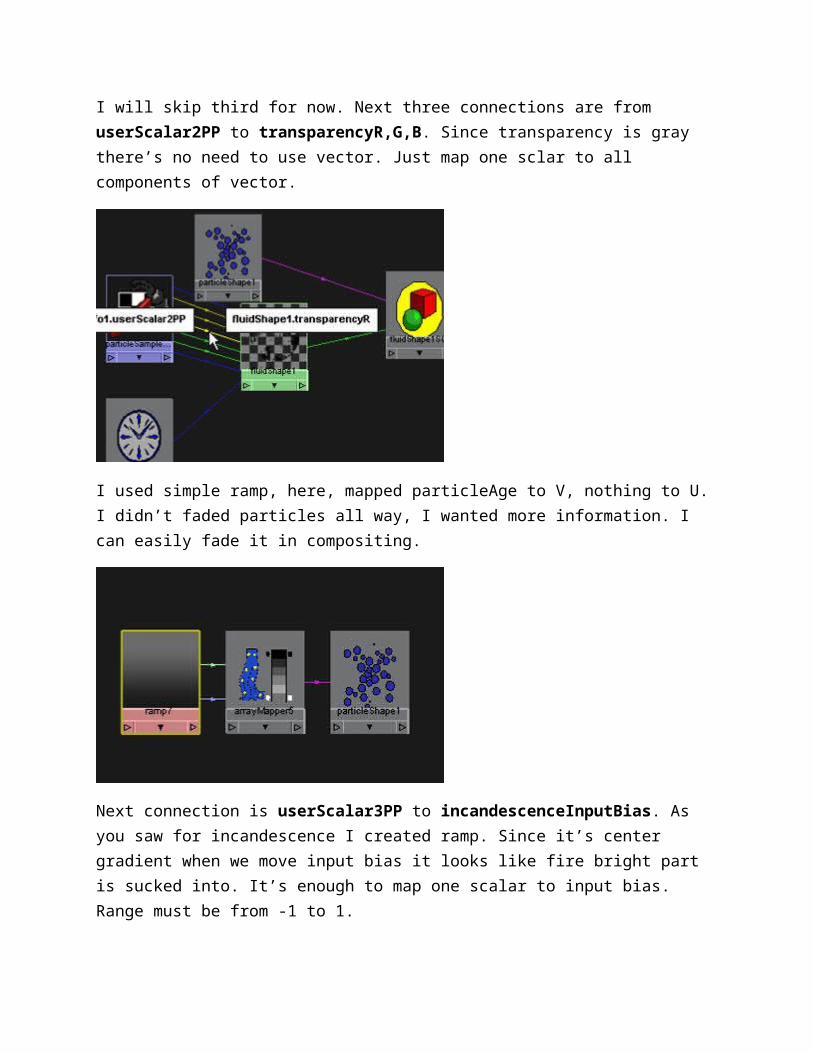
I will skip third for now. Next three connections are from userScalar2PP to transparencyR,G,B. Since transparency is gray there’s no need to use vector. Just map one sclar to all components of vector.
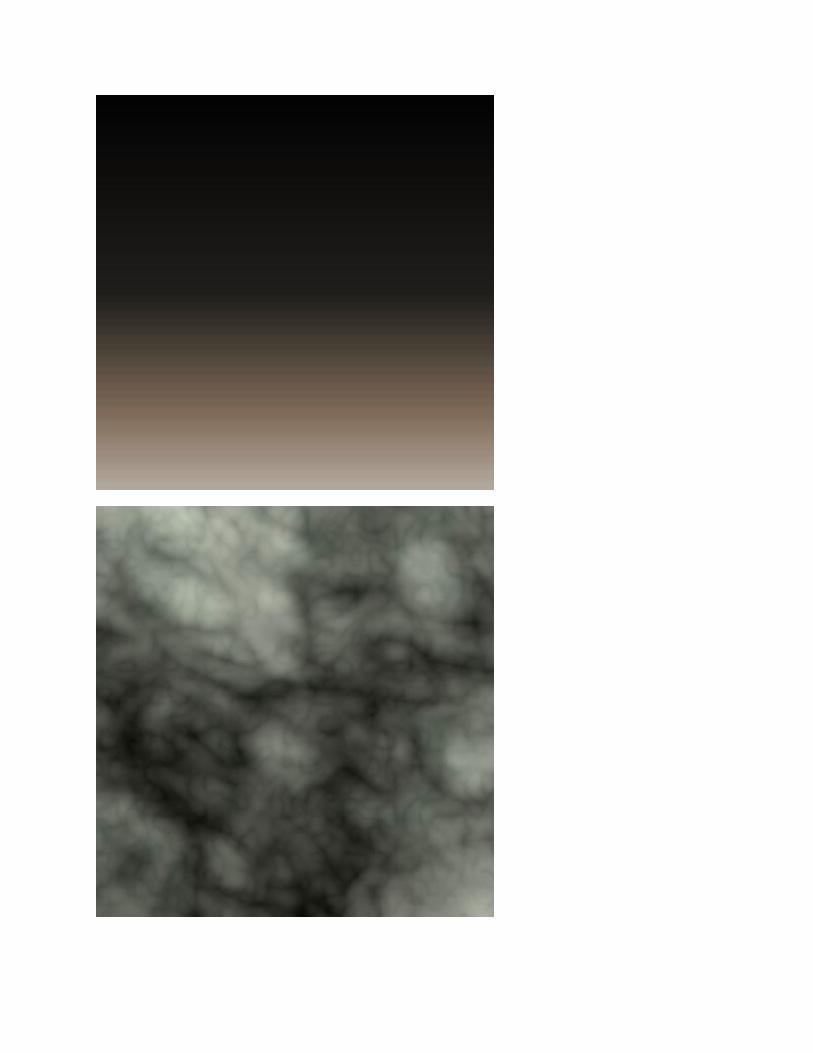
I used simple ramp, here, mapped particleAge to V, nothing to U. I didn’t faded particles all way, I wanted more information. I can easily fade it in compositing.
Next connection is userScalar3PP to incandescenceInputBias. As you saw for incandescence I created ramp. Since it’s center gradient when we move input bias it looks like fire bright part is sucked into. It’s enough to map one scalar to input bias. Range must be from -1 to 1.

In array maper set the ranges to -1,1 (also common stuff). I used selectorPP here to map U, so I get little bit randomness.
As I mentioned SelectorPP is just random number form 0,1. It’s constant through life of the particle, that’s why I put it only on creation.

Now exciting part. On fluid there’s attribute called implode. It gives fluid nice streak, motion blurred look. By default implode center is 0,0,0 in local space, which means it comes from center of every fluid particle. Our explosion comes from 0,0,0 in world space, so we want to streak every fluid from that direction. If you subtract particle postion from 0,0,0 you will get exactly opposite from the position of particle (or just multiply by -1). Implode parameter doesn’t work very good when implode center goes over 1, so we normalize that numbers, and assign them to userVector2PP. Expression is like this (if picture is not clear)
vector $dist=<<0,0,0>>-particleShape1.worldPosition;float $v[];$v[0]=$dist.x;$v[1]=$dist.y;$v[2]=$dist.z; normalize $v; float $x=$v[0];float $y=$v[1];float $z=$v[2]; particleShape1.userVector2PP=<<$x,$y,$z>>;


So you get nice motion blurred explosion. On my core2duo render took about 15 min per frame.

Check avi file I rendered for this (DIVX)