terra search vehicle - induction on jacking,...
TRANSCRIPT
TERRA SEARCH VEHICLE- Induction on Jacking, Winching
and Puncture Repairs
© Terra Search 2015
How to use this presentation• This presentation will run for about 30-40 min.• Take your time and pay attention.• If you do not understand certain information or
you would like to have more information please refer to the General Field Operations and Safety Manual or ask the Field Manager.
• After the presentation you will complete a written test to demonstrate that you do understand all aspects of Terra Search’s Vehicle Jacking, Winching and Puncture Induction.
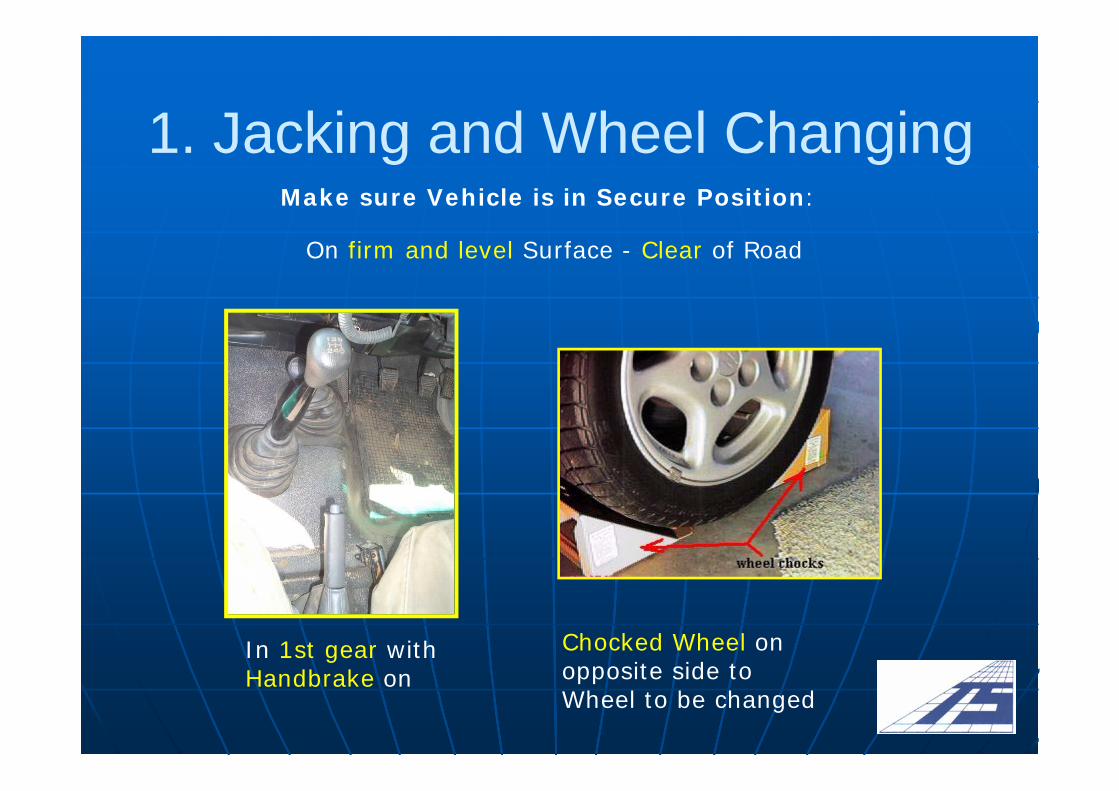
1. Jacking and Wheel ChangingMake sure Vehicle is in Secure Position:
On firm and level Surface - Clear of Road
In 1st gear with Handbrake on
Chocked Wheel on opposite side to Wheel to be changed
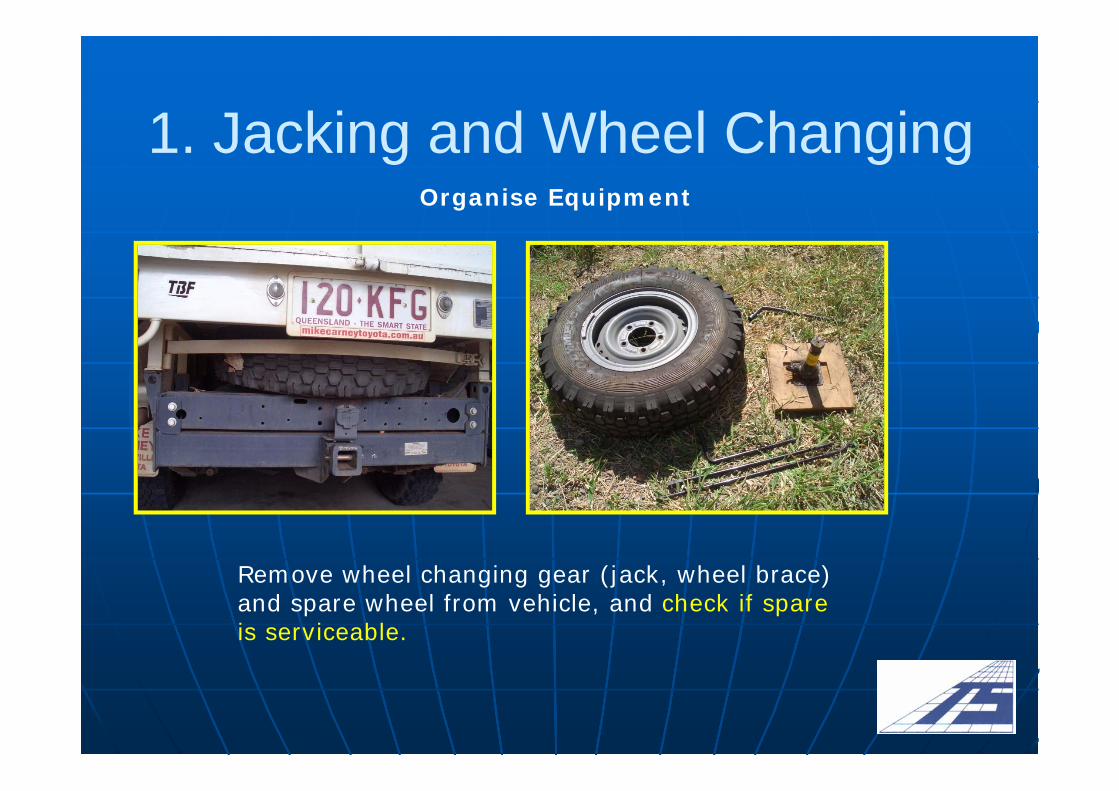
1. Jacking and Wheel ChangingOrganise Equipment
Remove wheel changing gear (jack, wheel brace) and spare wheel from vehicle, and check if spare is serviceable.
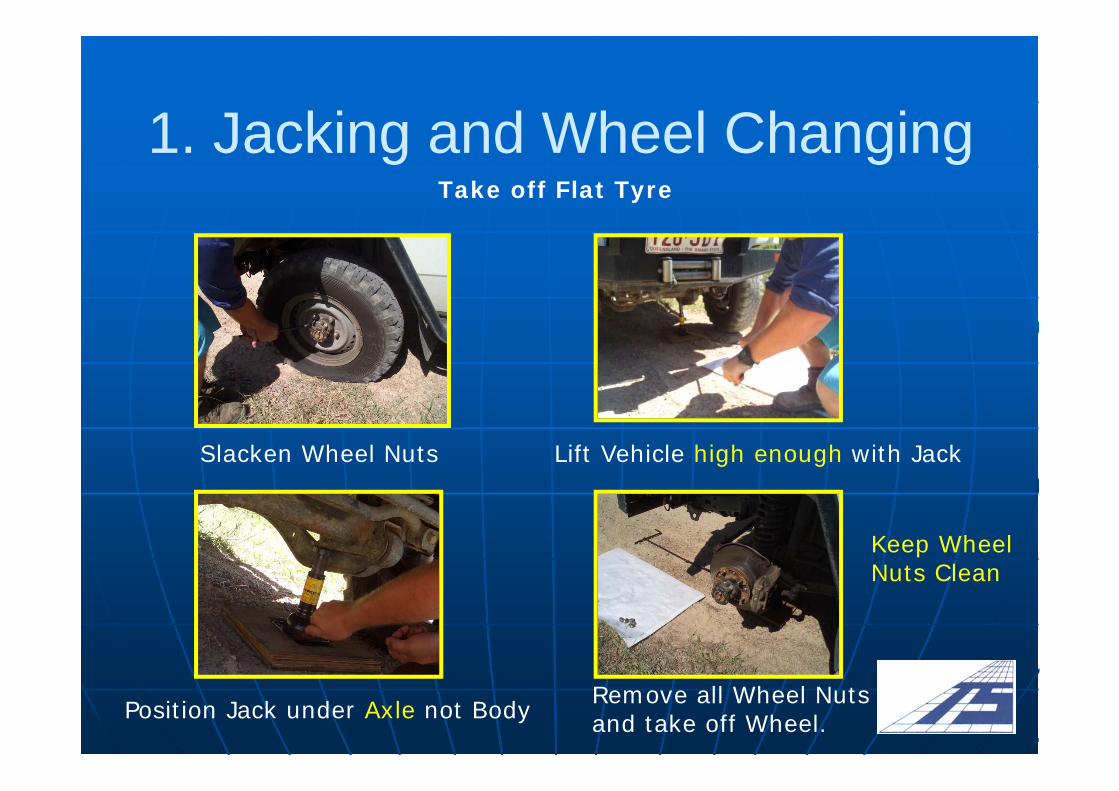
1. Jacking and Wheel ChangingTake off Flat Tyre
Slacken Wheel Nuts Lift Vehicle high enough with Jack
Position Jack under Axle not Body Remove all Wheel Nuts and take off Wheel.
Keep Wheel Nuts Clean

1. Jacking and Wheel ChangingFit Spare Wheel
Screw on all Wheel Nuts first finger-tight, then with Wheel Spanner in Correct Order
Lower Jack and pull it out from under Vehicle
Tighten all Wheel Nuts again with Wheel Spanner
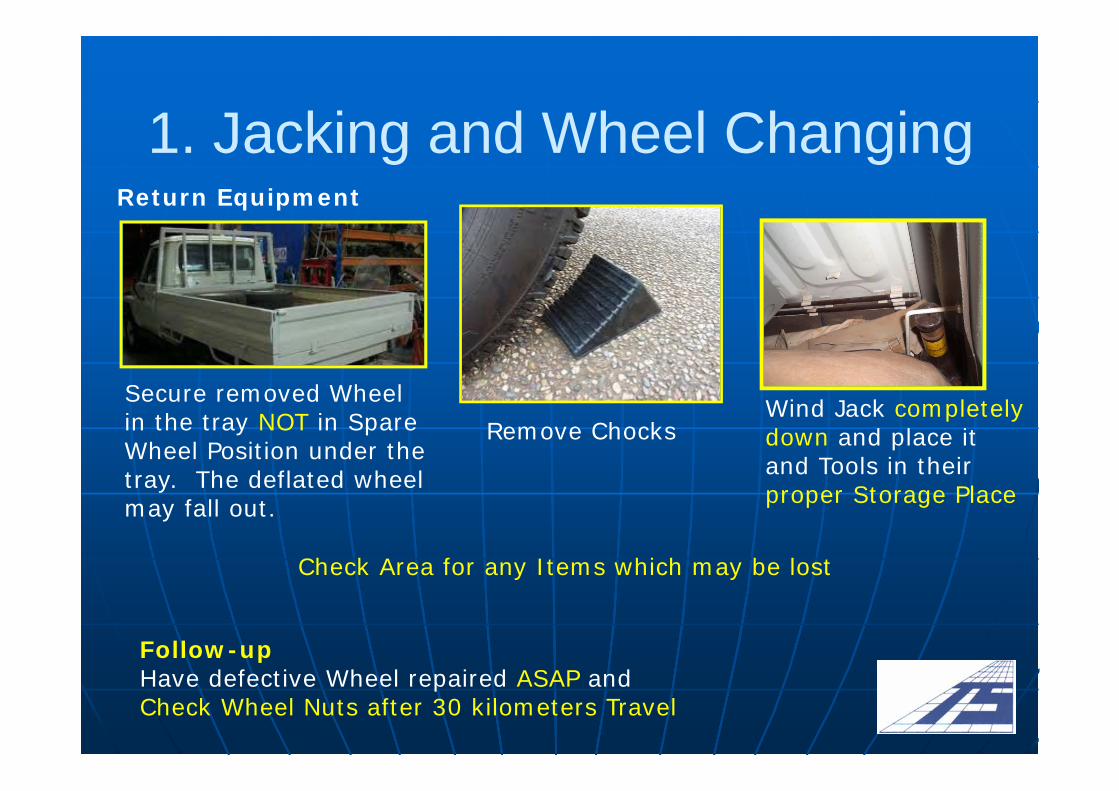
1. Jacking and Wheel ChangingReturn Equipment
Secure removed Wheel in the tray NOT in Spare Wheel Position under the tray. The deflated wheel may fall out.
Remove ChocksWind Jack completely down and place it and Tools in their proper Storage Place
Check Area for any Items which may be lost
Follow-upHave defective Wheel repaired ASAP and Check Wheel Nuts after 30 kilometers Travel
1. Jacking and Wheel Changing cont’d
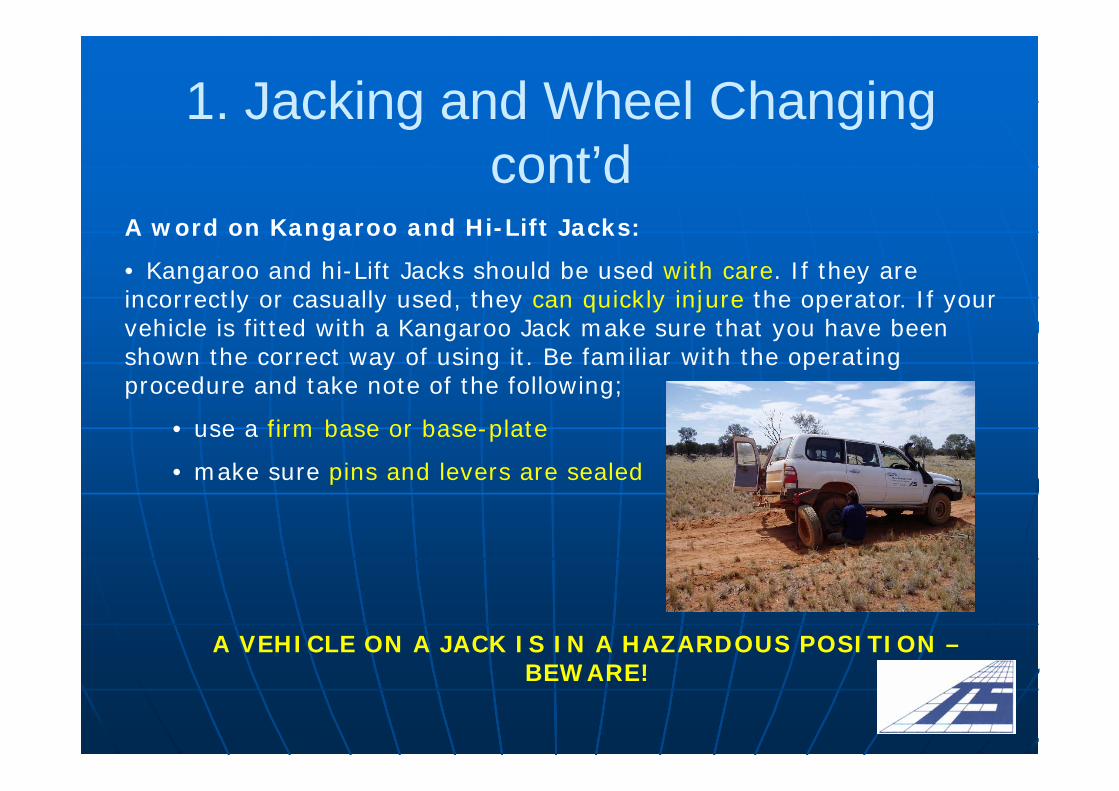
A word on Kangaroo and Hi-Lift Jacks:
• Kangaroo and hi-Lift Jacks should be used with care. If they are incorrectly or casually used, they can quickly injure the operator. If your vehicle is fitted with a Kangaroo Jack make sure that you have been shown the correct way of using it. Be familiar with the operating procedure and take note of the following;
• use a firm base or base-plate
• make sure pins and levers are sealed
A VEHICLE ON A JACK IS IN A HAZARDOUS POSITION –BEWARE!
2. Tyre RepairsTyre repairs can be extremely dangerous, detachable rims can
kill!
“A Coronial Inquest into the death of a maintenance fitter was recently held following a fatal accident on a minesite. The fitter received multiple injuries when a split rim wheel and tyre assembly failed catastrophically whilst being fitted to a mobile crane.The outer section of the cast iron split rim failed allowing a sudden release of energy. The wheel components along with the fitter were projected some 13 metres in the blast.” (from Safety Bulletin #36, DMP WA)
Never attempt to inflate a tyre with a split rim without putting on the rim restraint straps!
If you have not repaired a tyre before only do so under the supervision of someone experienced!
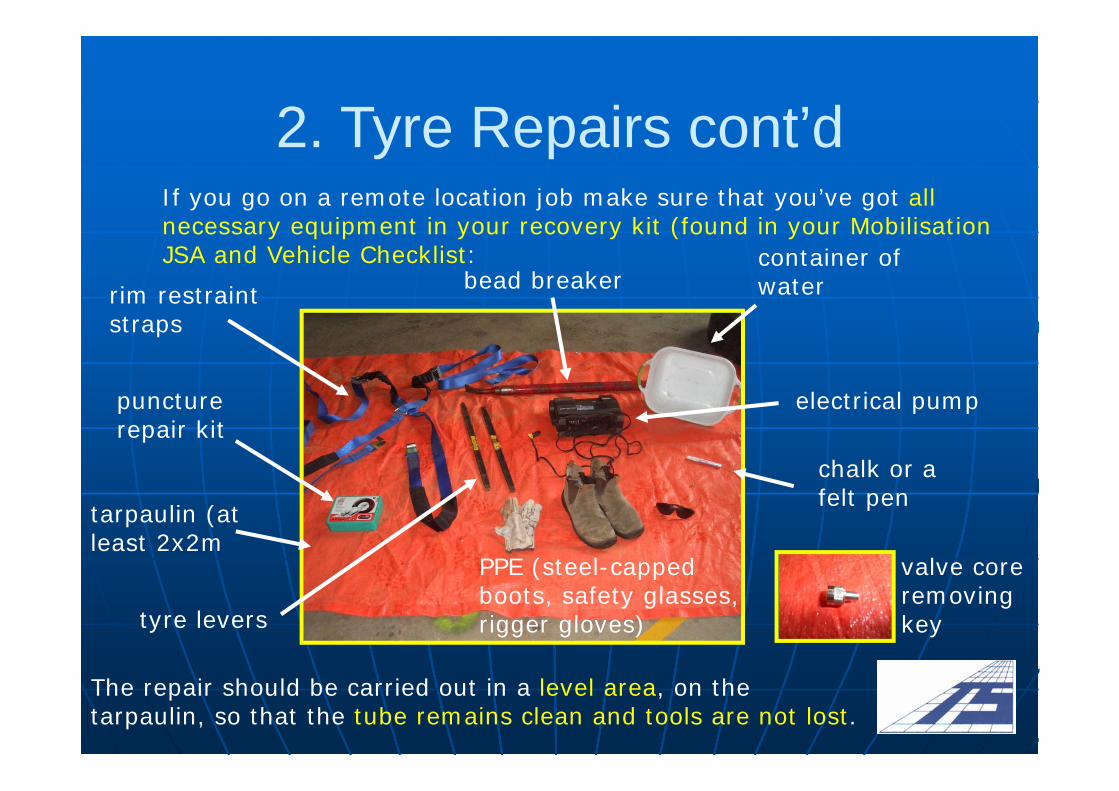
2. Tyre Repairs cont’dIf you go on a remote location job make sure that you’ve got all necessary equipment in your recovery kit (found in your Mobilisation JSA and Vehicle Checklist:
tarpaulin (at least 2x2m
tyre levers
chalk or a felt pen
bead breaker
puncture repair kit
electrical pump
rim restraint straps
container of water
The repair should be carried out in a level area, on the tarpaulin, so that the tube remains clean and tools are not lost.
valve core removing key
PPE (steel-capped boots, safety glasses, rigger gloves)
2. Tyre Repairs cont’d
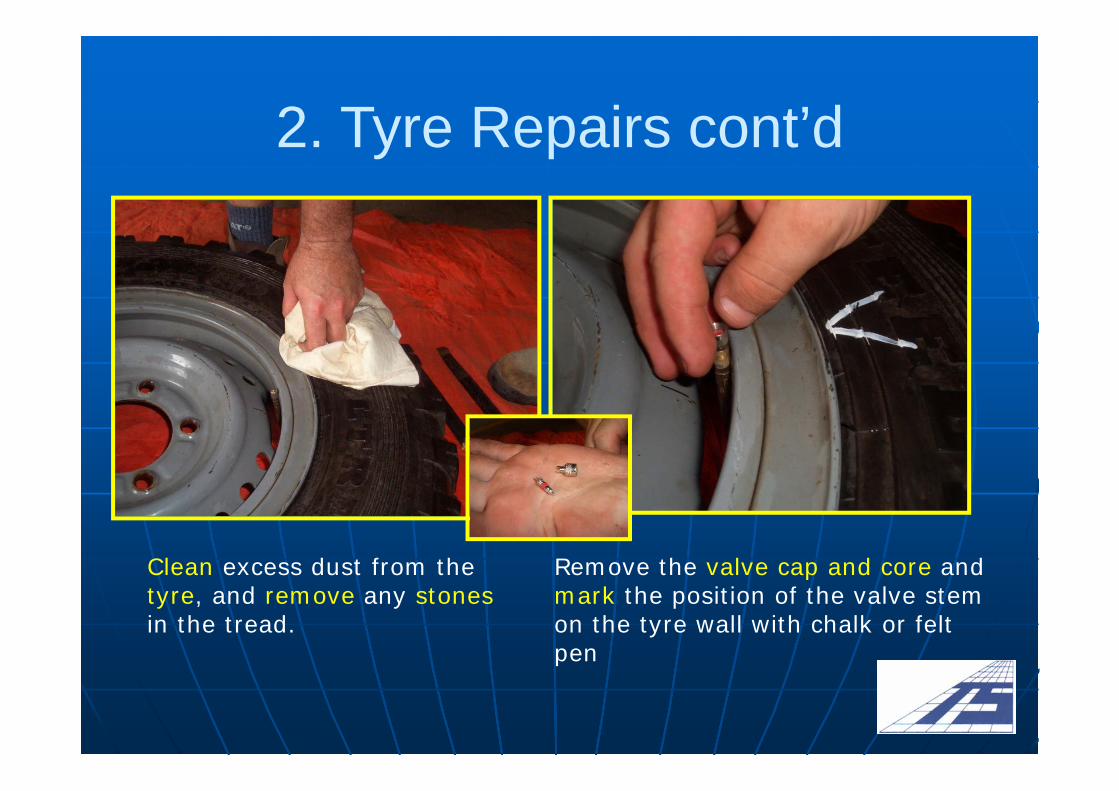
Remove the valve cap and core and mark the position of the valve stem on the tyre wall with chalk or felt pen
Clean excess dust from the tyre, and remove any stonesin the tread.
2. Tyre Repairs cont’d
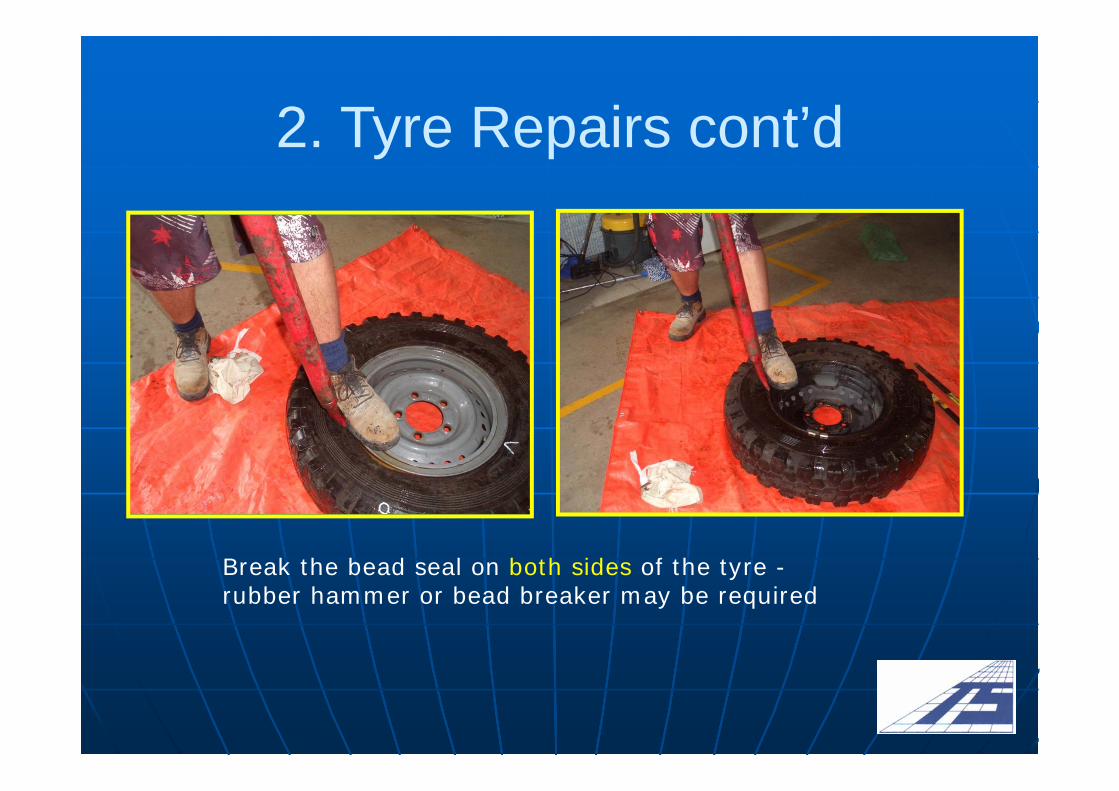
Break the bead seal on both sides of the tyre -rubber hammer or bead breaker may be required
2. Tyre Repairs cont’d
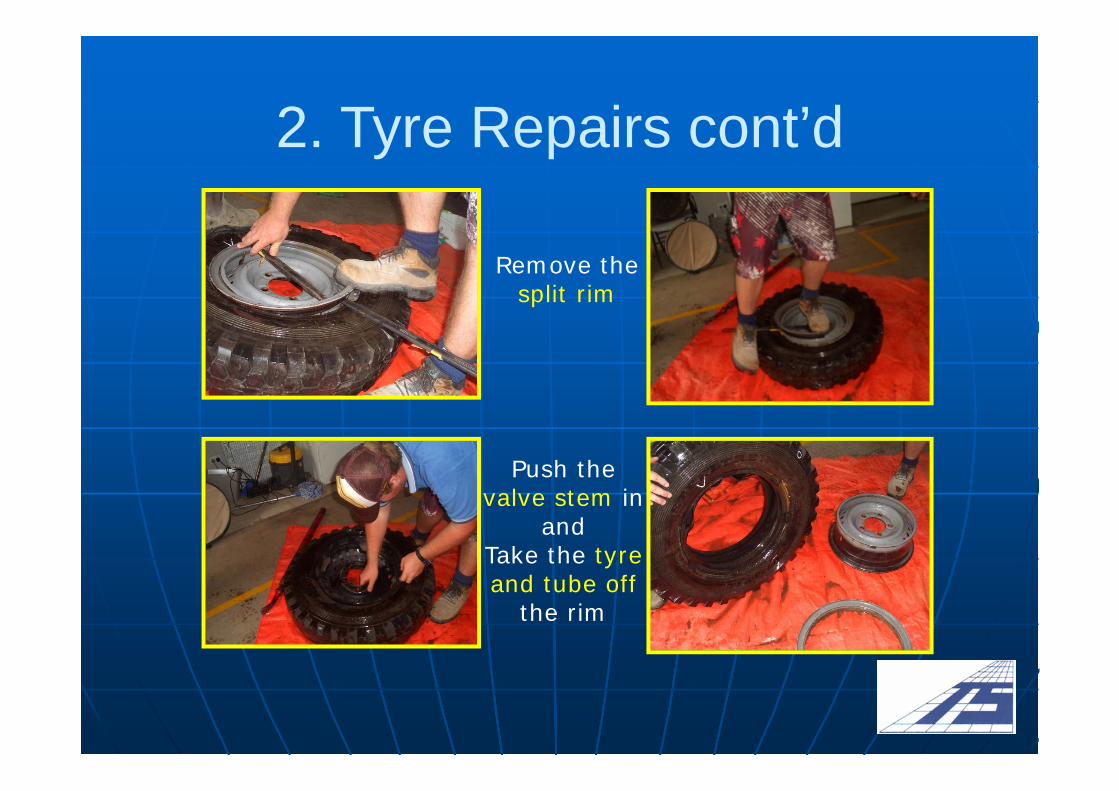
Push the valve stem in
and Take the tyre and tube off
the rim
Remove the split rim
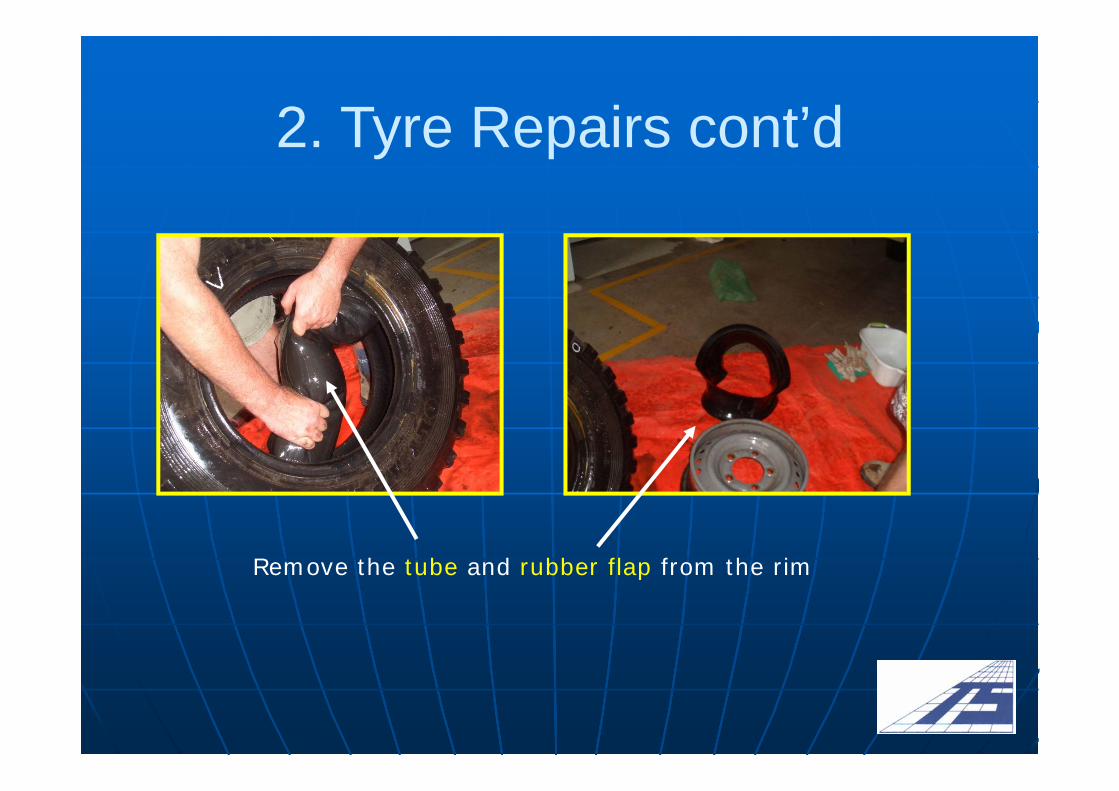
2. Tyre Repairs cont’d
Remove the tube and rubber flap from the rim
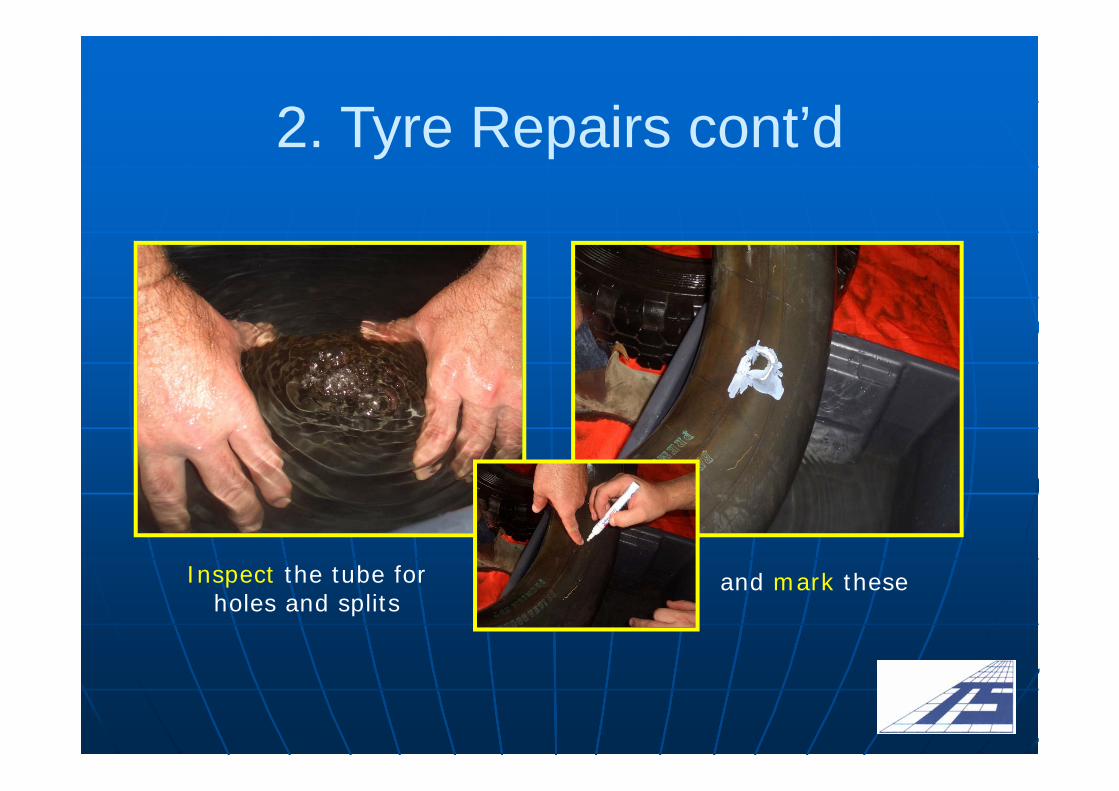
2. Tyre Repairs cont’d
and mark theseInspect the tube for holes and splits
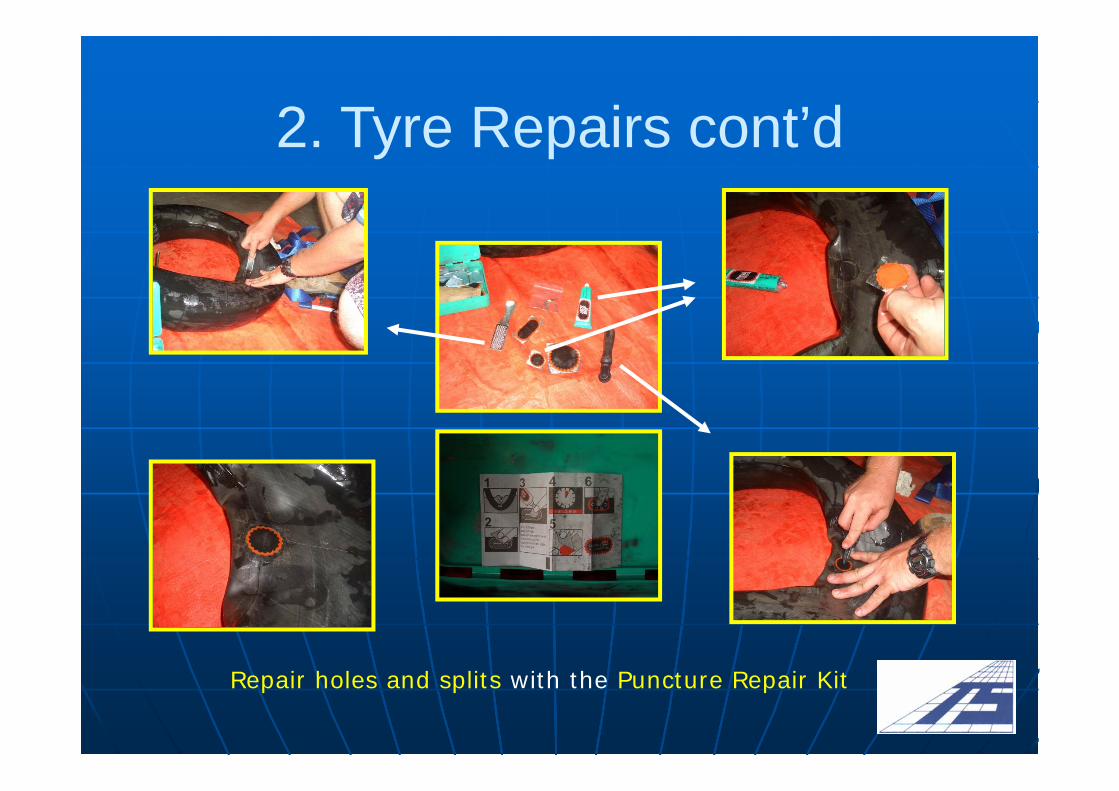
2. Tyre Repairs cont’d
Repair holes and splits with the Puncture Repair Kit
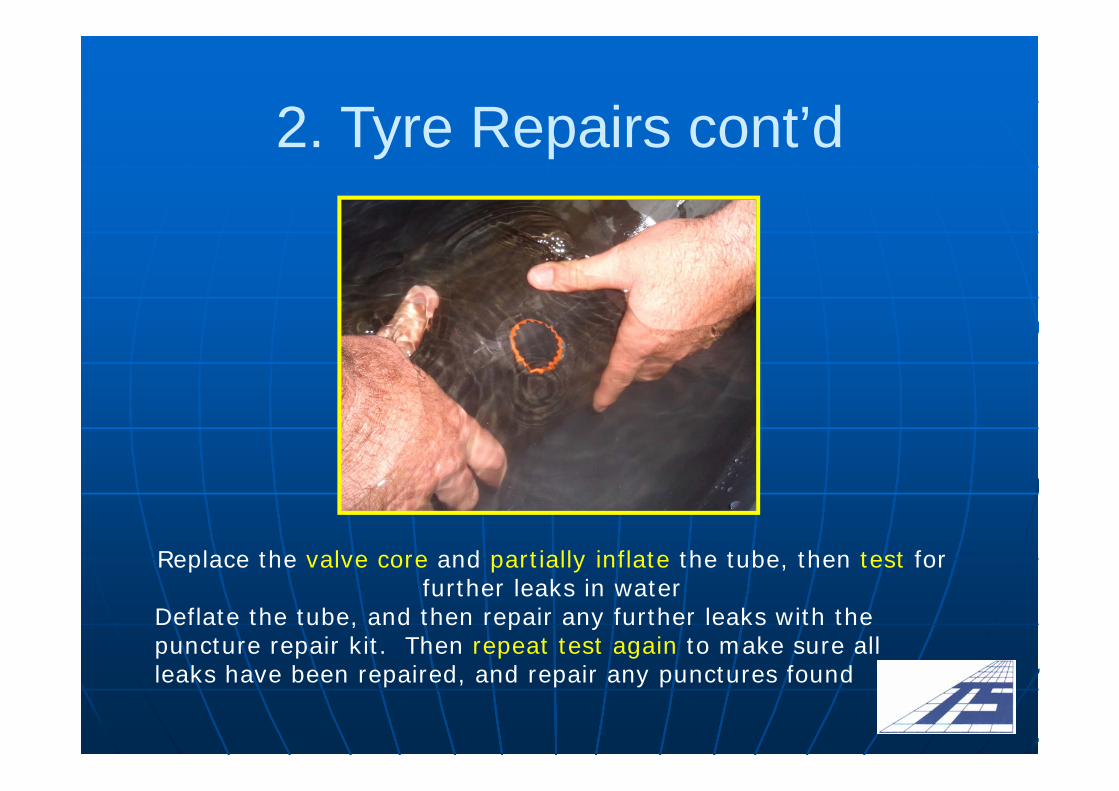
2. Tyre Repairs cont’d
Replace the valve core and partially inflate the tube, then test for further leaks in water
Deflate the tube, and then repair any further leaks with the puncture repair kit. Then repeat test again to make sure all leaks have been repaired, and repair any punctures found
6. Tyre Repairs cont’d
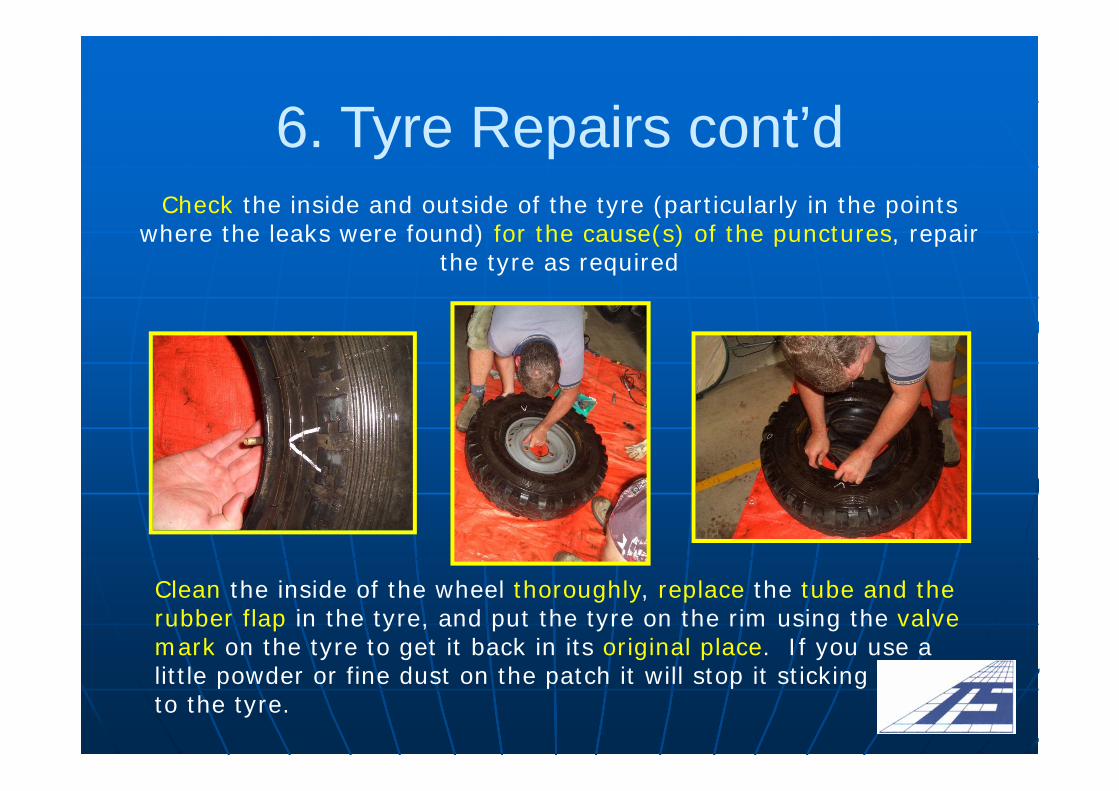
Clean the inside of the wheel thoroughly, replace the tube and the rubber flap in the tyre, and put the tyre on the rim using the valve mark on the tyre to get it back in its original place. If you use a little powder or fine dust on the patch it will stop it sticking to the tyre.
Check the inside and outside of the tyre (particularly in the points where the leaks were found) for the cause(s) of the punctures, repair
the tyre as required
2. Tyre Repairs cont’d
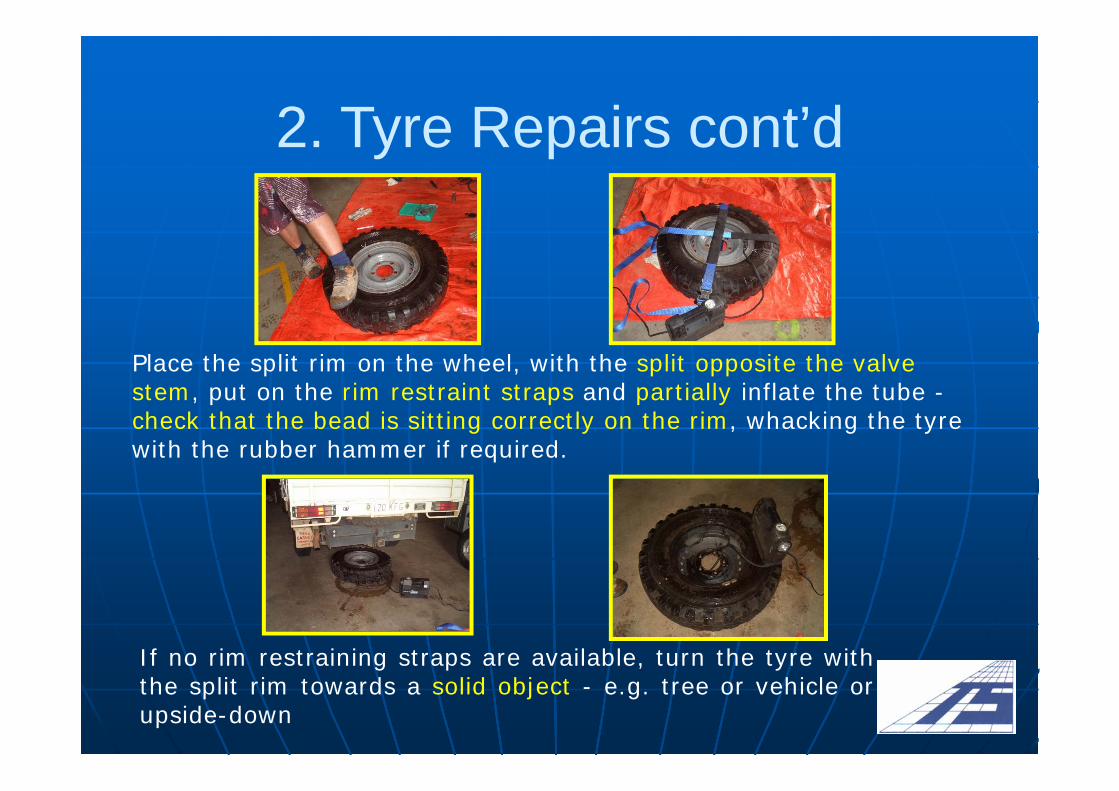
If no rim restraining straps are available, turn the tyre withthe split rim towards a solid object - e.g. tree or vehicle orupside-down
Place the split rim on the wheel, with the split opposite the valve stem, put on the rim restraint straps and partially inflate the tube -check that the bead is sitting correctly on the rim, whacking the tyre with the rubber hammer if required.
2. Tyre Repairs cont’d
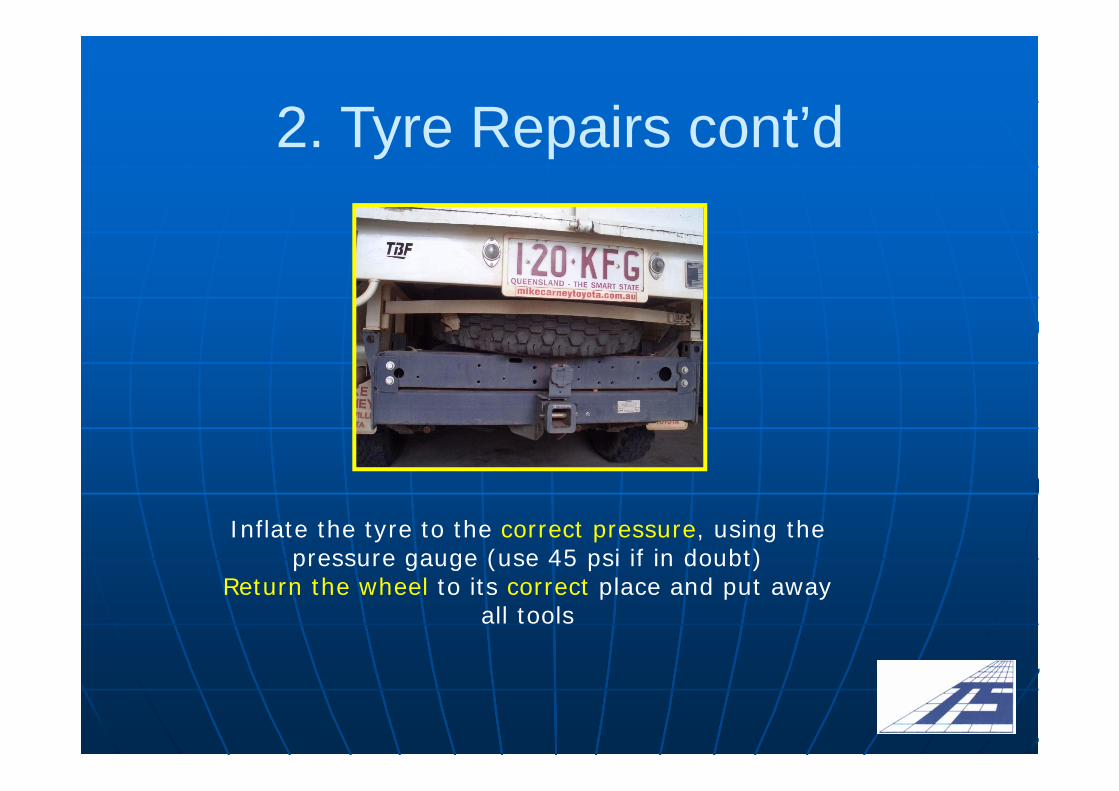
Inflate the tyre to the correct pressure, using the pressure gauge (use 45 psi if in doubt)
Return the wheel to its correct place and put away all tools

3. Recovery OperationsTry to avoid placing a vehicle in a recovery situation by:
• Parking the vehicle well clear of any problem area, and walkingacross the boggy or rough section and inspecting the situation.
• Think of the three critical factors:
1. Can the vehicle do the job?
2. Can the driver do the job?
3. Does the job have to be done now?
• If the answer to any of these questions is “no”, then avoid the problem area – find another driving route.
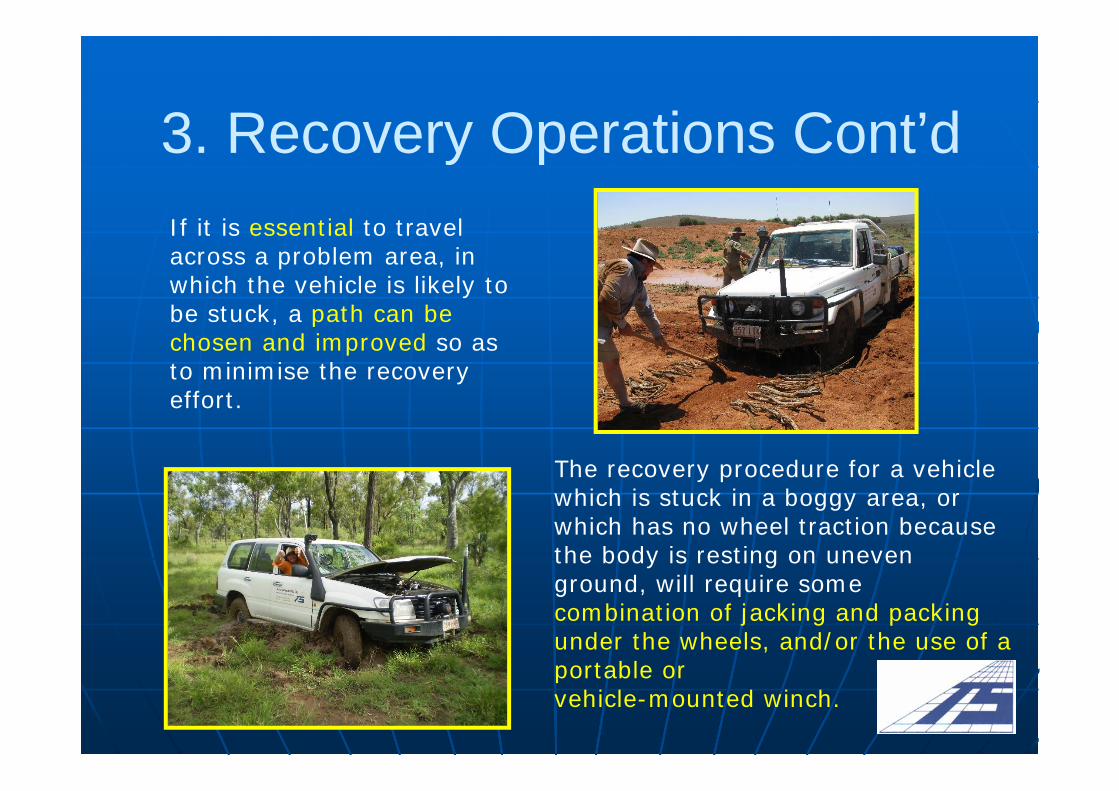
3. Recovery Operations Cont’dIf it is essential to travel across a problem area, in which the vehicle is likely to be stuck, a path can be chosen and improved so as to minimise the recovery effort.
The recovery procedure for a vehicle which is stuck in a boggy area, or which has no wheel traction because the body is resting on uneven ground, will require some combination of jacking and packing under the wheels, and/or the use of a portable orvehicle-mounted winch.
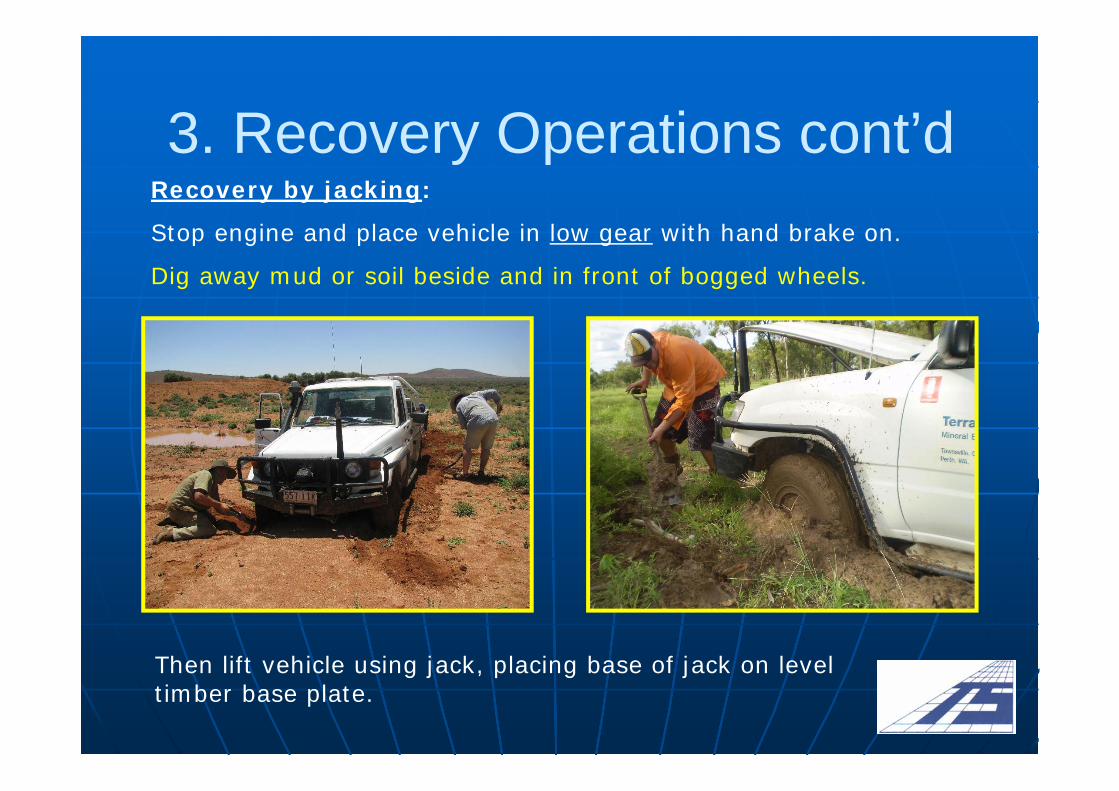
3. Recovery Operations cont’dRecovery by jacking:
Stop engine and place vehicle in low gear with hand brake on.
Dig away mud or soil beside and in front of bogged wheels.
Then lift vehicle using jack, placing base of jack on level timber base plate.
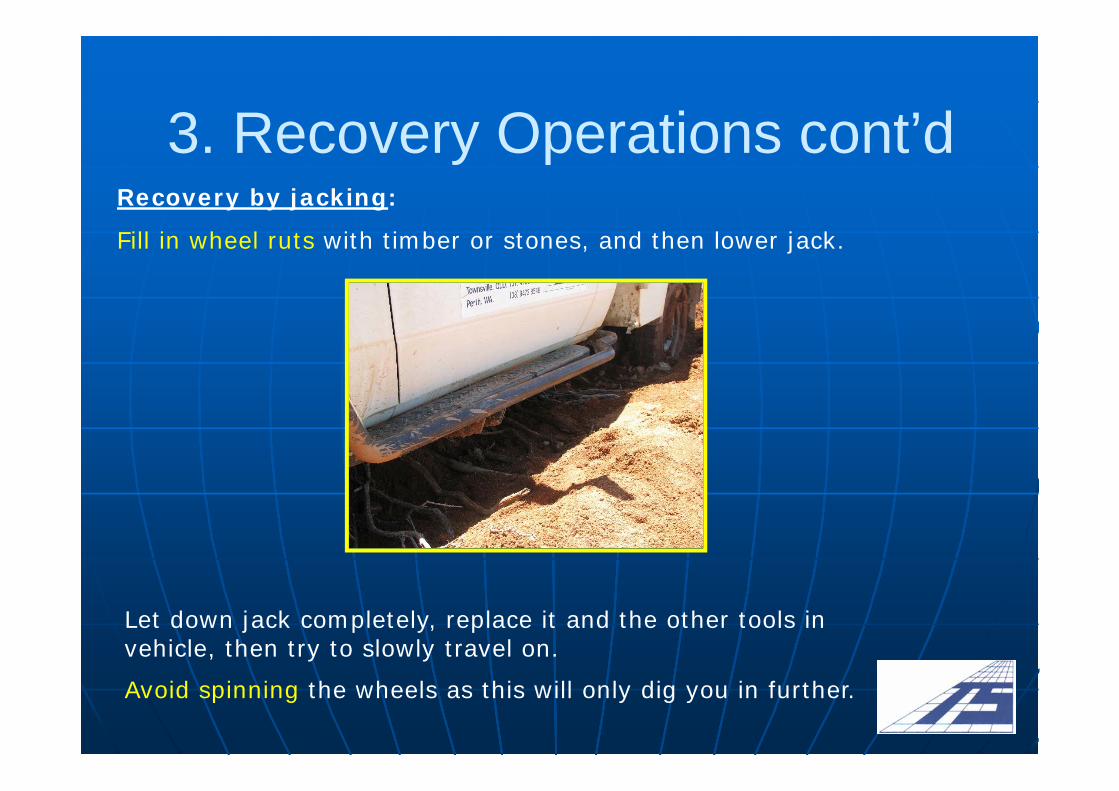
3. Recovery Operations cont’dRecovery by jacking:
Fill in wheel ruts with timber or stones, and then lower jack.
Let down jack completely, replace it and the other tools in vehicle, then try to slowly travel on.
Avoid spinning the wheels as this will only dig you in further.
3. Recovery Operations cont’dRecovery by winching:
Equipment: gloves, a winch and wire rope, a 1.5m length of chain with a large link at each end, bow shackles, a tree protector strap, a snatch block, spare winch shear pins, and tools to replace these pins.
Procedure:
• Dig away soil or mud beside and in front of wheels – also jack up vehicle and pack under wheels if necessary.
• Connect snatch block to tree or other anchor by the tree protector strap. Winch rope should then be wound out, with winch in neutral, to length required. Connect tree end of rope through snatch block to front of vehicle by short piece of chain and shackle.
• Start winch, and operate winch and vehicle at same time. If a second person is available he or she should stand well behind the anchor, to guide the driver. Stay well clear of winch ropes and chains when taut.
• When clear of problem area, disconnect winch rope, run it out again, neatly rewind it on winch drum, tidy up area and retrieve tools.
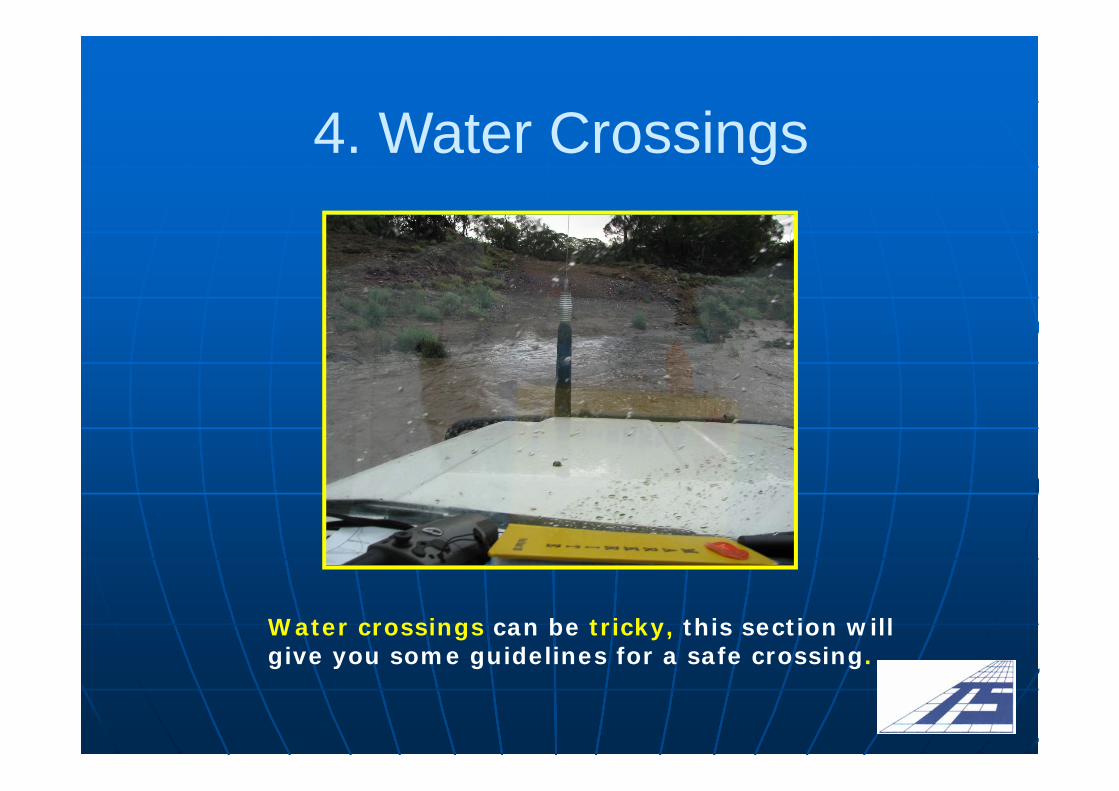
4. Water Crossings
Water crossings can be tricky, this section will give you some guidelines for a safe crossing.
4. Water Crossings cont’dBefore entering the water:
• Decide on a plan of action. Make certain the passengers know what to do if something goes wrong.
• Determine if the water level is rising, falling or stationary; place a stick at the stream edge and observe the ebb and flow at that point over a length of time.
• Check upstream and downstream for some distance to determine if there is a better place to cross.
• Get out of your vehicle and walk across to check for water depth, firmness of the stream bed and for hidden hazards. If current is too strong to walk it, it is too strong to drive it. Beware of crocodiles in the northern parts of Australia.
• If the car has central locking, make sure it is not engagedand that the windows are wound down.
4. Water Crossings cont’d
Crossing:
• Lock in the hubs and select 4WD low second gear.
• Proceed at a constant speed. Do not slip the clutch or attempt to change gear.
• If exit is steep or soft or both, keep going by gunning the engine once clear of the water until higher ground is reached.
• If the vehicle stalls in the water and you cannot immediately restart it, stop trying. You will have to winch or be towed out.
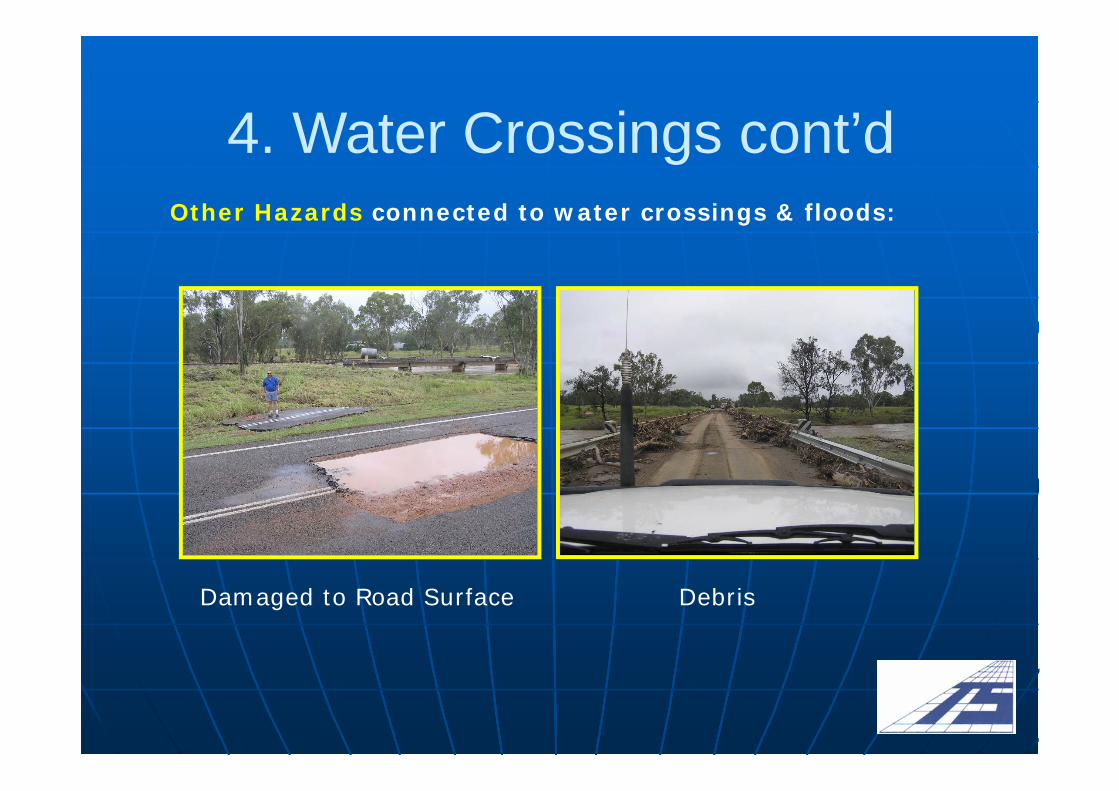
4. Water Crossings cont’dOther Hazards connected to water crossings & floods:
Damaged to Road Surface Debris
5. In Case of AccidentIf you are involved in a road accident, record all the relevant facts on the spot:
• Date and Time of Accident
• Address/location of Accident
• Roadway Wet or Dry?
• Width of Roadway
• Was your vehicle on the correct side of the road?
• Distance of your car from curb.
• Estimated speed at time of impact (your and other vehicle)
• Estimated speed at 50m before impact (your and other vehicle)
• If after sundown – was the accident site well lit? – what lampswere alight on your and the other vehicle?
5. In Case of AccidentOther Vehicle:
1. Driver’s name, address and licence number.
2. If different, owner’s name and address.
3. Make, model and registration number.
4. Registration expiry date.
5. Extent of damage.
6. Was the vehicle already damaged before this accident?
7. Name of insurance company and type of policy.
Police Involvement:
• If police are called, names of attending officers and their police station.
• Was the other driver breathalysed? If so, what was the reading?
• Did the police lay blame or mention charge?
5. In Case of AccidentGeneral:
• Names and addresses of witnesses.
• Names and addresses of injured persons, and degree of injuires.
• Damage to property other than vehicles.
• Name and address of owner of property damaged.
• Did the other driver admit liability – record exact words.
If police are not called, report accident to a police station within 24 hours.
6. General
Please also read Chapter 8. Vehicles in the Safety Manual. You will find
• more Safe Driving Guidelines for on and off the road.
• more detailed Recovery Information, using winch, snatch strap and snatch block
• and other useful information for Safe Vehicle Conduct.
Thank You!!!
… and safe driving for the Future!

End of Presentation
Terra Search Pty LtdA.B.N. 59 011 073 939
Specialists in Mineral Exploration,Geology and Computing