straw bale gardening - wsu extension | washington...
TRANSCRIPT
Straw Bale Gardening
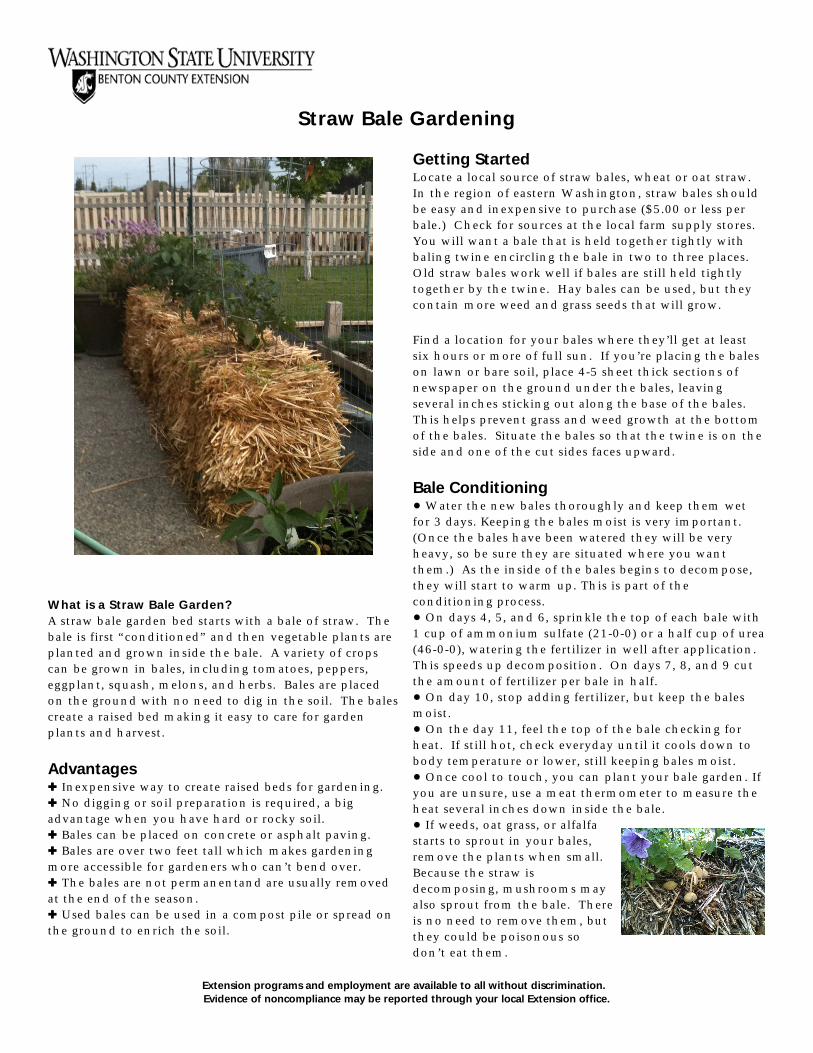
What is a Straw Bale Garden?A straw bale garden bed starts with a bale of straw. Thebale is first “conditioned” and then vegetable plants areplanted and grown inside the bale. A variety of cropscan be grown in bales, including tomatoes, peppers,eggplant, squash, melons, and herbs. Bales are placedon the ground with no need to dig in the soil. The balescreate a raised bed making it easy to care for gardenplants and harvest.
Advantages[ Inexpensive way to create raised beds for gardening.[ No digging or soil preparation is required, a bigadvantage when you have hard or rocky soil.[ Bales can be placed on concrete or asphalt paving.[ Bales are over two feet tall which makes gardeningmore accessible for gardeners who can’t bend over.[ The bales are not permanentand are usually removedat the end of the season.[ Used bales can be used in a compost pile or spread onthe ground to enrich the soil.
Getting StartedLocate a local source of straw bales, wheat or oat straw. In the region of eastern Washington, straw bales shouldbe easy and inexpensive to purchase ($5.00 or less perbale.) Check for sources at the local farm supply stores. You will want a bale that is held together tightly withbaling twine encircling the bale in two to three places. Old straw bales work well if bales are still held tightlytogether by the twine. Hay bales can be used, but theycontain more weed and grass seeds that will grow.
Find a location for your bales where they’ll get at leastsix hours or more of full sun. If you’re placing the baleson lawn or bare soil, place 4-5 sheet thick sections ofnewspaper on the ground under the bales, leavingseveral inches sticking out along the base of the bales. This helps prevent grass and weed growth at the bottomof the bales. Situate the bales so that the twine is on theside and one of the cut sides faces upward.
Bale Conditioning! Water the new bales thoroughly and keep them wetfor 3 days. Keeping the bales moist is very important.(Once the bales have been watered they will be veryheavy, so be sure they are situated where you wantthem.) As the inside of the bales begins to decompose,they will start to warm up. This is part of theconditioning process.! On days 4, 5, and 6, sprinkle the top of each bale with1 cup of ammonium sulfate (21-0-0) or a half cup of urea(46-0-0), watering the fertilizer in well after application.This speeds up decomposition. On days 7, 8, and 9 cutthe amount of fertilizer per bale in half.! On day 10, stop adding fertilizer, but keep the balesmoist.! On the day 11, feel the top of the bale checking forheat. If still hot, check everyday until it cools down tobody temperature or lower, still keeping bales moist.! Once cool to touch, you can plant your bale garden. Ifyou are unsure, use a meat thermometer to measure theheat several inches down inside the bale.! If weeds, oat grass, or alfalfastarts to sprout in your bales,remove the plants when small.Because the straw isdecomposing, mushrooms mayalso sprout from the bale. Thereis no need to remove them, butthey could be poisonous sodon’t eat them.
Extension programs and employment are available to all without discrimination. Evidence of noncompliance may be reported through your local Extension office.
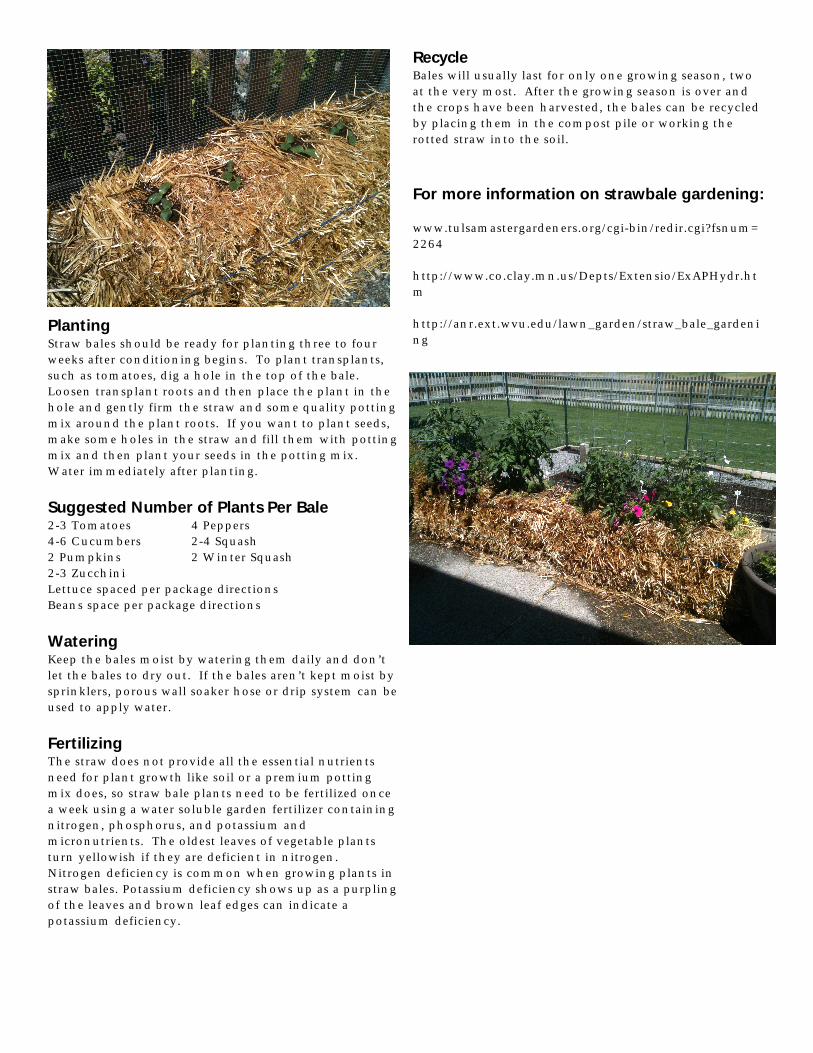
PlantingStraw bales should be ready for planting three to fourweeks after conditioning begins. To plant transplants,such as tomatoes, dig a hole in the top of the bale. Loosen transplant roots and then place the plant in thehole and gently firm the straw and some quality pottingmix around the plant roots. If you want to plant seeds,make some holes in the straw and fill them with pottingmix and then plant your seeds in the potting mix. Water immediately after planting.
Suggested Number of Plants Per Bale2-3 Tomatoes 4 Peppers 4-6 Cucumbers 2-4 Squash2 Pumpkins 2 Winter Squash 2-3 Zucchini Lettuce spaced per package directions Beans space per package directions
WateringKeep the bales moist by watering them daily and don’tlet the bales to dry out. If the bales aren’t kept moist bysprinklers, porous wall soaker hose or drip system can beused to apply water.
FertilizingThe straw does not provide all the essential nutrientsneed for plant growth like soil or a premium pottingmix does, so straw bale plants need to be fertilized oncea week using a water soluble garden fertilizer containingnitrogen, phosphorus, and potassium andmicronutrients. The oldest leaves of vegetable plantsturn yellowish if they are deficient in nitrogen. Nitrogen deficiency is common when growing plants instraw bales. Potassium deficiency shows up as a purplingof the leaves and brown leaf edges can indicate apotassium deficiency.
Recycle Bales will usually last for only one growing season, twoat the very most. After the growing season is over andthe crops have been harvested, the bales can be recycledby placing them in the compost pile or working therotted straw into the soil.
For more information on strawbale gardening:
www.tulsamastergardeners.org/cgi-bin/redir.cgi?fsnum=2264
http://www.co.clay.mn.us/Depts/Extensio/ExAPHydr.htm
http://anr.ext.wvu.edu/lawn_garden/straw_bale_gardening