step by step migrate exchange 2010 services to 2016 · on exchange 2016 prerequisite steps on the...
TRANSCRIPT
STEP BY STEP MIGRATE EXCHANGE 2010
SERVICES TO 2016 1. Login Exchange 2010 Server.
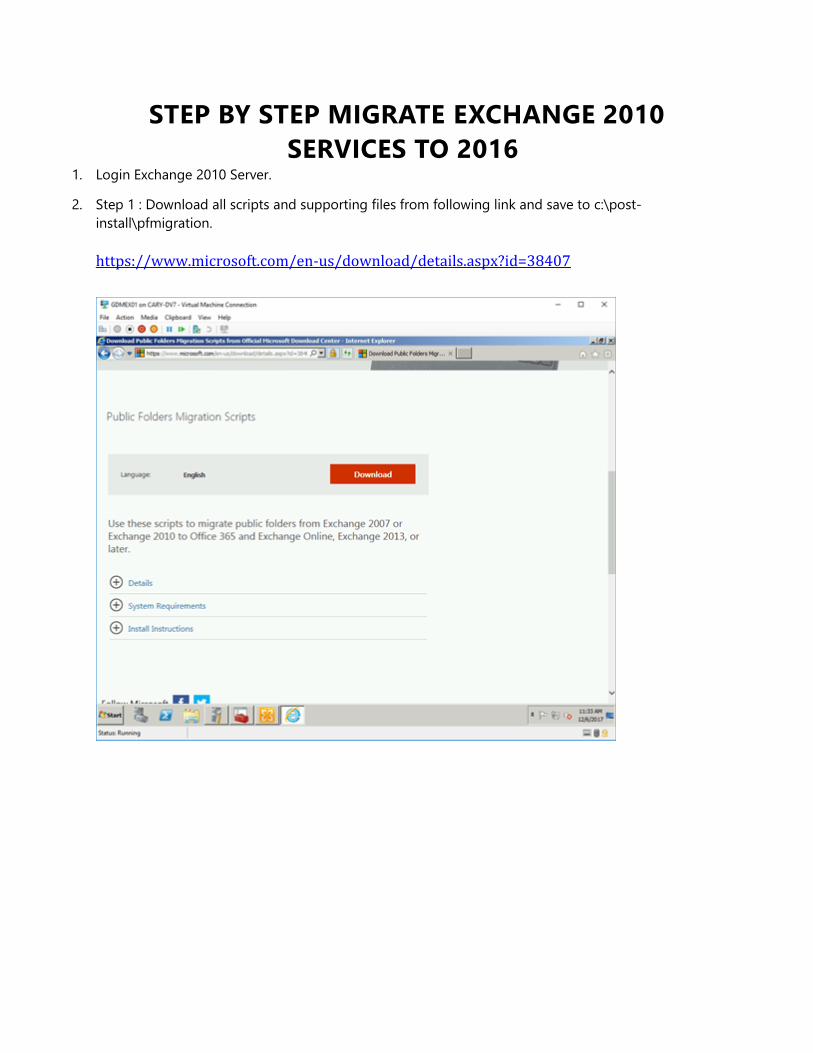
2. Step 1 : Download all scripts and supporting files from following link and save to c:\post-
install\pfmigration.
https://www.microsoft.com/en-us/download/details.aspx?id=38407
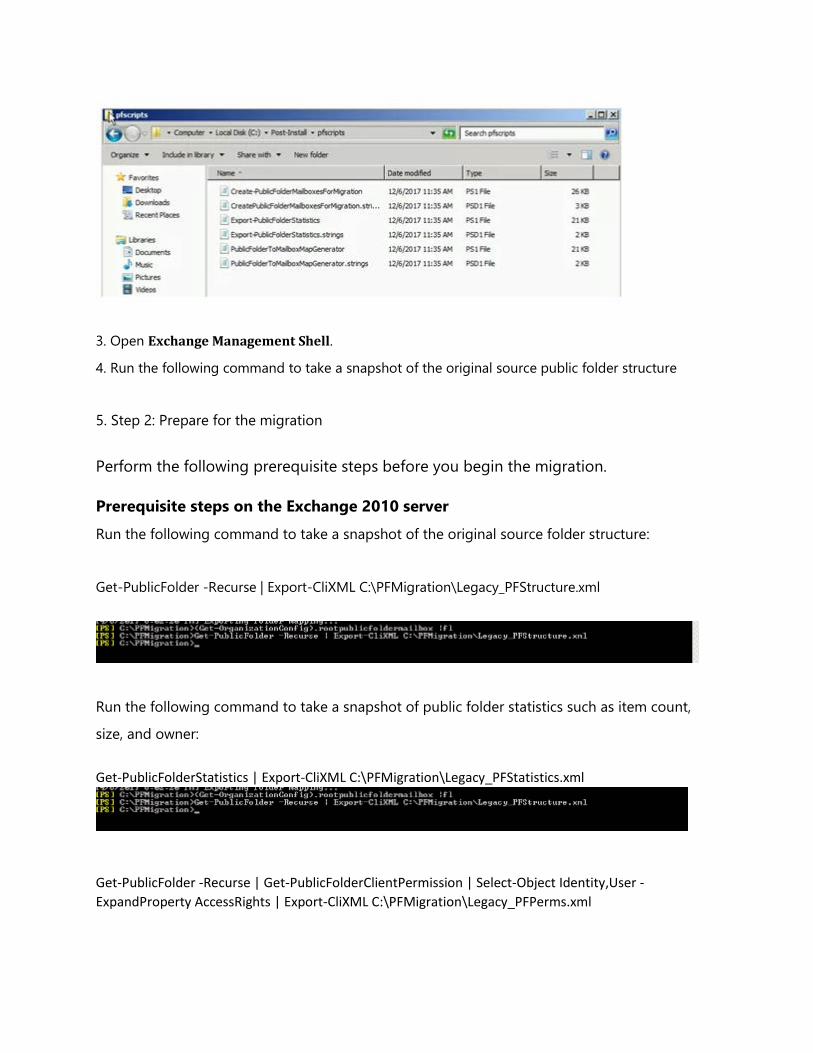
3. Open Exchange Management Shell.
4. Run the following command to take a snapshot of the original source public folder structure
5. Step 2: Prepare for the migration
Perform the following prerequisite steps before you begin the migration.
Prerequisite steps on the Exchange 2010 server
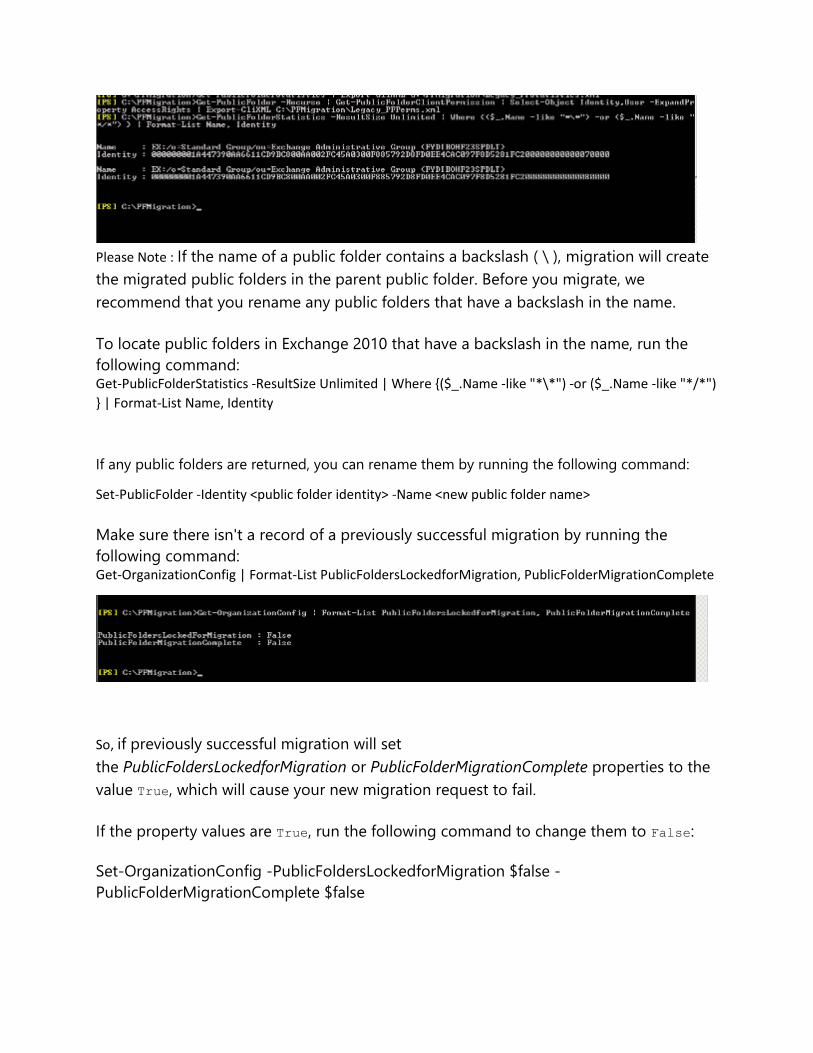
Run the following command to take a snapshot of the original source folder structure:
Get-PublicFolder -Recurse | Export-CliXML C:\PFMigration\Legacy_PFStructure.xml
Run the following command to take a snapshot of public folder statistics such as item count,
size, and owner:
Get-PublicFolderStatistics | Export-CliXML C:\PFMigration\Legacy_PFStatistics.xml
Get-PublicFolder -Recurse | Get-PublicFolderClientPermission | Select-Object Identity,User -
ExpandProperty AccessRights | Export-CliXML C:\PFMigration\Legacy_PFPerms.xml
Please Note : If the name of a public folder contains a backslash ( \ ), migration will create
the migrated public folders in the parent public folder. Before you migrate, we
recommend that you rename any public folders that have a backslash in the name.
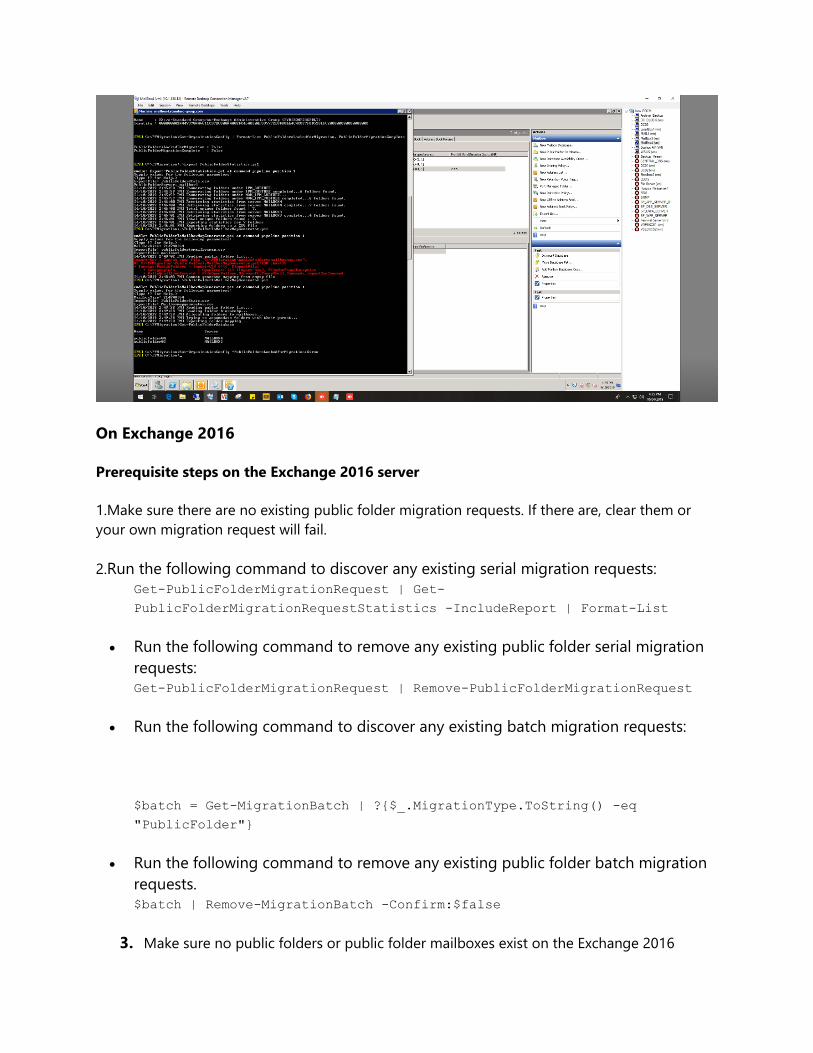
To locate public folders in Exchange 2010 that have a backslash in the name, run the
following command: Get-PublicFolderStatistics -ResultSize Unlimited | Where {($_.Name -like "*\*") -or ($_.Name -like "*/*")
} | Format-List Name, Identity
If any public folders are returned, you can rename them by running the following command:
Set-PublicFolder -Identity <public folder identity> -Name <new public folder name>
Make sure there isn't a record of a previously successful migration by running the
following command: Get-OrganizationConfig | Format-List PublicFoldersLockedforMigration, PublicFolderMigrationComplete
So, if previously successful migration will set
the PublicFoldersLockedforMigration or PublicFolderMigrationComplete properties to the
value True, which will cause your new migration request to fail.
If the property values are True, run the following command to change them to False:
Set-OrganizationConfig -PublicFoldersLockedforMigration $false -
PublicFolderMigrationComplete $false
On Exchange 2016
Prerequisite steps on the Exchange 2016 server
1.Make sure there are no existing public folder migration requests. If there are, clear them or
your own migration request will fail.
2.Run the following command to discover any existing serial migration requests:
Get-PublicFolderMigrationRequest | Get-
PublicFolderMigrationRequestStatistics -IncludeReport | Format-List
• Run the following command to remove any existing public folder serial migration
requests:
Get-PublicFolderMigrationRequest | Remove-PublicFolderMigrationRequest
• Run the following command to discover any existing batch migration requests:
$batch = Get-MigrationBatch | ?{$_.MigrationType.ToString() -eq
"PublicFolder"}
• Run the following command to remove any existing public folder batch migration
requests.
$batch | Remove-MigrationBatch -Confirm:$false
3. Make sure no public folders or public folder mailboxes exist on the Exchange 2016
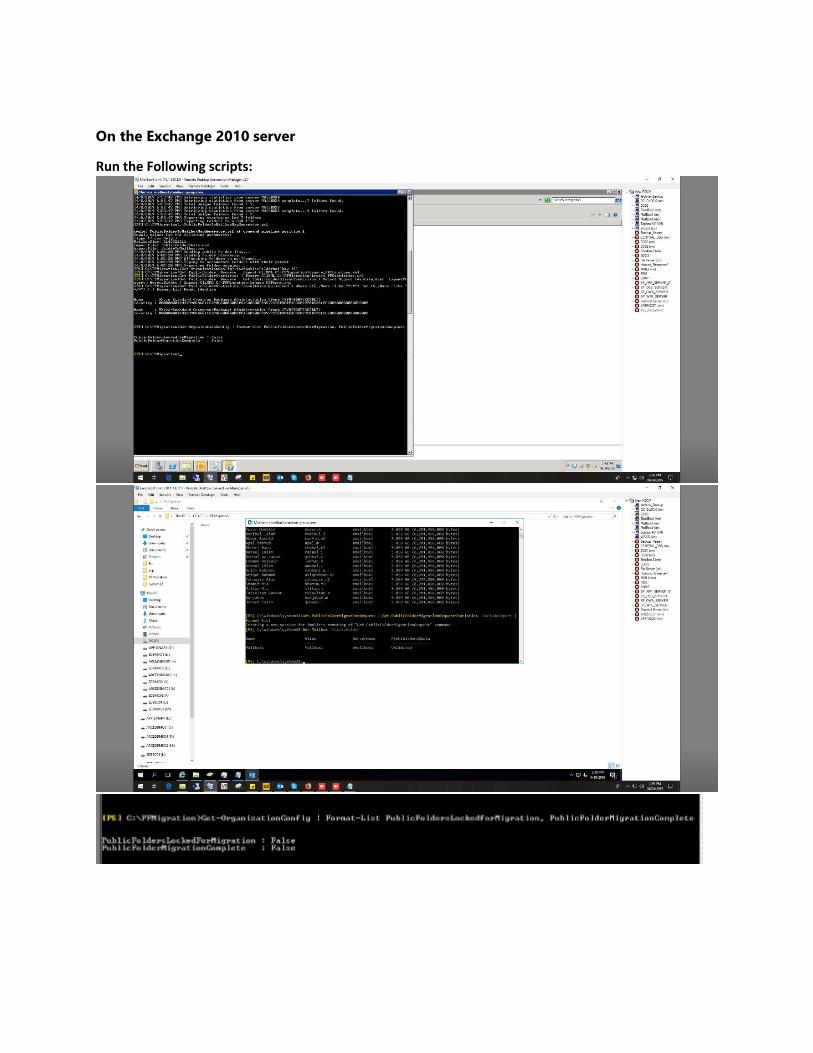
On the Exchange 2010 server
Run the Following scripts:
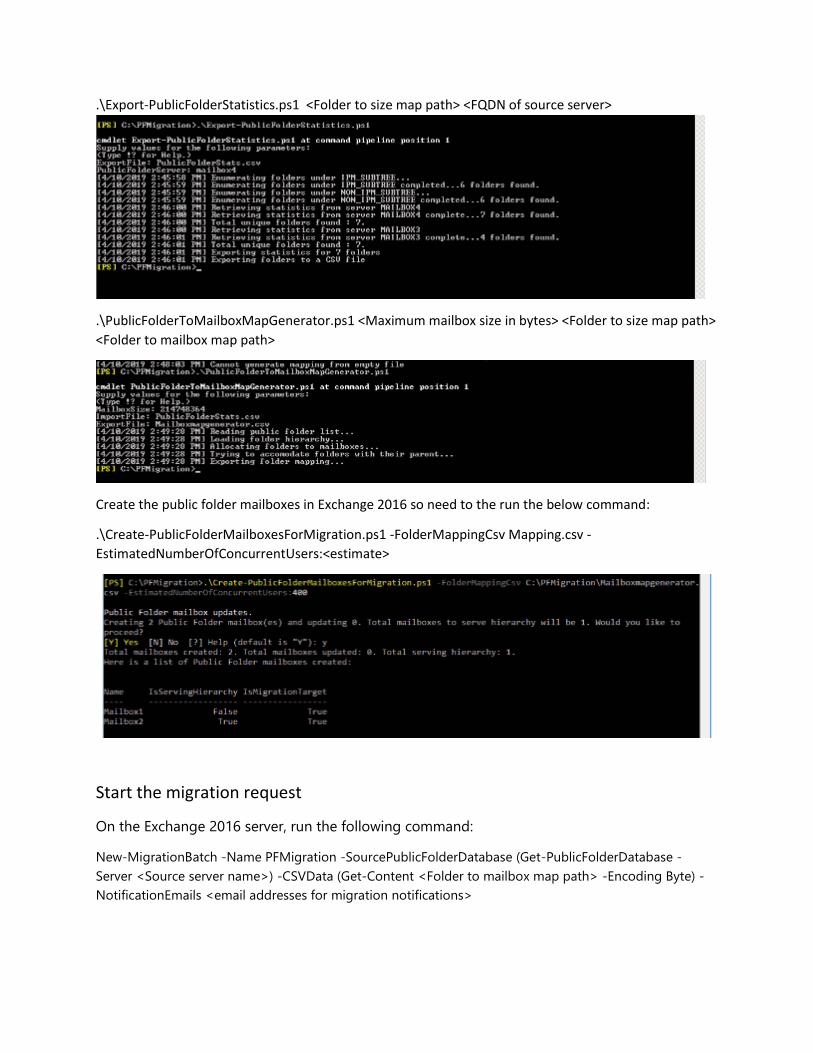
.\Export-PublicFolderStatistics.ps1 <Folder to size map path> <FQDN of source server>
.\PublicFolderToMailboxMapGenerator.ps1 <Maximum mailbox size in bytes> <Folder to size map path>
<Folder to mailbox map path>
Create the public folder mailboxes in Exchange 2016 so need to the run the below command:
.\Create-PublicFolderMailboxesForMigration.ps1 -FolderMappingCsv Mapping.csv -
EstimatedNumberOfConcurrentUsers:<estimate>
Start the migration request
On the Exchange 2016 server, run the following command:
New-MigrationBatch -Name PFMigration -SourcePublicFolderDatabase (Get-PublicFolderDatabase -
Server <Source server name>) -CSVData (Get-Content <Folder to mailbox map path> -Encoding Byte) -
NotificationEmails <email addresses for migration notifications>

Start the migration in the EAC or in the Exchange Management Shell.
In the EAC:
a. Log into Exchange Online and open the EAC.
b. Go to Recipients > Migration.
c. Select the migration batch you just created, and then click the start button.
Or In the Exchange Management Shell, run the following command
Start-MigrationBatch PFMigration
Now , Lock down the public folders on the Exchange 2010 server for final
migration (downtime required)
On the Exchange 2010 server, run the following command to lock the public folders for
finalization.
Set-OrganizationConfig -PublicFoldersLockedForMigration:$true

Finalize the public folder migration (downtime required)
First, run the following cmdlet to change the Exchange 2016 deployment type to Remote:
Set-OrganizationConfig -PublicFoldersEnabled Remote
Once that is done, you can complete the public folder migration by running the following
command:
Complete-MigrationBatch PFMigration