soil science society of america - soils 4 teachers · soil science society of america painting with...
TRANSCRIPT
Soil Science Society of America
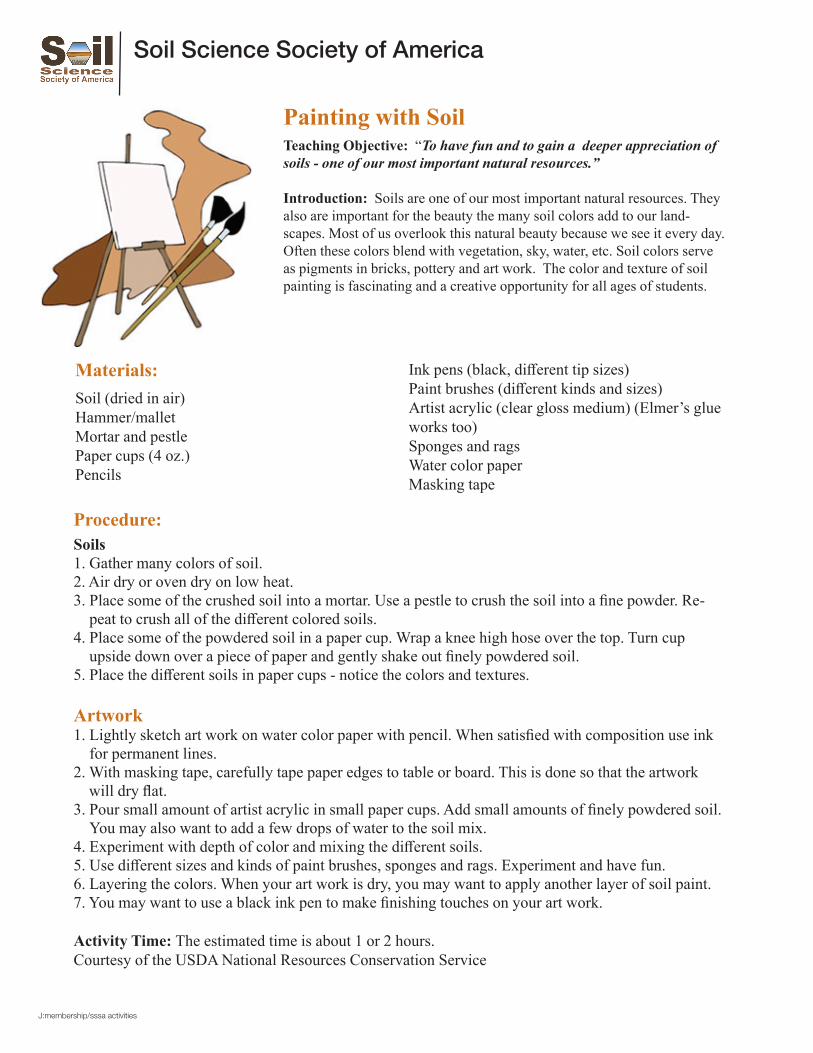
Painting with SoilTeaching Objective: “To have fun and to gain a deeper appreciation of soils - one of our most important natural resources.”
Introduction: Soils are one of our most important natural resources. They also are important for the beauty the many soil colors add to our land-scapes. Most of us overlook this natural beauty because we see it every day. Often these colors blend with vegetation, sky, water, etc. Soil colors serve as pigments in bricks, pottery and art work. The color and texture of soil painting is fascinating and a creative opportunity for all ages of students.
Materials: Soil (dried in air)Hammer/malletMortar and pestlePaper cups (4 oz.)Pencils
Ink pens (black, different tip sizes)Paint brushes (different kinds and sizes)Artist acrylic (clear gloss medium) (Elmer’s glue works too)Sponges and ragsWater color paperMasking tape
Procedure:Soils1. Gather many colors of soil.2. Air dry or oven dry on low heat. 3. Place some of the crushed soil into a mortar. Use a pestle to crush the soil into a fine powder. Re-
peat to crush all of the different colored soils. 4. Place some of the powdered soil in a paper cup. Wrap a knee high hose over the top. Turn cup
upside down over a piece of paper and gently shake out finely powdered soil.5. Place the different soils in paper cups - notice the colors and textures.
Artwork1. Lightly sketch art work on water color paper with pencil. When satisfied with composition use ink
for permanent lines.2. With masking tape, carefully tape paper edges to table or board. This is done so that the artwork
will dry flat.3. Pour small amount of artist acrylic in small paper cups. Add small amounts of finely powdered soil.
You may also want to add a few drops of water to the soil mix.4. Experiment with depth of color and mixing the different soils.5. Use different sizes and kinds of paint brushes, sponges and rags. Experiment and have fun.6. Layering the colors. When your art work is dry, you may want to apply another layer of soil paint.7. You may want to use a black ink pen to make finishing touches on your art work.
Activity Time: The estimated time is about 1 or 2 hours.Courtesy of the USDA National Resources Conservation Service
J:membership/sssa activities
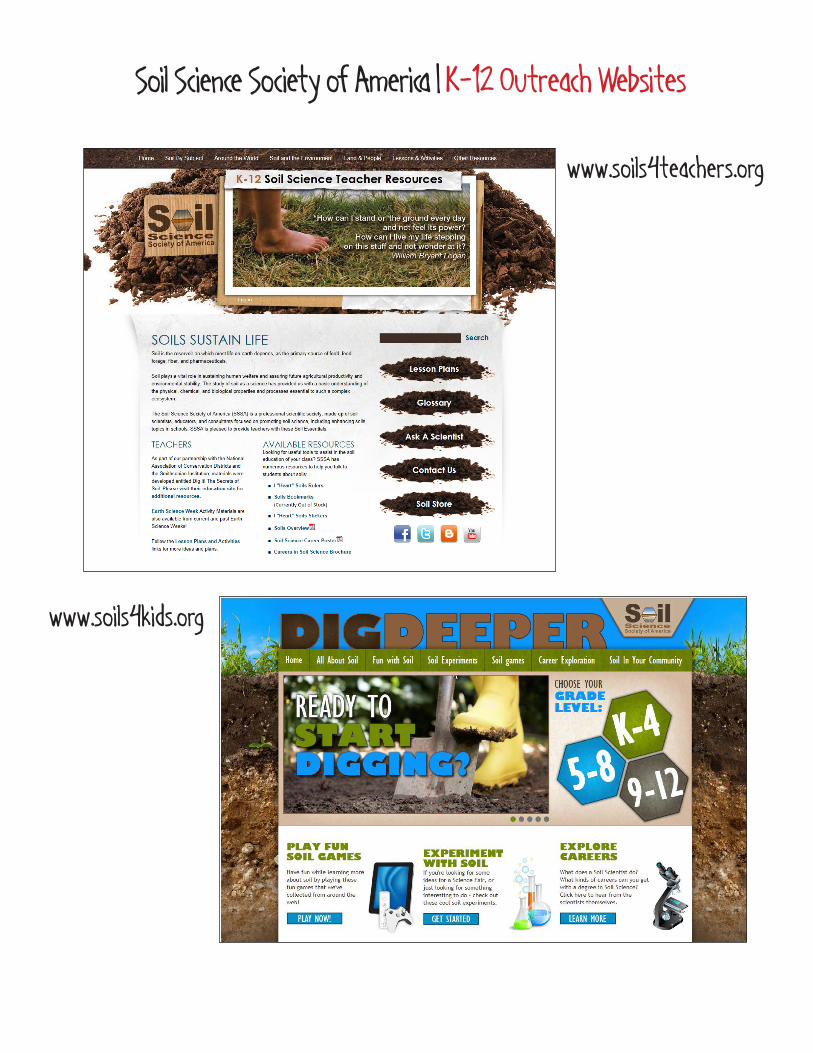
Soil Science Society of America | K-12 Outreach Websites
www.soils4teachers.org
www.soils4kids.org