photoshop basics learning the basics and understanding how to work through adobe photoshop
TRANSCRIPT
Photoshop Basics
Learning the Basics and Understanding how to work through
Adobe Photoshop
Work Area
• You must be familiar with the work area to understand how to work through Photoshop.
• The work area is what your screen looks like and has on it while you are working in a program.
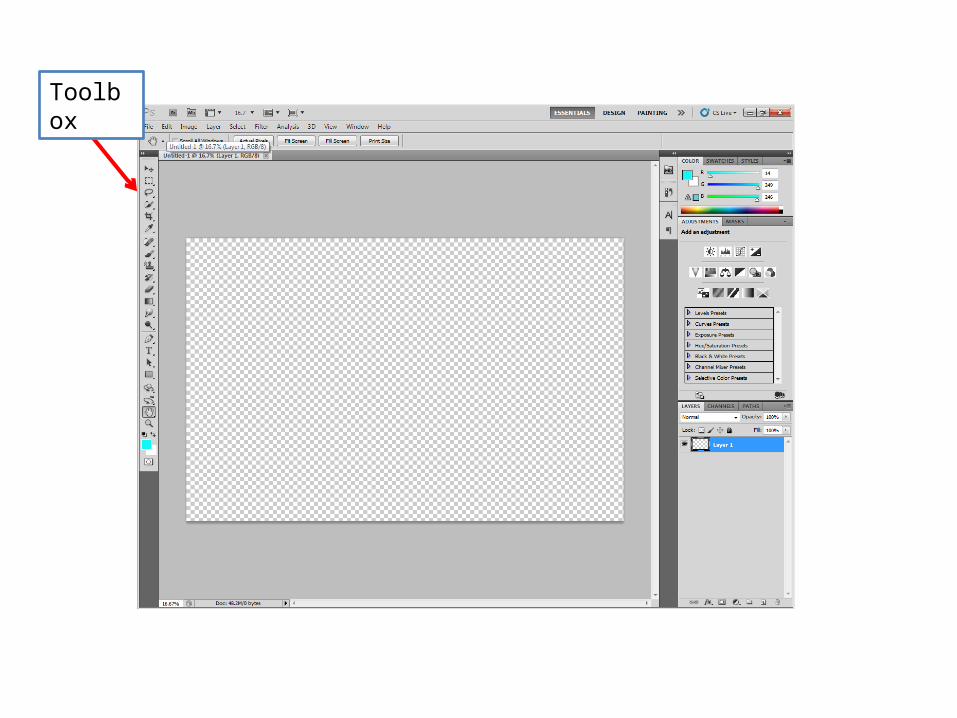
Toolbox

Menu Bar

Options Bar
Options Bar
• Located at the top of the screen underneath the menu bar.
• Options change depending on what tool you are using at that time.
• Make sure options are set before using the tool and if things need to be changed as you are working that can be done as well.

Panel Icons

Palettes
Panels/Palette
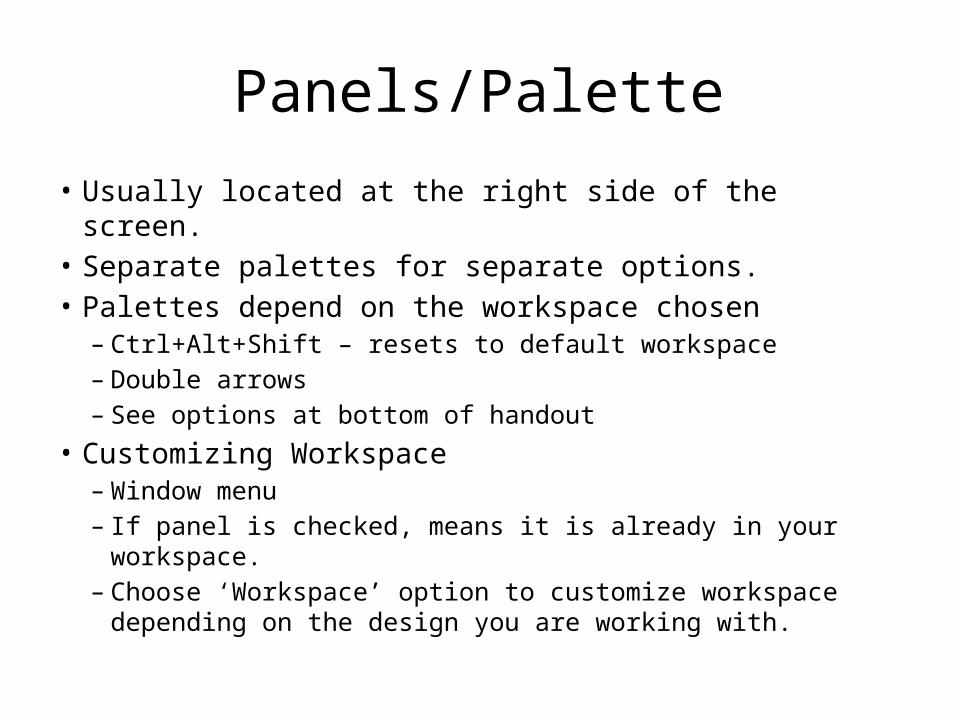
• Usually located at the right side of the screen.• Separate palettes for separate options.• Palettes depend on the workspace chosen
– Ctrl+Alt+Shift – resets to default workspace– Double arrows– See options at bottom of handout
• Customizing Workspace– Window menu– If panel is checked, means it is already in your workspace.– Choose ‘Workspace’ option to customize workspace
depending on the design you are working with.

Document Window

Status Bar
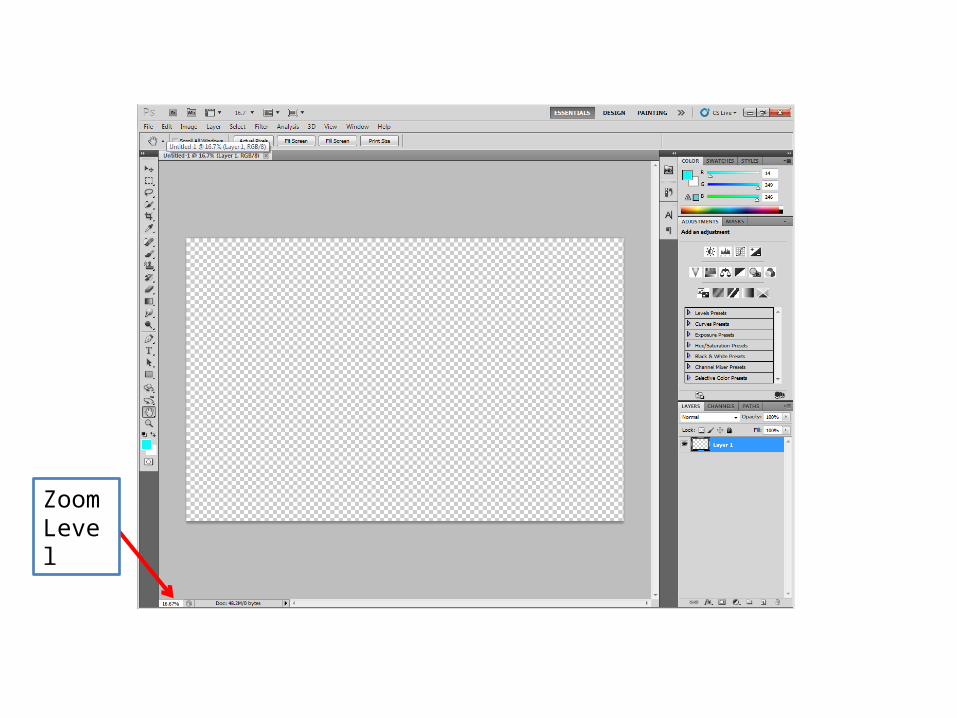
Zoom Level

Document Tab

Toolbox
Document Tab
Zoom Level
Status Bar
Document Window Palettes
Panel Icons
Options Bar
Menu Bar

Photoshop Toolbox*Double Arrow*Nested Tools:
Tools hidden beneath other tools that are not used as much in the
Photoshop program.
*Click and hold on tool to see nested tools.
Make sure you understand all tools and know what they are used for.
Holds all tools for Photoshop.
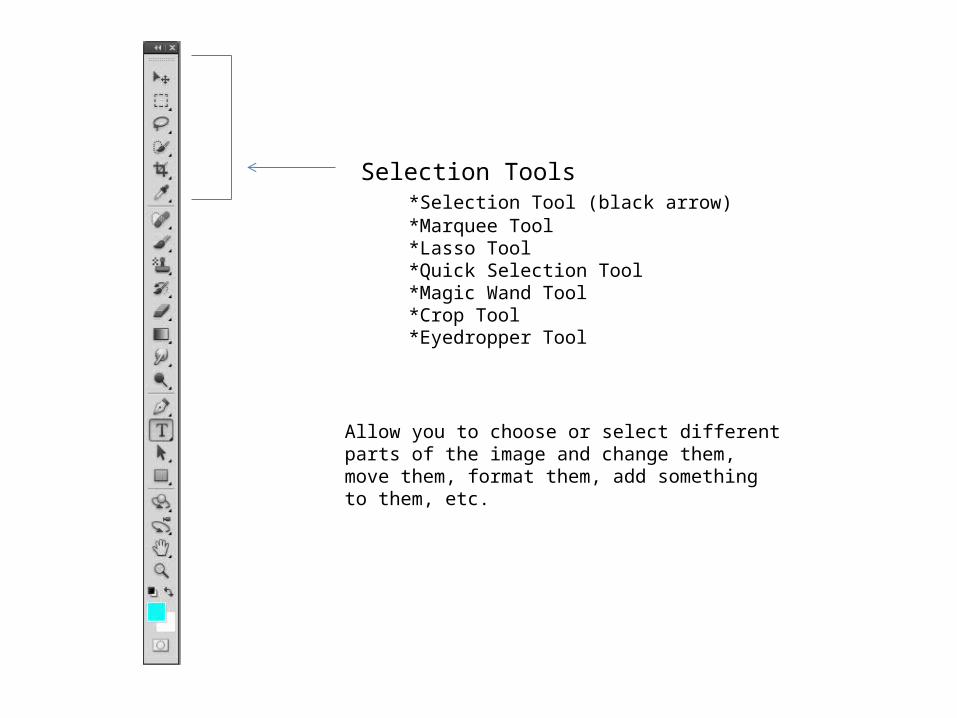
Selection Tools*Selection Tool (black arrow)*Marquee Tool*Lasso Tool*Quick Selection Tool*Magic Wand Tool*Crop Tool*Eyedropper Tool
Allow you to choose or select different parts of the image and change them, move them, format them, add something to them, etc.

Correctional/History Tools*Spot Healing Tool*Red Eye Removal*Brush Tool*Pencil Tool*Clone Stamp Tool*Art History Tool*Eraser Tool*Smudge Tool*Gradient Tool*Paint Bucket Tool
Allow you to create a better look from your image. Taking out smudges, replacing spots in image, erasing parts of the image, backtracking through the different tasks that you have already done to go back to the original look, etc.
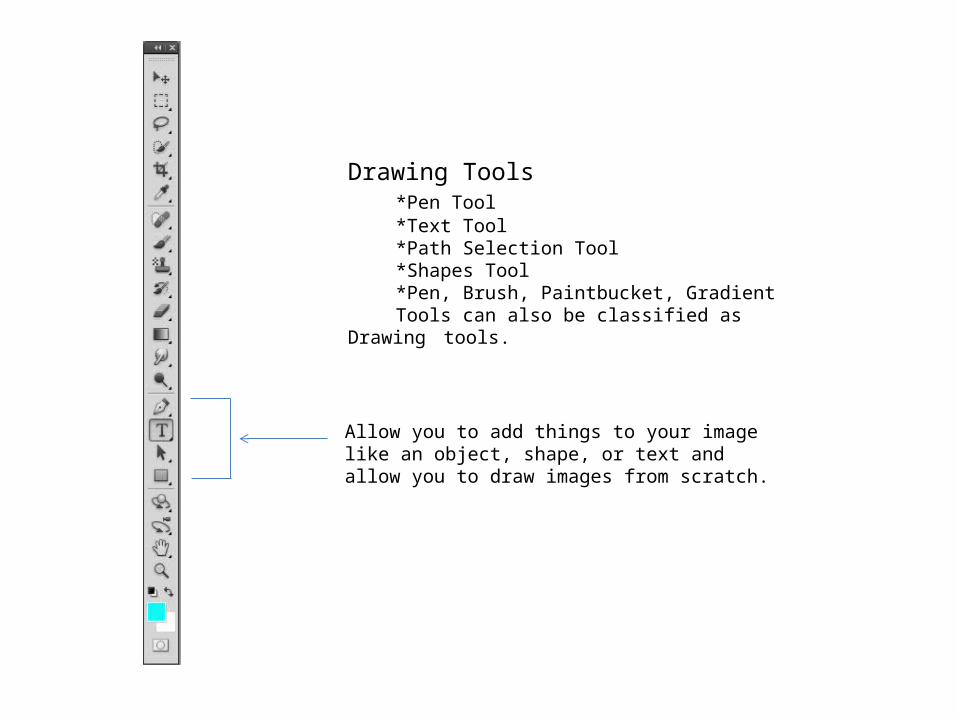
Drawing Tools*Pen Tool*Text Tool*Path Selection Tool*Shapes Tool*Pen, Brush, Paintbucket, Gradient Tools can also be classified as
Drawing tools.
Allow you to add things to your image like an object, shape, or text and allow you to draw images from scratch.
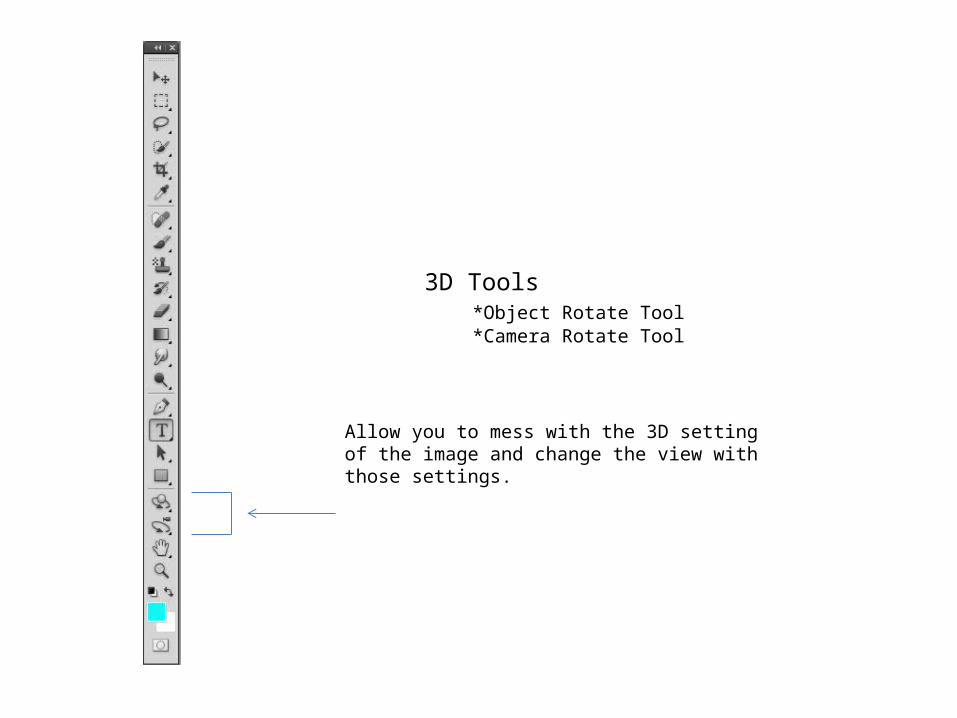
3D Tools*Object Rotate Tool*Camera Rotate Tool
Allow you to mess with the 3D setting of the image and change the view with those settings.

Document Viewing Tools*Hand Tool*Magnifier Tool*Rotate Tool*Background/Foreground Tool*Quick Mask Mode Tool
Allow you to move things in your document, look closer at the document, change or move the foreground and background, change the mode of the document you are working in.

Choosing File Options• When opening a new file, you have to set up the file options
before continuing. • It is best to know the settings before you begin the document
design.
• Make sure you look at and change, if necessary, the following before beginning your document.– File name– Document size– Resolution– Color mode
• RGB, CMYK, Grayscale
– Background

Opening a File – Placing an Image
• When working with Photoshop, you can open an existing file or place an image within a file.– Open – working with an already existing file in
Photoshop without adding it to another file.– Place – adding an image to another image already
open in Photoshop• Both options are located in the File menu.

Adobe Bridge
• Visual file browser that helps take guess work out of finding image files you need.
• Opens the documents in a window making the actual image of the document available to see so that you can choose the correct document.